| After serious use, the seals on
the brake caliper pistons will wear our & start to leak. Rebuilding is fairly
simple and much cheaper then replacing the entire caliper. I rebuilt the
seals in my Skyline calipers but the kit is the same as the 300ZX's. In
fact the pistons are also the same size, it's just the size of the rotors
making the difference in braking performance.
Timing:
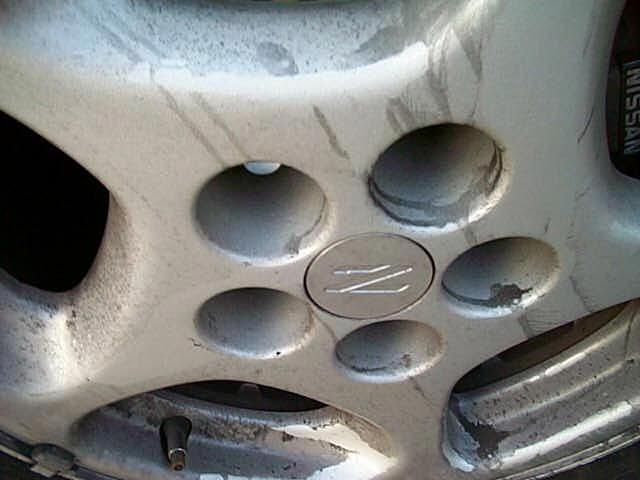
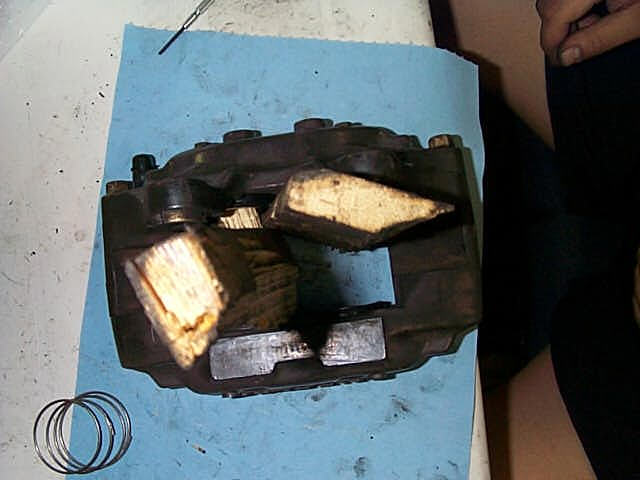
When any wheel start looking like this (1.).
Special Tools:
Air compressor w/ blow gun attachment
C-Clamps
Supply of wood pieces
Brake cleaner
Installation:
1. Take off the wheels and remove the calipers using the
Brake
rotor replacement page.
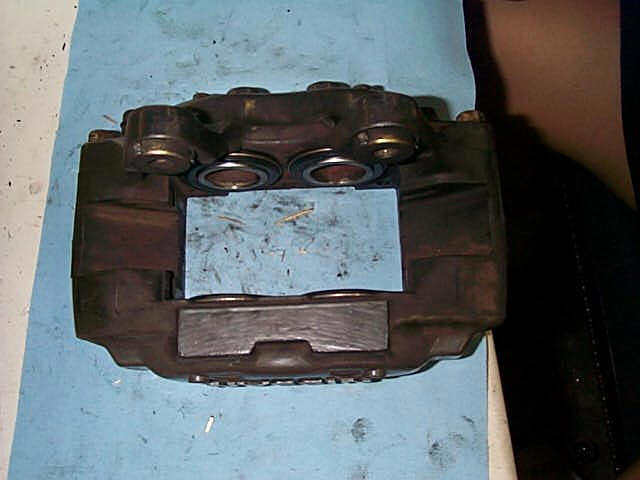
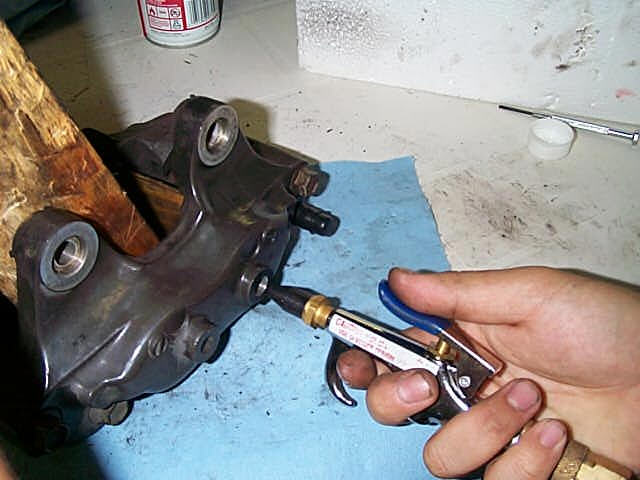
2. Once the caliper is off the car, disassemble the brake pad hardware
completely. Spray down the caliper and clean it off as much as possible
with brake cleaner and a stiff brush (2.). Use a C-clamp to squeeze
the pistons back into the caliper and to squeeze out the excess brake fluid.
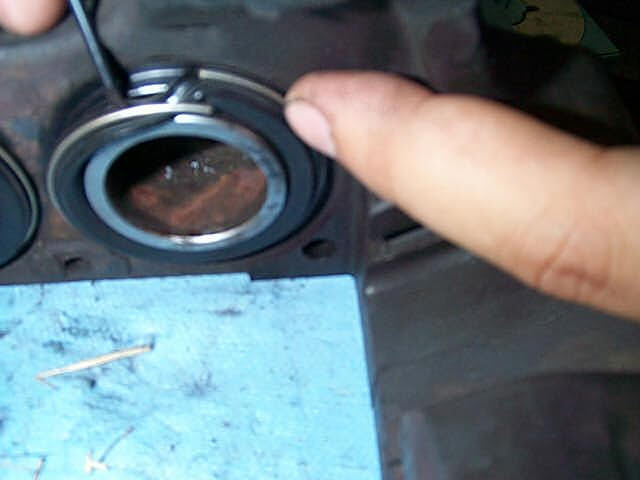
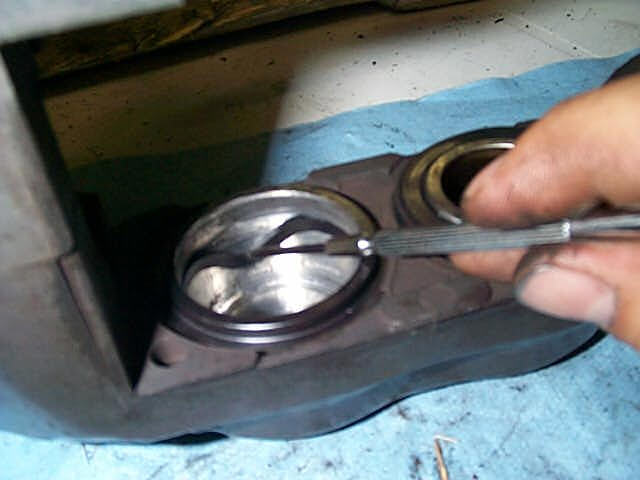
3. Use a small screwdriver to remove the dust boot ring from around
the piston (3.).
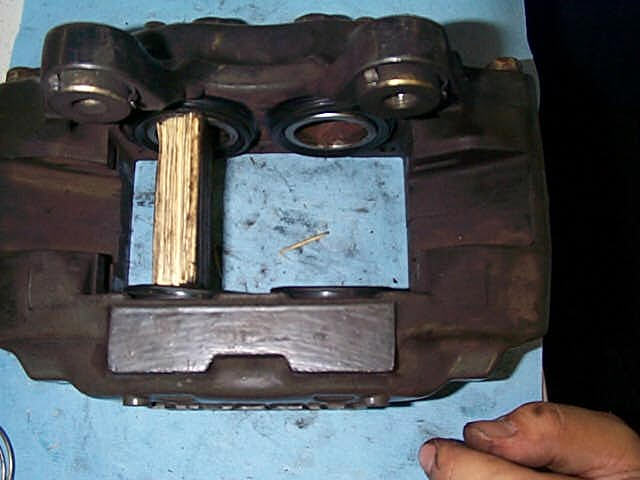
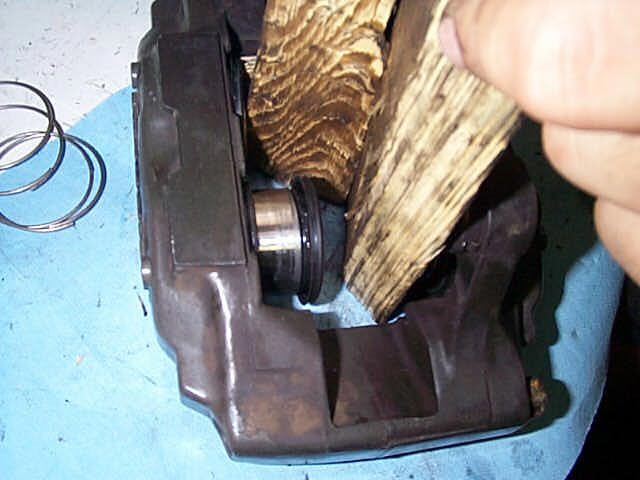
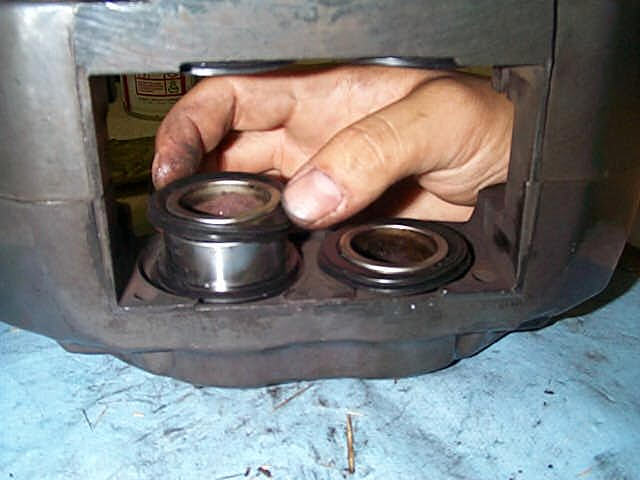
4. Take a piece of wood approximately 2" to 2.5" thick and place it
between two of the pistons to hold them in place (4.). Then use
a slim piece of wood and place it between the other two pistons to prevent
them from hitting eachother when you push them out with the air gun (5.).
WARNING: Wear safety goggles because brake fluid will probably
splatter and using air pressure on the pistons can cause them to
be projectiles. Watch your hands when pushing out the pistons to make sure
they are out of harm's way.
5. Place the air gun nozzle into the brake line inlet. (6.) Tap
the air gun trigger until the piston pops out. (7.) If a pressure
regulator is on the compressor, drop it down to 20PSI and work up to higher
pressure as required. Again, be careful when pushing out the pistons because
they can come out with some force behind it.
6. Once the piston is out, remove the old rubber dust cover from it
and clean it with some brake cleaner (8.). Grease the new one with
the grease provided in the seal rebuild kit and wrap it around the piston.
Make sure to put the boot the correct side up. The boot will need to cover
the ring around the caliper as it was when removed.
7. Use a small screwdriver and carefully pry out the rubber o-ring inside
the caliper (9.). Be extremely careful not to scratch the cylinder
walls! Clean out any excess debris inside the caliper with brake cleaner.
Use more grease to lubricate the new rubber o-ring then install it into
the caliper.
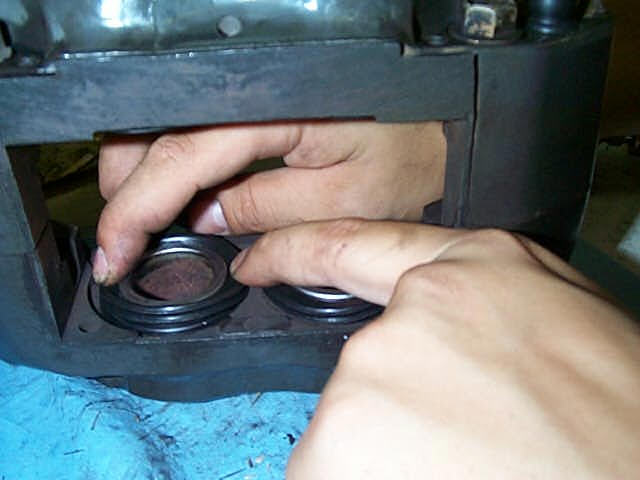
8. Place the piston with the new dust boot into the caliper and slowly
press it back in place. Make sure the piston is properly aligned or it
will not go back into the caliper (10.).
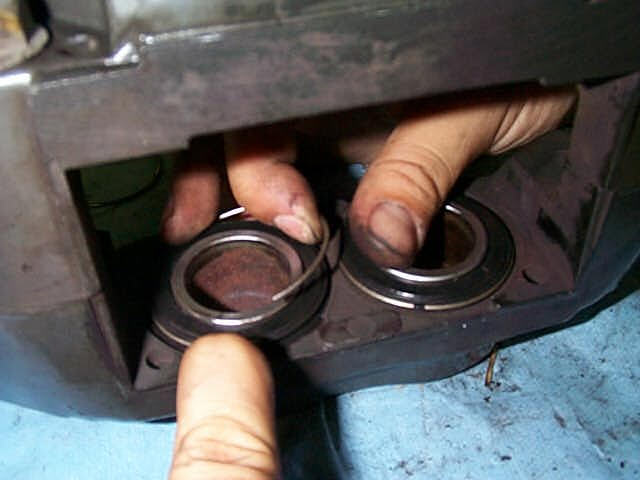
9. Wrap the boot on the ring around the caliper (11.) and use
the metal o-ring provided with the rebuild kit to clamp the boot in place.
(12.)
10. Repeat steps 3-9 until all 8 pistons are rebuilt (12 if you are
doing the rears as well).
Nothing to it and no more brake fluid leaks! Reassemble everything in
reverse order and bleed
the brakes.
Published 11-15-00
John Y(Houston)
Back to Tech page |