| So there used to be a DIY on this, but I haven't been able to find it with the pictures still available. So I went ahead and made a new one! 300ZX DIY Short Shifter
 Time: About 1 hour
**WindowWeld urethane cure time is about 96 hrs if you decide to cut down upper & lower shifter**
(Long cure time is due to the thickness of windoweld inside a somewhat sealed area) Tools Required:
-5lb Sledge Hammer
-Bastard File
-Bench Vice
-BIG Channel Locks
-1/8” Drill Bit
-Tap & Dye Set
-M10x1.25 Nut
-7/16” Socket
-Knife or razor blade
-Rubber Gloves
-Industrial Cleaning Wipes
-Power Drill
-Welder
-Sawzall or Hacksaw
-WindoWeld Urethane
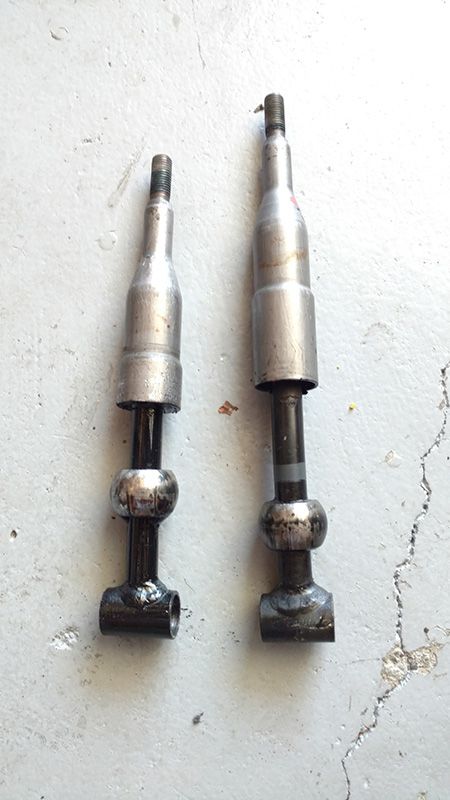
1. Remove the shifter from vehicle, unless you have a spare shifter laying around.
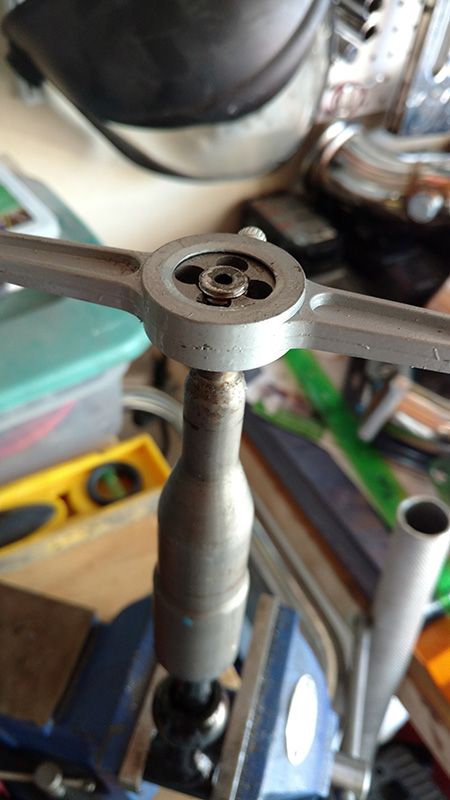
2. Place shifter into vice with collar resting on top of the vice. Do not clamp down. Leave the shifter to move freely. Thread the M10x1.25 nut into place until it is flush with the shifter threads.
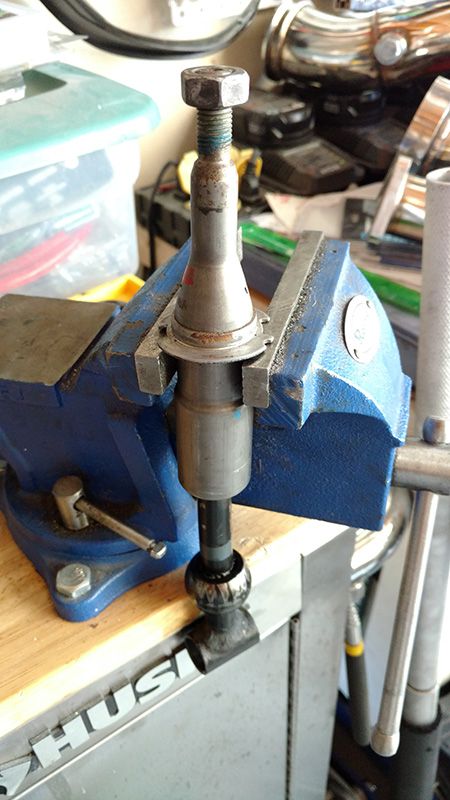
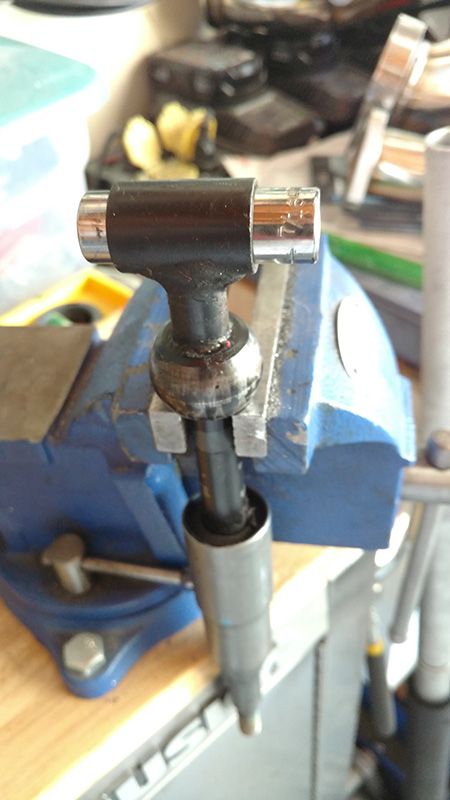
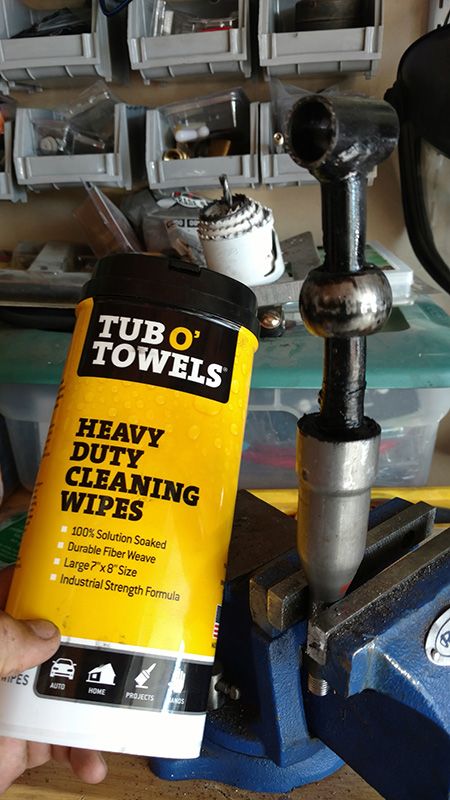
3. Use sledge hammer to knock the shifter through the collar and remove the cover, both rubber boots, plastic retainer, and retainer ring. Everything comes out through the top once collar is removed. (I’ve already done this step in the pictures) 4. Once everything is removed, place the shifter upside down into vice and close vice enough to rest the pivot ball on top. Insert 7/16” socket into the shifter and give the shifter a few good wacks! You will now see 2 groove “rails” that hold the pivot ball in place.
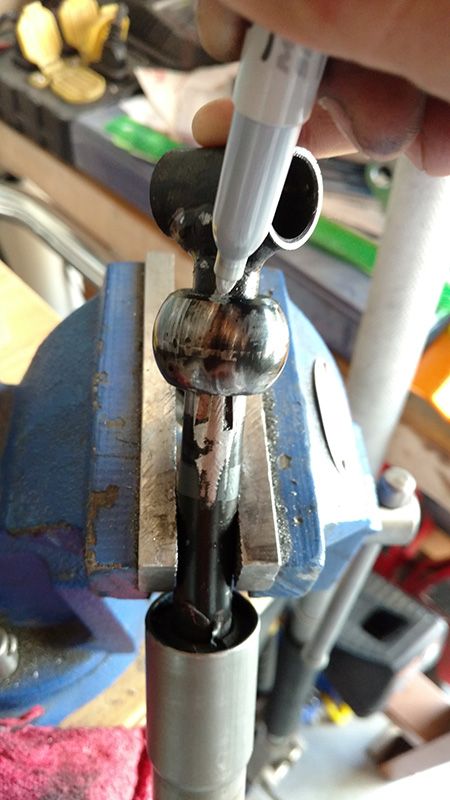
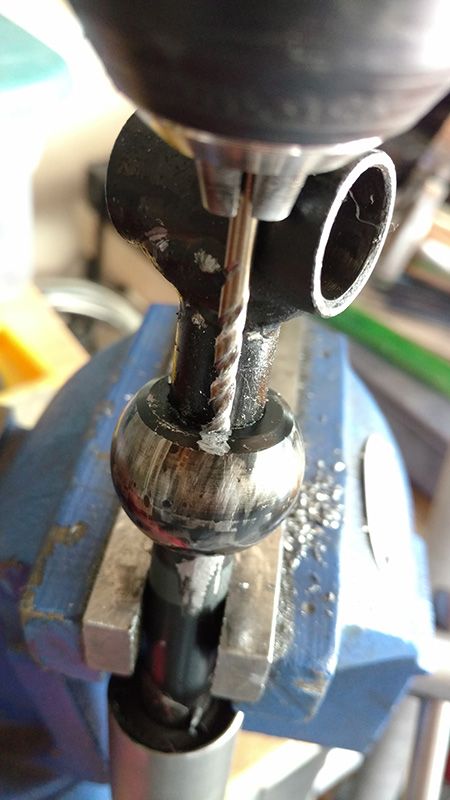
 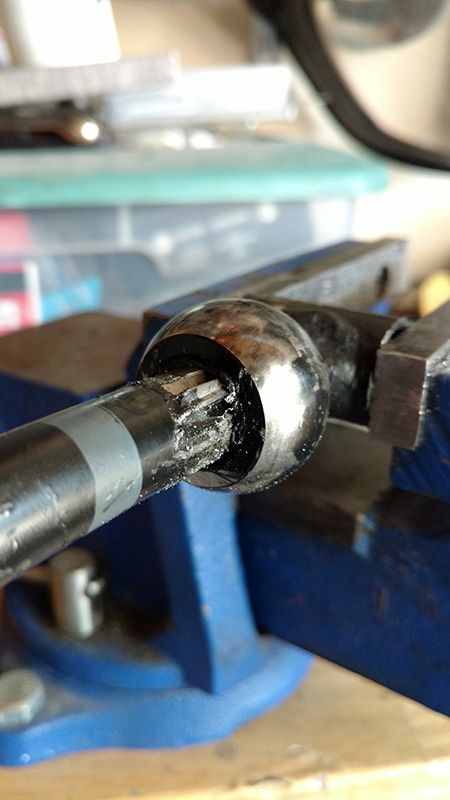 5. File these “rails” down with a bastard file and then mark on the opposite side of the pivot ball of where the “rails” should be. You will the drill a 1/8” hole in your marked spots to allow the “rails” to pass through.
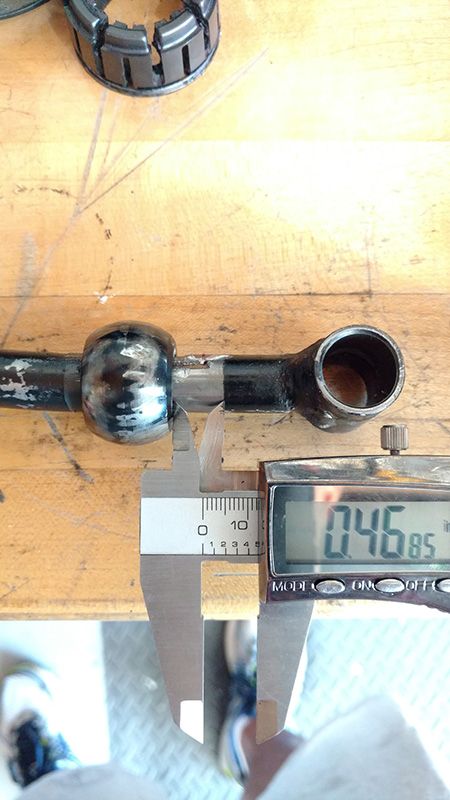
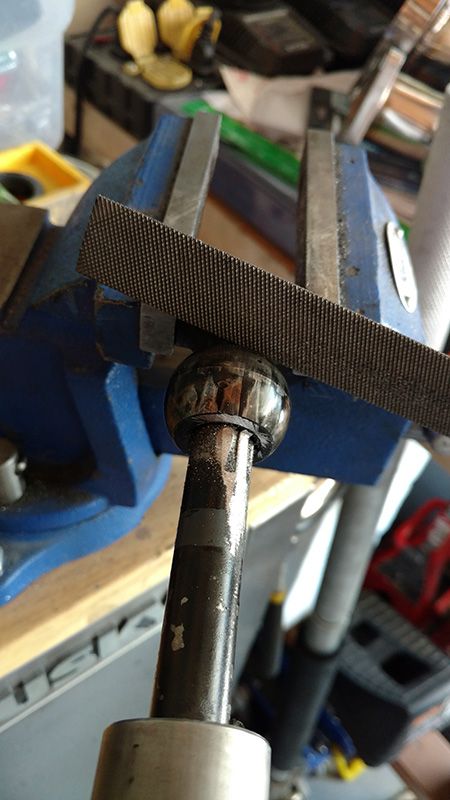   6. Flip the shifter around again and lay the pivot ball on top of the vice. This time you will be knocking the pivot ball back up the shaft. You want the pivot ball about a half inch (preferably a little less) above the original position. Then file the remaining “rails” down.
  7. Once you have your pivot ball where you want it, tack weld it. I tack welded the spots where I drilled the 1/8” holes. I also opted to fill in the guides where the “rails” used to be and filed it down, but that part is optional. Take the M10x1.25 dye and rethread the shifter if required.
**I would NOT recommend JB weld seeing as it probably will not adhere properly from the old grease under the pivot ball and “rails”**
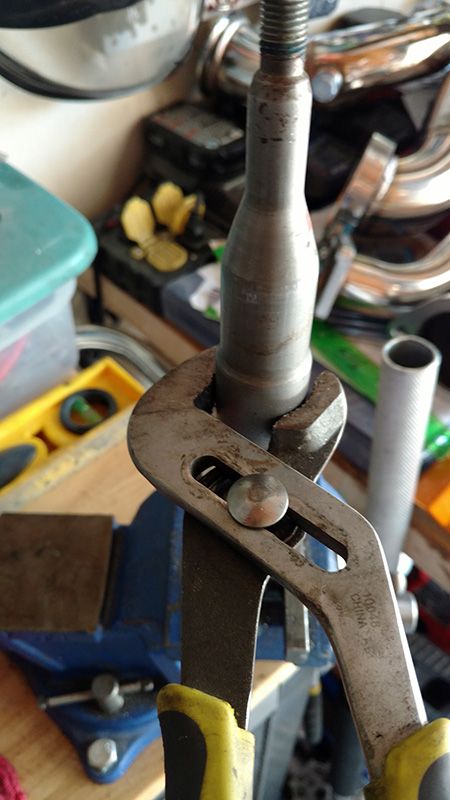
  8. You can stop here if you would like. But if you want a shorter shifter, please proceed. 9. Put the shifter back into the vice, but this time tighten her down! Take your BIG channel locks and get a good grip on the lower portion of the upper shifter and work the upper shifter back and forth and pull up simultaneously until you break it free of the urethane filler. She will eventually slide right out!
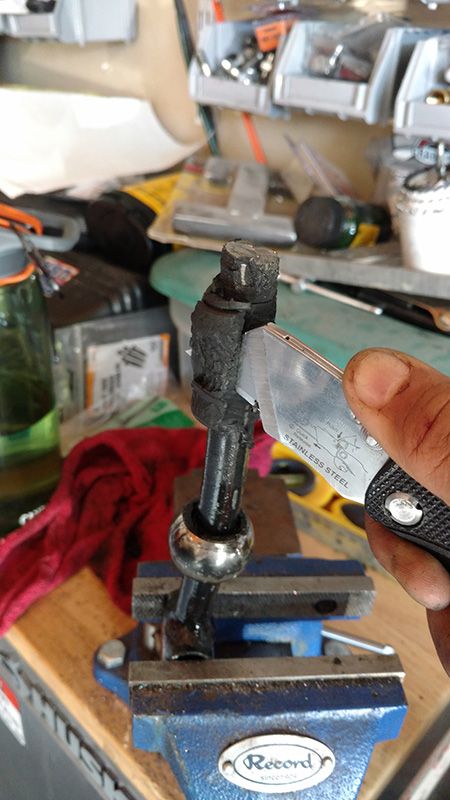
 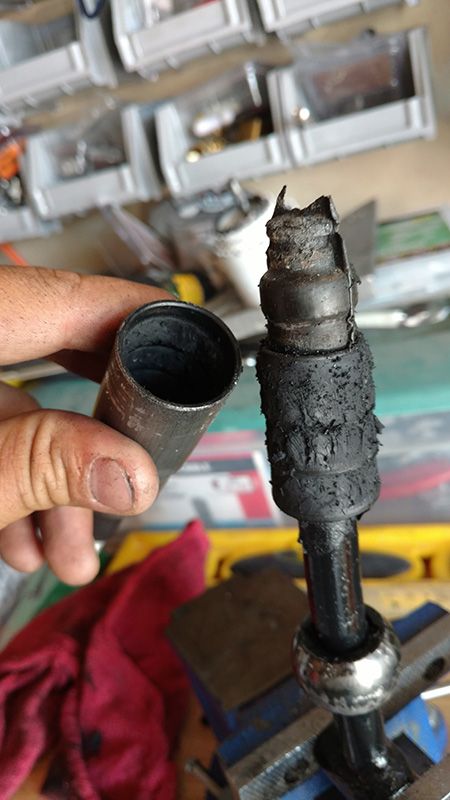 10. Take a blade and peel off the old urethane. None of this has to look perfect. In fact, the uglier the better! Once separated, cut off the bottom half inch of the upper shifter and half inch off the lower shifter. File down the upper shifter smooth and flat.
   11. Take the window weld and fill the upper shifter up! Be sure to wear gloves as this stuff is nasty and gets EVERYWHERE! On that note, make sure you wear something you don’t care about ruining. Insert the lower shifter into the upper shifter filled with window weld.
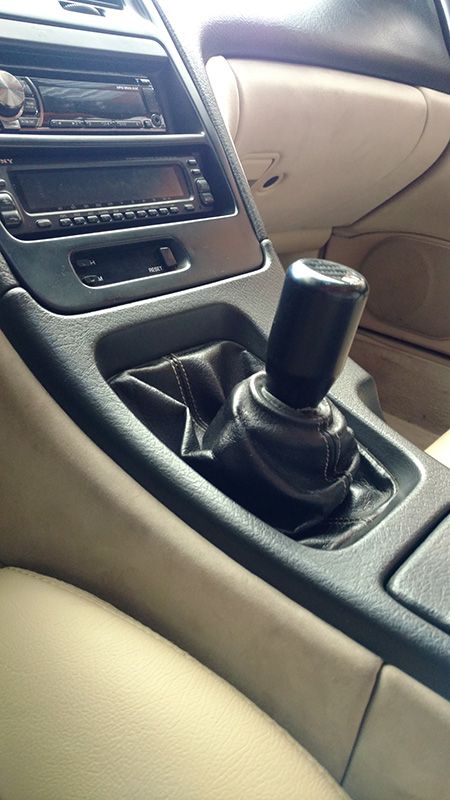
  12. Dispose of your rubber gloves before you touch anything else! Now, center the lower shifter as best as you can, clean up your mess with the industrial wipes, and let your shifter cure for about 96hrs! Reinstall and feel the difference!!
|


 How-to: Make your own short shifter -