| Several months back I posted some work that I had done with my Z regarding the installation of Haltech Elite 2500. After making this post several members reached out asking "how to" questions. I have learned an enormous amount from this site and always liked open source projects. So I thought I would do a full write up on how I did it and provide the base map that I am currently running on the car to help others bypass all of the stuff that I had to learn the hard way. I would like to thank the following people for helping with this project: Justin Wright – Put up with my OCDness and helped during the entire build. Seb @ Specialty Z – Doesn’t really know me at all but was still willing to help me troubleshoot ignition issues over the phone and gave me some really helpful ideas. John @ Z1 – Let me harass him with tuning related questions for a couple of weeks and kept answering my calls and ultimately found a couple of issues which got the car running smoothly. Hal @ Dynosty – Helped look over my wiring map and with tuning Dustin @ Puristmod – For supplying the parts and letting me bug him with questions Dan and Cladio @ Haltech USA – Incredible helpful with the setup of the Elite on the Z, wiring and basemaps hpacademy.com - A great resource for all things tuning. I am not affiliated with them in anyway but really love their service. Feels like more shouts outs than a rap song. 
Disclaimer
This is how I installed everything and the tune that I am currently running THAT IS NOT COMPLETE. So DO NOT load this map and then go push your car to the limits. This is a drive around map. Not everyone will want to take the same approach that I did with my build / setup so this is not meant to be a step by step one size fits all manual that will work for every car but rather a full documentation of what I did and the things I learned the hard way. You should be able to look over what I did and make adjustments as needed. Any damage from my base tune or E85 tune or wiring that happens on your car is 100% on you. I take no responsibility for any damage that results from you doing this.
Patch Harness
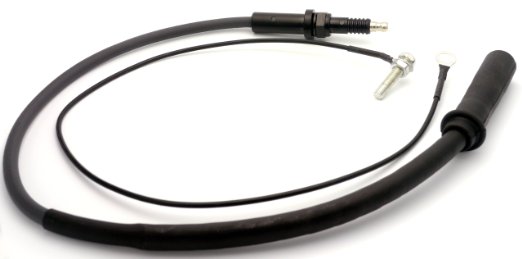
I have an almost brand new 95 EFI harness in my Z and the idea of chopping it to pieces to make my elite work seemed just terrible and I didn’t want to wire everything in the floorboard. So when approaching the start of this project making a patch harness had to be first. I initially tried sourcing the connection plugs for the factory ECU and that proved pretty much impossible. So I decided to go with an AEM patch harness and just remove the ECU side connector so that I could wire it into the Haltech plugs. AEM Part – 30-2998
You can get it from several recognized Z32 vendors or Amazon 
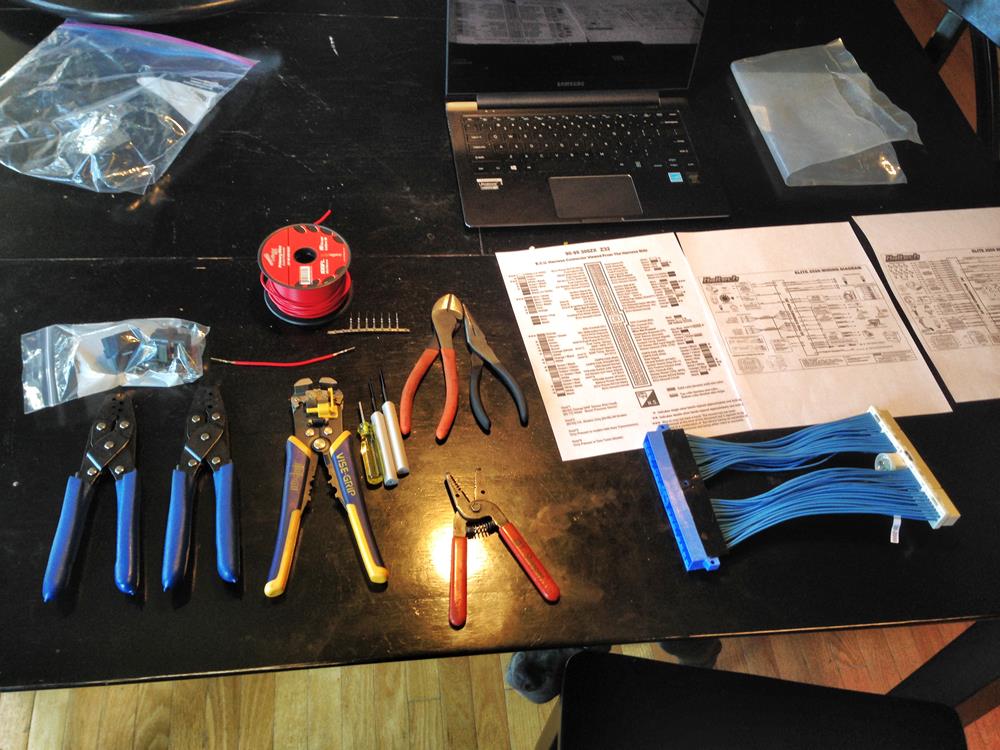
Tools To make the patch harness you will also need some specialty tools. Haltech sells these tools in a kit but you can piece them together yourself on amazon for much cheaper. 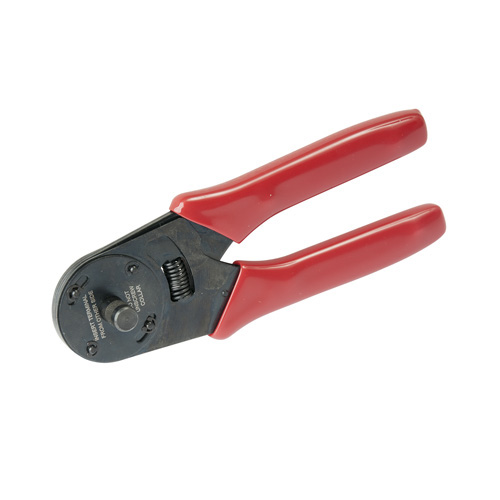
Closed Barrel Contact 4-indent Crimper..AWG 12-20
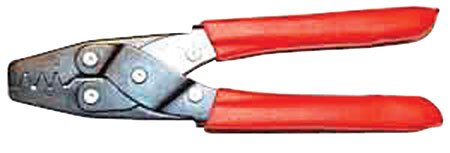
Sargent Crimper Open Barrel F Type 14-24 AWG 8" OAL
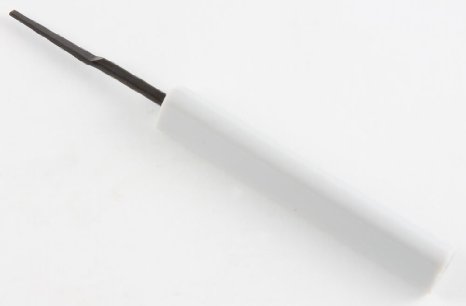
Metri-Pack/56 Series Terminal Release Tool #12094430
Metri-Pack Terminal Release Tool #12094429
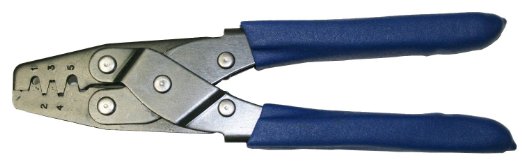
Delphi Packard Weather pack Crimper Tool Kit
I also really like this coil on plug extension for testing base timing lock.
The last thing that you will need is the connector set for the Haltech Elite. Haltech didn’t make these parts either and just uses AMP / TYCO parts and then marks them up too much. You can search the internets for part number HT030001 and find it much cheaper if you shop around. I have had good luck with Ebay.
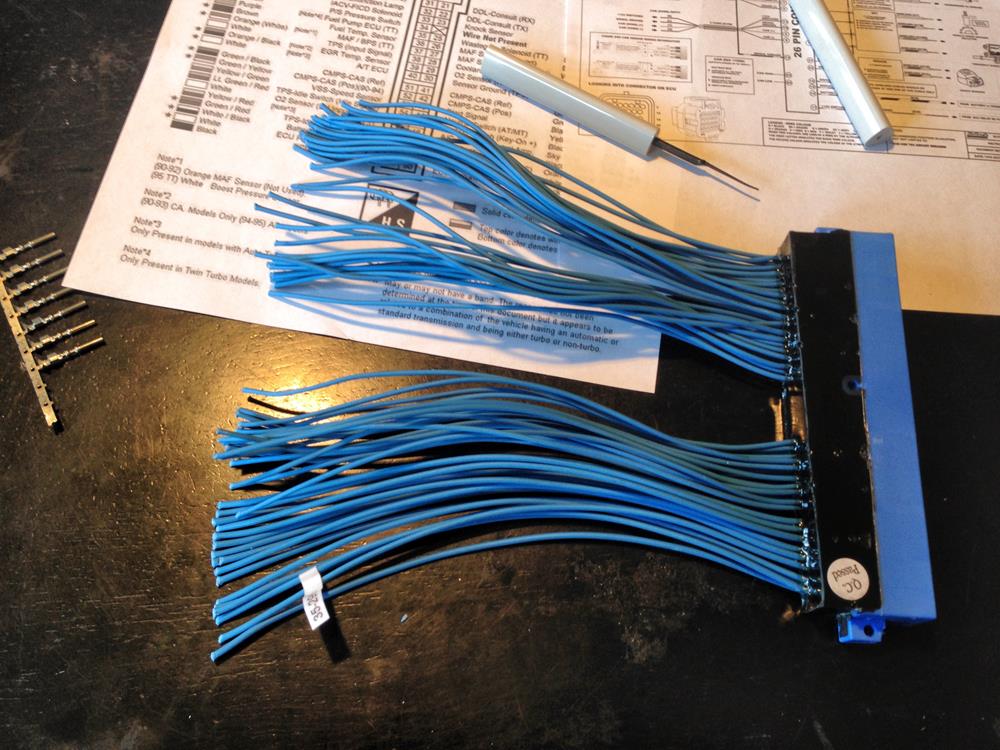
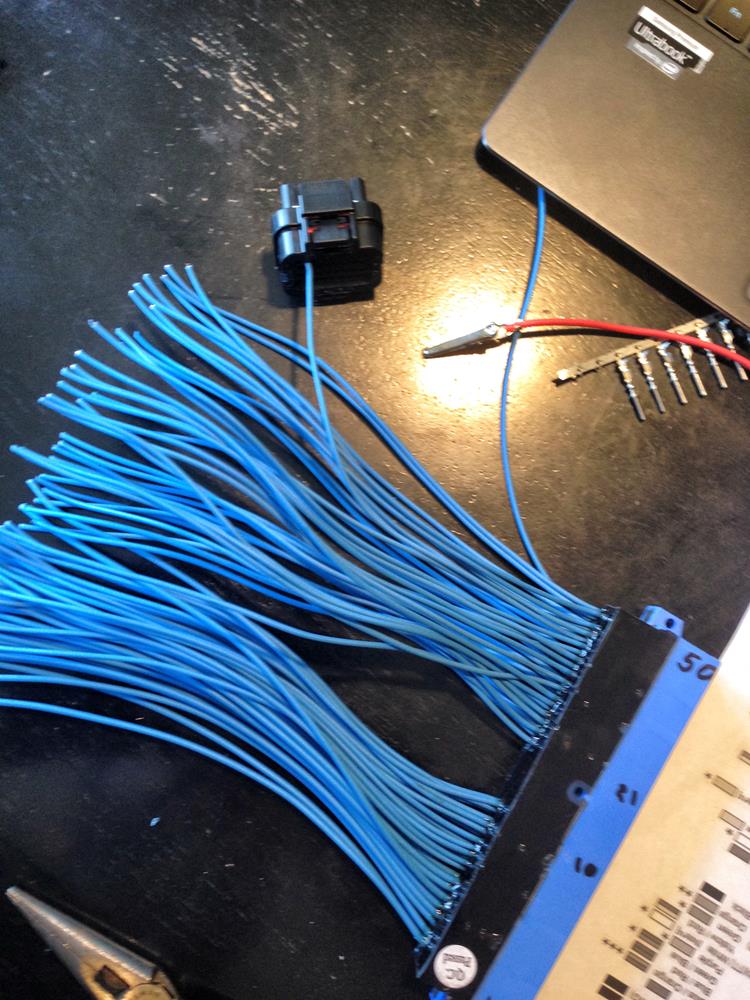
So after having the tools it’s time to get some basics down on how to use wire crimps and the leads. These videos should provide a good starting point and you will just need to practice with some extra leads to get a good feel for it. https://www.youtube.com/watch?v=iRgcaHEJiWc https://www.youtube.com/watch?v=LXDedfvmI_0 Now that you have all of the parts, tools and knowledge it’s time to actually start wiring. Start by cutting off the ECU end of the AEM patch harness. You will be attaching the Haltech (TYCO) connectors on this side so that it can plug into the two ports on the Haltech.
All of the wiring instructions can be found in the attached excel sheet “Elite Wiring Guide”
Wiring
The excel sheet should be very self-explanatory.
The items on the left show the inbound pin on the Elite and the items on the right show where they are coming from on the F1 connector which previously plugged directly into the factory ECU.

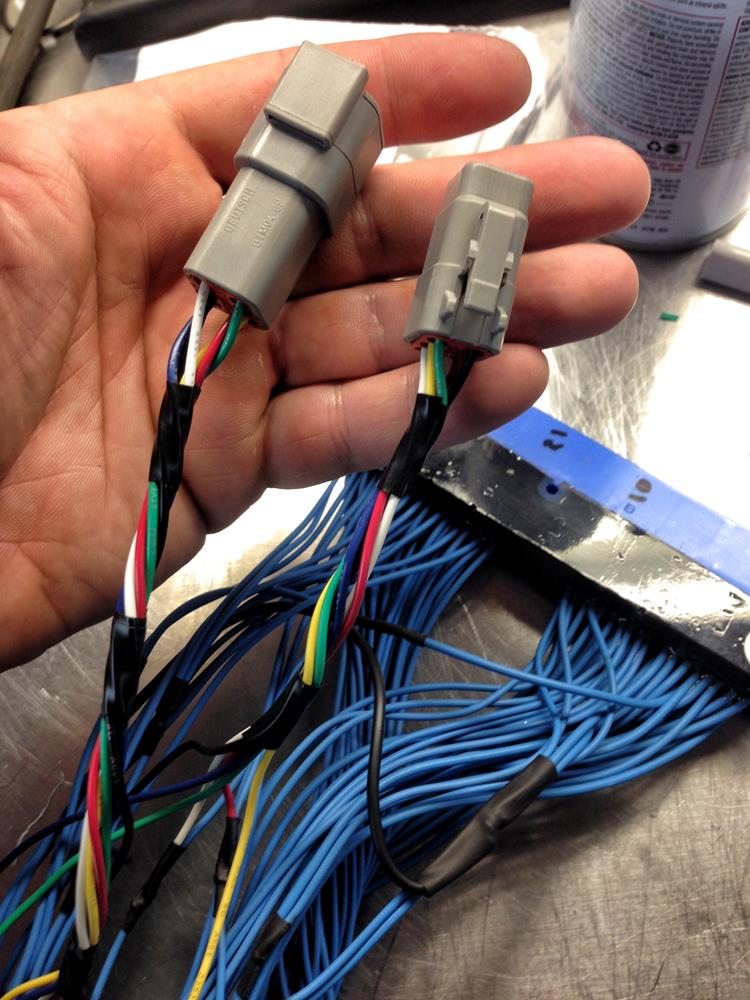
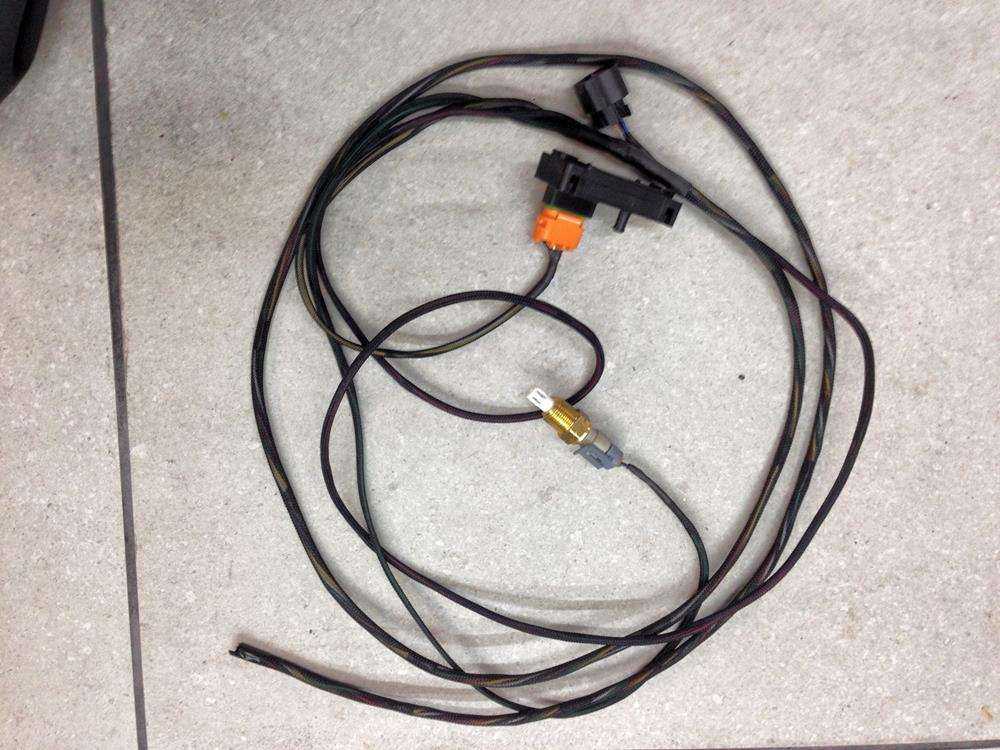
On the bottom of the sheet are two break out harnesses. I ended up needing to add some external sensors and control a couple of non OEM devices and thought break out harness’s where the best way to do this.
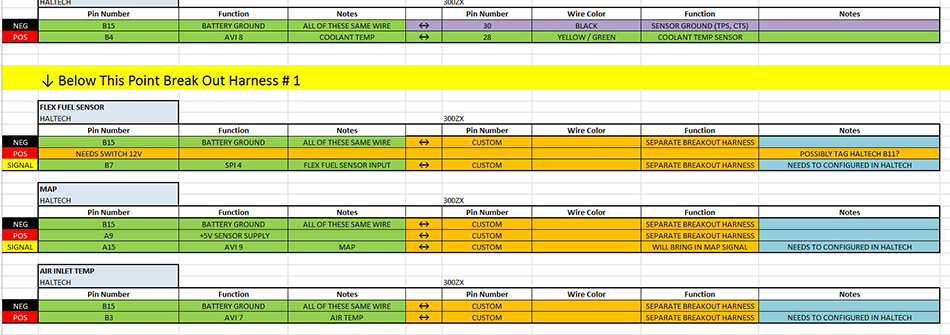
For building both breakout connectors I used Deutsch connectors. Their 6 pin connectors worked best and I used two of them. Wirecare.com provided the parts and were very good to deal with.
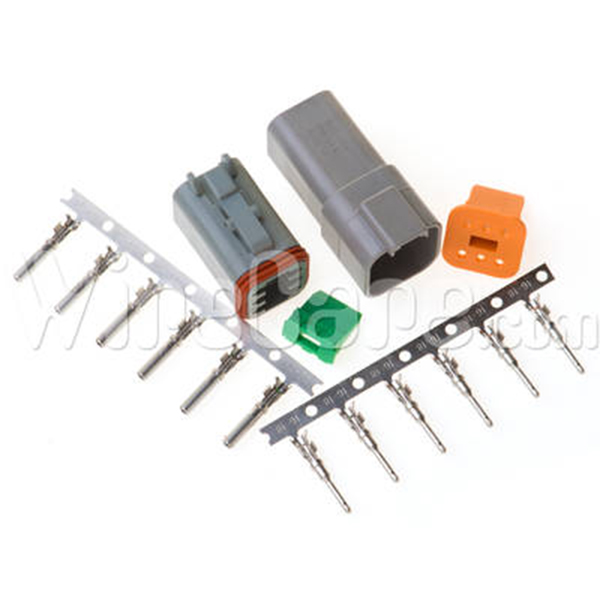
https://www.wirecare.com/product.asp?pn=WC80577022
The connectors that I previously listed on amazon will work to crimp the wires with this kit too. Not everyone will want to run dual fuel pumps, flex fuel and wire up traction control. This will still serve as a good template to add your own devices and I am very glad that I made break out connectors to achieve this. Being able to remove the patch harness quickly and neatly proved to be very helpful.
Other Considerations
PTU - Once the car was properly wired and up and running I kept having ignition break up issues. I spent countless hours and a lot of cash trying to figure out why my spark wasn't working under load. At first anything over 5 PSI was causing big issues. From talking to other Z owners with the Elite and several tuners apparently this is a common issue. I still don’t know why it occurs. The fix I came up with was to add the Haltech HPI6 to my car and delete the factory PTU. After I did this my ignition issues cleared up instantly. I am not sure if it masked a problem or eliminated it. Regardless if you have ignition issues start here.
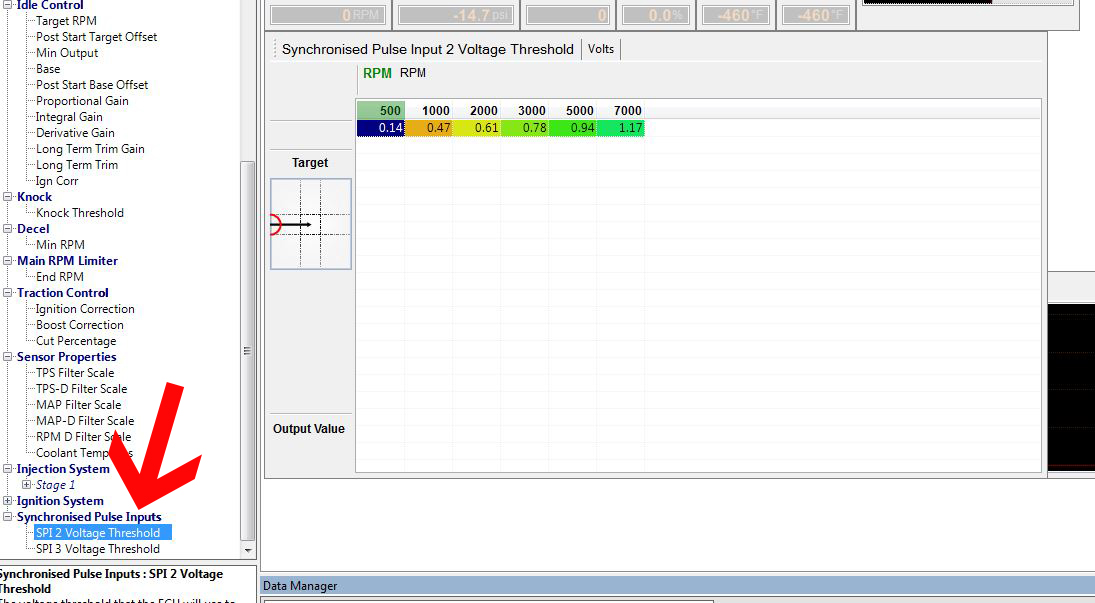
Traction Control – One of the big reasons that I wanted to get the Elite was for traction control. In theory this would be about the perfect setup…..in the real world there were a lot of problems. The first thing that will need adjusting is the Synchronized Pulse Inputs. This took me MONTHS to figure out and caused a lot of frustration. The numbers shown in my base map are what worked for my Z. You may need to play around with yours some. The approach is to have a friend drive around and adjust those numbers to where the front and rear wheel speed sensors pickup at every MPH range and in every condition. From a start. First gear. Etc etc. This sounds more daunting than it actually is. 10-15 minutes of driving around should dial it in. You could also approach this with an oscilloscope but most don’t have one. Also, use shielded cabling for the wires on this. This write up will help get you started
The next issue with the traction control is on Haltech’s end. Their latest firmware has a glitch in the PID system and it will allow for too much wheel slip. I have made them aware of this and they are supposed to be fixing it. One of the cool things about Haltech is that they let you use previous firmware versions. The 2.04.1 firmware has the best traction solution at this point in my opinion. Use Ignition Correction for fine tuning and Cut Percentage as a safety stop for anything much past your max desired percentage of slip. This will vary greatly from car to car and will just take dialing in on the street (in Mexico).
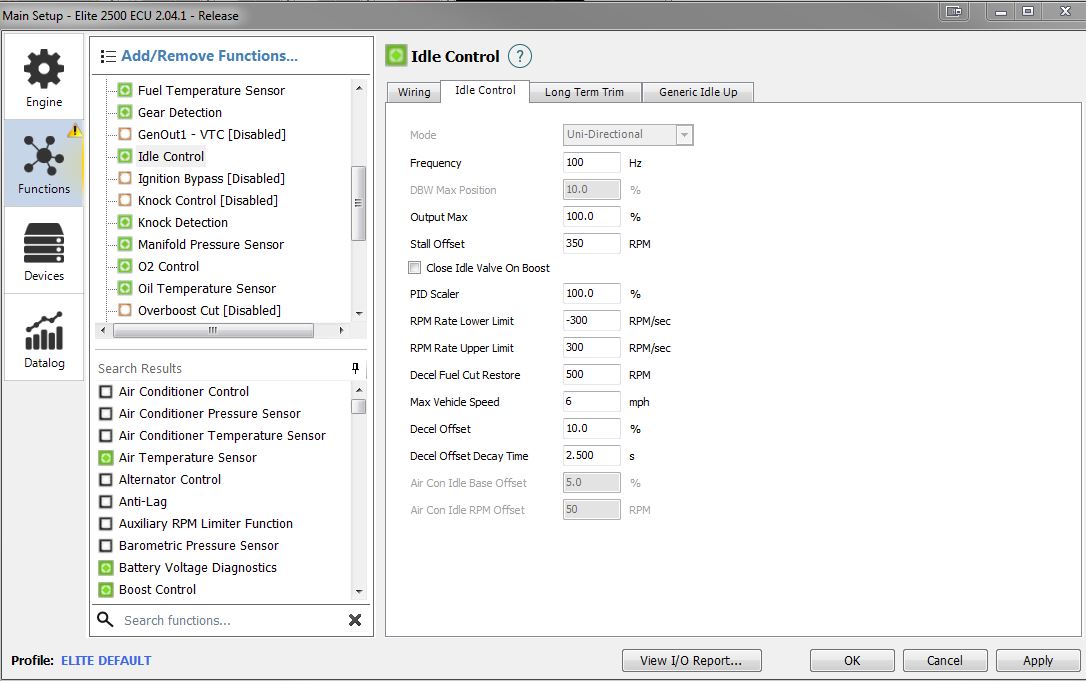
Idle Control – The factory idle system on the Z is terrible and when going with the Haltech you have the option to greatly simplify it. On my car I disconnected everything but the AAC and let it handle all idle conditions. I found these settings to work best. Also, on a heavily modified car like mine the idle needed a decent amount of tweaking to get right and still have it cold start correctly. The settings in my E85 map reflect this. This area may need tweaked on yours. To get a rough starting point let the car fully warm up and the idle stabilize then adjust your idle set screw until the duty cycle on the AAC is 30-40%. This seems to provide the best blend of smooth idle and good cold start on E85.
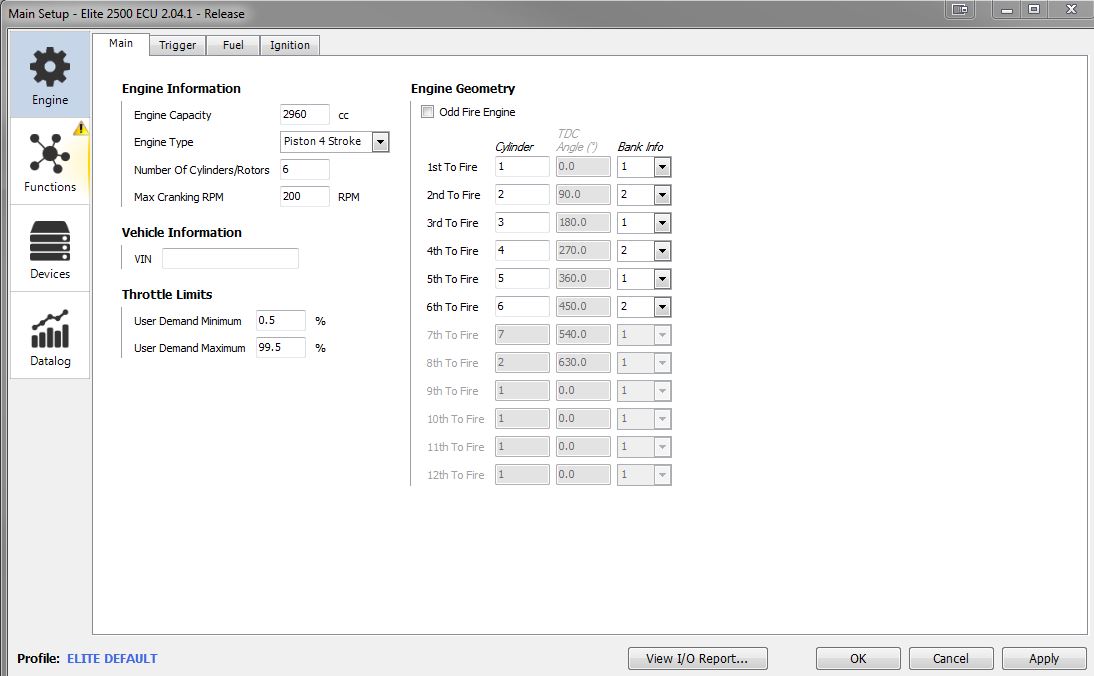
Max Cranking RPM, Engine Control Relay and Ignition Bypass – On some of the newer firmware’s these settings will have to be adjusted for the car to start. I know that on the 2.04.1 firmware you can use the settings that I have. If you go past this you may need to bring down the Max Cranking RPM’s to Zero and enable / disable the Engine Control Rely and Ignition Bypass. Hopefully on newer firmware these issues will be resolved. If for some reason your car cranks but doesn’t start this is a good place to look.
EGI Relay – For a reason that I never figured out the EGI relay in the main fuse box under the hood of the car kept getting warm even with the car turned off. I tried several different wiring configurations and none of them seemed to solve the issue. What I ended up doing was just removing this relay all together. If / when I find the reason why for this I will include it in the updates.
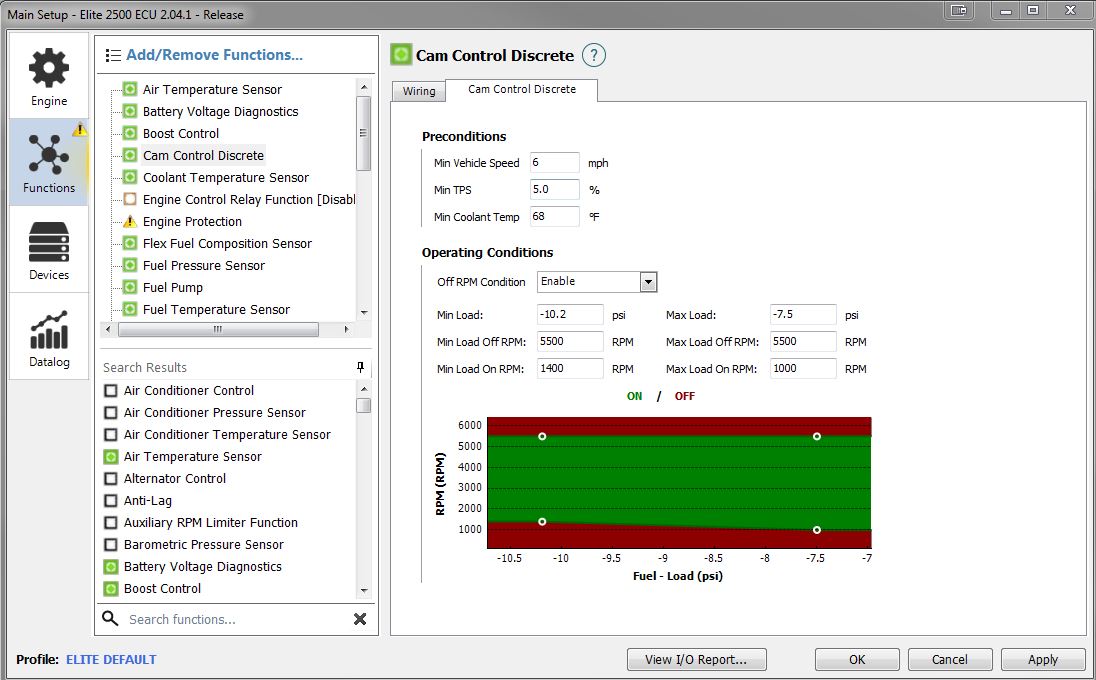
VTC – There are several options for controlling VTC in the Elite. The option that closest matched how the factor ECU does it is the Cam Control Discrete function. These setting are what worked best for me when I was on the dyno roughing things in. They may not be what’s ideal for every setup but should at least provide a good starting point.
A/F Ratios and the oddities of Haltech – There are several options for viewing A/F ratios under the settings tab in the Haltech. Lambda, AFR Gasoline , AFR Methanol, AFR Ethanol. No matter which one you choose your AF sensor is already measuring lambda (assuming Haltech CAN Wideband). That number then gets converted and references an AF scale (usually gasoline) so when you’re on 93 and running at stoichiometric the sensor is seeing lambda 1 and calling that 14.7. When you switch to E85 and are running at stoichiometric the sensor is still measuring in Lambda and will show the same value of 14.7 at stoichiometric. So I just set the sensor to AFR – Gasoline/Petrol and then no what fuel you are on 1 Lambda = Stoich = 14.7 on the actual gauge. If I were learning tuning over I would have made myself learn Lambda.

Haltech CAN Bus Dual Wideband – To me this is a necessary part for safely running the Z on a Haltech and being able to take advantage of the really awesome tuning and safety features of the Elite. The install is very straightforward and there is no way I would consider this without a CAN bus Wideband.
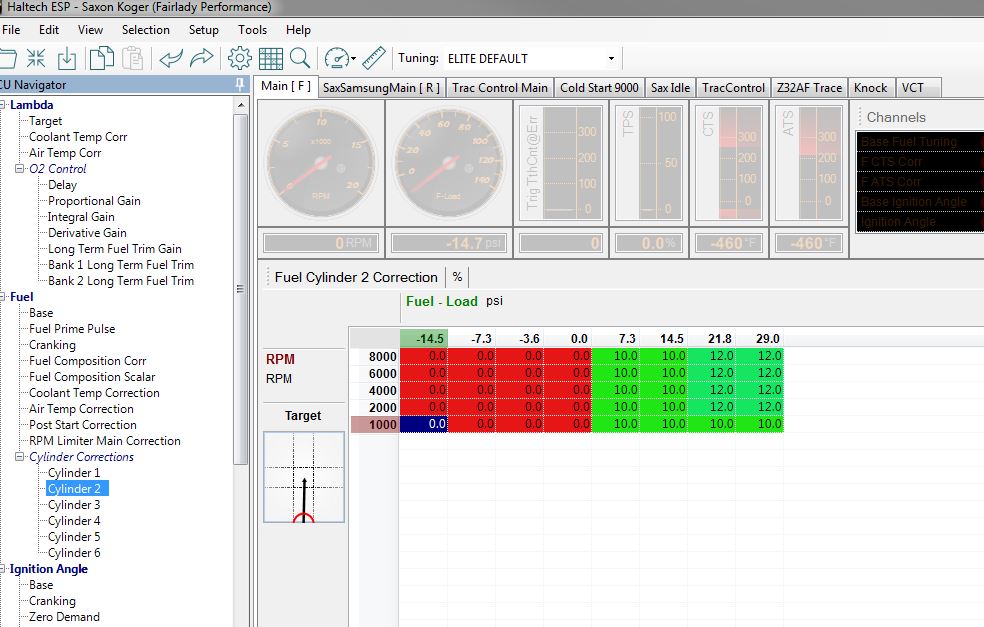
A/F Ratio Discrepancy Between Banks – For whatever reason my Z had a difference in A/F readings between the banks. I fixed this in my basemap by adjusting the fuel on cylinders 2,4 and 6. You will probably need to make adjustments to this if using my basemap for E85.
Primary Fuel Table and Scaling with E85 – A common trend that I have seen with tuners when approaching the fuel table part of an E85 car is to first tune for 93 and then use scalars to run E85. The scalar tables in the Elite offer much lower resolution than the primary table. It makes way more sense to me to do your primary tuning with the fuel that will be most commonly used. In my case that is E85. My main map is setup on E85 and then I will use scalars to remove boost, remove ignition timing and clean up the A/F on 93 octane. I will also not spend much time on this at all. The 93 tune will be a limp mode for me that just lets me safely drive the car to get more E85.
Updating
There will undoubtedly be revisions to this and members who point out better ways of doing things. The download link at the bottom of this page will remain static but as I get more information and additional tunes I will continue to update the files on the server so that when you download the instructions they will be current. Also if you have questions please feel free to email me and I will do my best to help out.
Files Explained
Name of the enclosed files and their purpose: 300zx Wiring Diagram – OEM ECU Pinout (JPG / PDF)
ECCS – OEM ECCS Diagram
Elite + 300ZX Pinout – Excel sheet mapping the pins of function of the Elite and the Z ECU. Template if someone wanted to make their own diagram
Elite 2500 Wiring – Haltech wiring diagram provided by Haltech
Elite v1 – My unfished E85 base map
Elite Default – Haltechs Z32 base map
Elite Wiring Guide – Excel sheet showing how the patch harness is to be constructed
Download
Clicky Clicky
|


 How To | Haltech Elite 2500 installation -