| What will be needed: Jack or Lift
Jack Stands
Socket wrench
Tin Snips
Box End Wrench/Combination Wrench
What included in the set:
2 - Brackets ( Left and Right )
4 - Washers
4 - Bolts
4 - locking nuts
1 - Set of Rotors ( Optional )
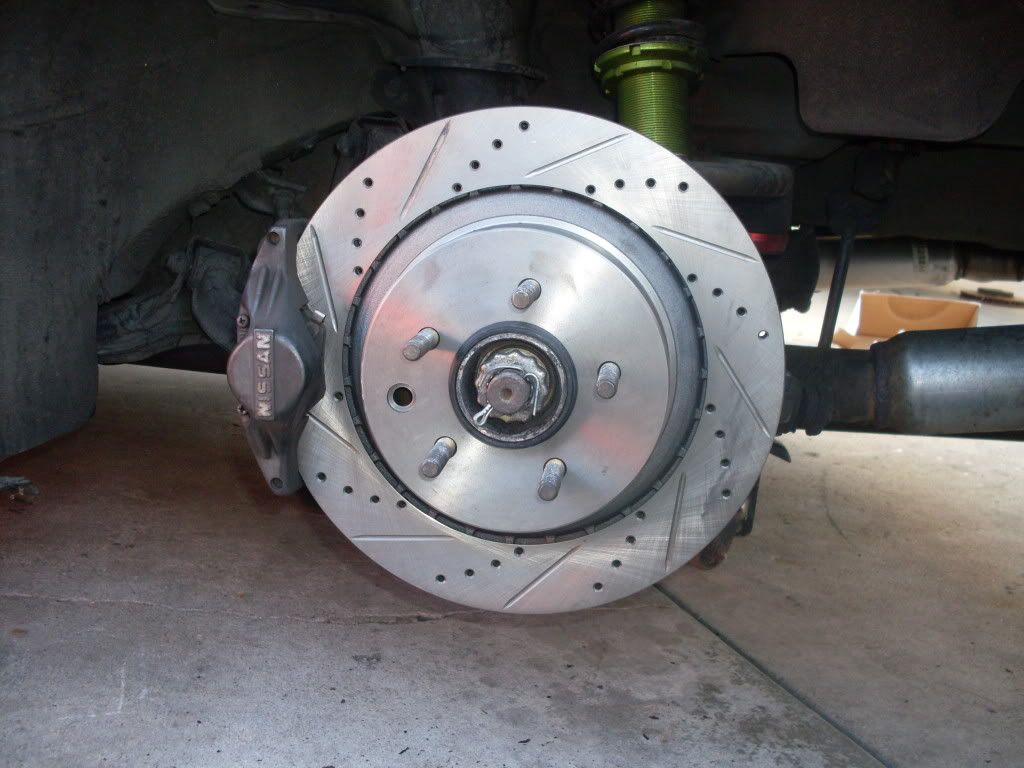
THE PHOTOS USED ON THIS INSTALL ARE ALL DONE ON THE DRIVER-SIDE!
Step 1:
If you are not using a impact gun to remove wheels, break lug nuts free. Step 2:
Jack up rear of car ( make sure you put wheel chocks on the fronts), and install jack stands.
Step 3:
Remove Rear Wheels
Step 4:
Remove Factory caliper ( 2 - 14mm bolts ) We used Ratcheting style wrenches. Once removed do not allow the caliper to hang by the brake line. Secure it with a ziptie or something similar.
 Step 5:
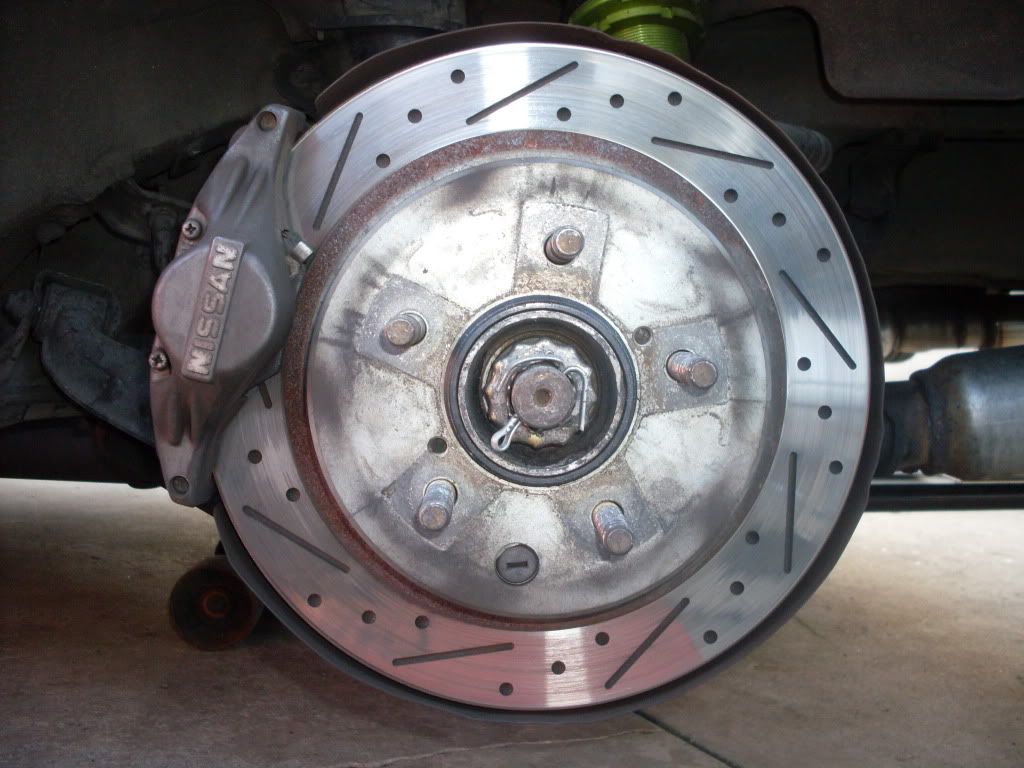
If handbrake is on, place in the lowered position. Remove rear Rotor.
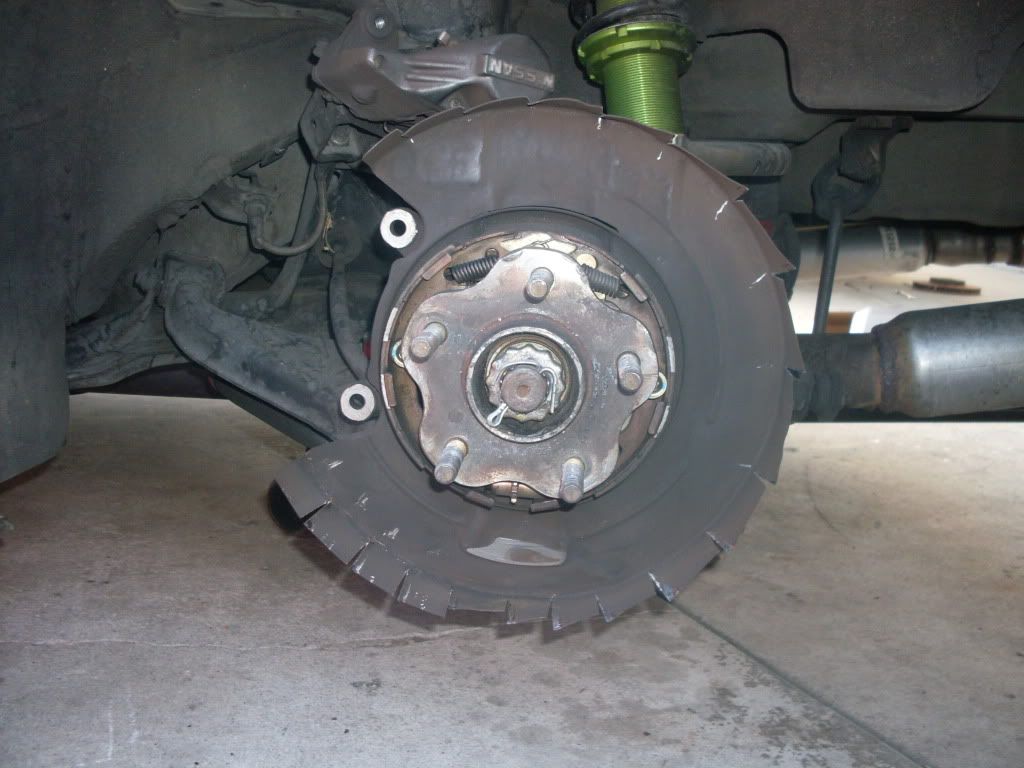
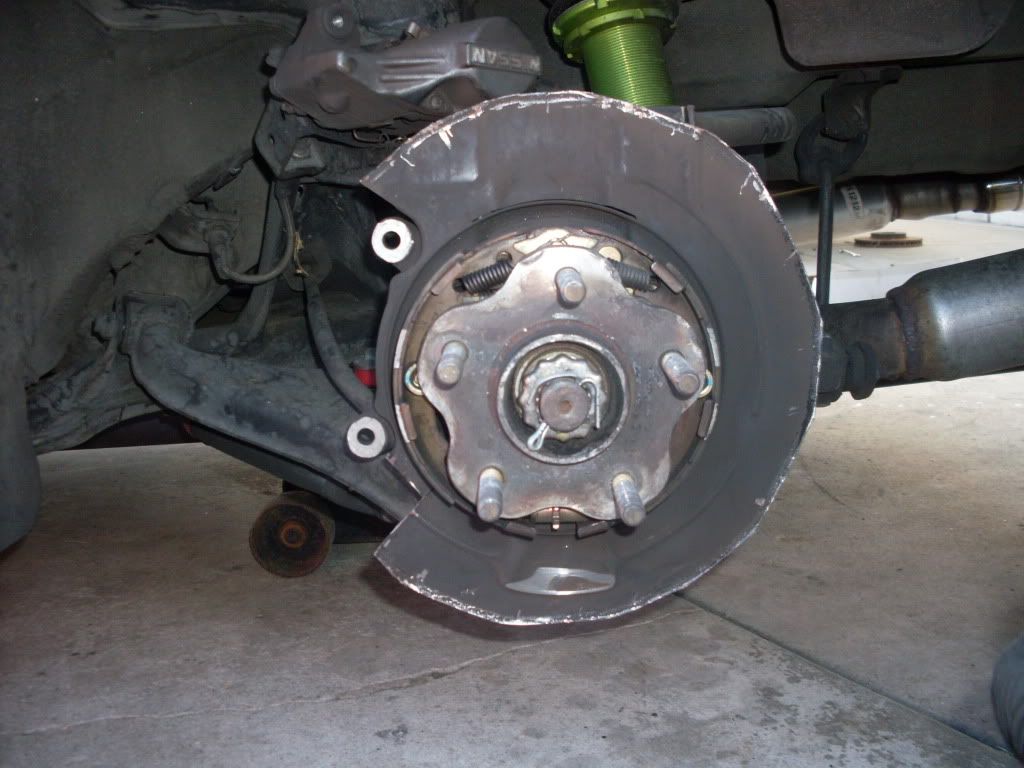
 Step 6:
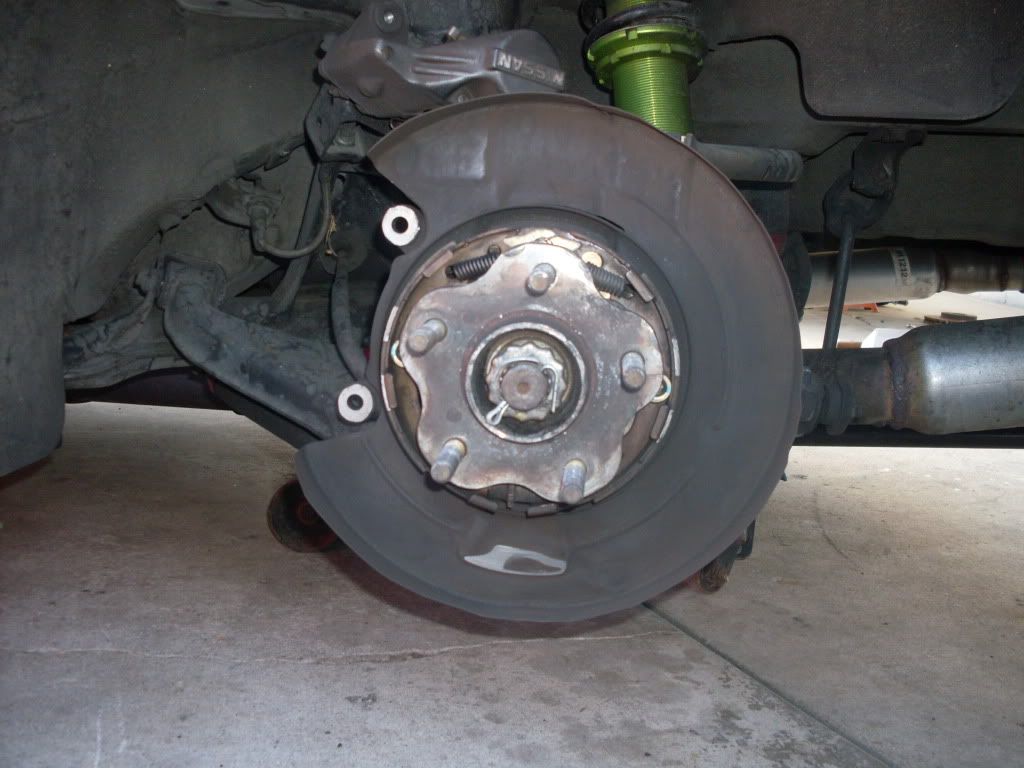
Use Tin Snips to place slits along the rim of heat shield. You want to remove just the below the original fold/bend. Also need to remove and extra bit (1.5") right below the factory bolt whole all the way to the base of the heat shield.
( Hint/tricks: Would be a good time to adjust your Handbrake shoes )
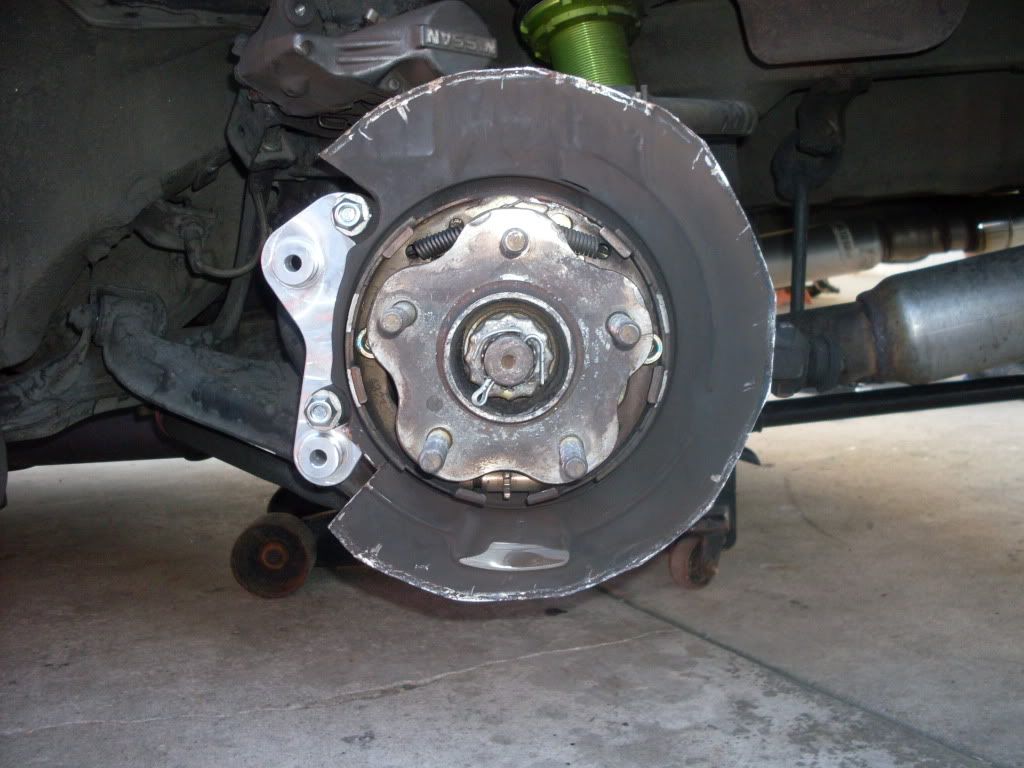
 Step 7:
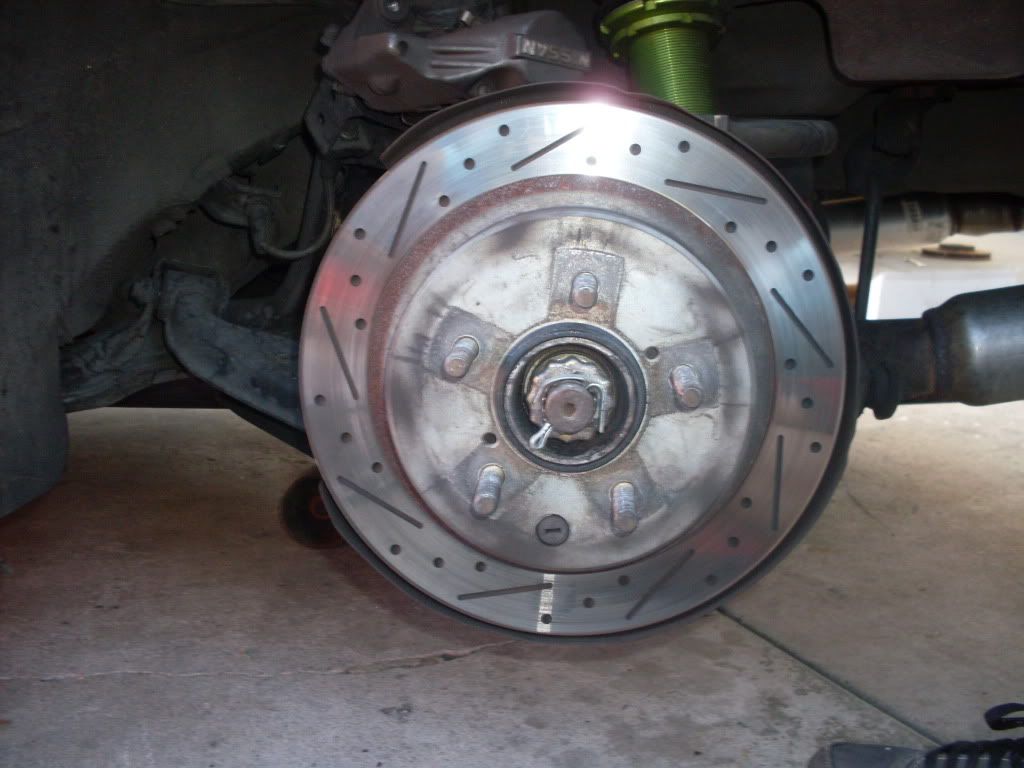
Grab Driver -Side Brake ( Pictured ) and 2 bolts, 2 washers and 2 locking nuts. Install bracket as shown and torque down to 29-38 Ft-lbs
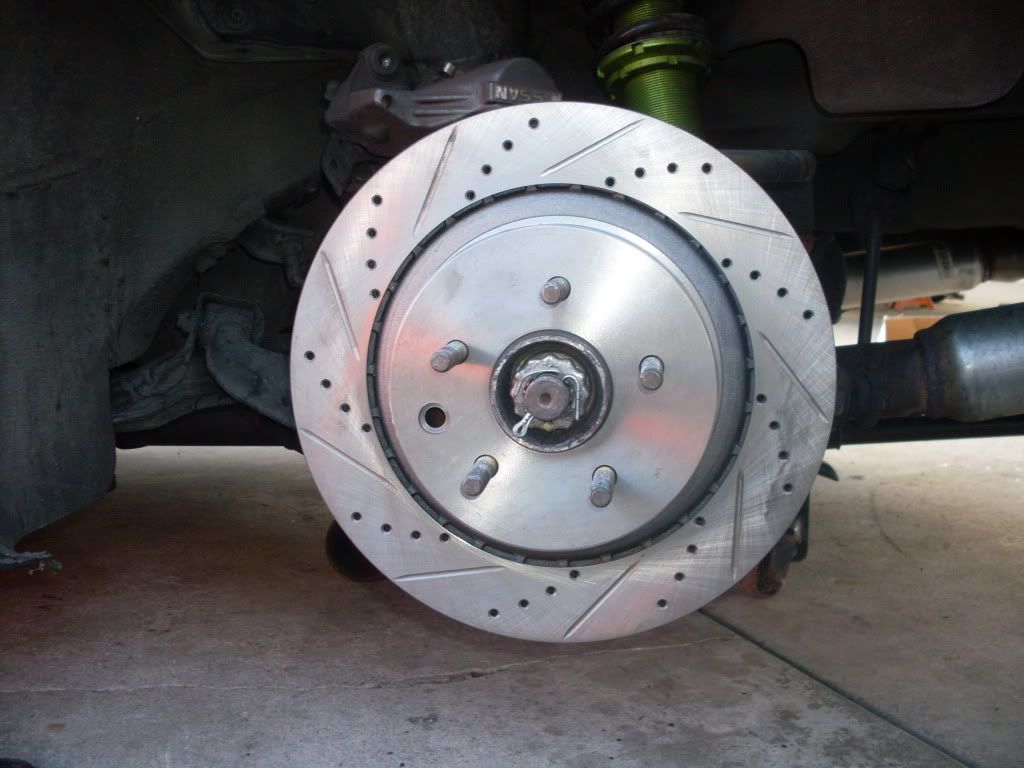
 Step 8:
Install Driver-Side Rotor ( Check to make sure the heat shield is not touching the rotor )
Step 9:
Install factory Caliper Torque down to 29-38ft-lbs ( Hints/Trick: May make it easier to install factory Caliper if you use a lug nut or 2 to hold the rotor flush )
Step 10:
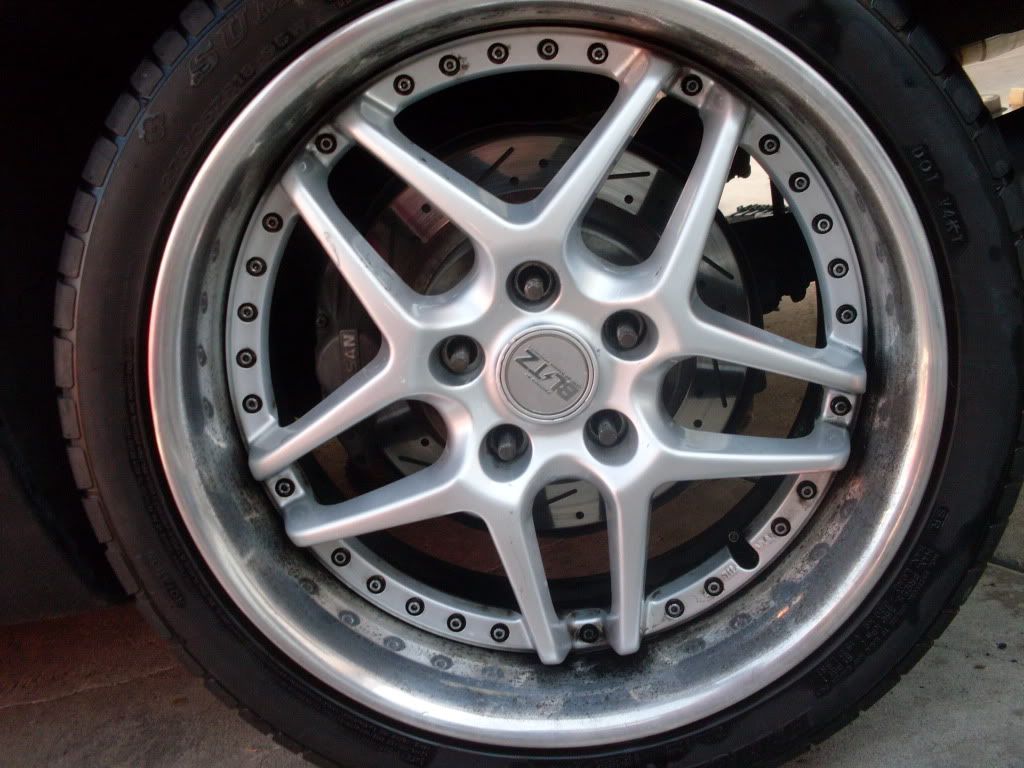
Install wheel, Torque to 72 -87 ft-lbs
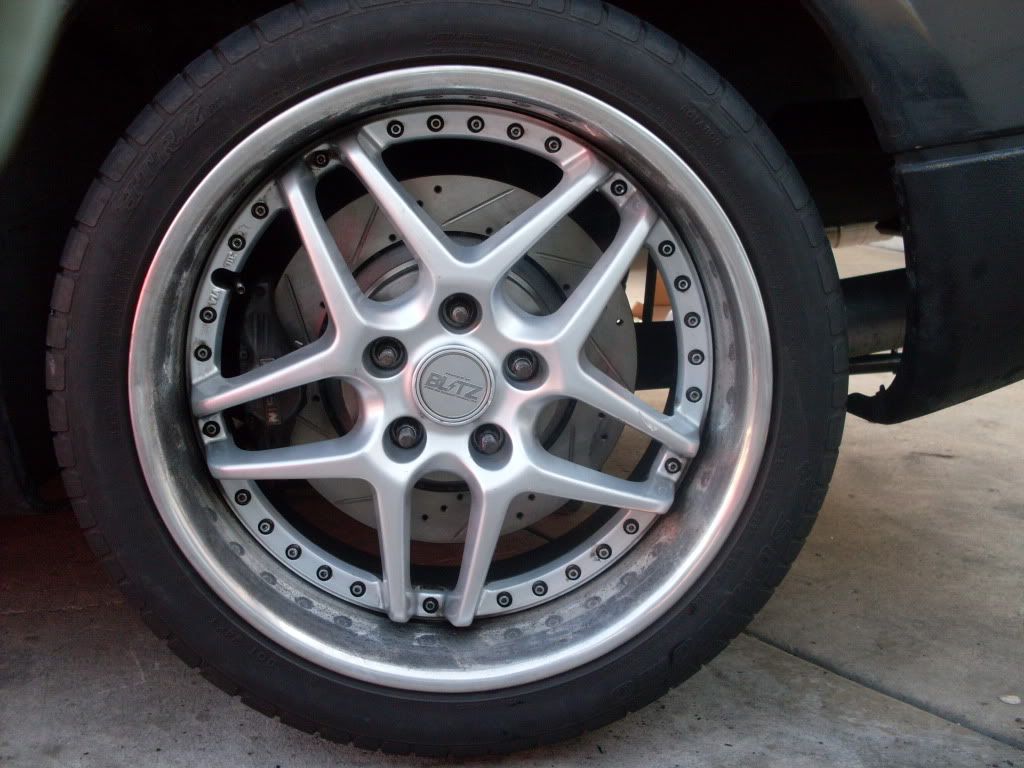 REPEAT ON PASSENGER-SIDE Step 11:
Bed the new brakes Step 12:
ENJOY!!!
Hope this helps with your install as we did not identify a driver and passenger side on the bracket.

http://www.facebook.com/RoyaltyPerformanceParts
|


 How To: Royalty Performace 330MM Brake Install Guide -