Switched Injector voltage MOD in 1, 2, 3.
This is a very easy mod to add switched voltage to the injectors in 1990-1994
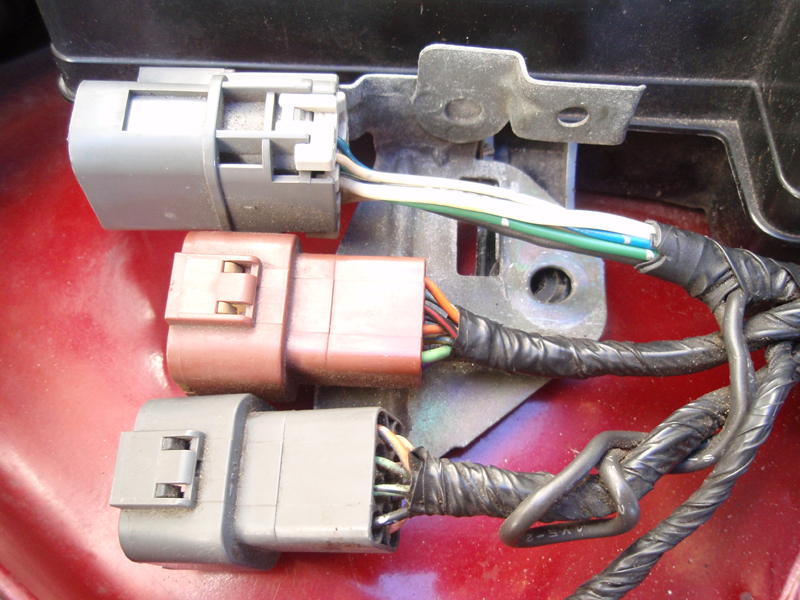
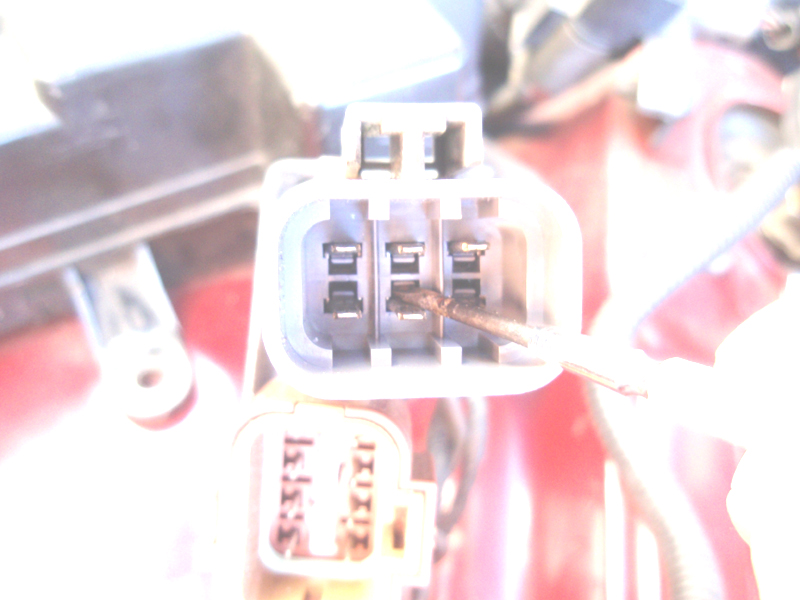
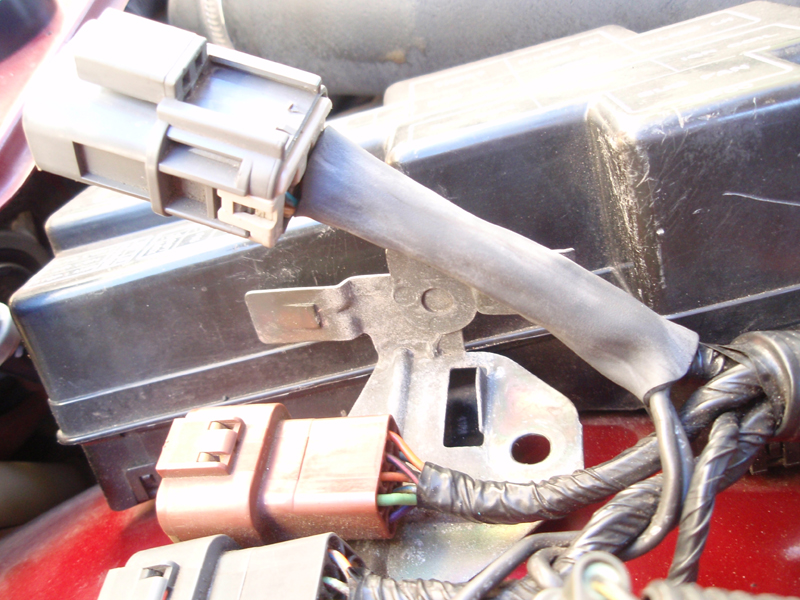
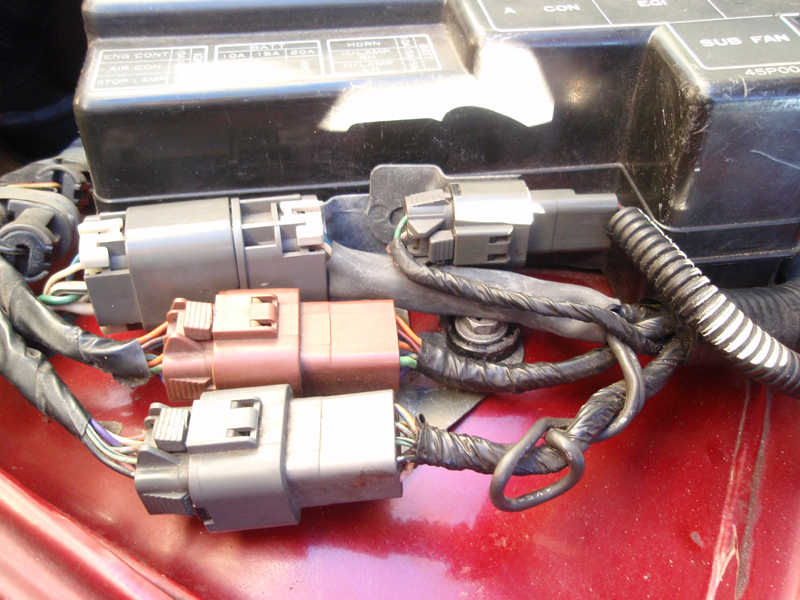
Zs. The connector centered around this modification is connector E10. It's
the large grey connector located in the engine bay next to the large realy/fuse
box. I'm going to show two ways to do this mod. First, the longer detailed
way and then the short easy way.
Warning! Disconnect the negative side of your battery
first.

Disconnect the connectors and remove the small connector which goes to the
shock actuator.

Unbolt the bracket which holds the connectors.

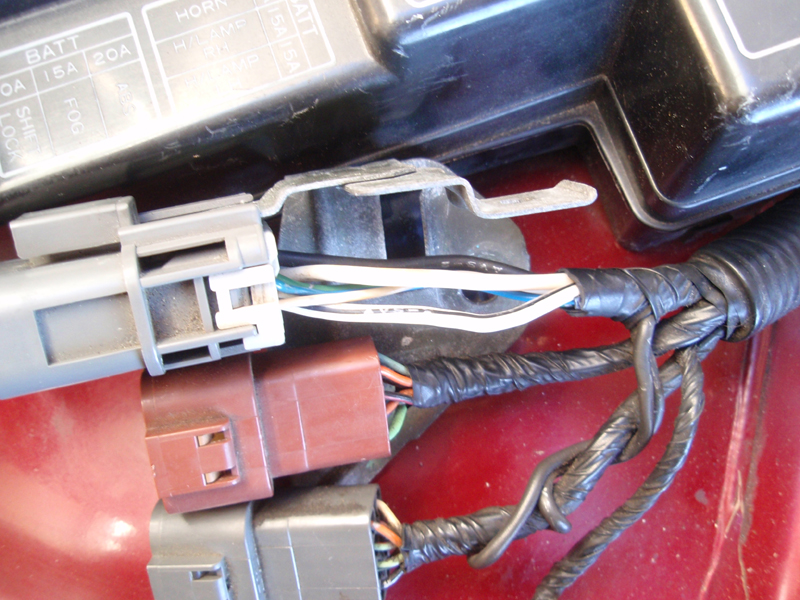
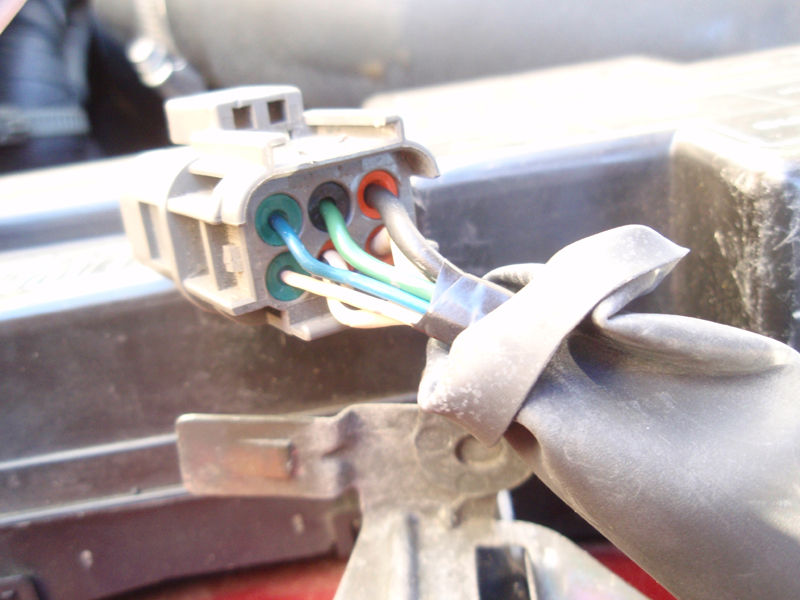
Cut off the outer wire wrap to the wire which goes to the E10 connector just
before where it branches into the harness.
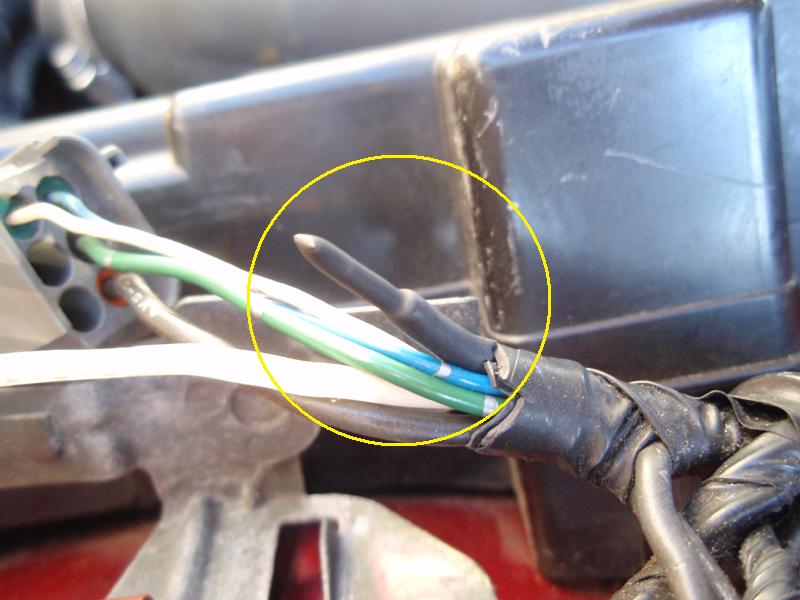
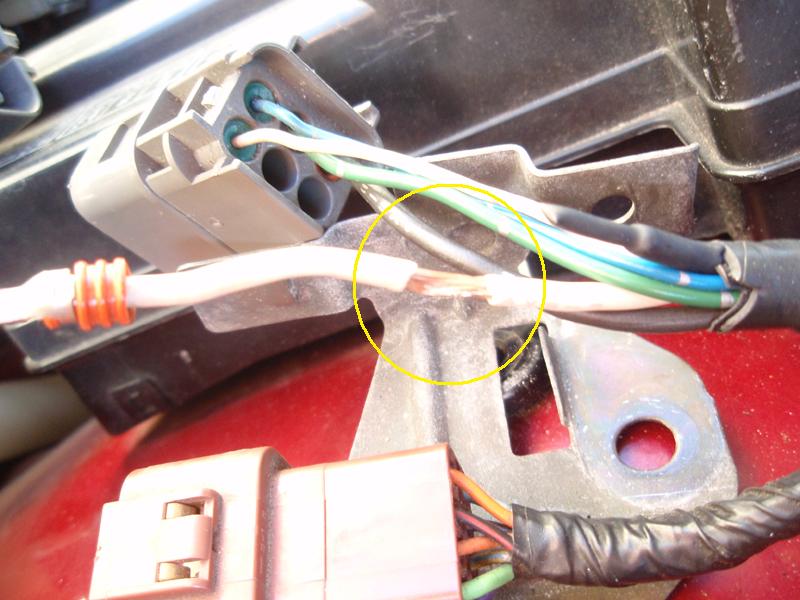
The two wires we are going to be concerned with are the large white wire
and the large white wire with the black stripe. Except for the black wire,
all the other wires are a smaller size.
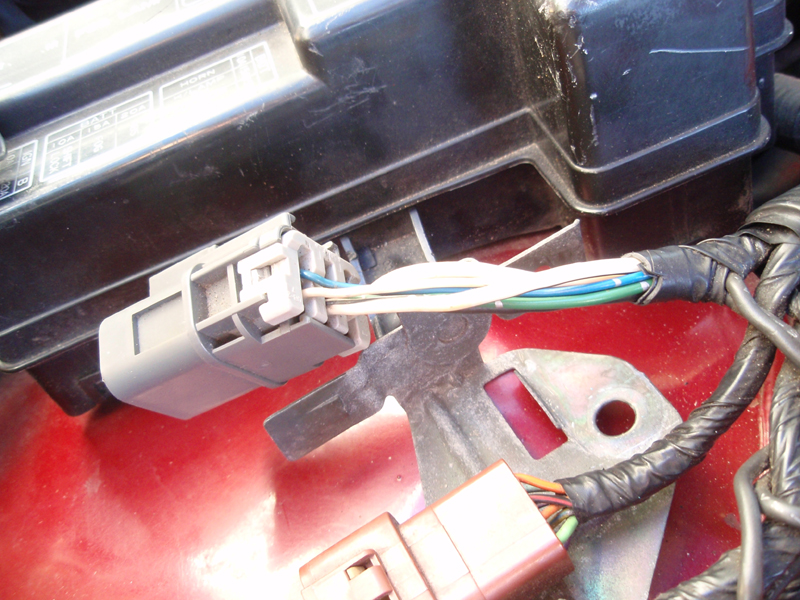
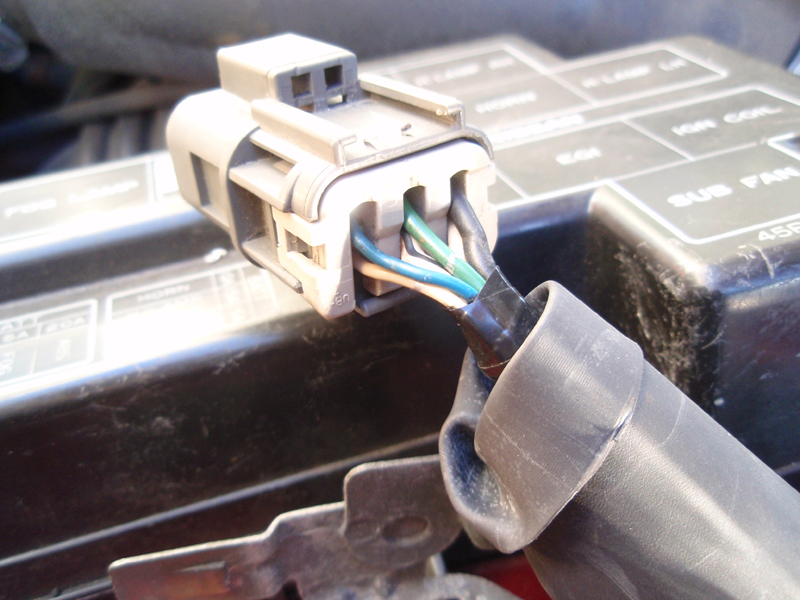
Remove the connector from the bracket and remove the snap on wire guide at
the back of the connector.
The next thing you want to do is de-pin all the pins. This only needs to
be done if you are planning on placing a large tube of heatshrink over the
wires after all is done. To de-pin this connector is very easy. Here you can
see the tabs that hold the terminals in the connector.
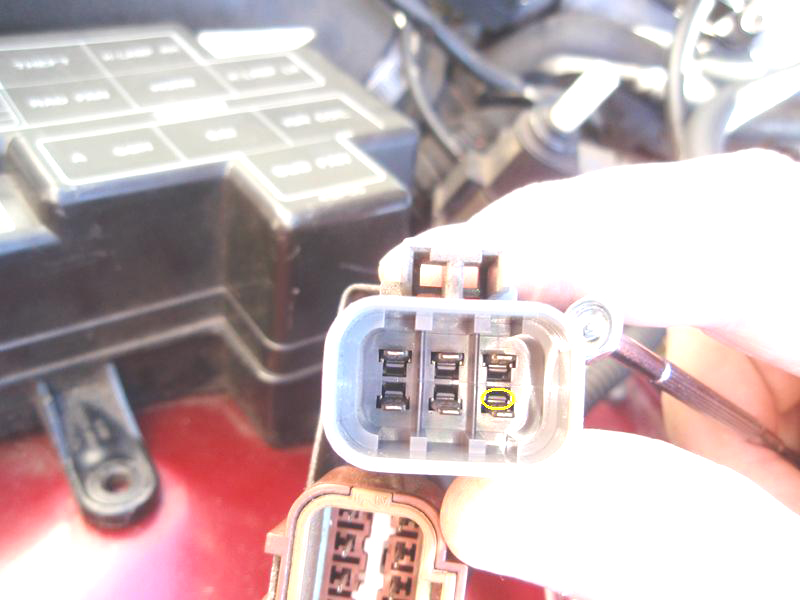
Using a small screwdriver, lift up on the tab while you pull the wire from
the back.
Next you want to cut away the white wire with the black stripe.

Now you want to cap off that end that's going into the harness.
Now you want to cut away some of the insulation from the end of the wire
you cut out.
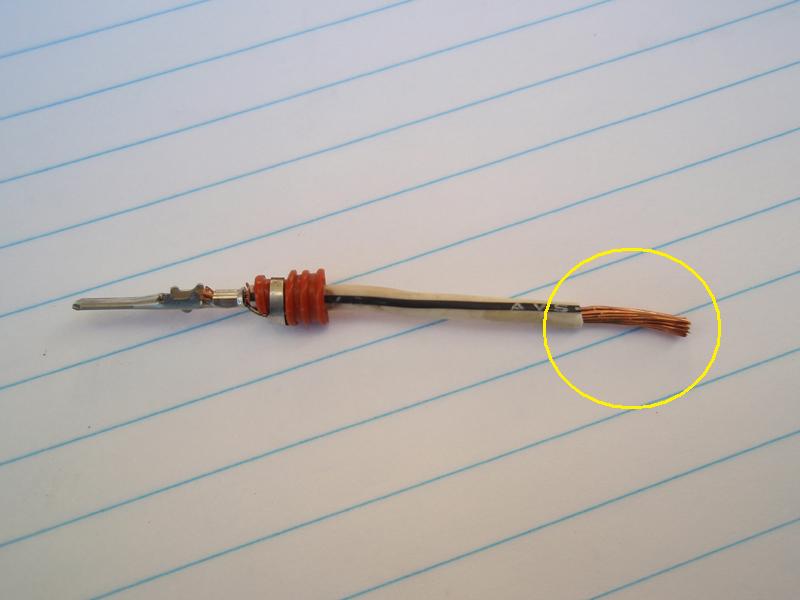
Then hold it up to the white wire so you will know where to remove a piece
of insulation from it too.
After you remove the insulation from it, it should look like this.
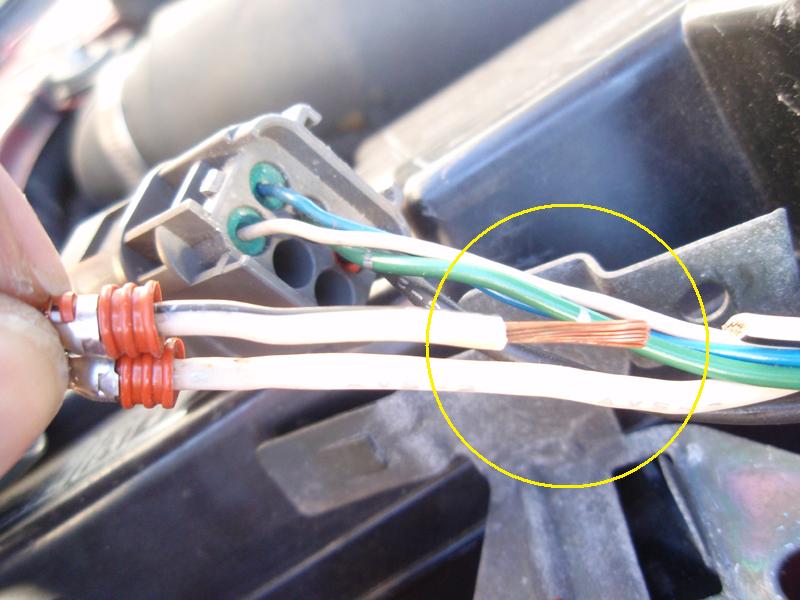
Solder the end of the wire you cut out to this point.
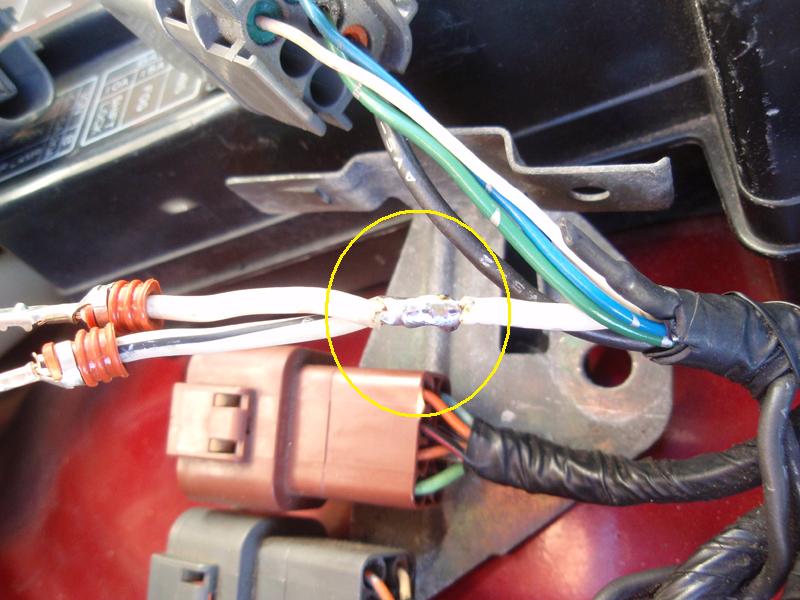
Tape the area up with electrical tape.
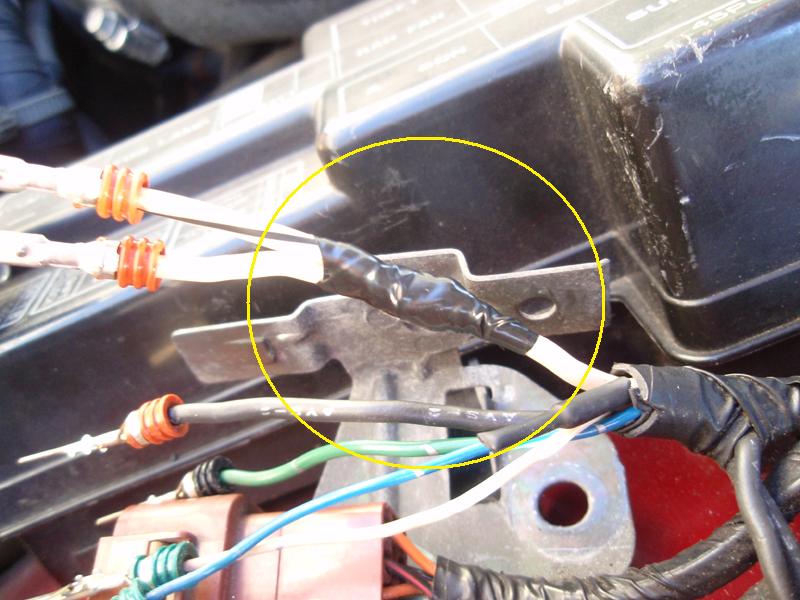
Making sure to position the wires how they would line up to go back into
the connector, use electrical tape and tape up the harness. If you have a
large piece of heatshrink, cut it to length and slide it over everything.
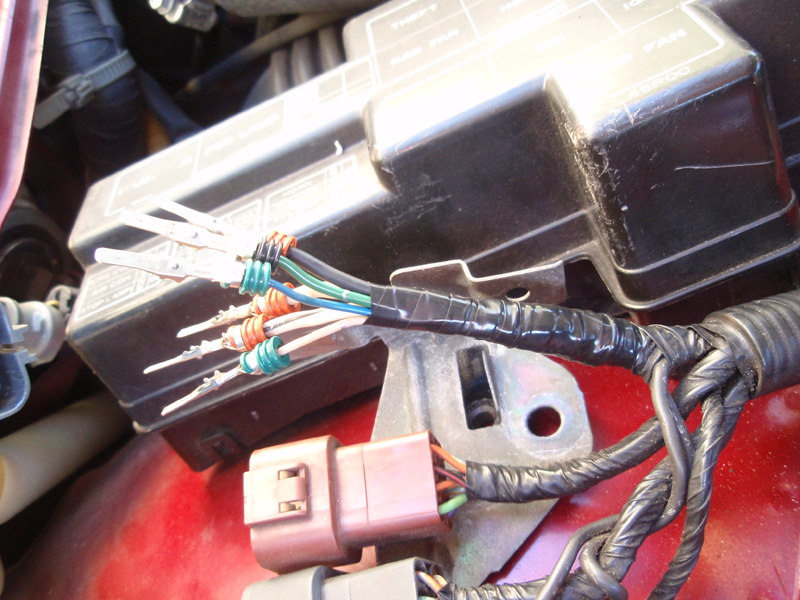
Place all the terminals back into the connector.
Put the snap on wire guide back into place.
Heatshrink the large piece of heatshrink into place.
Now put it all back together.
This concludes the detailed long way to do it.
++++++++++++++++++++++++++++++++++++
Now the easy way.
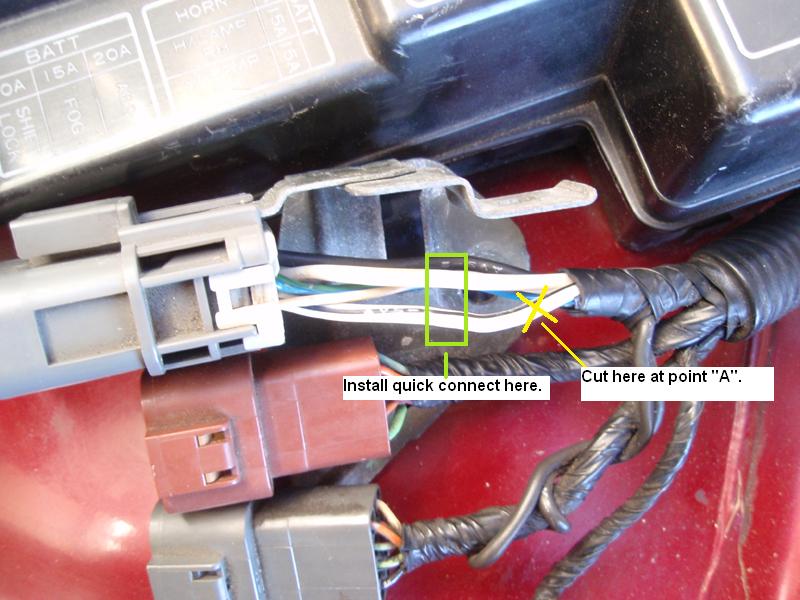
Using the steps above, get to this point.
Without de-pining any wires or removing any connectors from the bracket,
cut the white wire with the black stripe at point "A". Be sure to
cap off the end which goes into the harness. Use a quick connects wire splicer
to connect both the large white wire and the large white wire with black stripe.
You will now have switched voltage to the injectors. That's it!


 Switch injector voltage mod in 1, 2, 3. -