| I purchased these LED bulbs from the following vendor. They are called NeoWedge series LED Lamps. The price is $1.25 per lamp and $5.00 for shipping. To replace the lamps in the left and right control pods and the lamps along the bottom of the gauge cluster which are used for back lighting you will need a total of 12 lamps. Vendor website.
[ http://www.superbrightleds.com/instrument.html ] The three sizes they sell are the three sizes we need. They come in different colors. I bought the white LED lamps. Sizes.
3mm NEO3-x
4mm NEO4-x
5mm NEO5-x Picture.
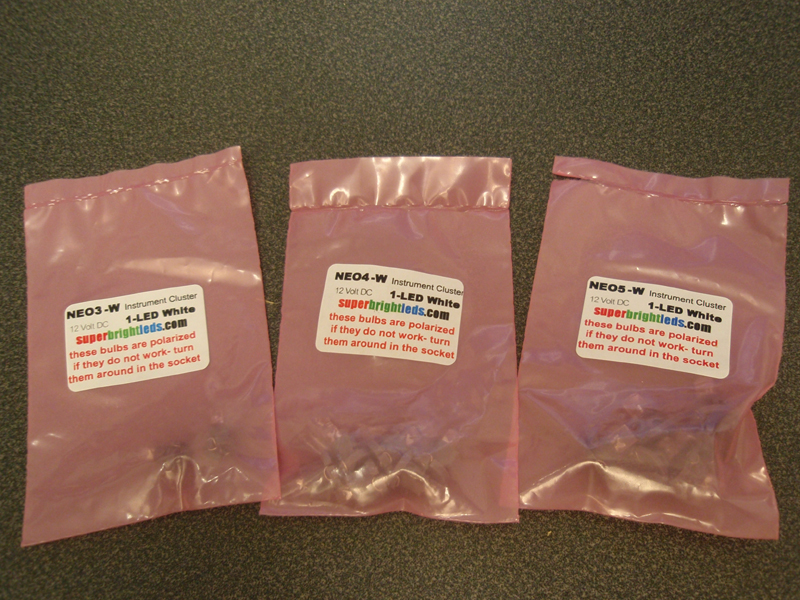 These are the amount and sizes you will need in order to replace the OEM lamps.
1 - 3mm NEO3-x lamps.
5 - 4mm NEO4-x lamps.
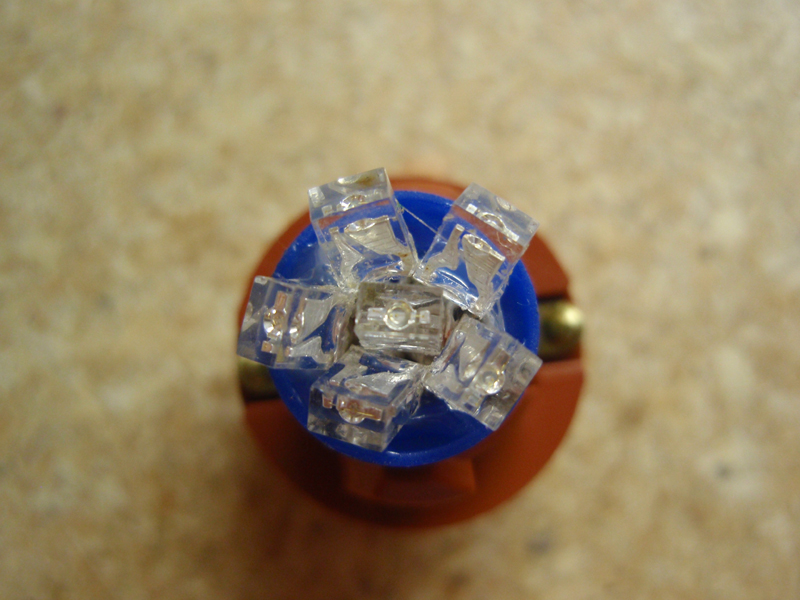
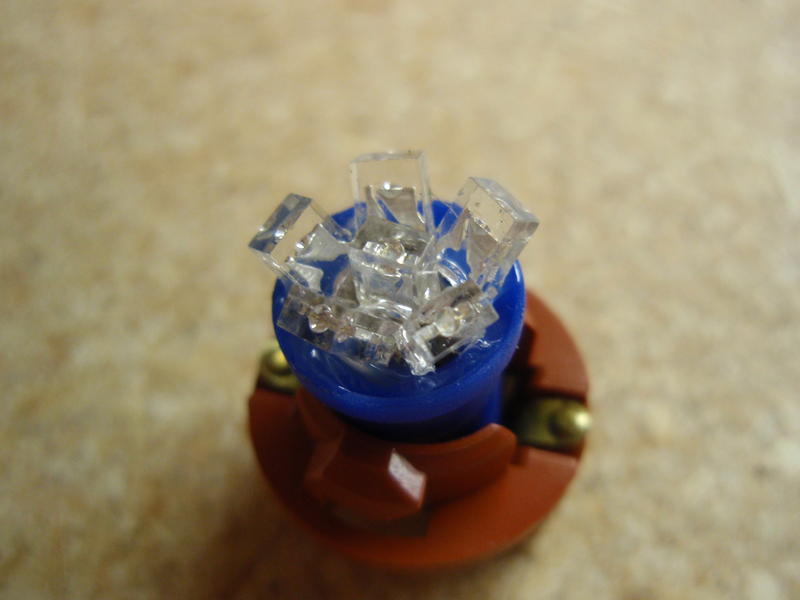
6 - 5mm NEO5-x lamps. The 5 main multi-angle gauge cluster lamps which have minimal hot spots can be bought from this Ebay Seller. [ http://www.bl-led.com.au ] Here is a picture of the multi-angle lamp.
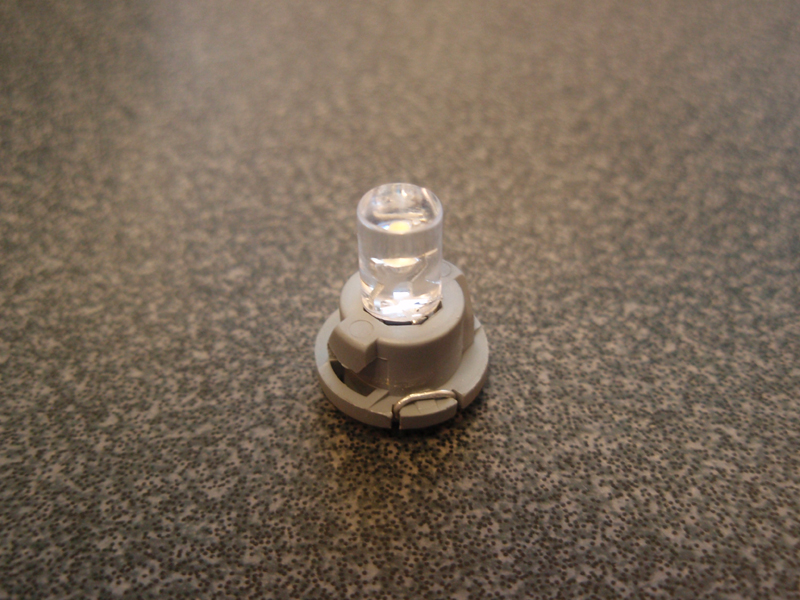
On to the install. Please read this through before doing any installation of the LED lamps. After receiving the lamps I found that the one small lamp and the large lamp plastic holders were a little different than the OEM lamps and would not work as a direct replacement. However, with little effort you can still use the LEDs with the OEM plastic lamp holders. For my example I used the large 5mm NEO5-x lamp. The 5 middle size lamps will work fine but please read this through before trying to install them. Here is a 5mm NEO5-x lamp.
 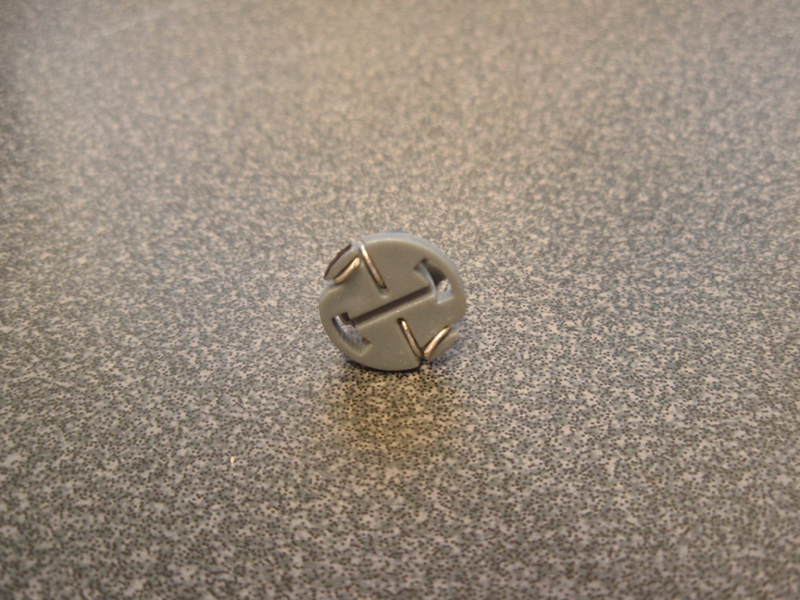
Take the LED wire leads and unwrap them from the plastic holder and use a pair of long nose pliers to straighten the leads out.
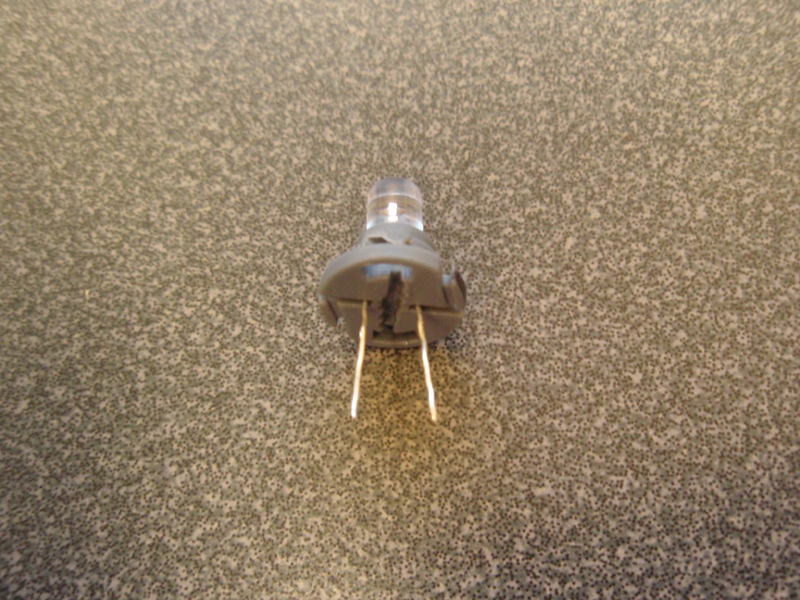 Carefully pull the LED out of the holder. The LED has a resistor and diode soldered between the leads. It is a simple 5 volt zener diode configuration to keep the 12 volts from the battery regulated at 5 volts on the LED. The resistor.
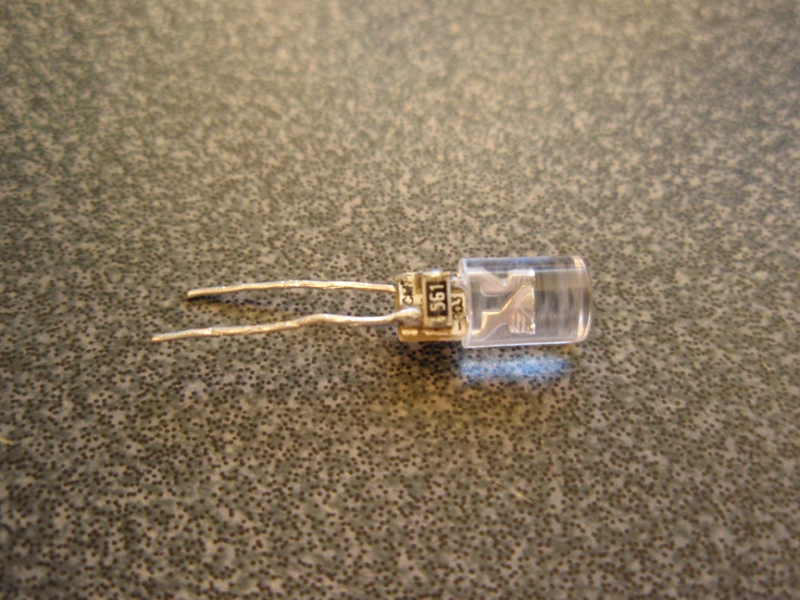 The diode.
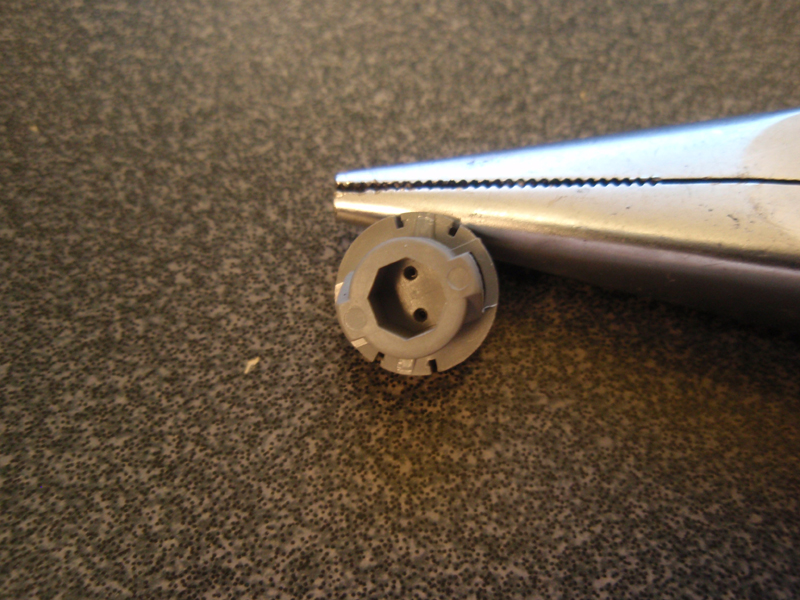
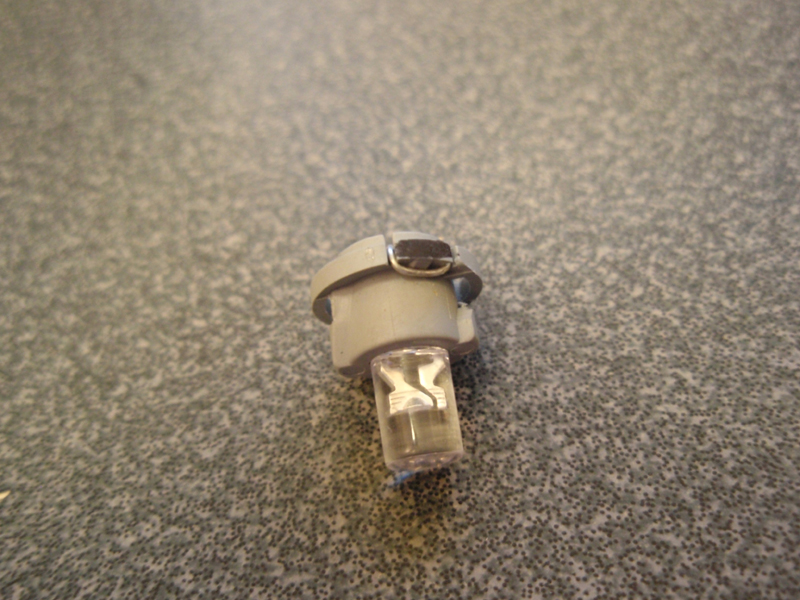
 Now remove the lamp from the OEM plastic holder in the same manor you did with the LED. Insert the LED leads into the OEM holder by feeding the LED leads through the two small holes in the bottom of the plastic holder.
It doesn't matter which lead goes into which hole. Here is a picture of the two small holes as you see them by looking into the bottom of the empty OEM plastic holder.
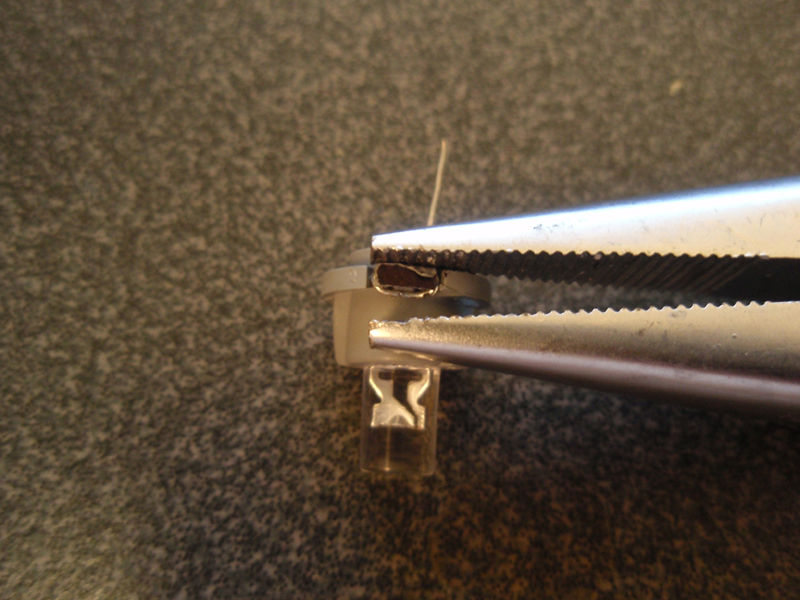
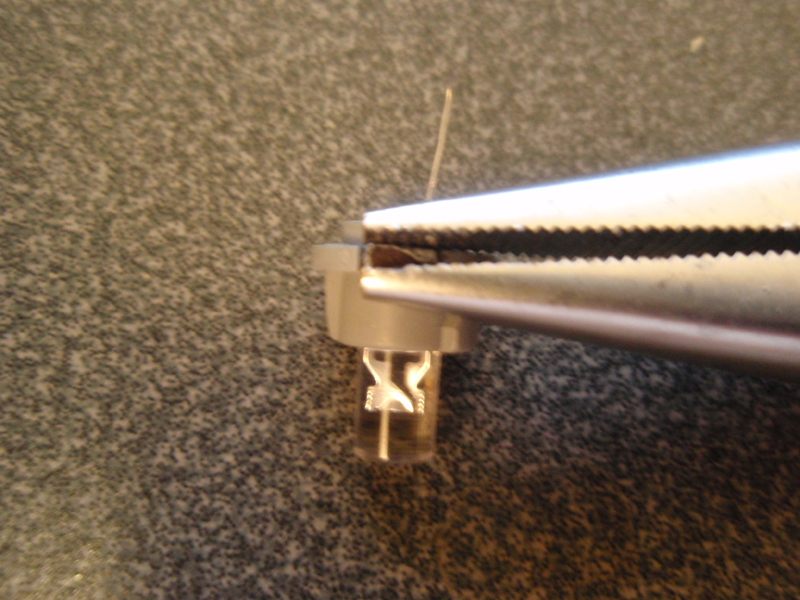
 Wrap the leads around and place them into the channels as they were before. Because these leads are a little larger than the leads of the OEM lamps you will need to squeeze them a little with a pair of long nose pliers as in the pictures below. Only squeeze them enough to help flatten them out. This will allow them to fit much easier when you install them into their locations. You will also need to do this with the five 4mm NEO4-x lamps so they too will install easily.
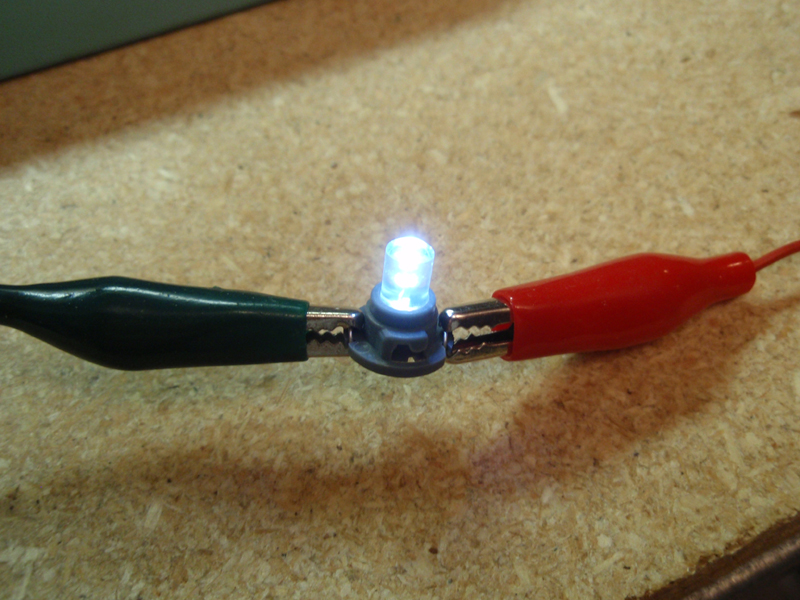
Now that you have prepared the LED lamps for install you need to determine which side is +12 vdc. An easy way to do this is to get a 9 vdc battery and two pieces of wire. Tape one end of each wire to the battery terminals. Touch the ends of the wires to the two leads of the LED. It will not hurt if the polarity is not correct. The zener diode part of the LED will protect the LED from damage. In my picture I used alligator clipped wires and a variable power supply.
 Once you have identified which side is positive use a sharpie marker to mark positive as I did in the picture below.
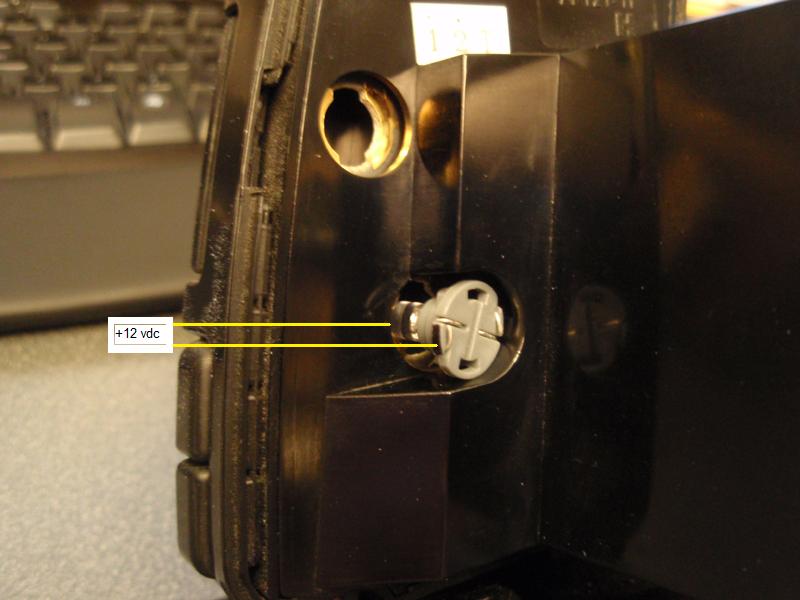
 Here is a picture of the back of the pods with the lamps removed. I have marked the positive side of the lamp socket locations.
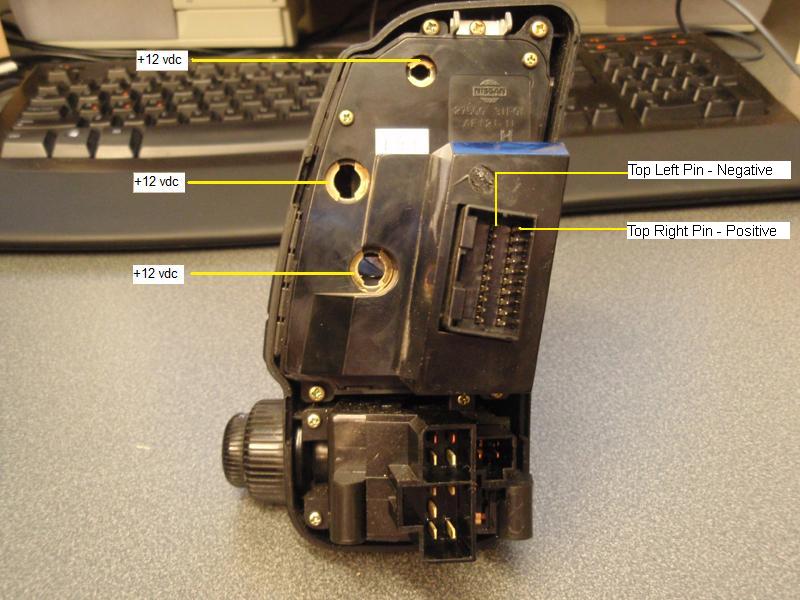 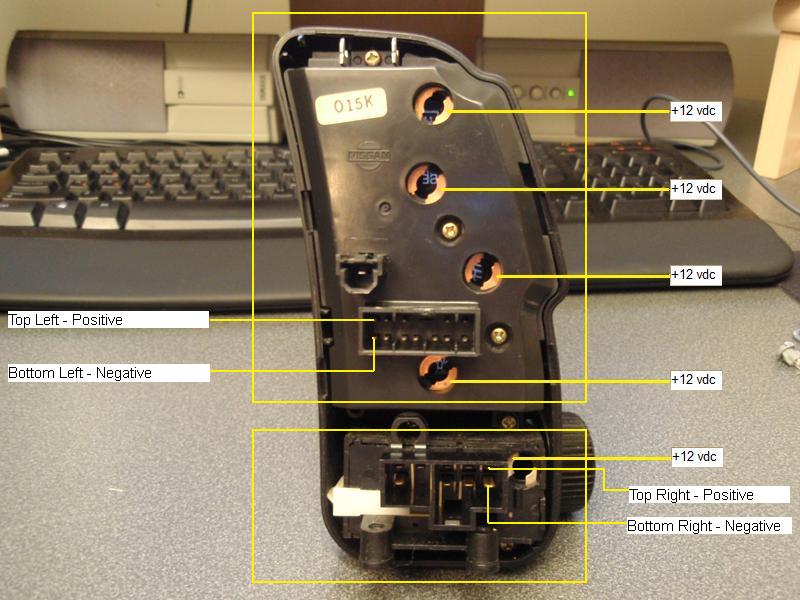
When you place the lamp into the location put the marked side facing the positive side as shown in this picture.
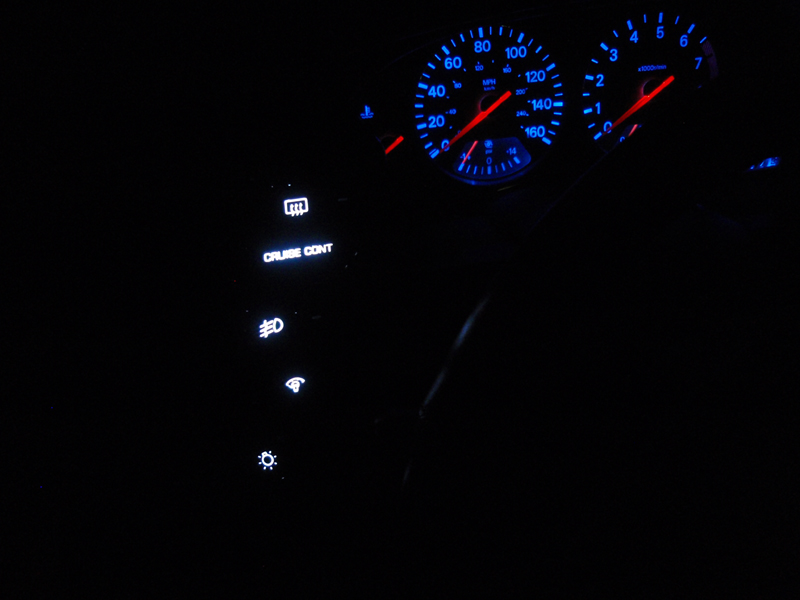
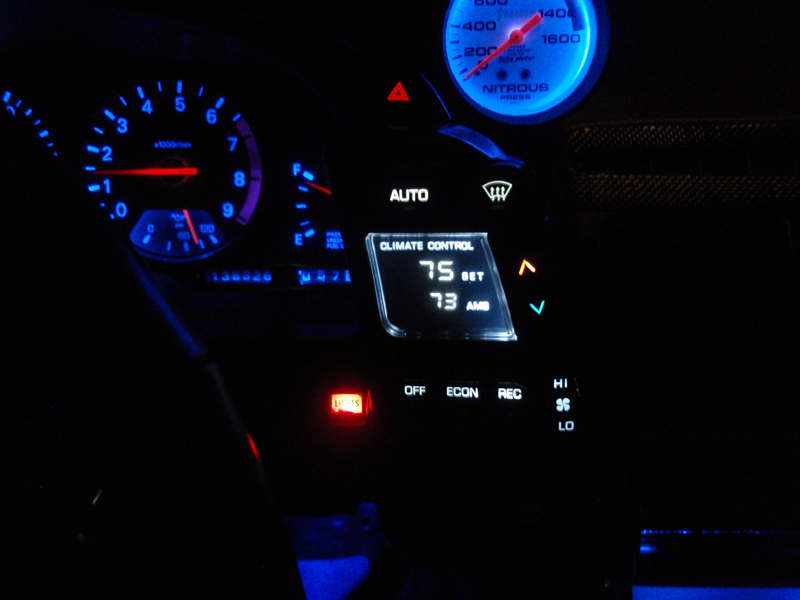
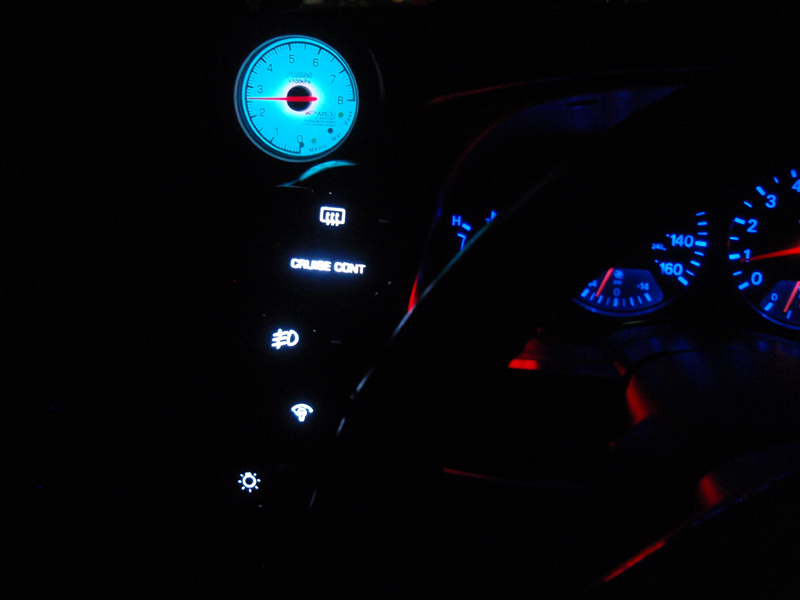
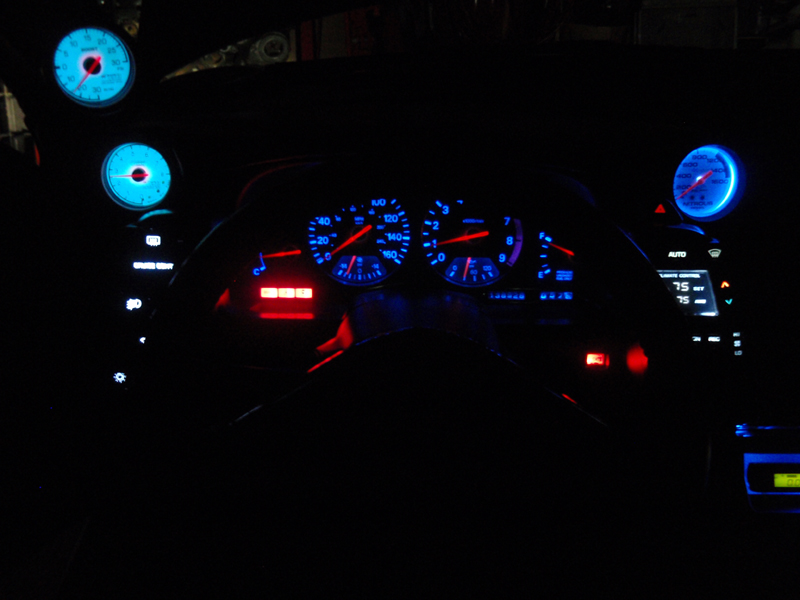
 Before mounting the pods back into place, turn on the lights and check that all lamps light. If any do not light you may have the lamp reversed. Remove the non-lit lamp, rotate it and then reinstall it. Check again and all should be good. Here are a couple of pictures with the LED lamps installed. No OEM lamp pictures because the OEM lamps were so dim I could not get a good picture of them.

Good luck and I hope your LED lamp replacement goes well.
 (Total Mouse Over Hits: a Lot) www.mytwinturbo.com Watch an ECZA meet caravan! Watch a DVDBURN video!
|


 How to replace the OEM control pod lamps with LED lamps. -