| The Z32 is a giant killer, capable of high hp numbers and respectable 1/4 times as well as track times to boot. But the Z32 does suffer from one fatal flaw, it's overall weight. By eliminating weight overall in the Z, the potential for quicker speeds and better response can be realized. The popular equation, which I believe is a loose one to say the least; states that for every 100lbs you eliminate, you gain 10hp. This obviously does not translate to dyno numbers directly in most cases, hence why it's more of a general guestimation as opposed to an actual measurable value. Rather you will see the bulk of your gains in general response and times, such as reduction in time attack lap times or 1/4 mile times as a whole. Important note - As you progress on and begin to eliminate weight, it is important to learn to balance out your vehicle from front to rear. The Z32 is a tad front heavy, and should be done by every Z owner to get a baseline on his/her own vehicle when available. This can be done by utilizing a weight station, usually found at race tracks, to give you an idea of where you stand. The attempt here is to balance the vehicle, not just go all out cutting weight from everywhere. These values discussed will vary due to variations in the vehicles: such as platform of vehicle (2+2, 2 seater, T-top, Slicktop, Convertible, TT vs NA), custom speaker systems, different wheel weights, brake setups, body kits and so forth making cutting weight across the board an individual thing. This FAQ is only designed to give you inspiration on when/where to cut weight. This is the basic entry point. A big thanks to Honad of NICO, Unrulyz (TT.net member), Charles Parks (Powertrix) and Zlab for some great info out there (and whoever else I forgot to mention) that I used to plug this all together. Cautionary note - Cutting weight can get involved and can sometimes mean removing systems that border on the line of legality. Know your local laws and inspection rules before attempting any bypasses/eliminations. ** The basic simple things **** These items are more universal across the board, allowing for almost all years/models to take advantage. Some folks will just eliminate these all together as a beginning stage to eventually cutting much more weight down the road, but most start with these. The choice at this point is up to you and your personal goals of your Z32 in the long run.
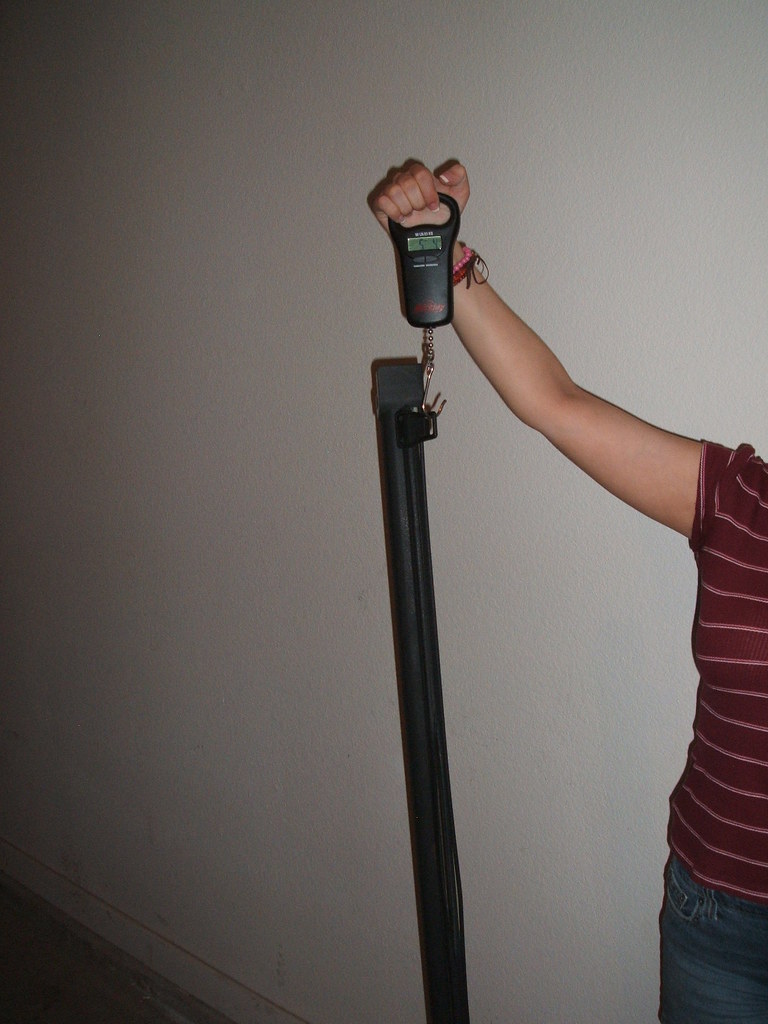
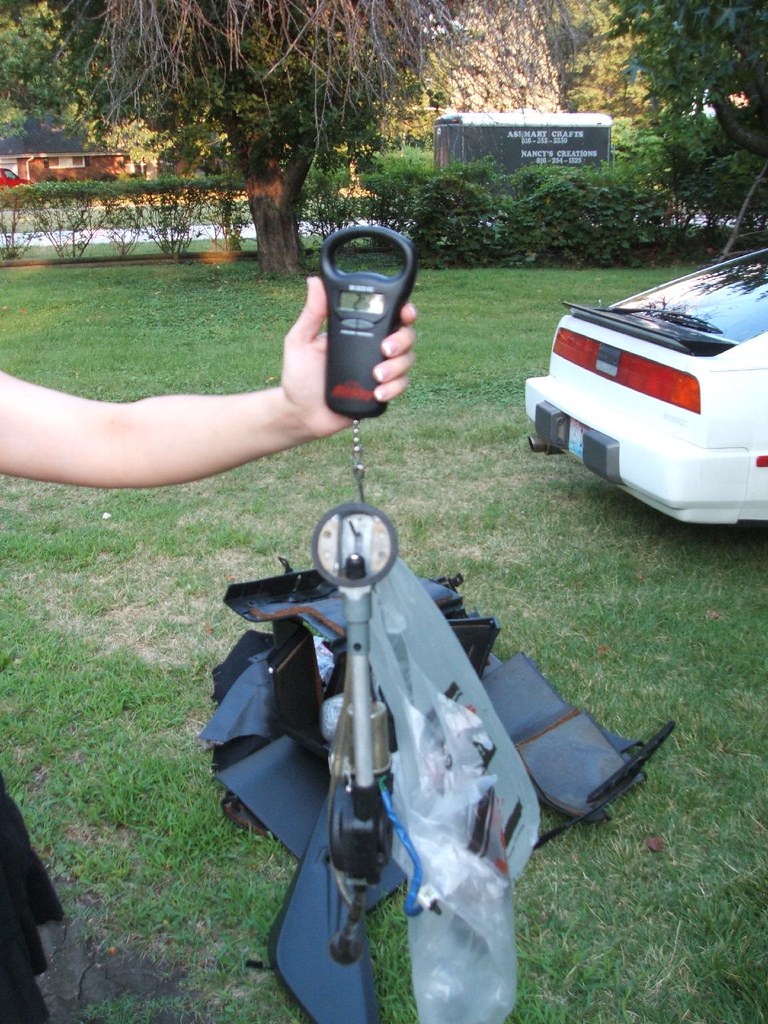
1) Spare tire (32.8), inflator can (1.5), Jack (3.8), straps (.06) and wheel chucks (.11 ounces).
-Eliminating these leaves you without a spare and access to jack up a car. Some folks will constantly run without these since they step up to larger rims, thus making the spare useless after going to much larger width rims. The choice again is yours.
 *Pic courtesy of Honad (NICO member) *Pic courtesy of Honad (NICO member)
Total assembly weight = 38.27 lbs (rear area weight)
2) Cargo cover
-This item covers the rear of the vehicle and attach to the hatch to cover any personal belongings or expensive stereo equipment.
Total assembly weight = 5.4 lbs (rear weight area)
 *Pic courtesy of Honad *Pic courtesy of Honad 3) Headlight aimers
-This item sits right behind the driver side seat under the liftable plastic pan. These items allow you to aim the headlights after misalignment. Personally, this item can simply be left at home at all times. Total assembly- 1.7lbs (rear weight area)

*Pic courtesy of Honad 4) Mudflaps (stock)
-Removing the mudflaps from all four corners is fairly easy. It does not come in at much weight, but again we are shooting for an overall goal so cutting weight from everywhere adds to a total goal. Total assemby weight - 1.8 lbs (front and rear weight) 5) 6 Disk changer and associated wiring/hardware
-This is a little more involved to remove. If you Z came with this item it is a great place to remove weight on an antiquated piece that is now outdated. Technology actually helped us out in that Ipod and multiplayer options for stereos have eliminated the need for bulky items like this. Total assembly weight - 10.5 lbs (rear weight area)
 *Pic courtesy of Honda *Pic courtesy of Honda 6) Rear hatch weight
-This item is located on the underside of the hatch. It is meant to keep weight on the hatch to eliminate it from shooting up after initially opening it. It has no purpouse but to hold down the hatch from shooting up. The nice thing about removing this item now is that it should allow the hatch to open up nicely with semi worn struts. I removed mine and found the hatch opened much smoother. Total assembly weight - 3.8lbs (rear weight area) 7) Rear wiper assembly
-Cutting out the rear wiper assembly and all associated wiring worries some folks as the need for a plug comes up very quickly. SPL parts has beaten folks to punch, offering a cap that perfectly takes the place of a now gapping whole in your hatch area. Total assembly weight - 4.33lbs (rear weight area)

*Pic courtesy of SPLparts.com website 8) Rear Antenna assembly
-Elimination of the rear antenna system will cause two things to happen. A shrug off for a need for a signal that an antenna would normally supply, as you choose to run CD's anyways or the need for an antenna now. Lighter and better antennas are fully available to be mounted in more secluded area making for a smoother instillation all together. Usually available for under $19.95 by most auto sound stores. Note you will also need to plug the whole where the antenna mounts as well. I purchased caps from Home Depot and simply pushed them in. Some may say this is a little excessive, but considering how the stock antenna destroys the lines of the cars and constant failing of the part....I say kill it and run something cleaner. Total assembly weight - 2.5lbs (rear weight area)
*Pic courtesy of Honad 9) Cruise Control system
-Killing the cruise control will obviously not give you the option of cruise control any longer. Some folks swear by it and want to leave it, others like myself never use it. Eliminating it cleans up area of the engine bay and will begin to cut weight off the front of the vehicle. Total assembly weight - 2.6lbs (front weight area) 10) Rear tow hooks
- Rear tow hooks are located under the rear of the vehicle and are simply mounted to rear most frame extensions. Some argue the need for a tow hook others remove these. Again, choose for yourself of what you want your project to be. Total assembly weight - 4.3lbs (rear weight area) 11) Front tow hooks
- Front tow hooks are located behind the front bumper and just protrude out through the bottom of the splash shield. Removing them is fairly easy after pulling the splash shield. I believe it was 3 14mm bolts per bracket. Total assembly weight - 3.6lbs (front weight area) 12) Rear battery relocation
- Relocation of a battery is essentially giving the option for 2 things at this point. You are allowing weight to be removed from the front of the vehicle to be placed in the rear of the vehicle. This is not so much about loosing weight as it is about weight displacement. By moving the weight to the rear you've taken it out to heavy front portion of the vehicle and placed it into the rear area. Some would arque that "you just added weight back to the rear area where you just removed everything"....exactly. You've kept weight over the rear wheels while removing weight from the rear. At this time, you also have the option of going to a lighter battery as well. Braille, Buddy Club and many others offer lightweight batteries at competitive pricing. The optimum location for placement is in the rear cargo area to the right furthest to right (passenger) quarter. Some have even gone so far as to neatly put the battery behind the interior panels for a super clean look. See the VTF section for a few variations of this install. Total assembly weight - Relocation of weight from front to rear. No weight lost or gained. Potential weight loss with addition of lite weight battery. An average of 10-20lbs can be lost by optioning out the battery. 13) Removal of battery tray and OEM alarm horn
If you relocated the battery to the rear you can now remove the battery tray to clean up a bit of the engine bay. Some plasma cut it out, others choose to work with a pair of vise grips taking their time at it. Once the area is clean you have a large clean area to mount newer items in that area such as oil filter relocation kits, oil catch can, voltmeters, extensive ground point systems, reservoir for water injection system, etc. The space usage is up to the creativity of the owner. Once removed the arear exposes a horn that the stock alarm system as part of the factory anti-theft system. I personally yanked the whole system as it gave me problems like most others. Total assembly weight - 7.8lbs (front weight area)

*Pics from my project LOWFATZ
TOTAL WEIGHT LOSS - 86.6lbs lost from whole of vehicle and a transition of 20-30lbs (Stock batter average) to the rear of vehicle making for better front to rear weight division.
Ending note - These items above are some of the most basic of things for most to begin with if your plans are to cut overall curb weight from your vehicle. Part 2 will cover a lot performance parts available that folks can purchase to further aid in weight loss as well some of the bypasses (AIV, PRVR, EGR, HICAS, etc) to eliminate clutter under the engine and cut weight simutaneously. This post was simply done with budget minded folks in mind to give a general idea of how/why it is done in this general order. A lot of this information came from hardworking Z32 enthusiast over the years, a big thanks should go to them and not me as I just put this together for those folks that email me with questions all the time. Hope this helps.

|


 Weight Reductions 101 - Part 1, The Basics -
  08:51:03 08/08/08