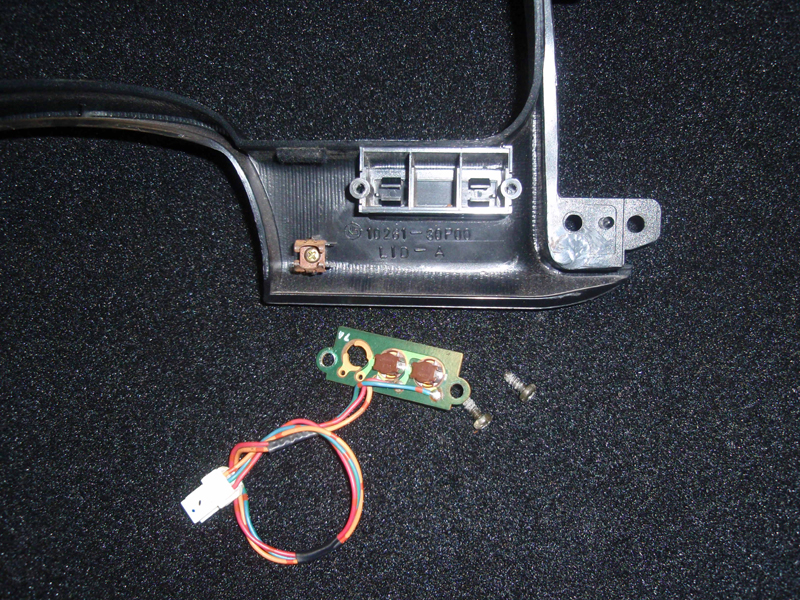
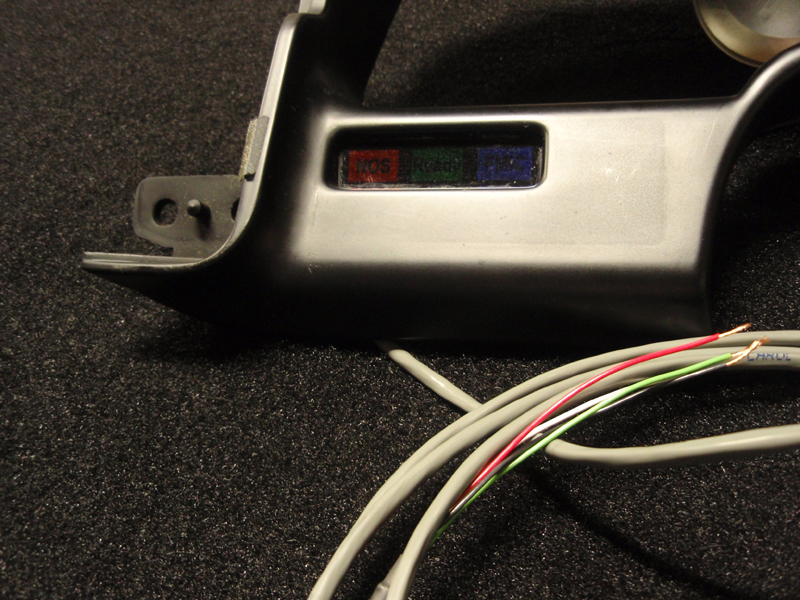
First I obtained a dash bezel from a 1990 automatic Z. Looking at the back and to the right you can see a board with a harness and three lights. One light was not installed at the factory as this position was not used.
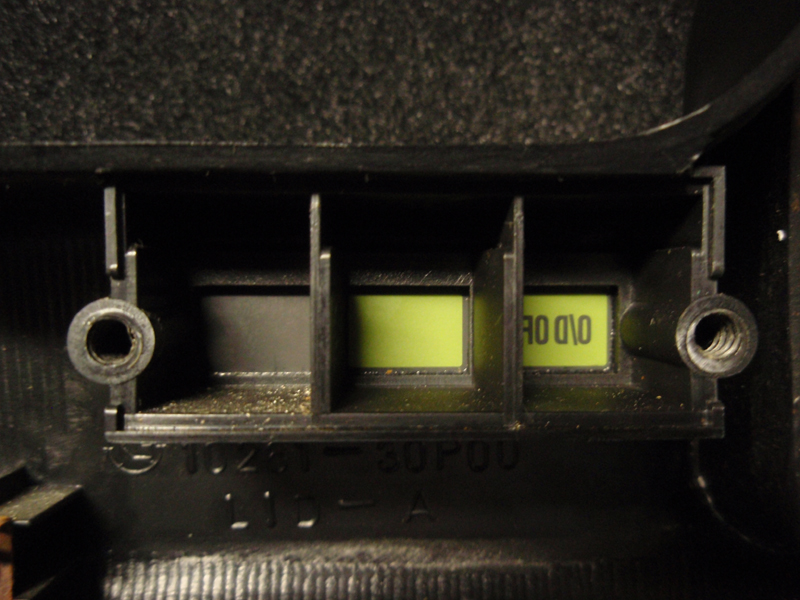
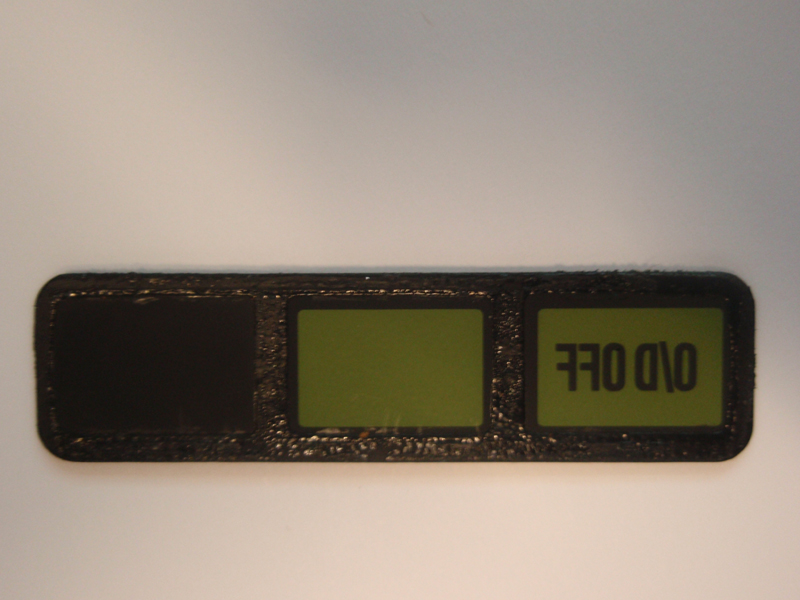
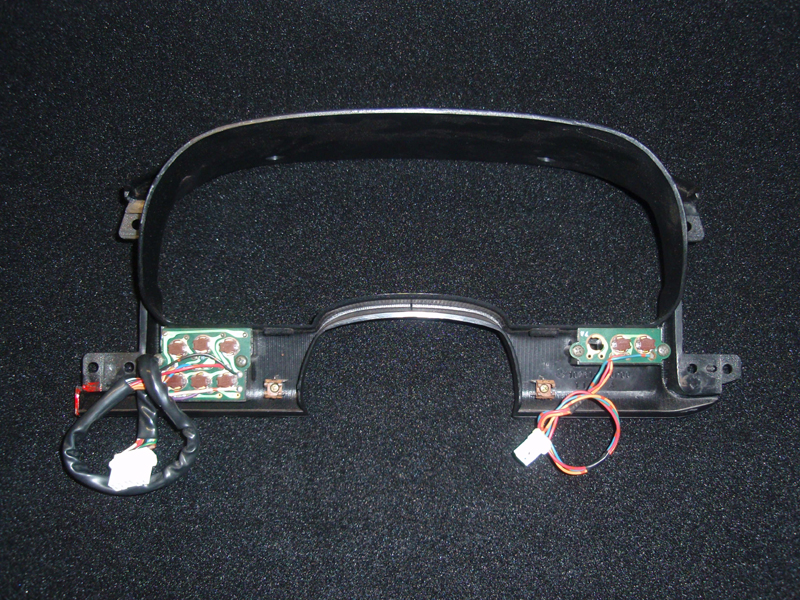 The middle position has a light but no writing on the indicator lens. I'm not sure what it is for. The far right light is the indicator for the automatic overdrive and is illuminated when the overdrive is turned off.
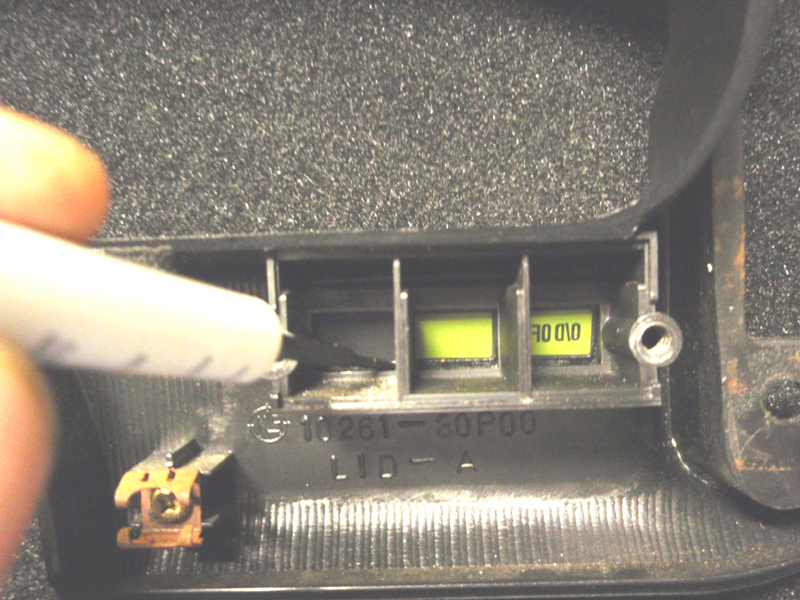
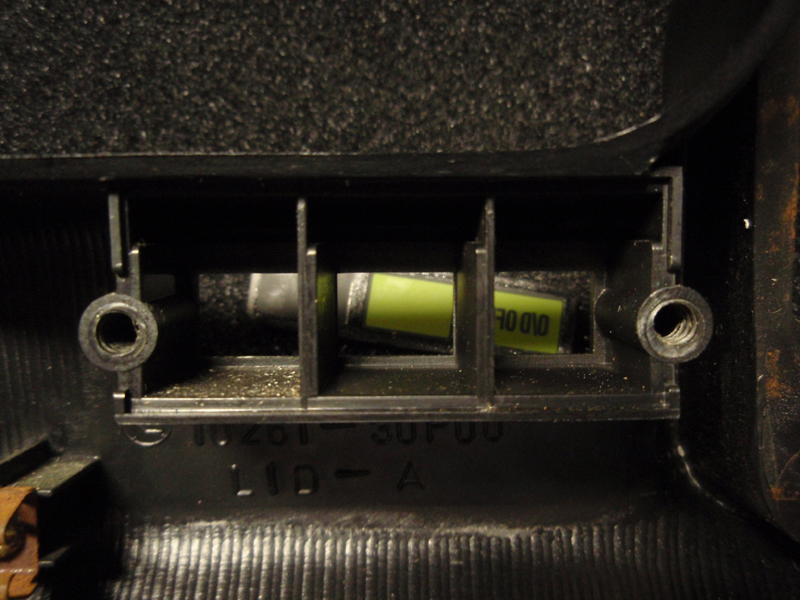
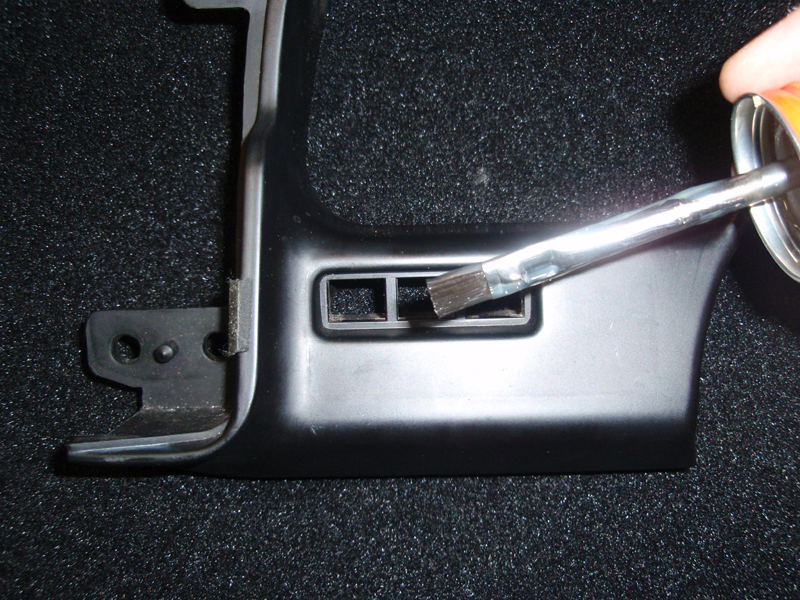
 The indicator lens is held in with a contact adhesive. Using a small screwdriver, work around the edges of the back of the lens pushing it a little at a time until the lens frees itself and falls out.

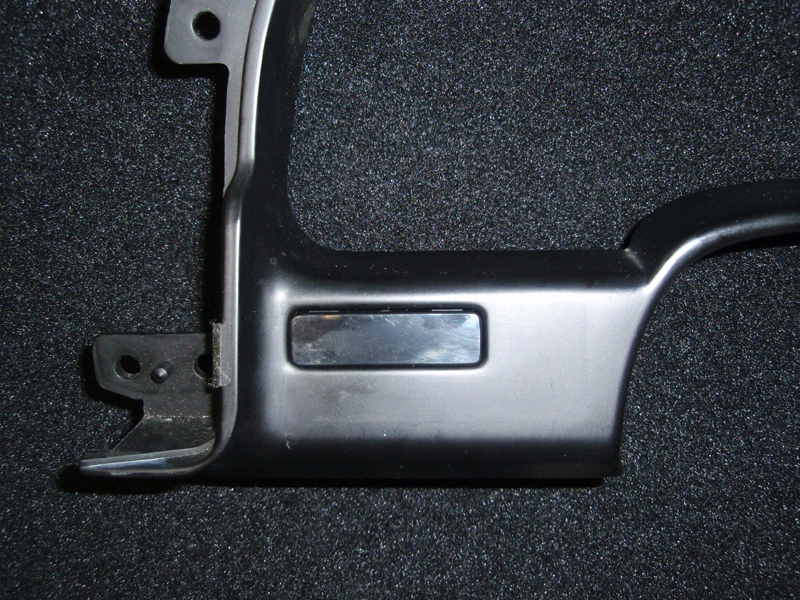
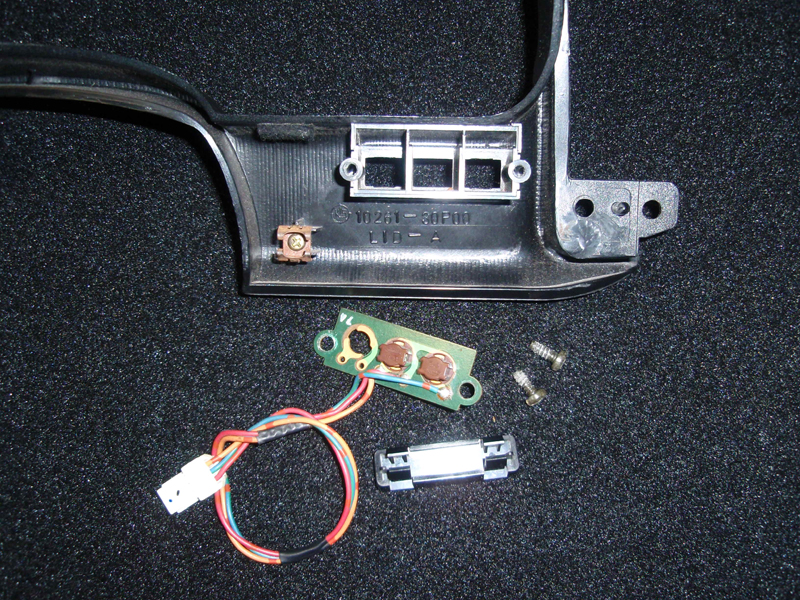
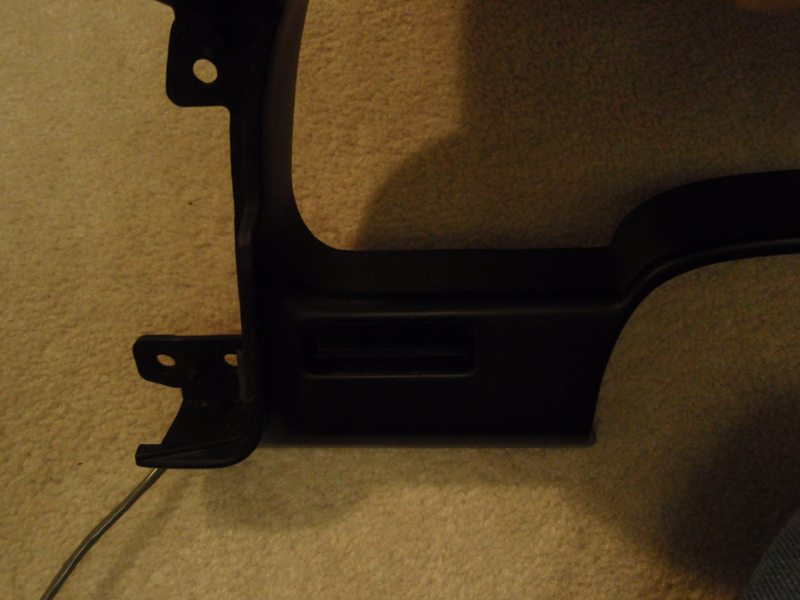
You are now looking at the same location but this time on the back of a bezel from a Z with a manual transmission. There is no board with lights and in place of the lens there is a plastic blank plate which is held into place with snap locks.
 Front.
 Using your fingers or a pair of needle nose pliers push the snap locks in and pop out the blank plate.
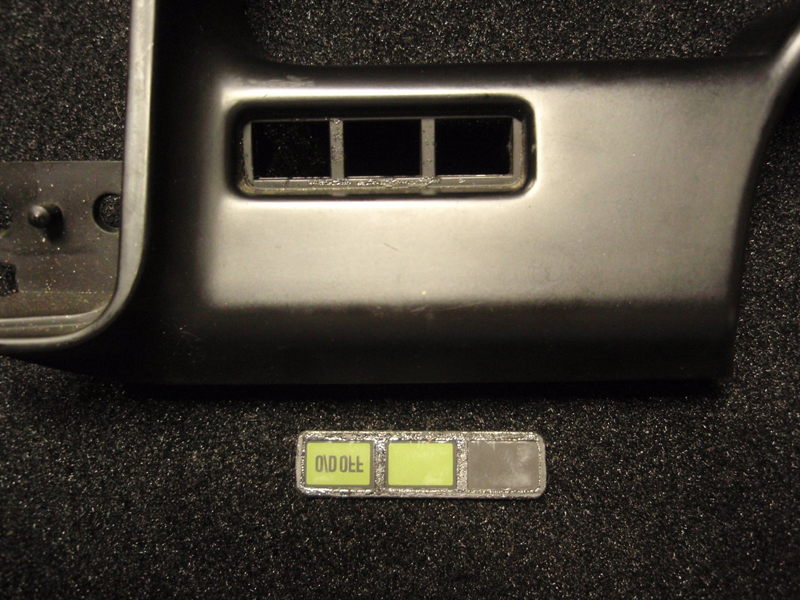
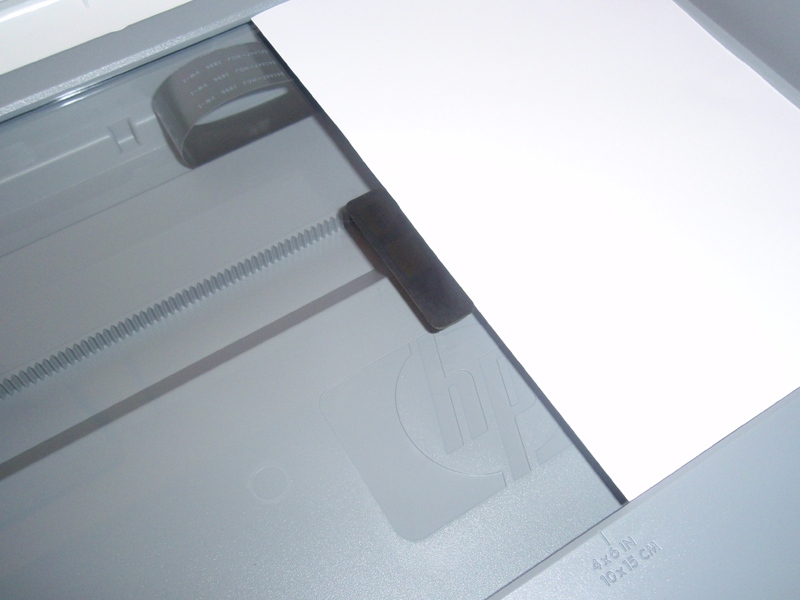
Here is the indicator lens which came out of the bezel from the Z with the automatic transmission. The next thing you want to do is scan the lens using a computer scanner or printer with scanner capabilities.
 I used a piece of folded blank paper to help align it and place it at a position more toward the center of the scan area. You want to place it facing down so that the square blocks which contain the writing will get scanned.
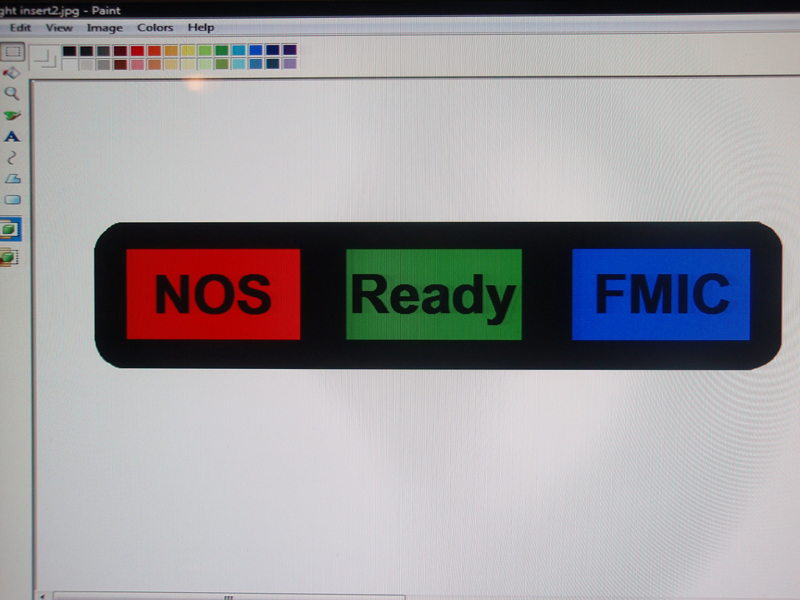
 Once you have it saved to a file you can use something simple like Windows Paint to edit it.
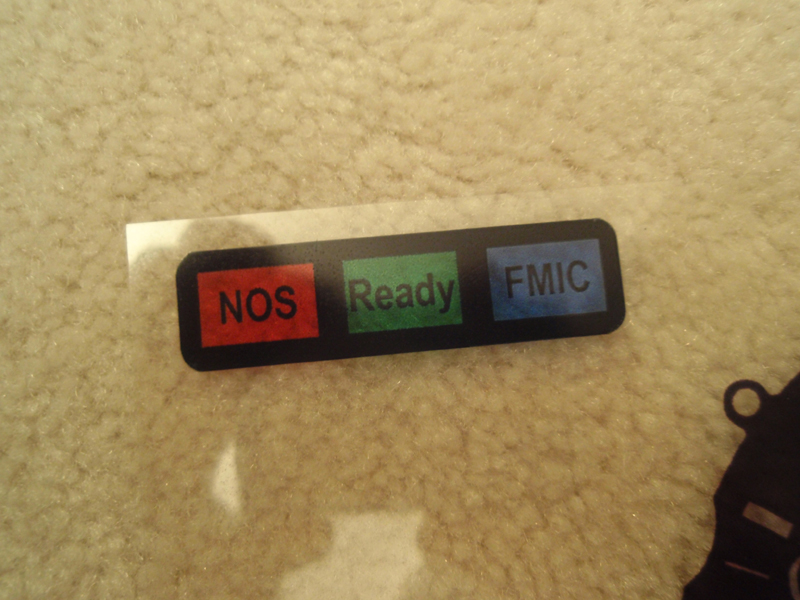
 Once you've finished editing it print it out using clear plastic paper used for overhead projectors. There are two types of this paper to be used depending on what type of printer you have. The paper which is shinny and smooth on both sides is used for laser printers. Paper for ink jet printers will have a smooth side and a textured side.
 The next thing you want to do is add some contact cement to the areas where the lens you've created will be held in place.
 After the lens has been installed.
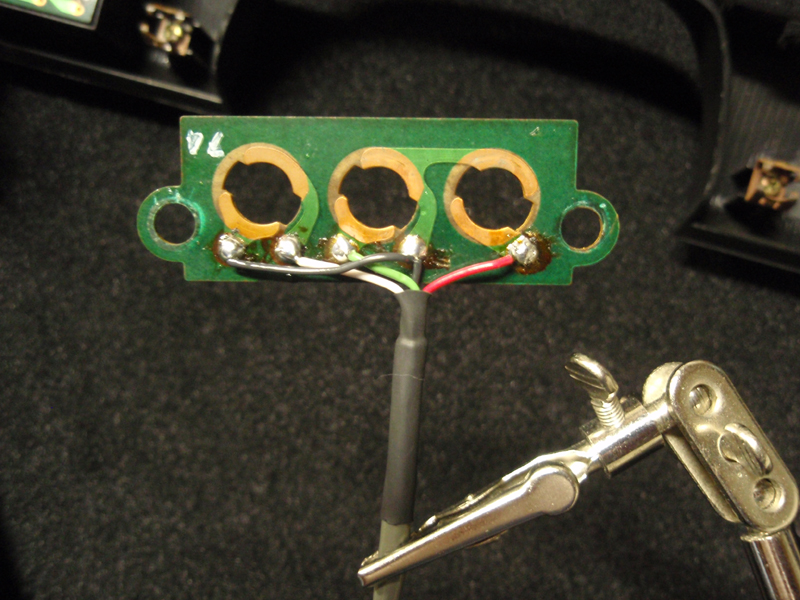
 If you only need one or two indicators you can use the original wires and splice into them. In my case I needed three indicator lights so I made a new harness and wired it like so.
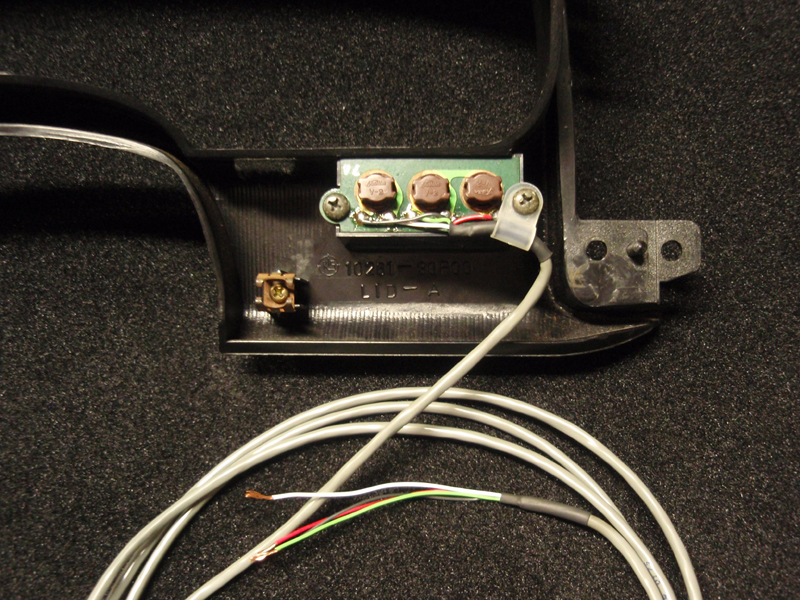
 The board installed.
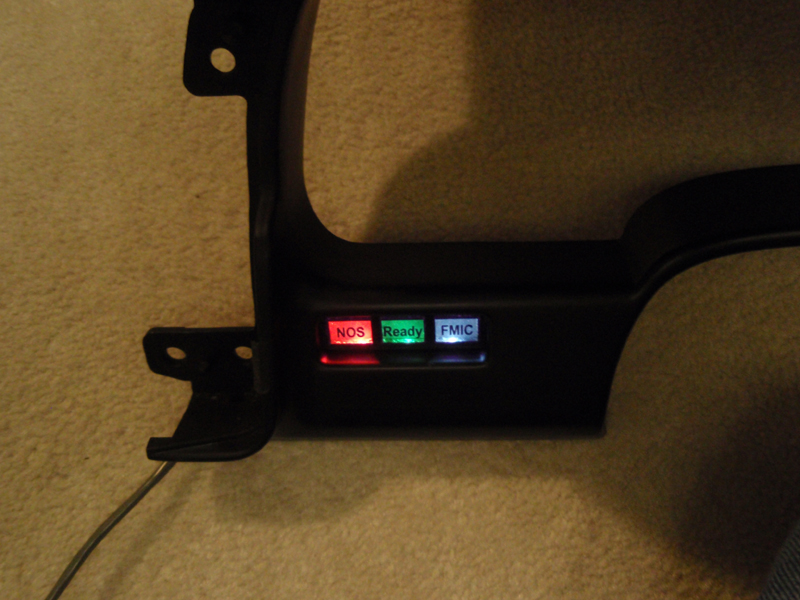
 For demonstration purposes I powered all three indicators so you can see how it looks. On
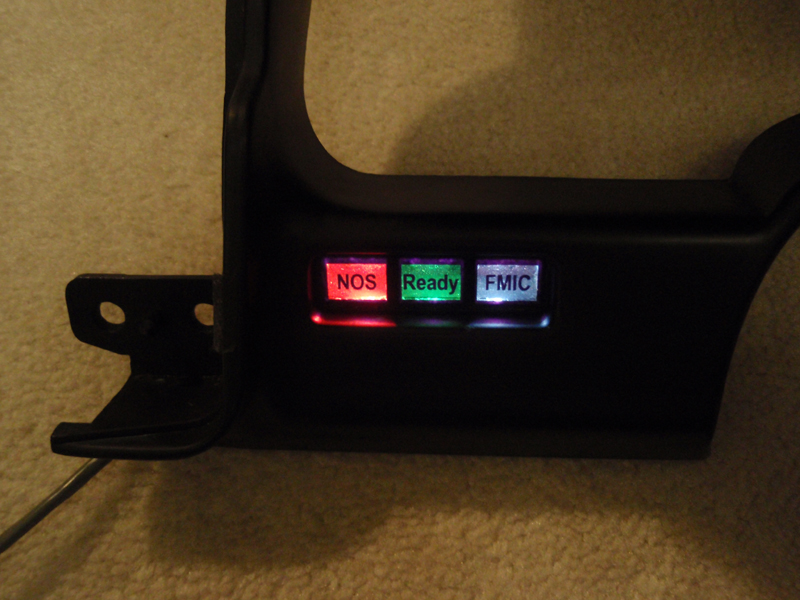 Off
 On
 That's it!
 (Total Mouse Over Hits: a Lot)
|


 How to add extra indicators to the dash bezel. -