| Not at all a complex job, but I couldn't find all the information in one place, so I compiled it myself. Enjoy! When to do this: When you do the Pod Conversion (just converting the pods makes the stock cluster lighting look horrible by comparison) or when installing gauge bezels. Bulbs you’ll need (can all be purchased from Superbrightleds.com): ~This was done on a 94 TT, so your cluster appearance and bulb count may differ somewhat.~ -->(5) Type #194 WLED 5-LED Wide Angle LED bulbs (green dots on dash pic) of your color choice  (I recommend super white) (I recommend super white)
-->(1) Type #194 WLED 5-LED Wide Angle LED bulb (orange dot on dash pic) (Amber color- for the low fuel indicator)
-->(8) Type #74 Wedge Base LED bulbs (red dots on dash pic) of your color choice  (again, I recommend super white, though you might consider getting 2 green ones for the turn signal indicators) (again, I recommend super white, though you might consider getting 2 green ones for the turn signal indicators) -->*I also highly recommend having a piece of 220 grit sandpaper handy*
Step 1. Remove the gauge cluster from the dash. The gauge bezel installation write up at SPLparts.com, located here is an adequate reference to get the cluster out. Also, this is an perfect time to install the gauge bezels and they look great with the LED conversion.
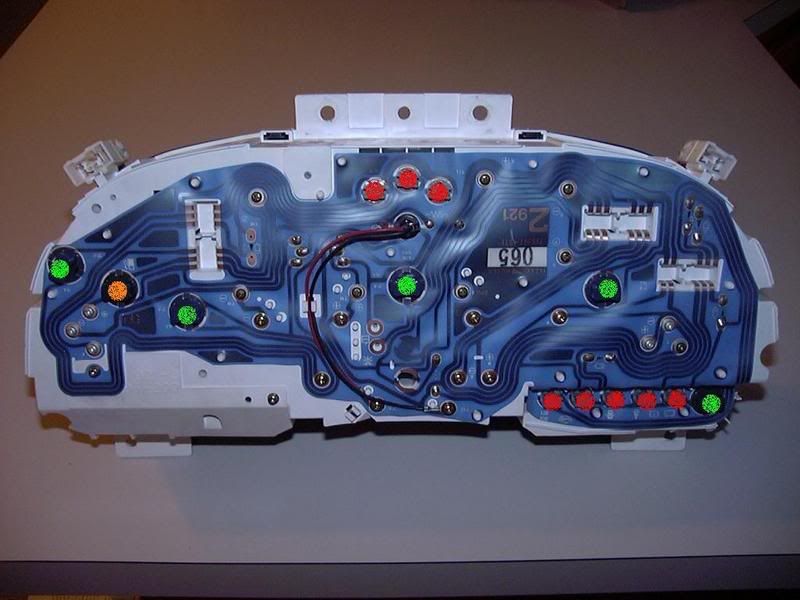
This is what the back of the dash looks like, color coded for reference.
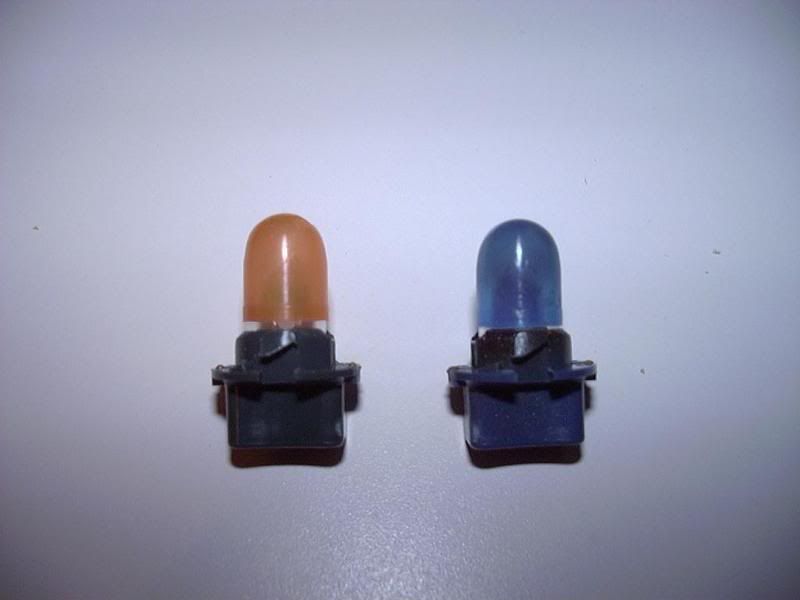
*** I recommend replacing the bulbs one at a time to keep track of which bulbs you’ve replaced.*** Step 2. Remove the type #194 bulb from the back of the cluster (green dots and orange dot). Just twist the housing counter-clockwise and the housing with the bulb will pop out. They look like this when removed (fuel indicator bulb on the left, regular dash light on the right):
 Step 3. Pull the stock #194 bulb out of the housing:
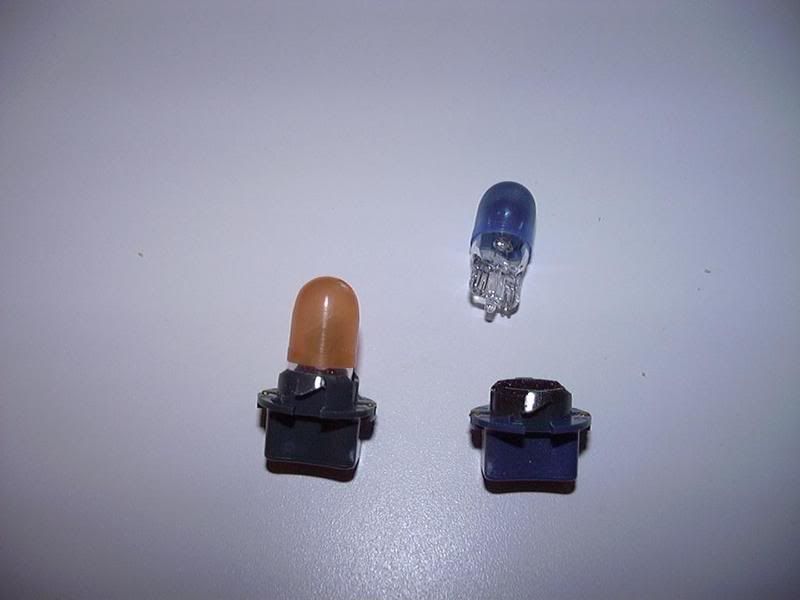 And replace with the #194 LED bulb:
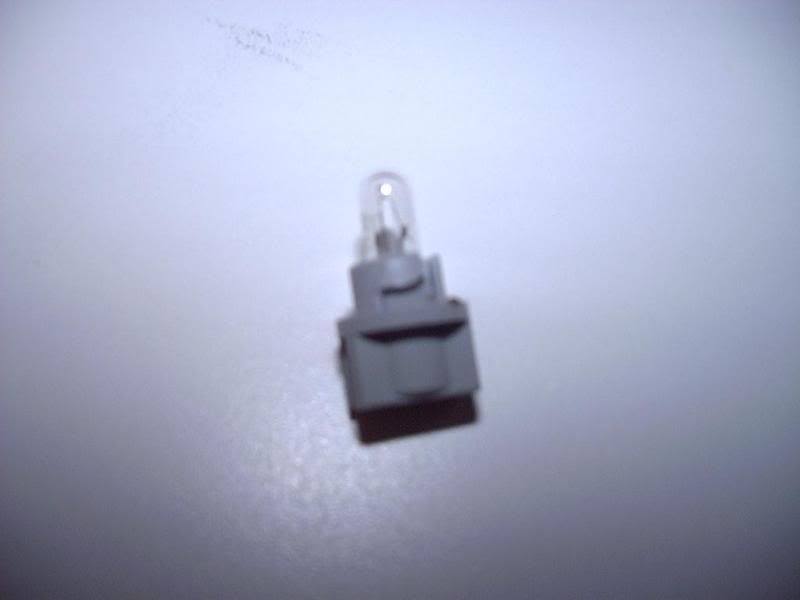
Step 4. Install the new bulb in the gauge cluster by twisting clockwise. These particular LED bulbs are non-polarized, so it doesn’t matter how they plug back into the gauge cluster. Repeat the process for all #194 bulbs (be sure to replace the low fuel bulb with the amber LED, for some unknown reason, Nissan painted the inside lens of all the accessory lights except the low fuel one). Step 5. Remove the type #74 bulb from the back of the housing (red dots). Again, just twist the housing counter clockwise and the housing with the bulb will pop out. It looks like this:
Step 6. Pull the stock #74 bulb out of the housing.
**Before replacing, sand the tops of the #74 LED bulbs with the 220 grit sandpaper, a few swipes evenly across the top should do it. Do NOT sand down into the bulb and ruin it. All you want to do is scuff them up so the tops look cloudy. This will help refract the light and avoid “hot spots” behind your indicator lights. Replace the stock #74 with the sanded #74 LED bulbs.**
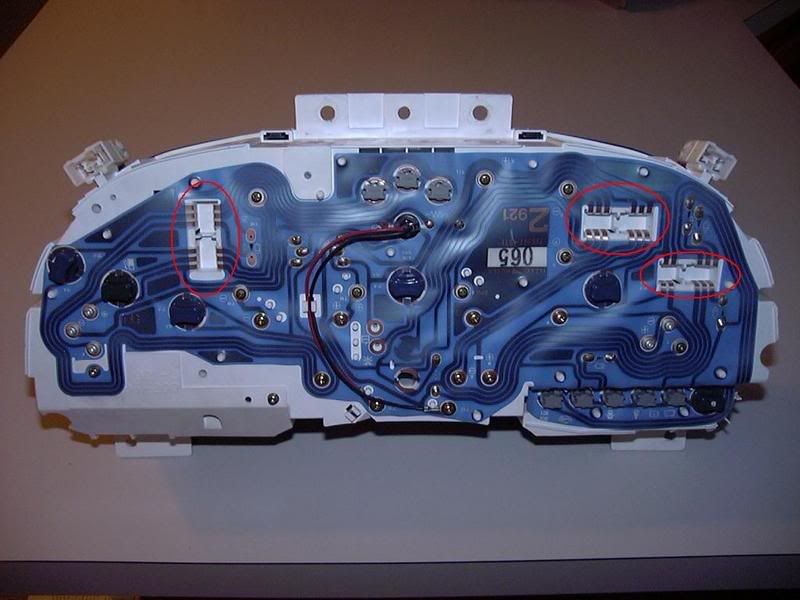
Step 7. Install the new bulb in the gauge cluster by twisting clockwise. These LED particular LED bulbs ~are~ polarized, so you’ll have to test the polarity later when you reinstall the gauge cluster. Repeat the process for all #74 bulbs (optional to install green #74 LEDs for the turn signal indicators). Step 8. Plug the (3) dash wiring harnesses (circled in red) back into the cluster:
 Step 9. Turn on your headlights to verify that the #194 LEDs have been correctly installed and the gauges light up. They should work perfectly the first time, if not, then turn off the headlights and recheck to make sure the bulbs are seated properly in the housings and that the contact points are clean. Step 10. With the headlights off, put the key in the ignition and turn the key to the accessories setting (but do not start the car) so you can verify that the #74 accessory lights have been correctly installed. If a light does not come on, turn off the car and reach under or behind the cluster and remove the bulb housing, rotate 180 degrees and reinstall. You do not need to unplug the wiring while doing this. Repeat until all lights are functional, ~DO NOT forget to test your turn signal and emergency brake indicators.~ (If one of the lights isn’t installed with the right polarity, you’ll have to remove the whole gauge cluster again to fix it.) Final pic is a bit grainy, but you get the idea. As is always said with LED installs, you have to see it in person to really appreciate it. The light is also dispersed much more evenly than the pic implies. Reassemble and you're done!

 |


 Instrument Gauge Cluster LED Conversion Write-Up -