| 60mm throttle body upgrade/modification First off I wanted to thank Ash for his write up.. I did some things a little different and I figured I would post my experience. Even though no one would really do this mod anymore since Z1 has the 58mm throttle body.. I had these laying around that I bought a couple years ago and always enjoy doing new fun projects. So I figured I'd get to work. Here are a couple of side by side shots of the 60mm vs stock throttle bodies.. They are SO much larger than stock. target="_blank">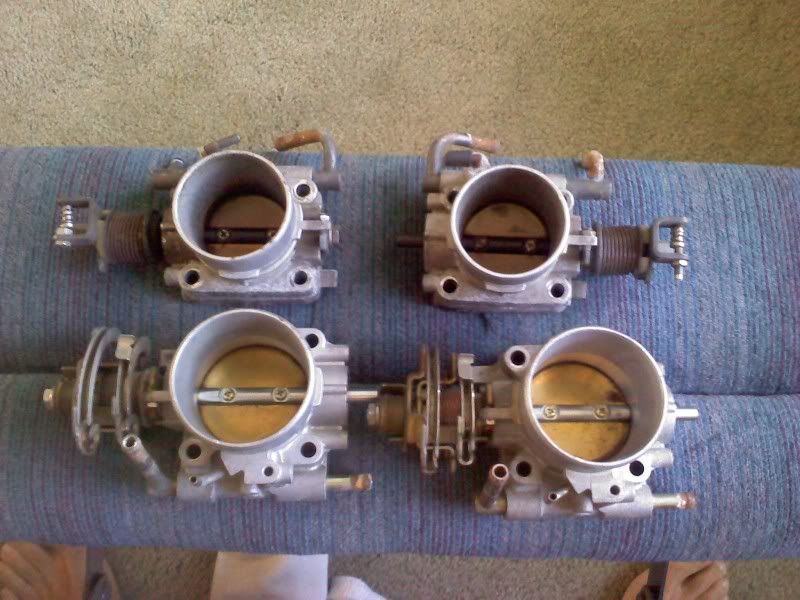 alt="Photobucket"> alt="Photobucket"> target="_blank">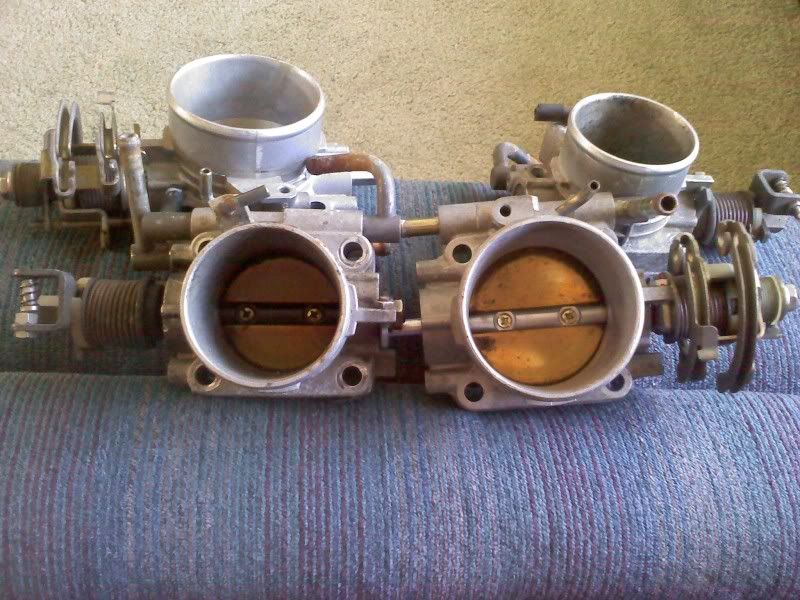 alt="Photobucket"> alt="Photobucket"> target="_blank"> alt="Photobucket"> alt="Photobucket"> 60mm throttle body (Stanza/240sx) Linkage disassembled.. target="_blank"> alt="Photobucket"> alt="Photobucket"> target="_blank"> alt="Photobucket"> alt="Photobucket"> Removing coolant lines from the bodies, I found that after drilled the pins out.. Use a little bit of heat (I mean as in if the housing is just barely too hot to hold in your hand type of hot) target="_blank">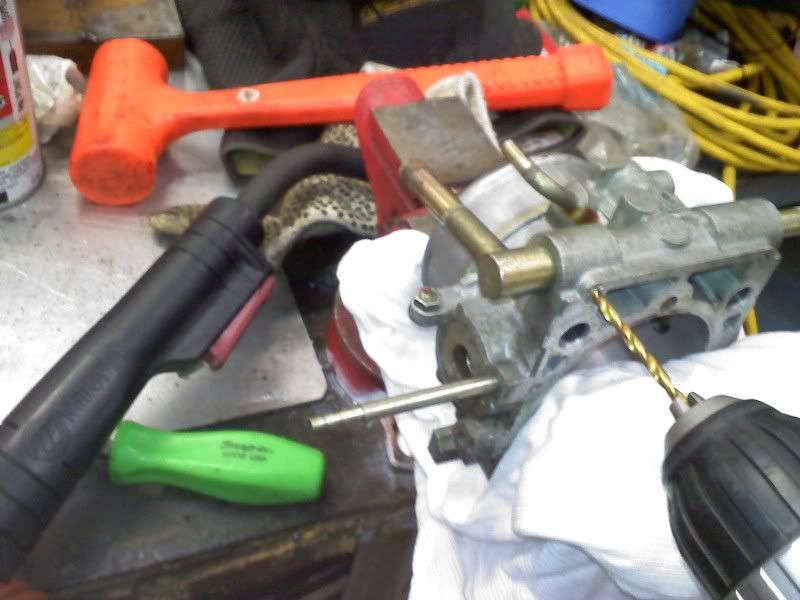 alt="Photobucket"> alt="Photobucket"> target="_blank"> alt="Photobucket"> alt="Photobucket"> Just rock them back and forth and pull at the same time.. they'll come out..
target="_blank">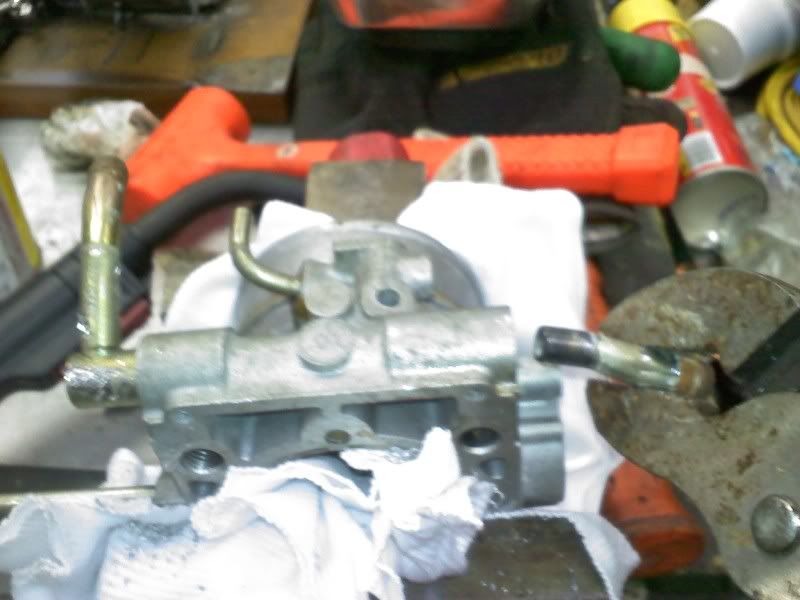 alt="Photobucket"> alt="Photobucket">
As for the throttle body butterfly plates.. I used the same method with the heat. (used some PB blaster as well).. I heated up directly behind the screw head on the back side. Tapping with screw driver with a hammer wouldn't hurt either. You need to make sure you use the proper size phillips screw driver or you'll end up stripping it, Take your time. I would create a small mark for which side is OUT/UP. It will make resassembly much easier. target="_blank"> alt="Photobucket"> alt="Photobucket"> target="_blank"> alt="Photobucket"> alt="Photobucket"> target="_blank">alt="Photobucket"> Check out the size difference from the stock throttle body plate to the 60mm throttle body plate :) target="_blank">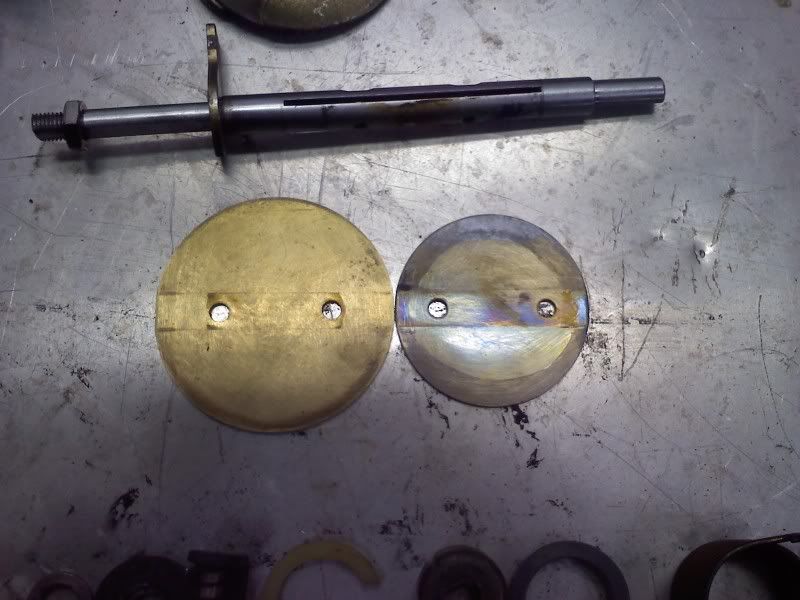 alt="Photobucket"> alt="Photobucket"> Go buy a slide hammer with blind bearing puller attachments, this makes removing the seal plates so much easier DON'T FORGET TO use a punch on the small stake marks (3 of them) around the seal plate, Then I suggest a little heat as well. target="_blank">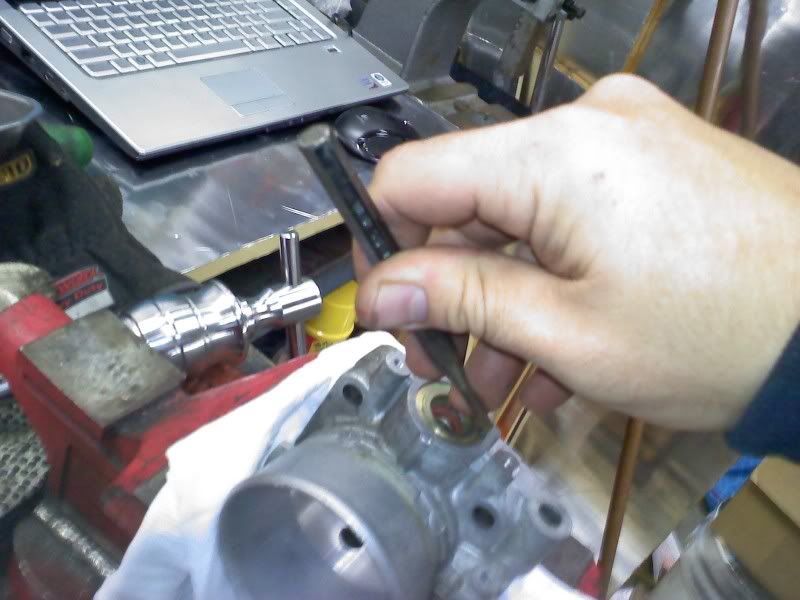 alt="Photobucket"> alt="Photobucket"> target="_blank">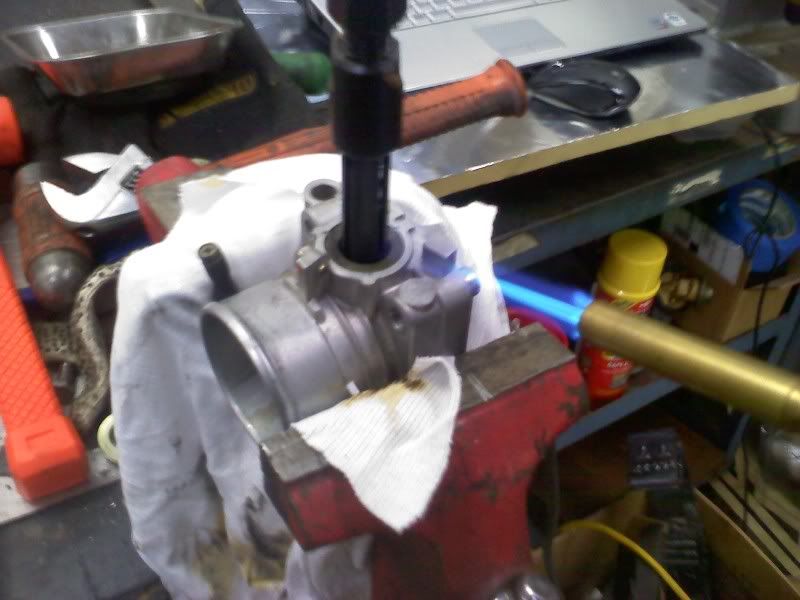 alt="Photobucket"> alt="Photobucket"> target="_blank">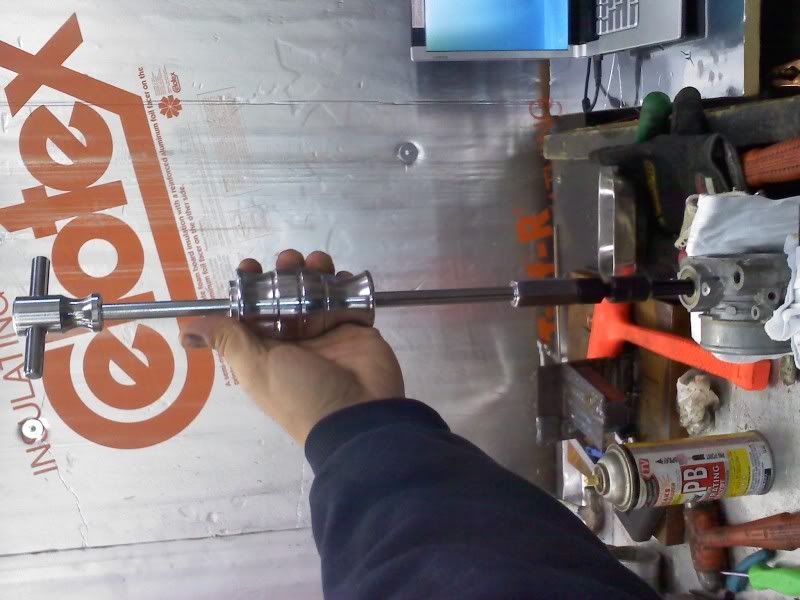 alt="Photobucket"> alt="Photobucket"> target="_blank">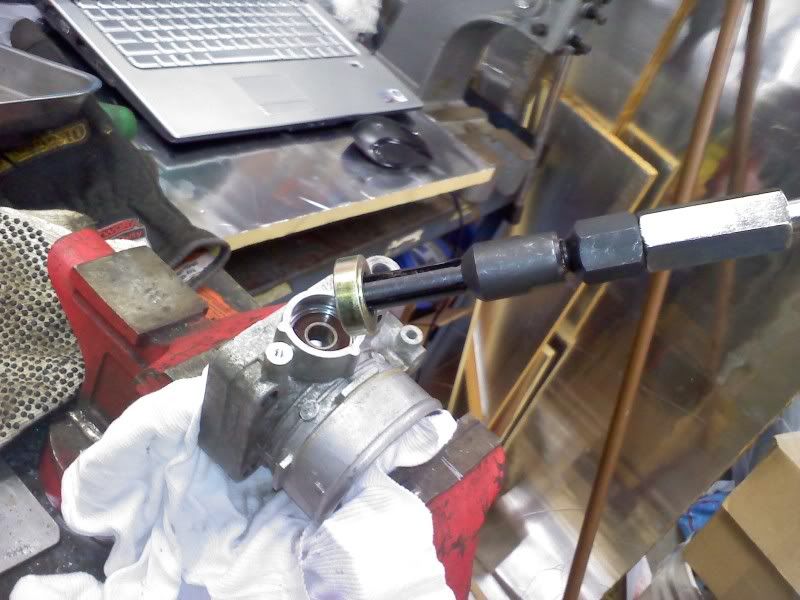 alt="Photobucket"> alt="Photobucket"> Now drive the shaft through the housing and out the other side.. target="_blank">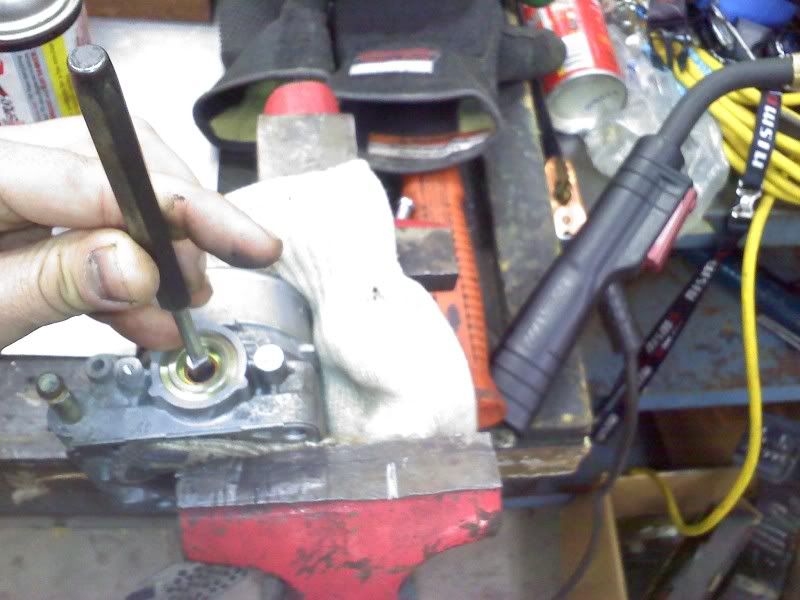 alt="Photobucket"> alt="Photobucket">
Now is the time to disassemble the stock Z32 passenger side throttle body to use its linkage.
After you have the shaft out.. You must thread the shaft further down since you will be cutting this to a shorter length AFTER
you thread it. I had some problems getting the die to center itself correctly since the shaft is not round, its squared/key stock. I solved that problem very quickly by buying a M8 x 1.00 die and tack welding the end nut on it AFTER I had both threaded on the shaft. This insures that the die will make straight cuts on this hard to thread shaft.
target="_blank"> alt="Photobucket"> alt="Photobucket">
target="_blank">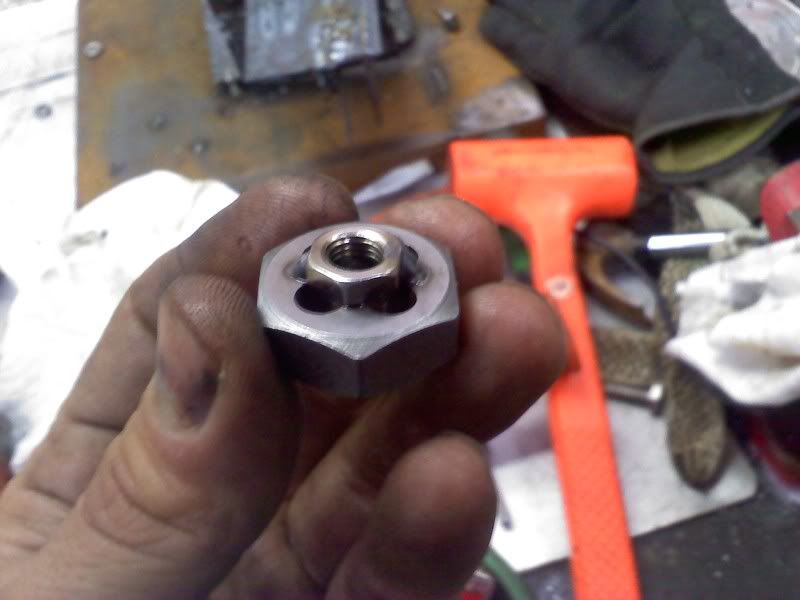 alt="Photobucket"> alt="Photobucket"> Now you can use your tap/die handle and cut the threads to your needed length. ( I believe it was around 23mm from stop plate) After you cut the threads to where you need it, you need to cut the shaft down to proper length.. I ADVISE to have the nut threaded on the shaft FIRST.. so that when you cut the shaft, you can easily relign the threads when you remove the nut.
(I believe the new shaft length must be around 45mm from shaft stop plate) target="_blank">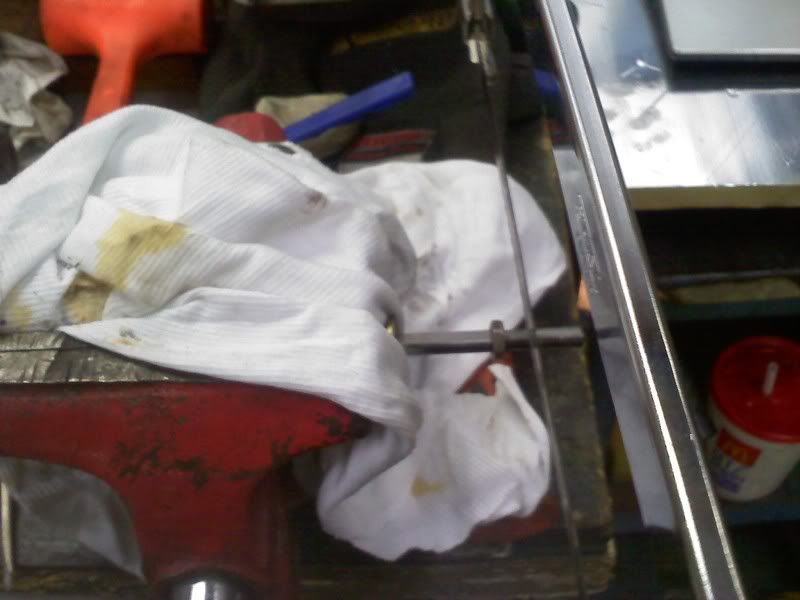 alt="Photobucket"> alt="Photobucket"> target="_blank">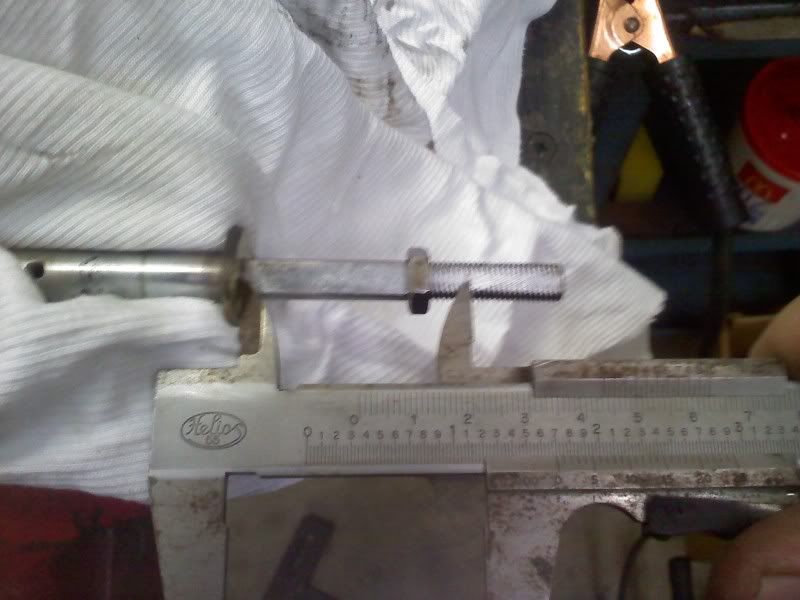 alt="Photobucket"> alt="Photobucket"> target="_blank">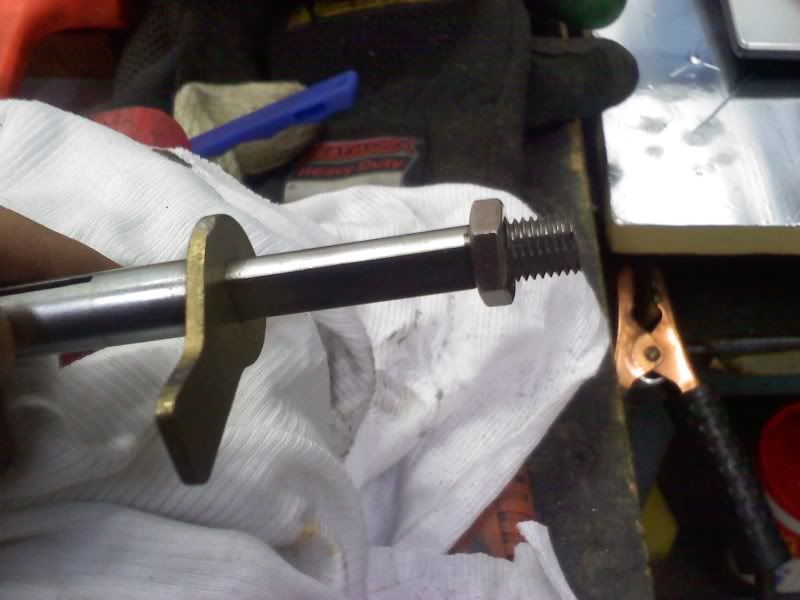 alt="Photobucket"> alt="Photobucket"> target="_blank">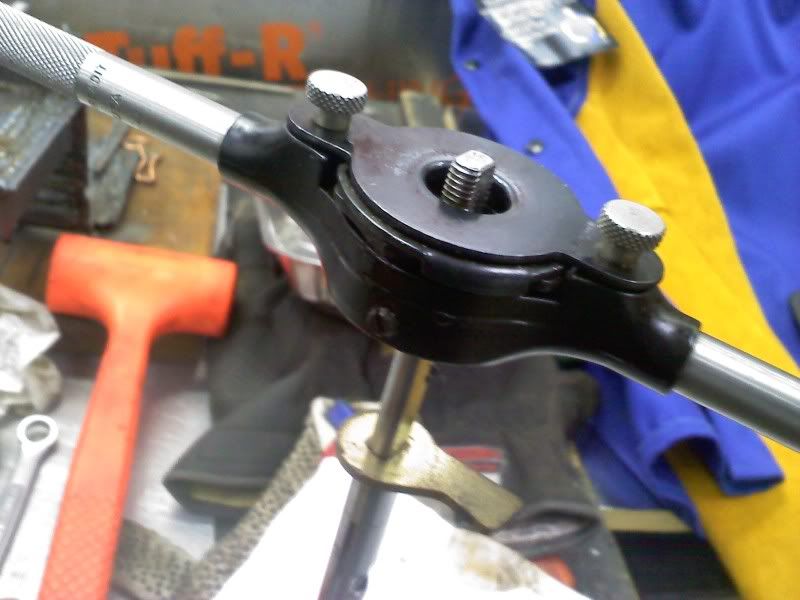 alt="Photobucket"> alt="Photobucket">
I decided that I wanted to start off with the "difficult" side.. The passenger side, since all the linkage needs to be swapped
over to make a mirror image of the other and the stock 60mm TB are designed to be only on one side. There is a small return spring stud that must be removed from the housing, drill out pin similar to how you remove the coolant lines, I opted to tack weld a small nut at the base of the shaft to allow me to turn and pull on the shaft because using channel locks seemed to really mess up the shaft. Since I will be cutting this down to size anyways.. I figured I might as well just use the welder. target="_blank">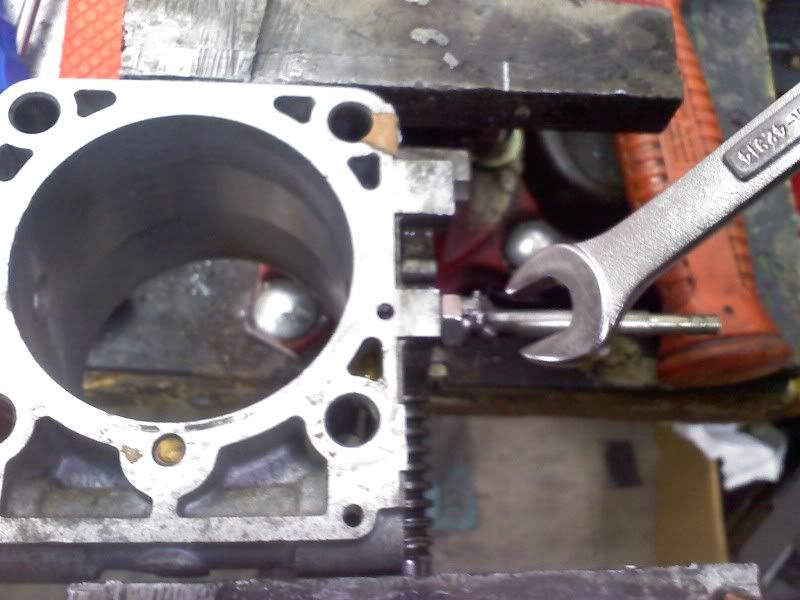 alt="Photobucket"> alt="Photobucket"> target="_blank">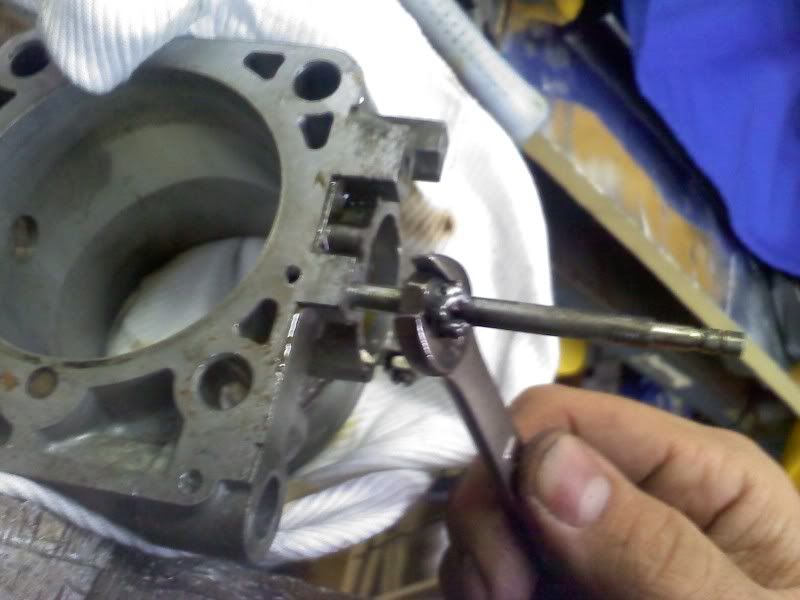 alt="Photobucket"> alt="Photobucket"> After you have the shaft return spring stud removed.. You need to cut it down to length. I did mine to about 28mm. target="_blank"> alt="Photobucket"> alt="Photobucket"> target="_blank"> alt="Photobucket"> alt="Photobucket"> You need to find the proper location on the OTHER side of the throttle body that this return spring shaft stud came from. I advise you to look at your STOCK passenger side 300zx TB and get an idea of where you want to drill this new hole on your 60mm throttle body to install this return spring stud. I used a drill bit that is a little smaller than the shaft and heated up the housing and tapped it in with a hammer and punch. I guess some locktite here probably wouldn't hurt either.. target="_blank"> alt="Photobucket"> alt="Photobucket"> target="_blank">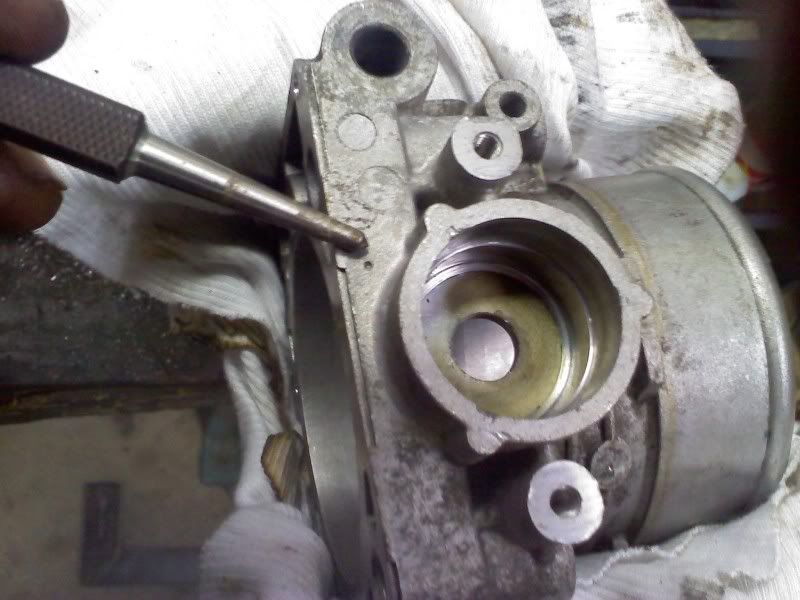 alt="Photobucket"> alt="Photobucket"> target="_blank">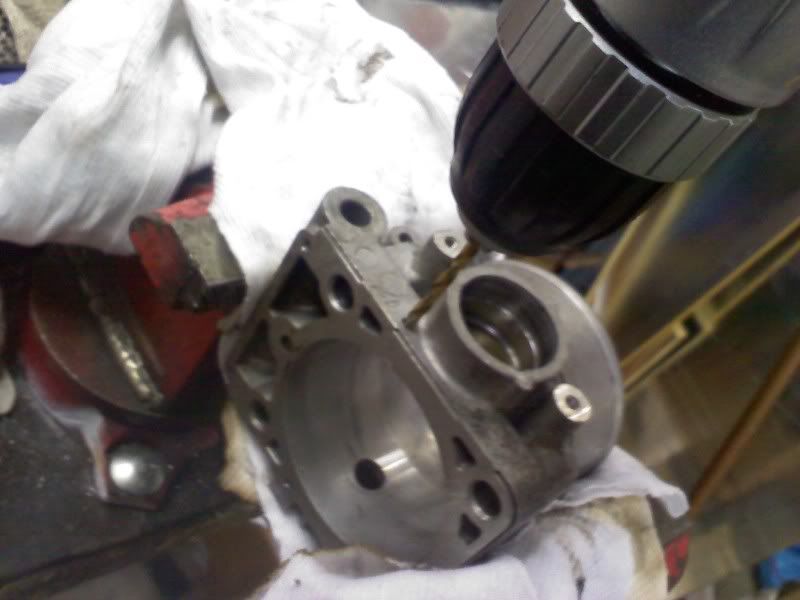 alt="Photobucket"> alt="Photobucket">
target="_blank"> alt="Photobucket"> alt="Photobucket">
target="_blank"> alt="Photobucket"> alt="Photobucket">
target="_blank">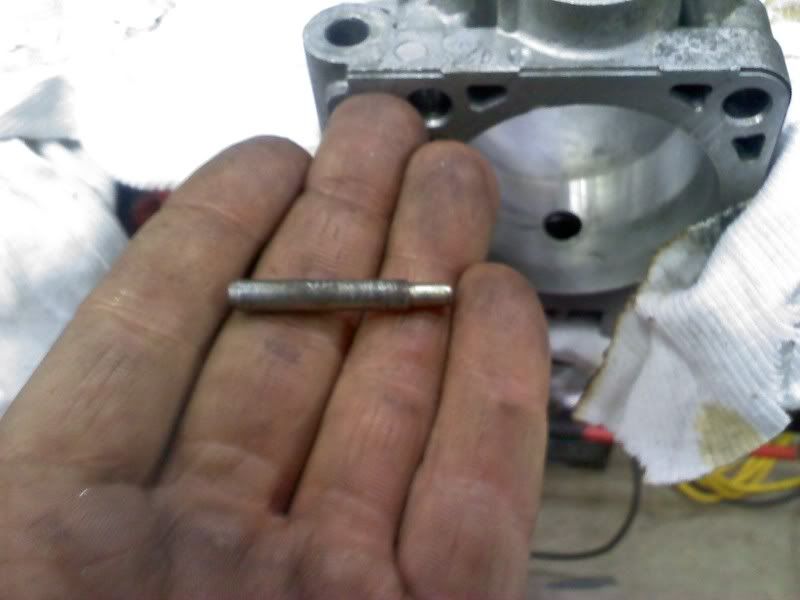 alt="Photobucket"> alt="Photobucket">
target="_blank">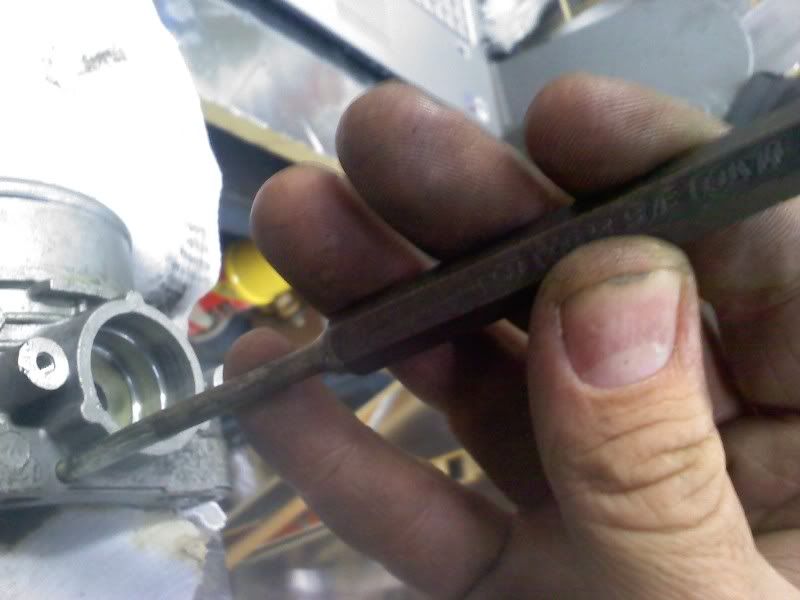 alt="Photobucket"> alt="Photobucket"> target="_blank">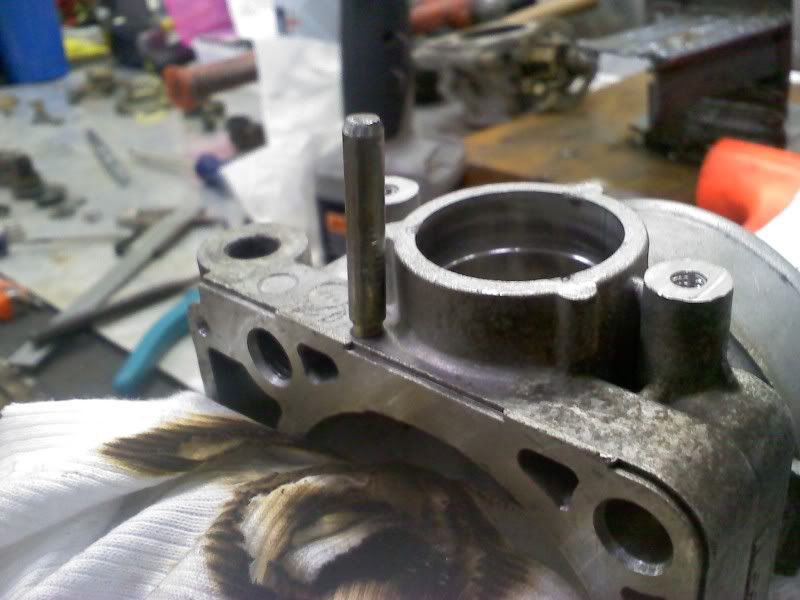 alt="Photobucket"> alt="Photobucket">
Put the main butterfly shaft through the other side to make the orientation the same as your stock passenger side 300zx TB.
Make sure that you use the 300zx throttle body bearing seals on the 60mm.. They incorporate a double lip seal that is designed for engines that see positive manifold pressure. Start assembling the 60mm throttle body. Place the bearings in as well as the seal plates etc. You may have to use a punch or socket as a drift to press them in target="_blank"> alt="Photobucket"> alt="Photobucket"> Make SURE your butterfly plates are CENTERED and moving smoothly in their normal range of motion. Use blue locktite on the plate screws. target="_blank">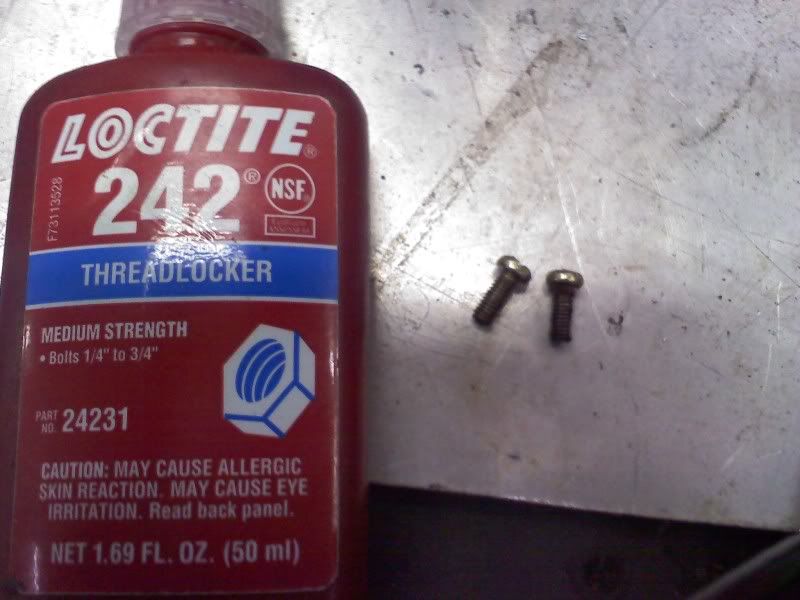 alt="Photobucket"> alt="Photobucket"> target="_blank">alt="Photobucket"> The return stop for the passenger side.. I did as Ash suggested and used some parts from the 60mm Throttle body and drilled a circular bore into the shaft stop plate. I tack welded this to the collared bushing that was left over from the 60mm TB and kept it centered using the drill bit that I used to drill it out with (5/16") target="_blank">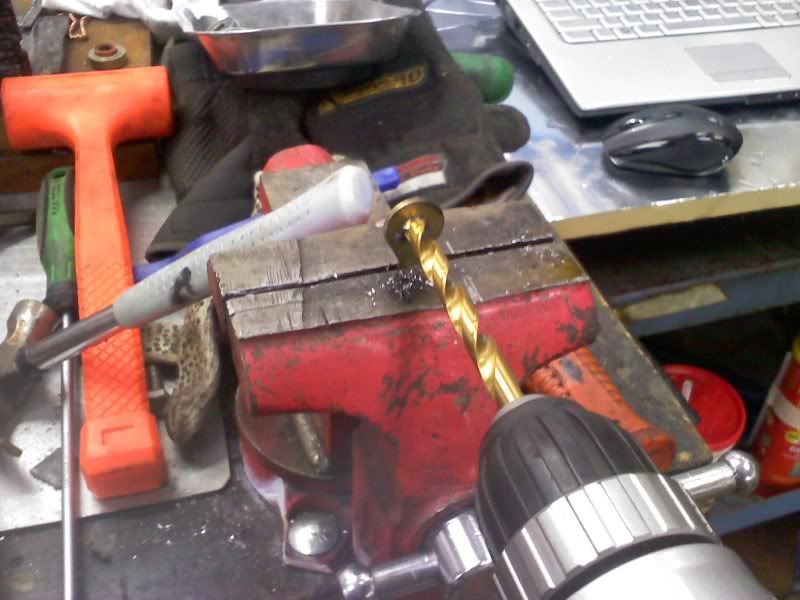 alt="Photobucket"> alt="Photobucket"> target="_blank">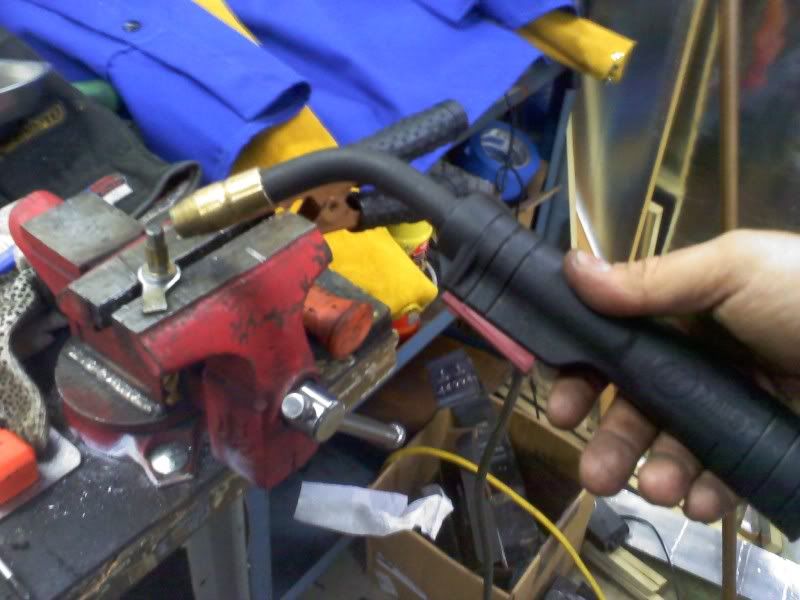 alt="Photobucket"> alt="Photobucket"> target="_blank"> alt="Photobucket"> alt="Photobucket"> Instead of using a roll pin etc to lock it into place. I just did a very small tack weld on the passenger side shaft so the stop plate can be used. This was AFTER making sure both butterflys were sychronized etc. I may add a roll pin instead later. I did the tack weld because I can easily grind it off if I had to make adjustments later. Driver side......... Now follow some of the same steps to complete the driver side.. It is just easier.. You do not need to remove the return spring shaft, You just need to cut it down shorter. I opted to swap my shaft stop plate on driver side like Ash suggested so the Throttle Posisition Sensor is facing towards the rear of the car instead of the front. (basically, when you open the throttle body up, you will see the butterfly plate shaft is "backwards" on the driver side) Here is the end result.. target="_blank"> alt="Photobucket"> alt="Photobucket">
Now I just need to do the plenum modification which I will do when I have time to purchase a new Argon bottle for the aluminum
welding. Hope this may help any that are thinking of doing this modification.
_________________________________________________________________________
~~~ Sig starts below ~~~
=================================================================NO, This picture is not photoshopped.
AIM:Shawn300zxTT "-Any closeups on the nuts? - zboost(tx) 19:17:53 08/08/05
-Not really something you want to ask another man about... (n/m) - LordZ 19:24:00 08/08/05" "I just took 45 min and scrubbed the heck out of my rear"
teambushido(San Diego, CA) 19:24:51 12/11/04 -1991 Stage _ TT 5spd (Upgraded to hell and back)
-1990 Super White 2+2 Na Stage 3 Auto (Deceased :( )
-1990 Cherry Red Pearl ,Auto Coupe (Parts car)
-1990 11 Sec Eagle Talon Tsi AWD, (SOLD!)
-2001 Ford F-150 Crew cab, 5.4 Triton v8.. Tow bitch
-1997 Acura 2.2 CL, 5spd. Daily Driver.. great little car!
-2004 Honda CBR 600RR (Candy blue, FOR SALE) |


 alt="Photobucket">
 alt="Photobucket">
 alt="Photobucket">
 alt="Photobucket">
 alt="Photobucket">
 alt="Photobucket">
 alt="Photobucket">
 alt="Photobucket">
 alt="Photobucket">
 alt="Photobucket">
 alt="Photobucket">
 alt="Photobucket">
 alt="Photobucket">
 alt="Photobucket">
 alt="Photobucket">
 alt="Photobucket">
 alt="Photobucket">
 alt="Photobucket">
 alt="Photobucket">
 alt="Photobucket">
 alt="Photobucket">
 alt="Photobucket">
 alt="Photobucket">
 alt="Photobucket">
 alt="Photobucket">
 alt="Photobucket">
 alt="Photobucket">
 alt="Photobucket">
 alt="Photobucket">
 alt="Photobucket">
 alt="Photobucket">
 alt="Photobucket">
 alt="Photobucket">
 alt="Photobucket">
 alt="Photobucket">
 alt="Photobucket">
 alt="Photobucket">
 alt="Photobucket">
 alt="Photobucket">
 alt="Photobucket">
 60mm throttle body upgrade/ modification with pics... -
  13:55:54 03/03/11