| The 300ZX is a unibody vehicle and a great one at that BUT like many other production it does have it's weaknesses when it comes to chassis design. Unibody design is simply overlapping sheetmetal to add strength and ridgidit....which the Z32 does...BUT not better in some and somewhat poorly in others. On aggressive upward and downward declines you will notice that most unibody vehicle will have flex in the body at this point. Energy will always find the weakest area to point to in the case of design. In the Z32's design, this was one of the area that only got worse as body design got more luxurious. The slicktop being the most ridgid of the chassis shows the least amount of flex but is still very much noticable to a competitive driver. When compared to a convertible, the response from most owners is pretty noticable after just a few hard passes on a track with extreme and quick upward and downward elevation changes that are fed through the chassis.
The true weakness of the chassis becomes apparent when looking at a stripped chassis and noticing how weak the connection from the interior cabin area (firewall, hinge pillars and floor) to the side structure of the vehicle (upper apron, inner firewall, lower frame rails, etc.). Now for those guys that simply can't afford to add additional bracing to this region, which is about 90% of all Z owners, here is a simply solution in the way of bracing.
SPL's Fender Brace
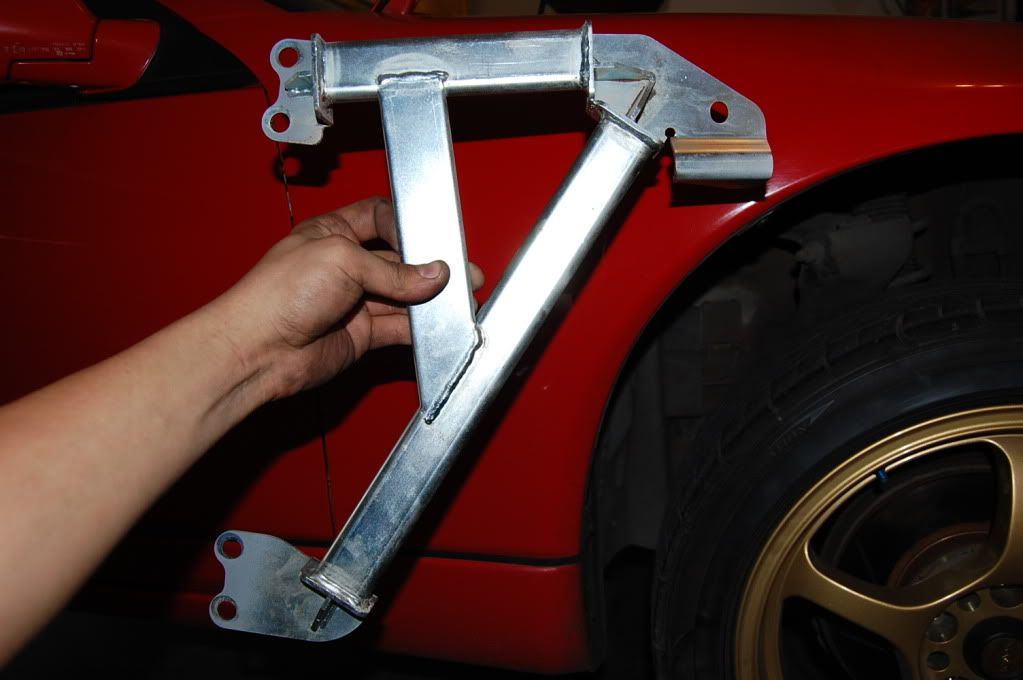
The SPL fender is simple but ideal in two ways. It uses basic triangle geometry to connect the Z's chassis and secondly....it's light....my personal favorite. The part is super high quality and is comparable only to Carbing parts in the way of lightness, strength and finished product quality. It's a truly great piece that well priced and by simply bolting it on you can notice a difference.
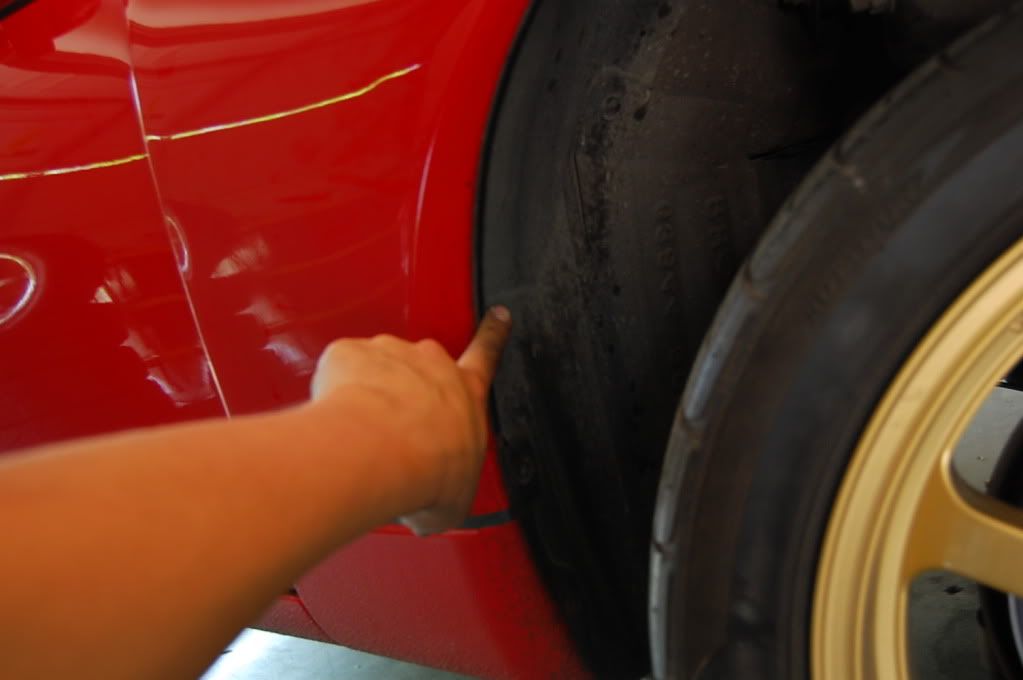
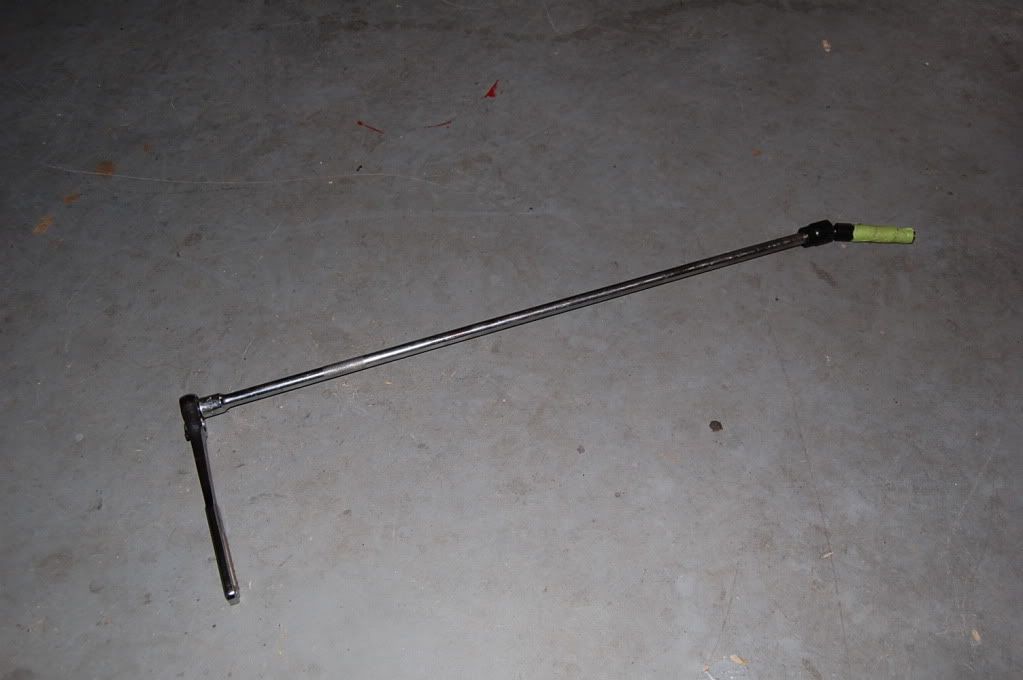
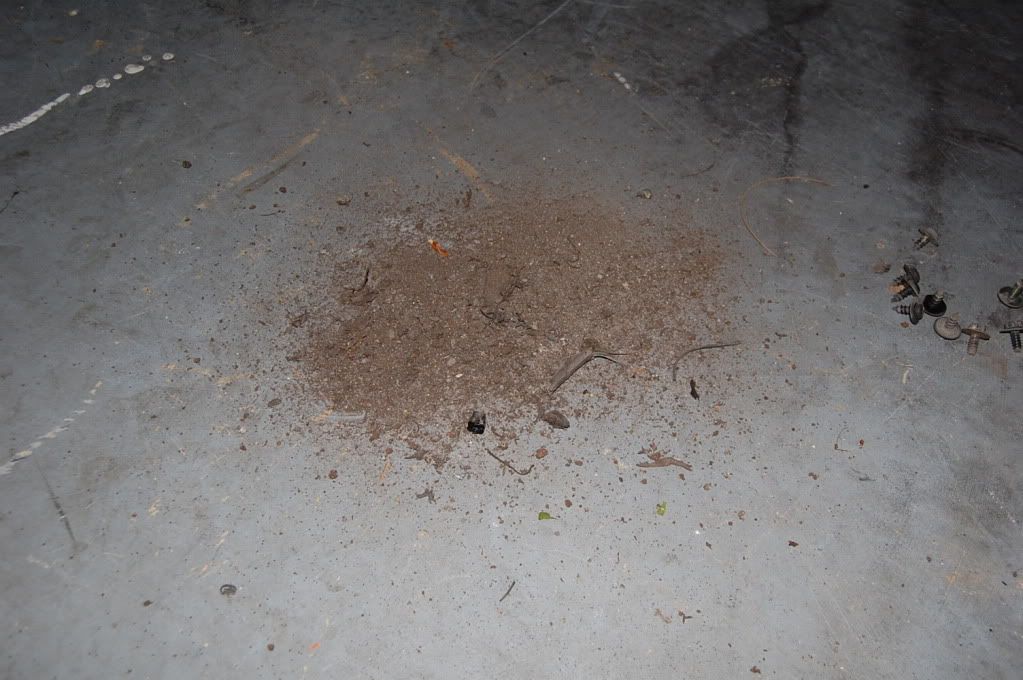
********************************************************************** Tools you will need - 10mm deep and shallow sockets, 10mm wrench, 10mm ratcheting wrench (swivel head optional), a few long extension, flexible adapter for the upcoming hard to reach areas, a pick will come in handy, a few philips head screw drivers, zip ties and some masking tape. Lastly, 1 good grade 10mm bolt. * Points of interest before beginning - Unfortunately for us, early Z32 owners and poor mechanics alike can make a mess of the lower Z's seam lines on the underside of the vehicle. Sometimes this is extremely bad, depending on the car. Before you step into this project, you may want to take a look at your jack point and check condition. Below is a picture of my own for this project. Although bent this can sometimes be mild in comparison. You may want to allow for some time to fix this when doing this brace install. 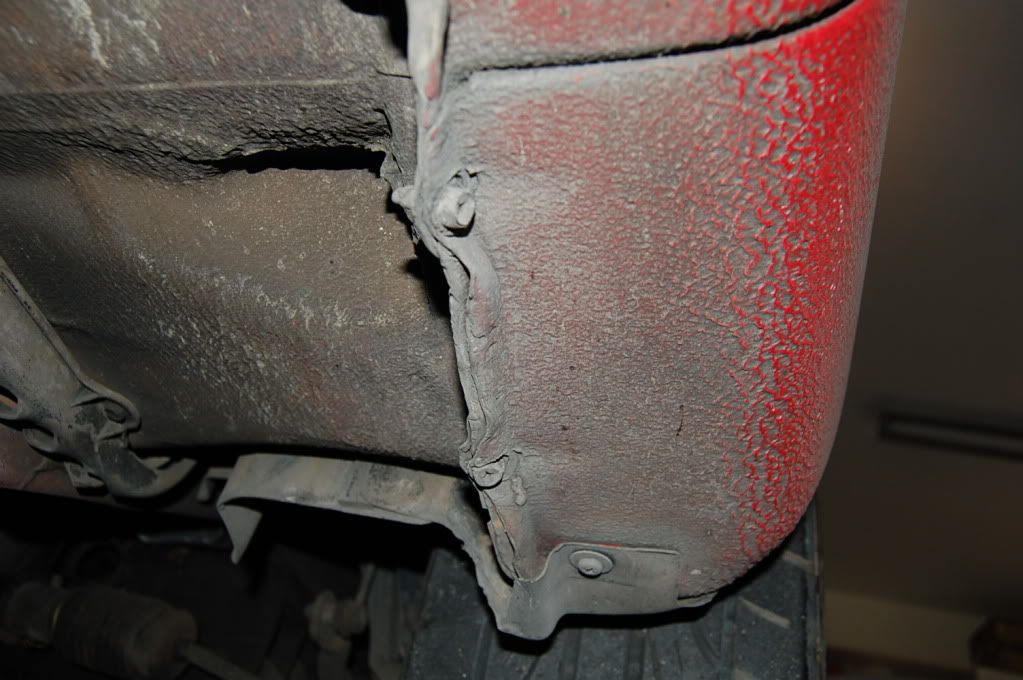
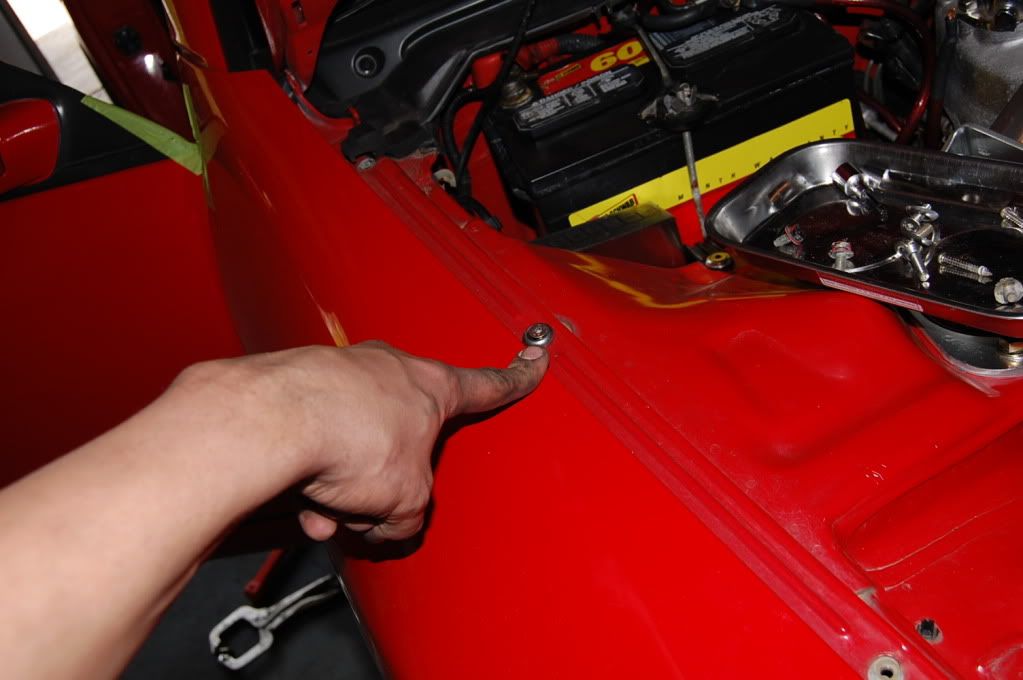
******************************************************************** Okay, so let's begin to remove the fender to access the area that we need to bolt in the fender brace. This How-to was done without taking off the bumper. I did this in the hardest way possible just to show how it's not the hardest thing in the world even with the cover on. Start by unbolting all but 1 of the 4 10mm bolts at the top.
 Next take your 10mm deep and wrap some masking tape around it. As well, mask off the door and fender to protect the paint.
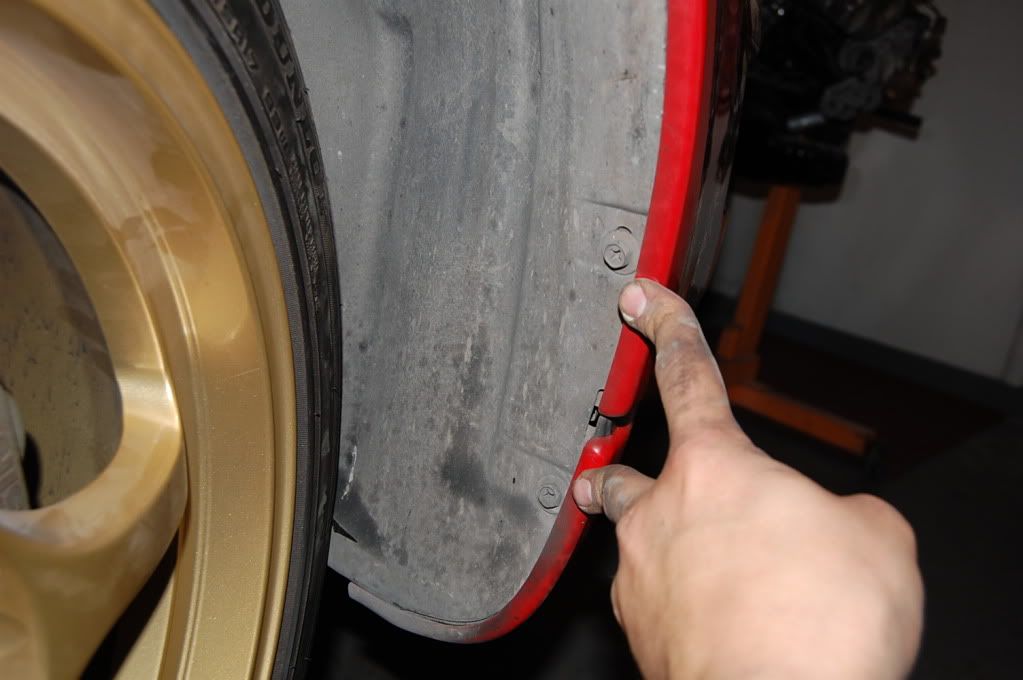
 Now we will take out all the philips head screws and 10mm plastic screws on the outside of the liner that fit the liner to the fender. Remember you have one on the underside of the fender as well.
 You will also need to undo the liner that meets the bumper as well. Again, 10 mm body screws. Again remember the underside.
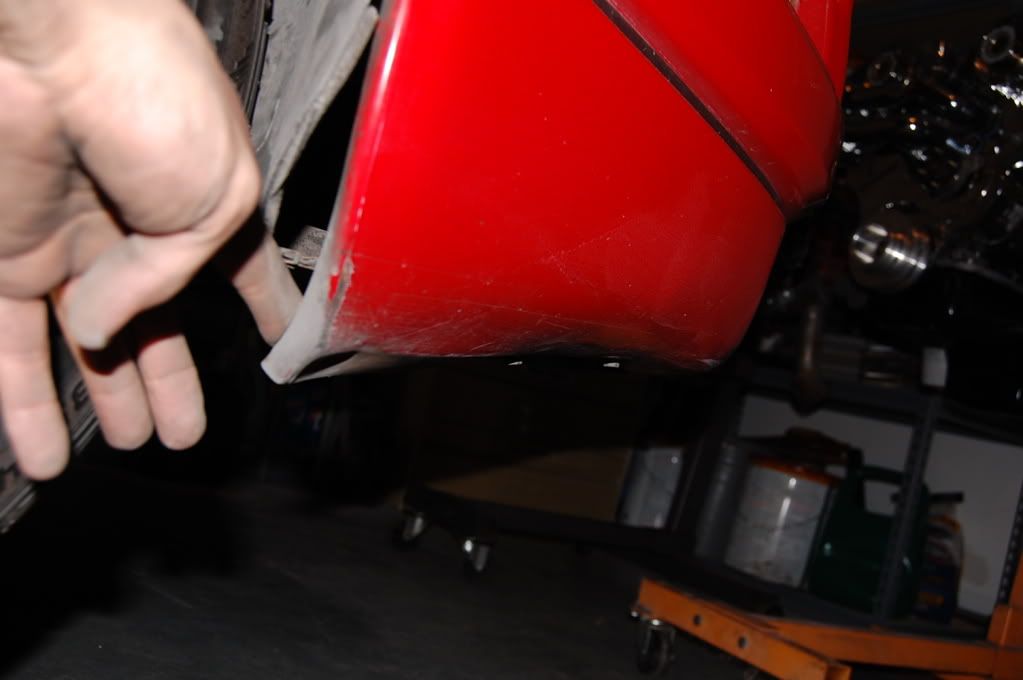
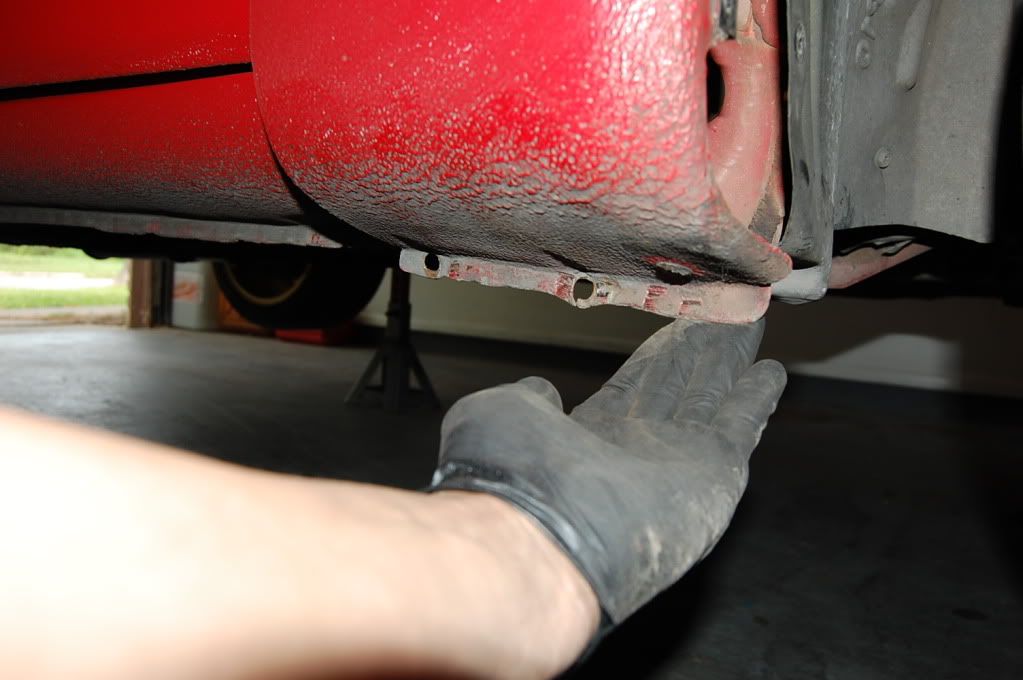
 Here is the underside of the bumper now loose. I like to take out the three 10mm's on the underside to help me get to the only PITA area of the whole install which is coming up.
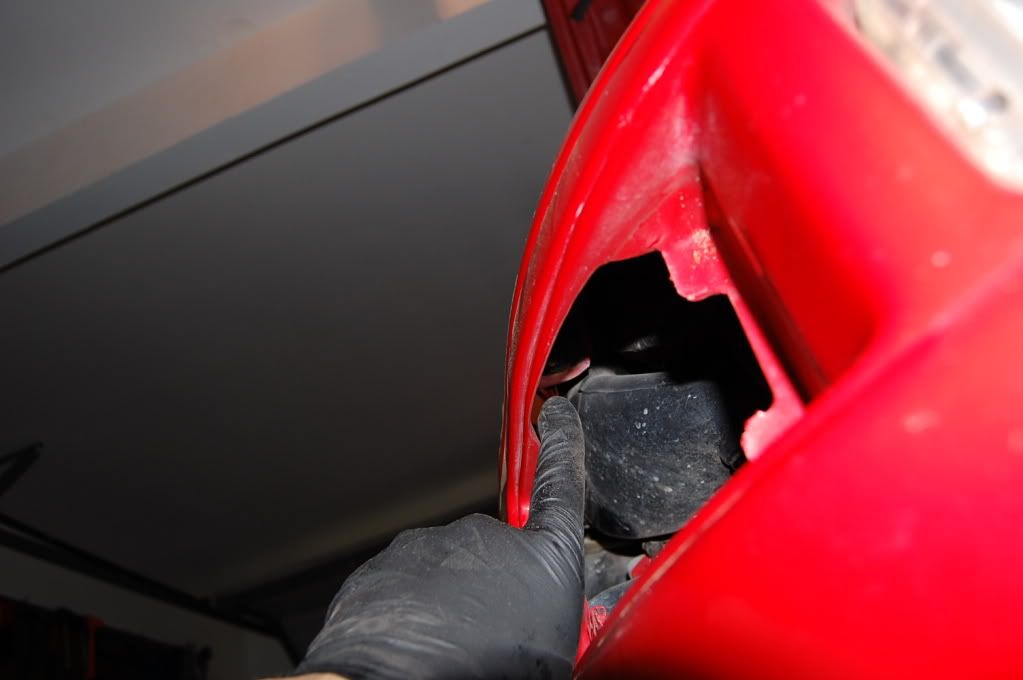
 With all the liner disconnected from the fender and the bumper simply push it up to get it out of our way. But you want to pull back the area where it meets the bumper to expose the inside 2 10mm bolts that we now have to get to. Unbolt the 2 10mm bolts.
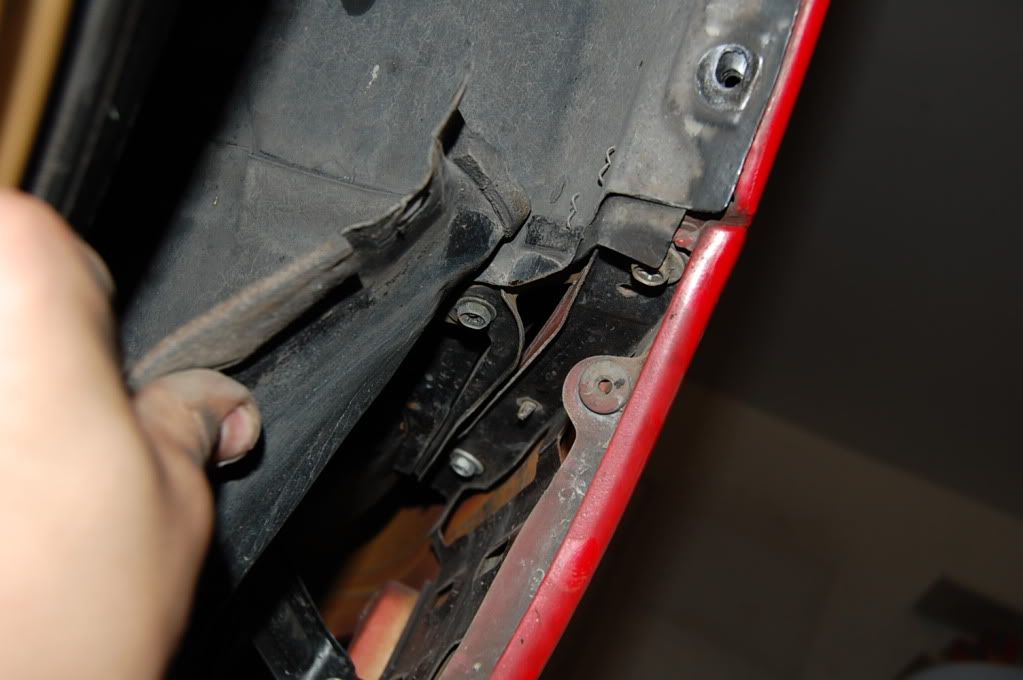 This is where the extensions and flexible heads become your best friends.
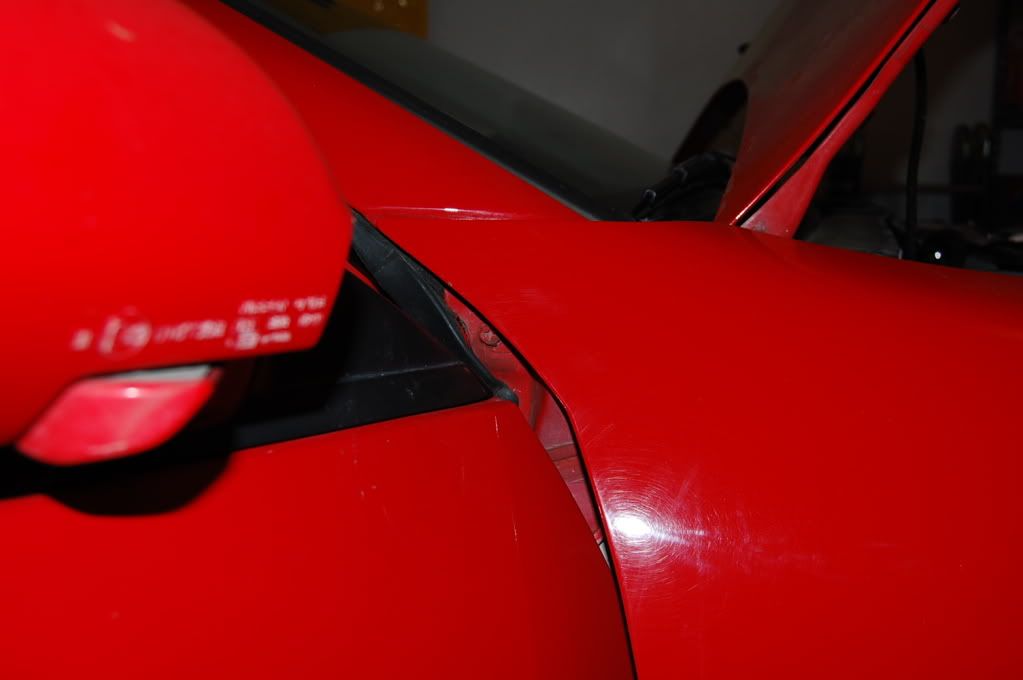
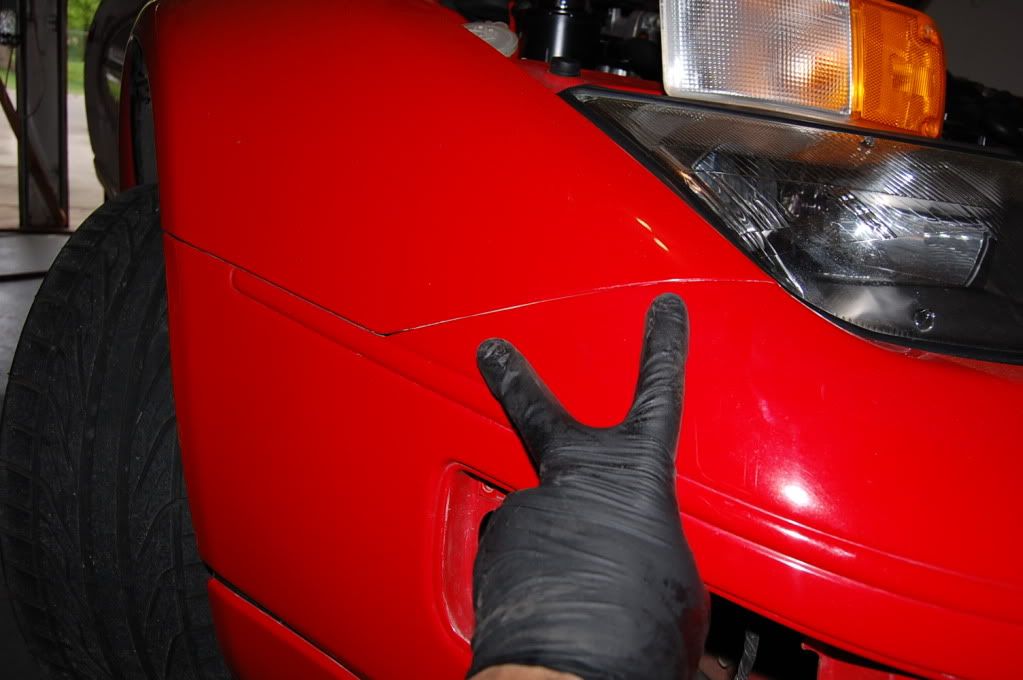
 From here you will need to access the front of the fender where it meets the bumper. Unscrew the 2 small philips head screws that hold in the side marker and unplug/removed the turn signal at this time. I've pointed out where your 2 10mm nuts are located under the bumper.
 You will also notice a 10mm bolt in there as well. That needs to come out as well. That bolt, which I cannot get a photo off is the only PITA of this How-to. Some guys leave it out afterwards while others put it back in, I put it back in but to each their own.
 You want to get in here with an extension for the 10mm bolts and maybe a flexible adapter for the other PITA bolt.
 Now that the fender is fairly loose in the front we will move onto the lower 2 10mm bolts. These bolts are sometimes covers in everything from gravel guard, paint, rust and just general crap. These bolts see a hard life with the 300zx and I usually opt to replace them with newer 10mm bolts. My only WARNING is that you take these out slow and even hit them with some PB Blaster to make their removedl easier. Take your time here, you don't want to snap them as I've seen done more than once. If you do snap them work them out with a set of vice grips from the rear.
 Now, you should notice all the crap that has now falled out of the fender and into your garage. Your welcome. Take the top later to clean up the inside of the fender and the hinge pillar to prevent rust forming in those area later. Clean it up this and let's keep moving.
 Remember that 10mm bolt at the top of the fender. Let's go ahead and take that out now and open up the door on the side you are working on. Be slow and be cautious of touching panels.
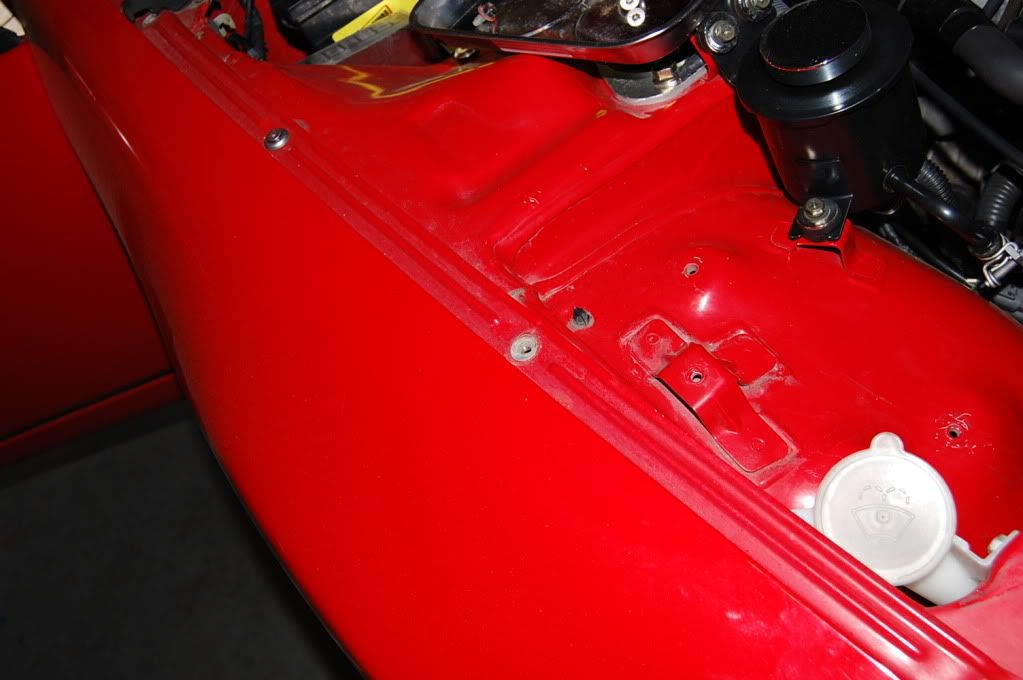
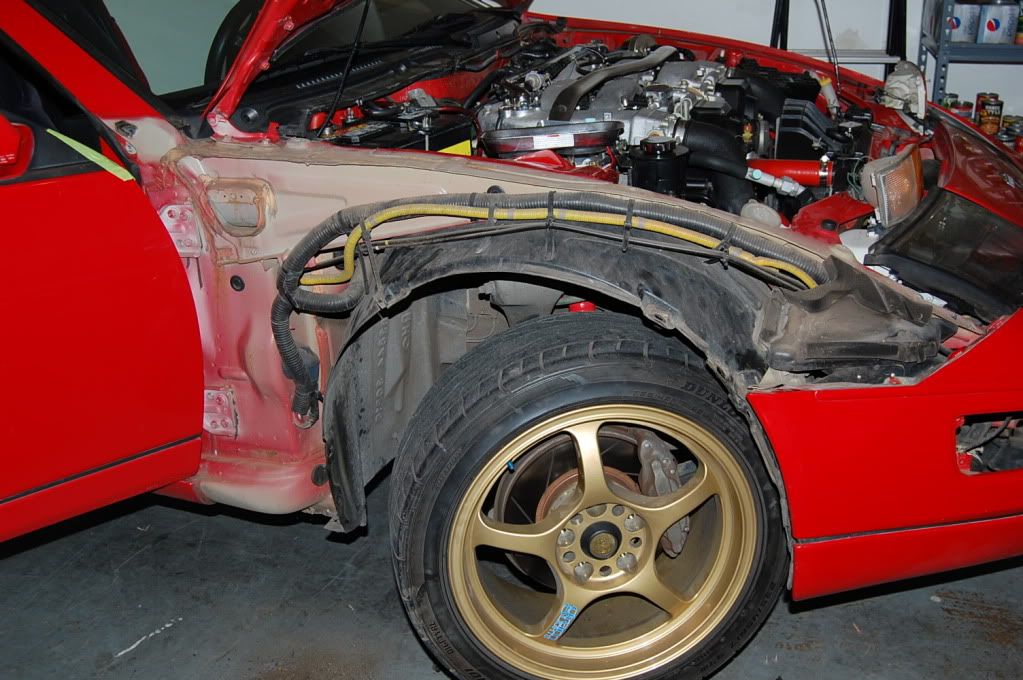
 This is shot of our fender off. The brace will bolt on using 4 existing 12mm door bolts and 1 10mm bolt that we will need to supply.
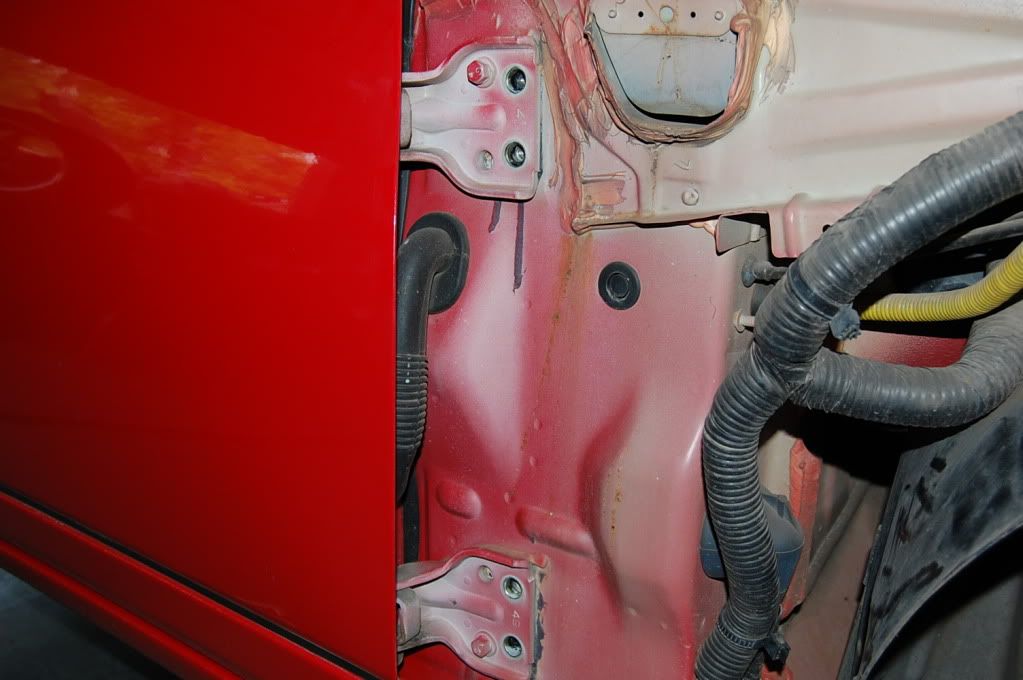
 Close the door to the vehicle and removed ONLY the 4 12mm bolts that you need to bolt up the brace. You will also need to remove and relocate wiring harnesses out of this area to make room for the brace. For those TT guys out there, you have the clutch booster on the driver's side that will need to be relocated. My recommendation is on the underside of the upper side member.
 This is the bolt that I chose to use. It's a grade 7 bolt and has a tappered bottom that fits perfectly with the bar and is the same thread pattern as we needed. I want to say you can take this same dimensions off the stock bolts that hold on the nose panel. Again, try to score this bolt if you can. But a strong 10mm with a good strong washer would work as well.
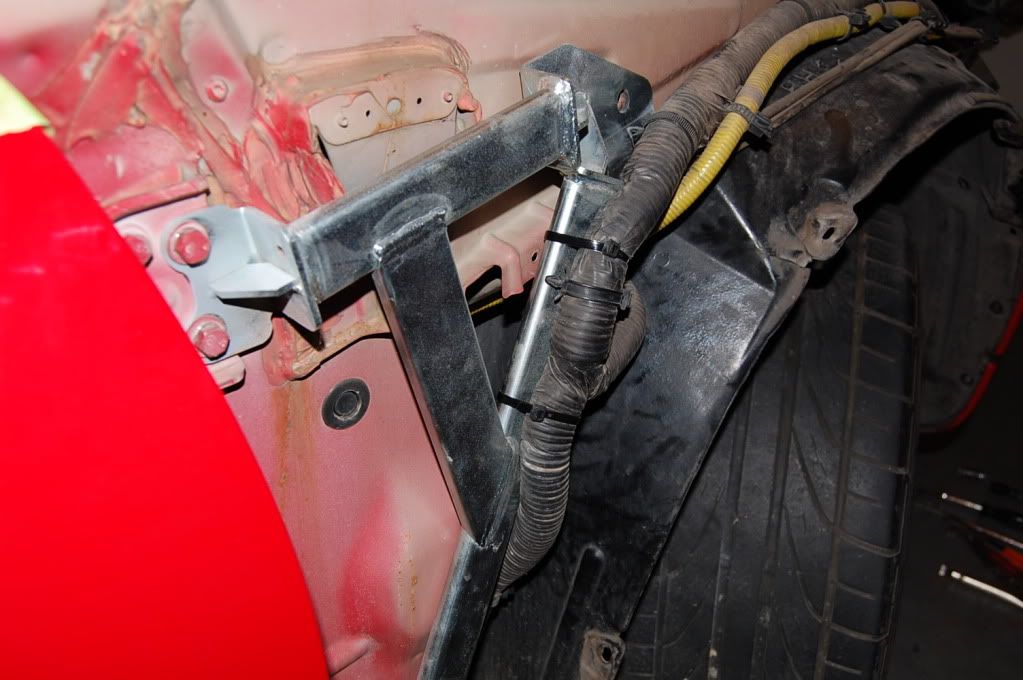
 Loosely bolt up the bar into place. Start by tightening the 10mm bolt up first and then off to the door's 12mm bolts. I did 30ft pounds on my strong 10mm bolt and 50ft pounds to the 4 12mm bolts. I also took a minute to ziptie up the harness to keep it from moving and rubbing under normal driving conditions.
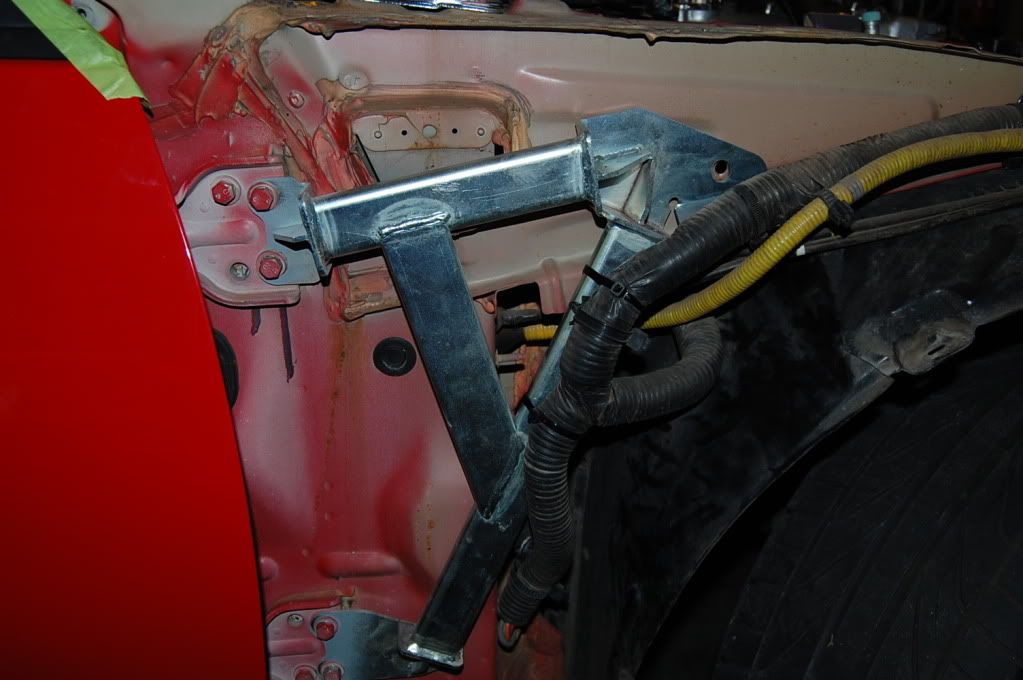 Another final shot.
 From here just back step all your removal steps. Remember to clean up the insides or at the very least blow them out to prevent rust. Hope you guys enjoyed and again...I highly recommend this bracing for even the most basic of weekend of warriors. Good luck.
 |


 SPL Fender Brace Install -