| These mostly show what's already in the video, but these should give a better look, and I added some detail as well...
My boost gauge was previously double-sided-taped to the upper-right part of the steering column. It was a good spot, but I couldn't secure it much better without drilling/cutting into the column (not gonna happen), and I didn't wire up the light. I found the single gauge mount on Amazon for $8. Light is tapped into the illumination wire in the DS switch pod and the vac tube runs down and through the hood release grommet. Mount is stuck to the dash with... yep, double-sided tape that came with the mount. It will need replaced with some higher-quality 3M tape.

Silicone elbows and ISR Performance MAF adapters from CZP. The adapters were a bit of a gamble, but look like they'll work out well. They're intended to bolt to a MAF sensor and have a 3" cone filter on the tube side. I drilled the threaded holes out, flipped it around and bolted it to the velocity stack (with Permatex to seal) and inserted the tube into the elbow.
MAC boost solenoid in roughly the same spot as my manual boost controller was.

Continental flex fuel sensor. Getting the hose onto the tube was awful. Maybe I didn't lube enough, but it was a royal pain. Sensor is yet to be secured, but I'll take care of that with, you guessed it... double-sided tape.
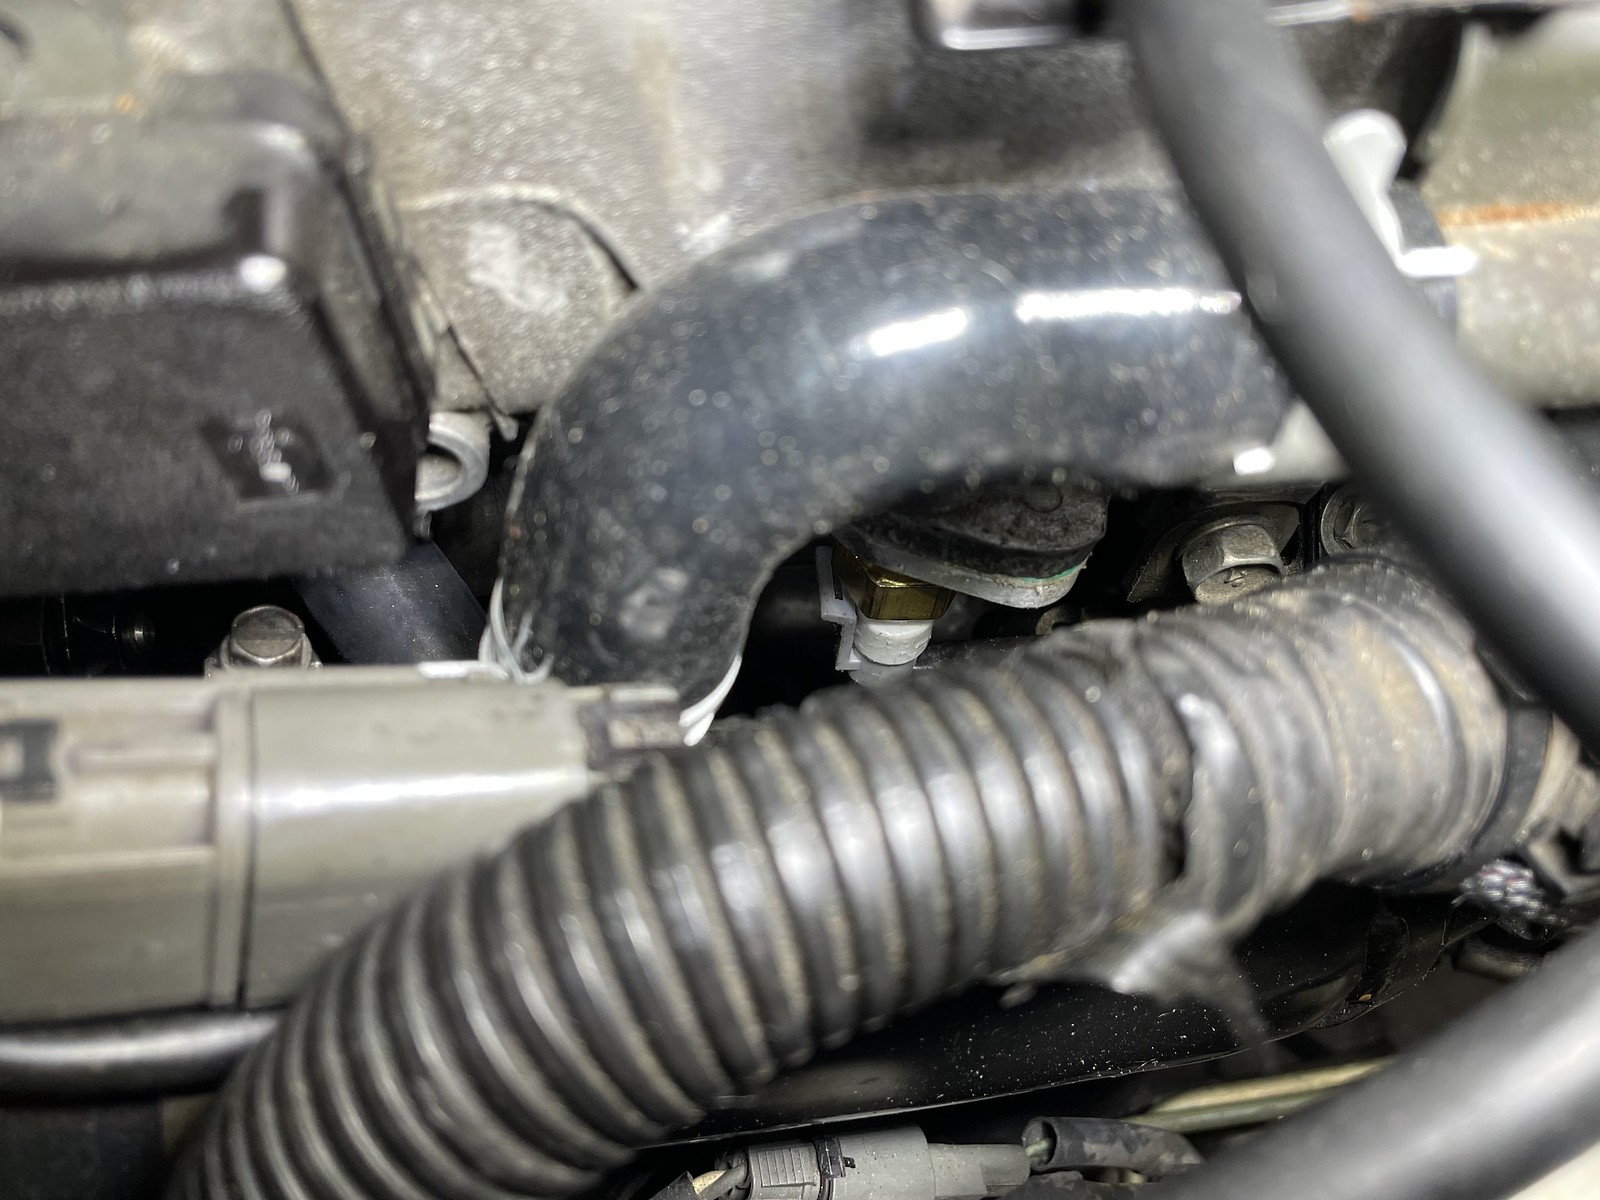
Intake air temp sensor - included with the Haltech adapter kit. I took the EGR block-off plate that I already had, tapped it dead-center with an M14 x 1.5 tap and screwed it in. Tip: Don't wait until the plenum is fully down and bolted in place before snapping the connector in. I got it done with a long flathead screwdriver and long reach needlenose pliers, but it wasn't easy. Maybe it's easier on the passenger side?
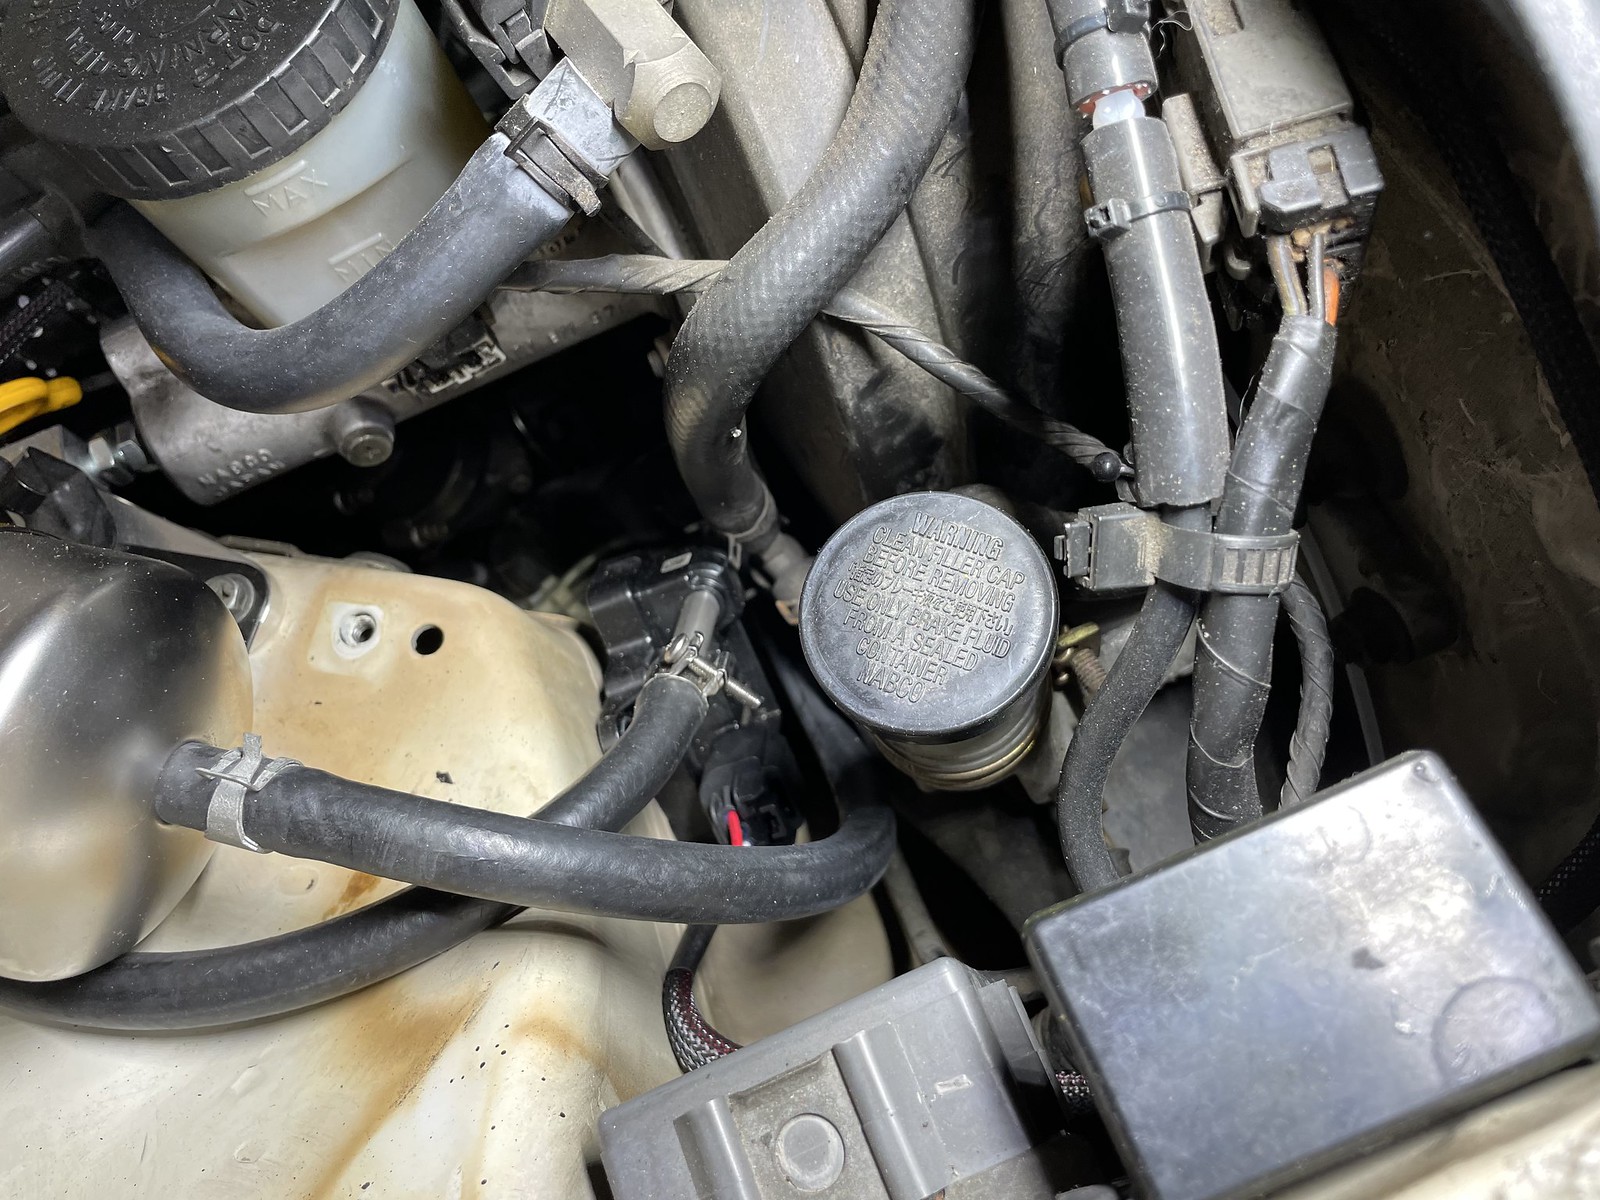
Fuel pressure sensor loaded in an adapter from CZP, placed right in the middle. There's contact between the adapter and the balance tube, so I'll need a means to keep separation/protection between them. Throttle cable cover won't fit anymore... darn. You can also see how I routed some of the wiring. I followed existing loom where possible.

All wires plus the MAP sensor hose got routed around the battery and through the hole in the fender well beneath the fusible link block. There's a plastic filler piece that was easy to take out and trim to give enough room for everything.
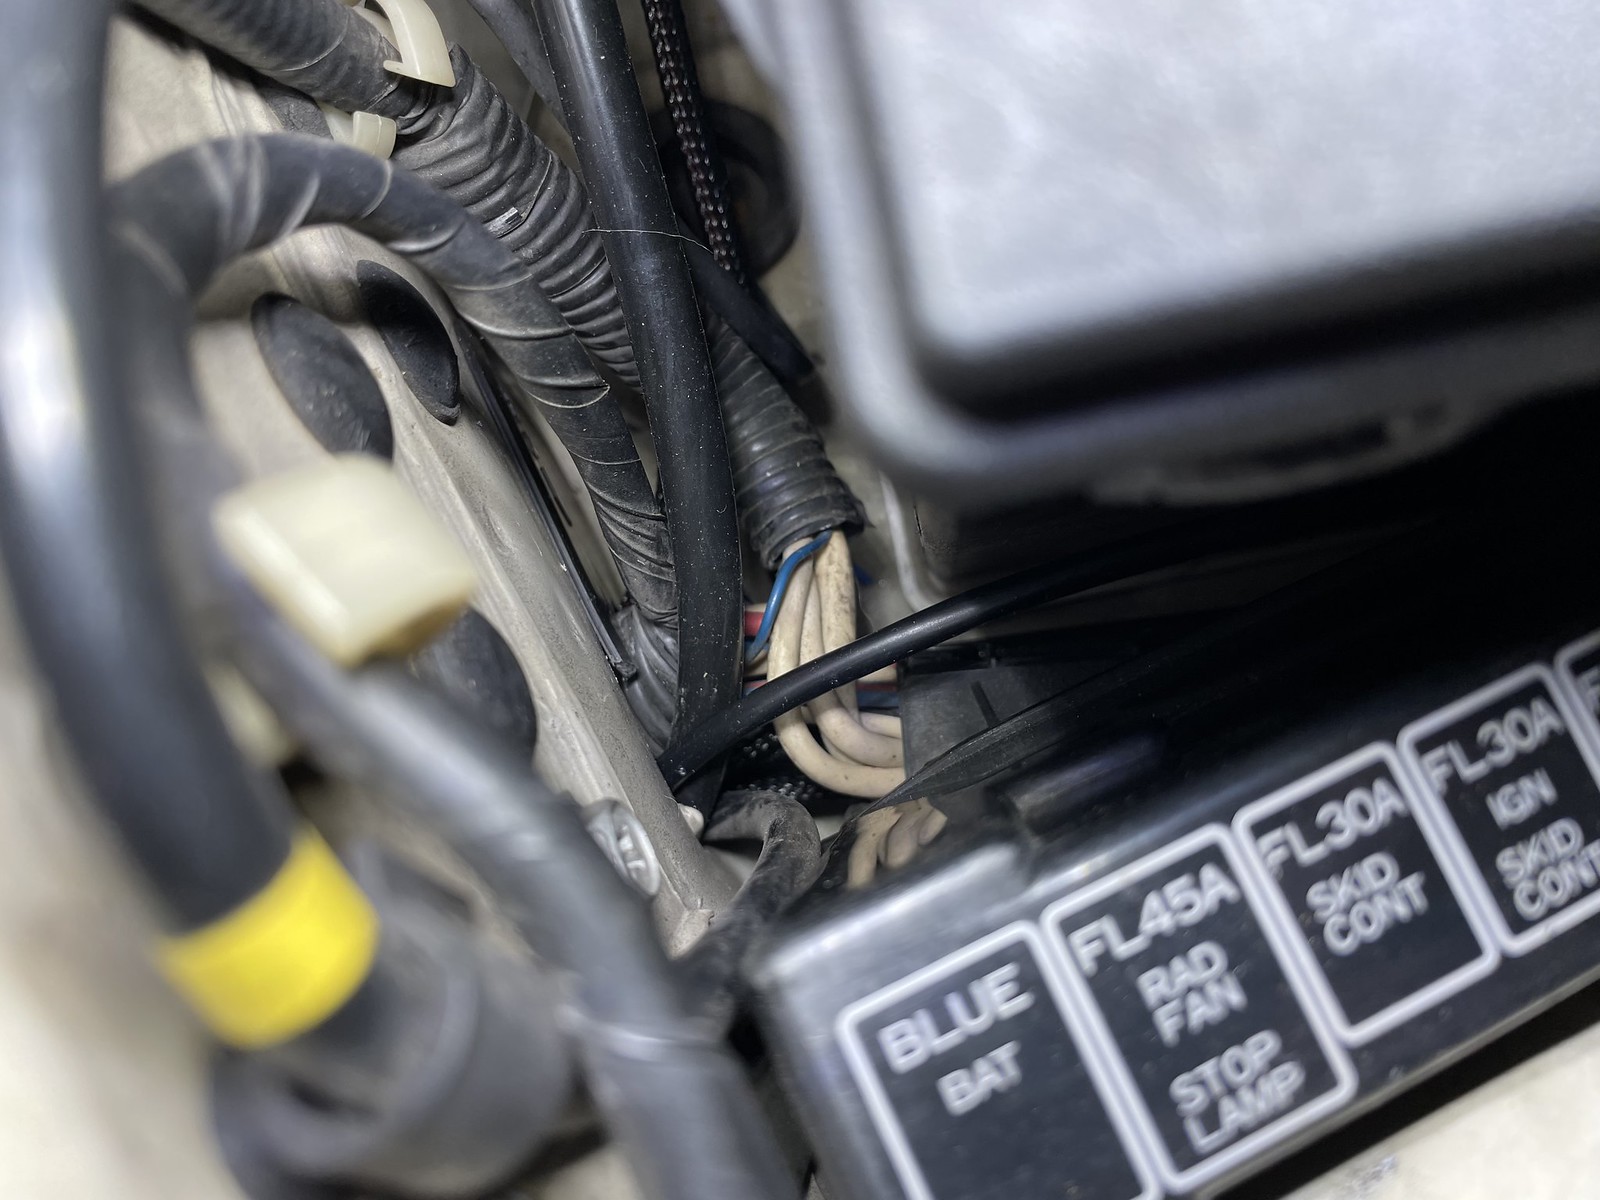
Now inside the PS fender well, you can see where the bundle came through and heads downward. There was a rubber plug where the grommet is now. Seeing that the 1" grommet was getting tight and lack of space in the ECU area, I decided to place the wideband controller here. If I recall correctly, I also think the DS wideband sensor wire length limited me here, too.
I fished some 18GA wire through the unplgged hole and into the interior, right in front of the PS door. I pulled a decent amount of wire through and tied the ends together, creating a conveyor of sorts. I ran everything through the grommet and slid it up the wires to get it out of the way. One by one, I zip-tied each wire bundle to the knot in the wire and ran them through into the passenger foot well. Once they were all in, I slid the grommet back down and worked it around the hole, into place. I did fill the grommet/wires in with silicone to seal it up before reinstalling the liner.

Just a view from inside, showing where everything came through.

Loose install to get everything connected to make sure everything was working as intended.

First key-ON attempt didn't go well. I blew the fusible link for the ECU, fuel pump, etc. immediately. After troubleshooting that took longer than it should have (because I thought I screwed something up in the more complex wiring work), I found the cuprit...

I managed to pinch the fuel pump power wire between the hanger and tank body. Cut right through the insulation when I tightened it down. Once repaired, all was good.
After getting everything powered up, I was able to connect with the laptop and load the basemap. The car did start up right away, although it's rough as hell. I did learn that I'll need to adjust the injector dead times, scaling down the AUS test sheet values... I've yet to get into that, but I have a procedure on-hand. Regardless, the car would stay running, letting me look at all the sensors.
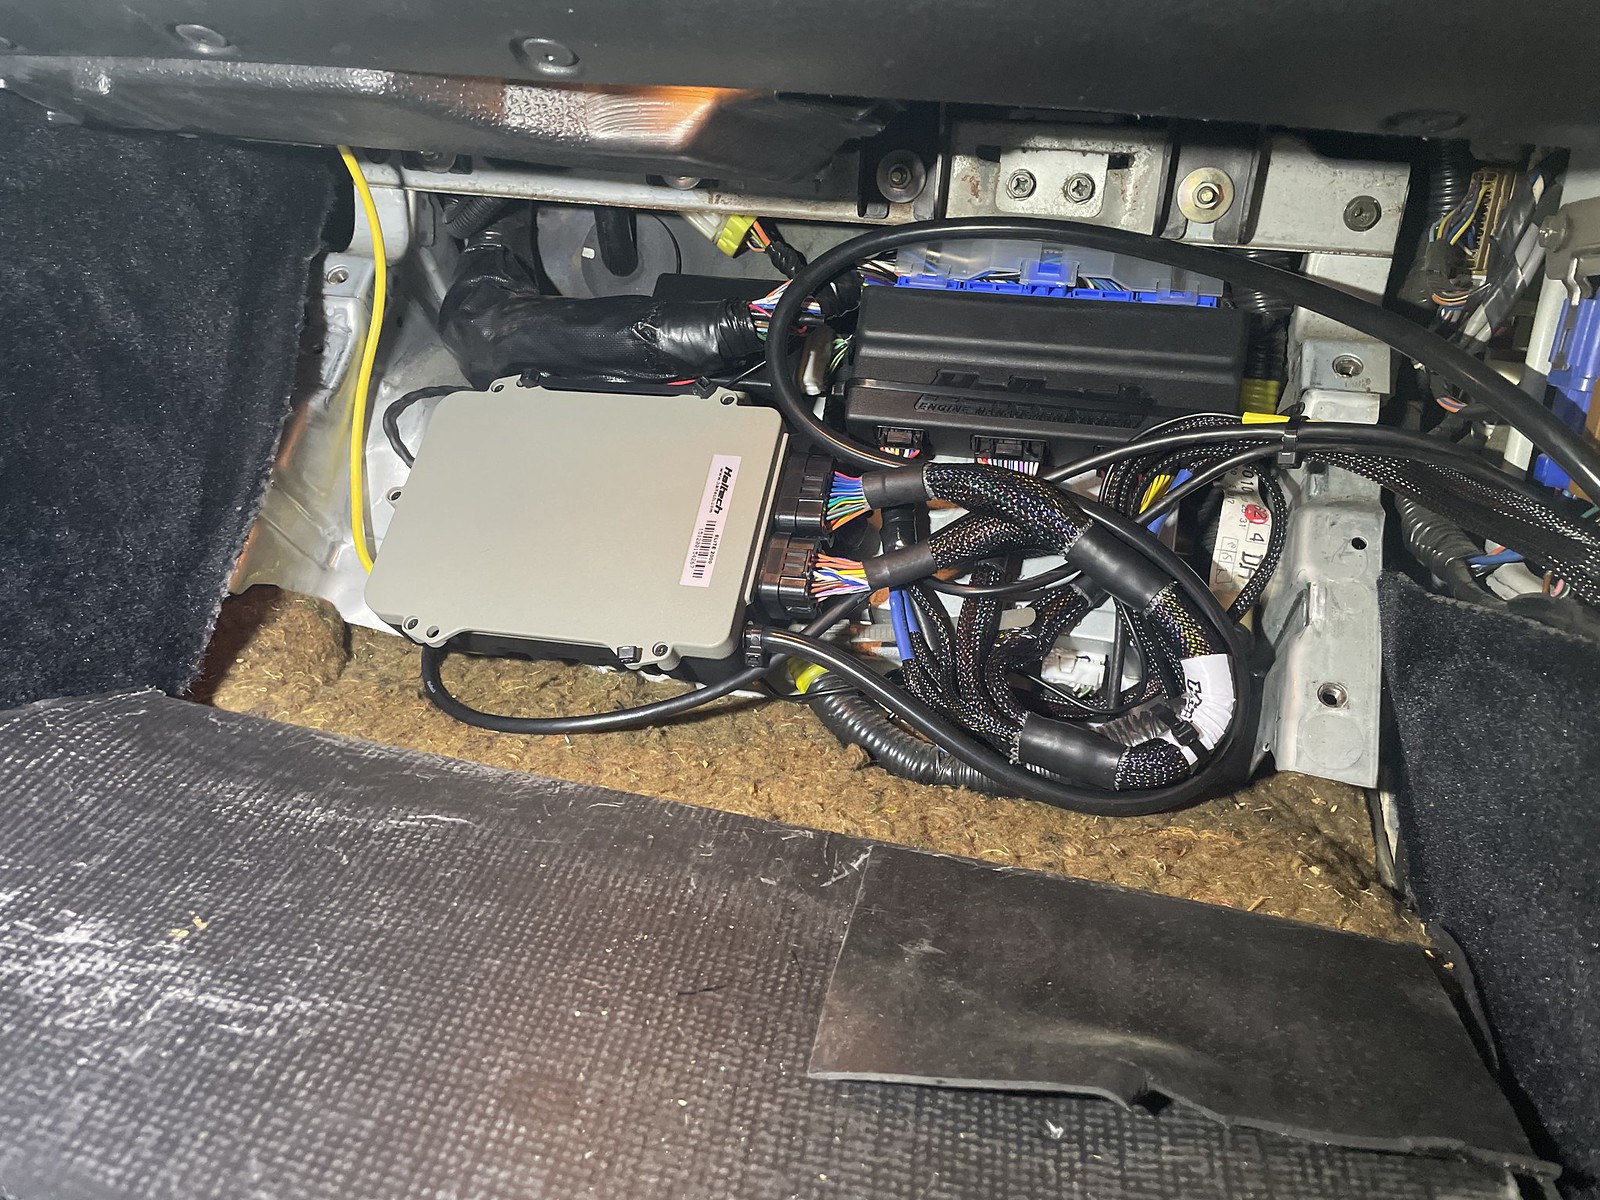
After verifying sensors were reading and no issues from an electrical standpoint, I shut her down and proceeded with finishing the ECU install in the passenger foot well. The adapter and ECU are zip-tied in place, but it was tougher than you would think. I ran the zip-ties around the other modules, using them as anchors. The tricky part was that the ECU couldn't be face-up with the USB cable plugged in - it would hit the wood foot panel when installed. Flipped it over and there's enough clearance. From there, I just ran the cable into the glove box.
And the last step before getting the car back on the ground. I was fortunate to have a little help here. He actually hung out and helped in a few spots - clearly I wasn't the only one excited to get the car back together...

I definitely have a lot of work ahead of me, but I'm excited to get into it and learn as much as I can. I'm no expert, but I'll glady give any advice or help that I can. As I get into the tuning, we'll see how everything goes with dialing things in. I'm definitely taking my time doing it and won't be seriously getting on the boost until dyno time.
- Aaron 
|


