Can a mod please delete the first attempt? Sorry
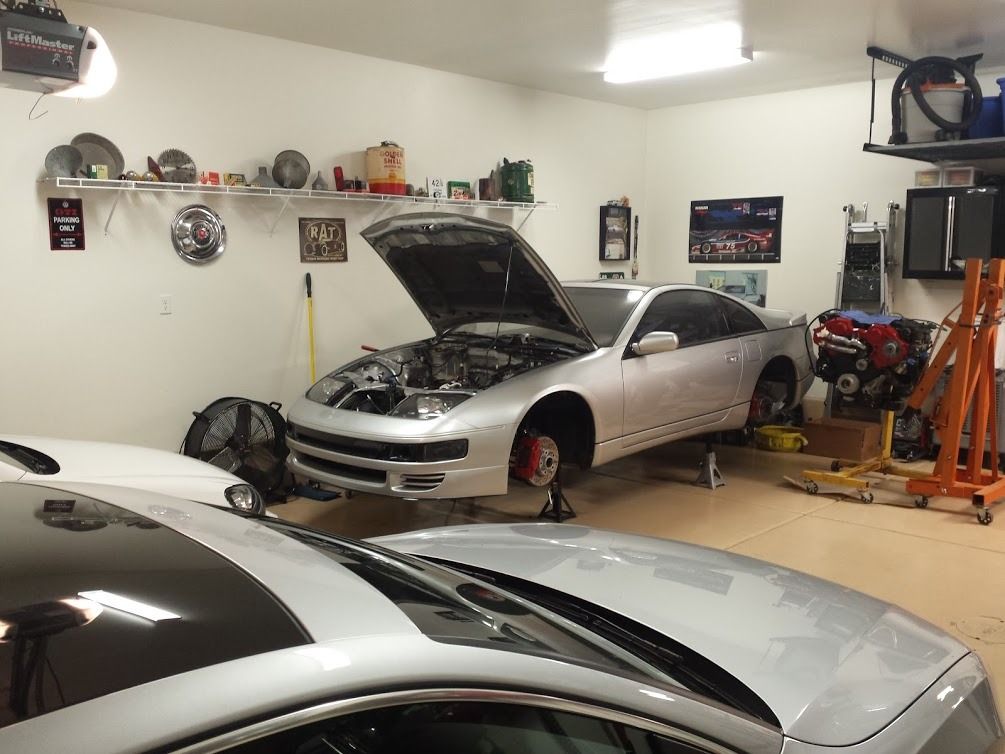
After about 3 years of the Z sitting in the corner of the garage I finally have it back up and running again. Much thanks to my friends Mark (AJ'sGarage(Vegas)) and Ronnie (EVLTWINZ ) that helped me build the engine, I couldn't have done it without you guys and I certainly wouldn't have had the motivation. And of course to my wife for pushing me to get it done.
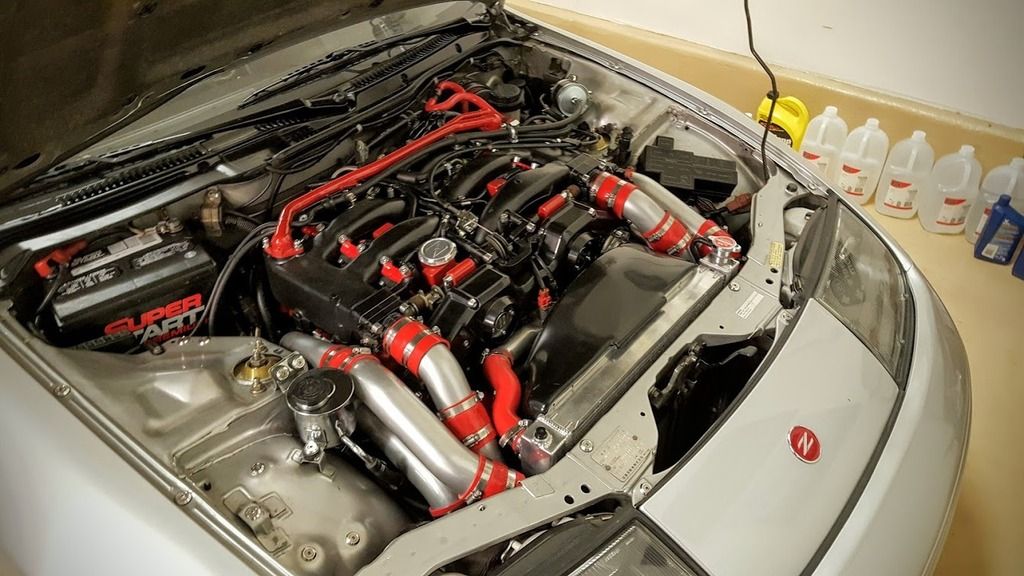
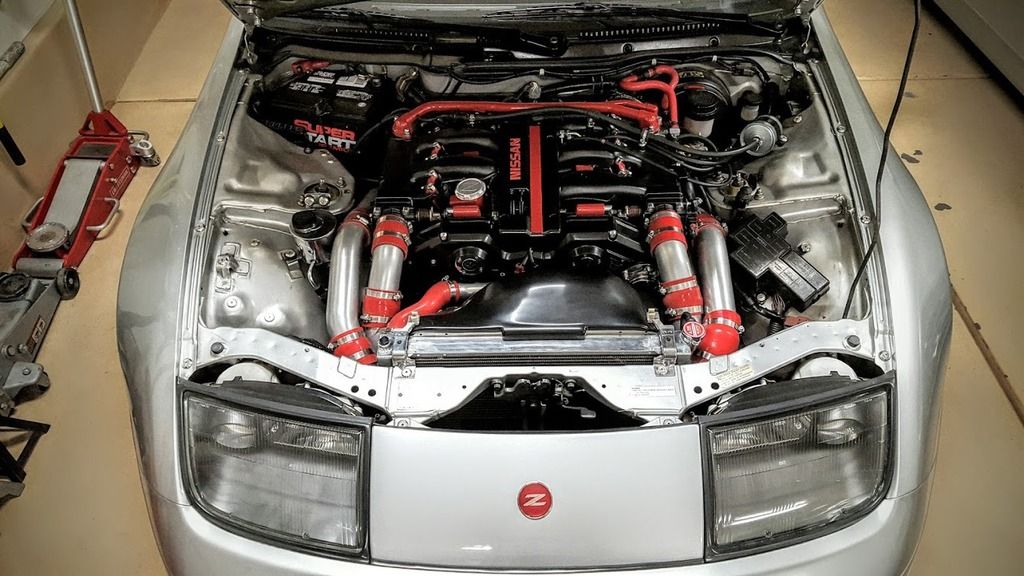
About 3 years ago the engine started smoking badly. I ran a compression test and saw that #6 had zero compression which turned out to be a broken piston ring. I decided to pull the engine and was planning on a super basic build just to get the car running again. Haha, yeah right. Turns out that I figured since the engine was out I might as well get some turbos and since I'm getting turbos I might as well get bigger IC piping, 3" exhaust, etc. Many dollars later I ended up with the following:
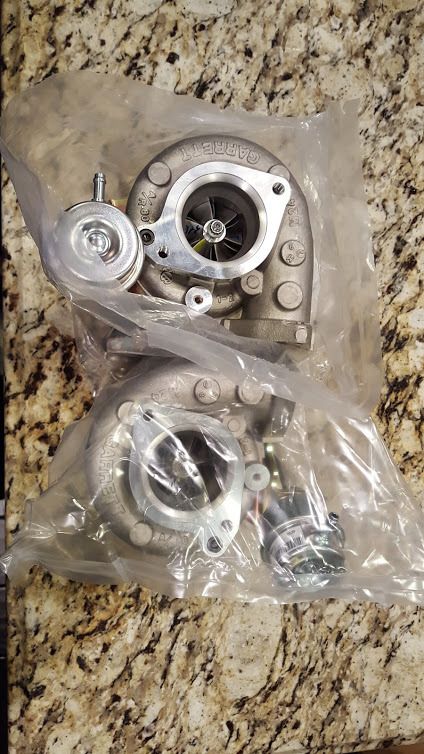
-JWT 550bb turbos
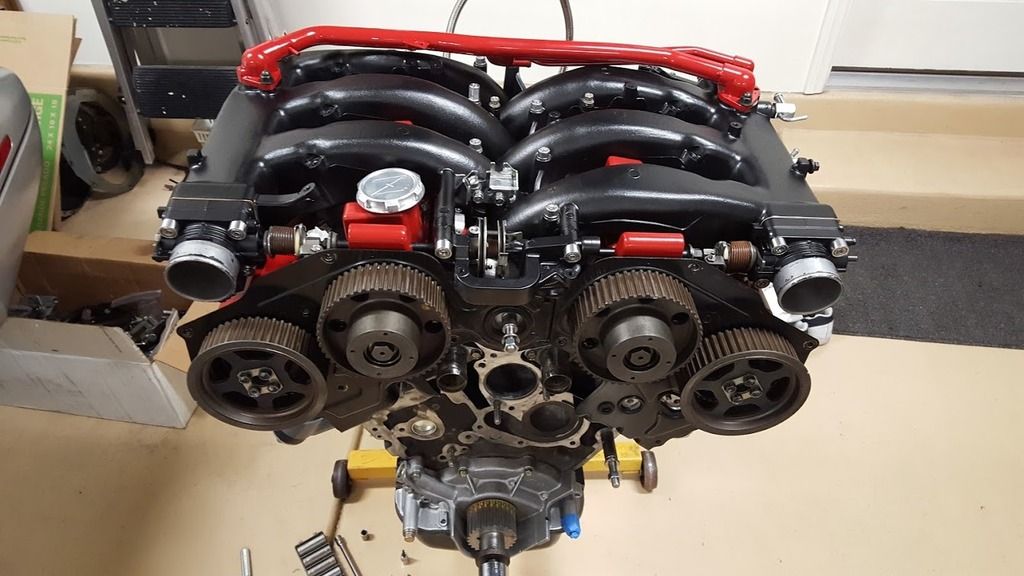
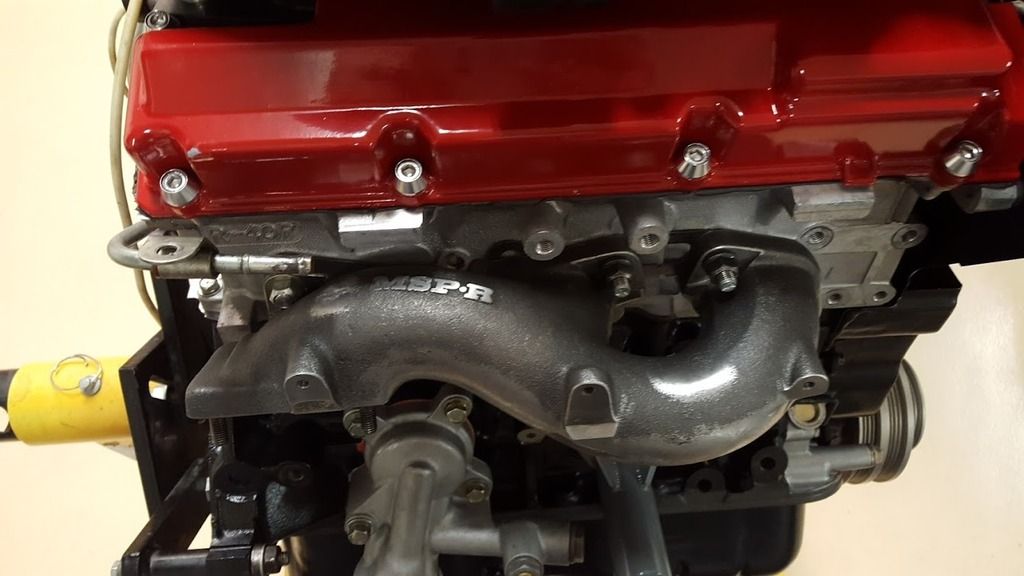
-MSP manifolds (thank you MSP!)
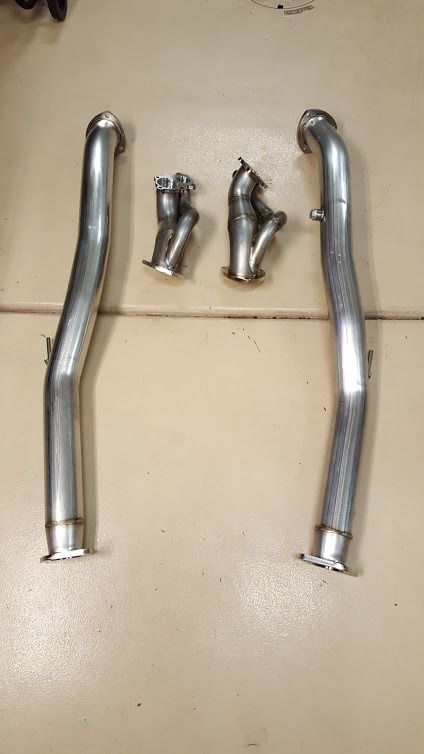
-SZ 3" downpipes/test pipes
-Wiseco pistons
-Stage 1 head job
-JWT 400 cams
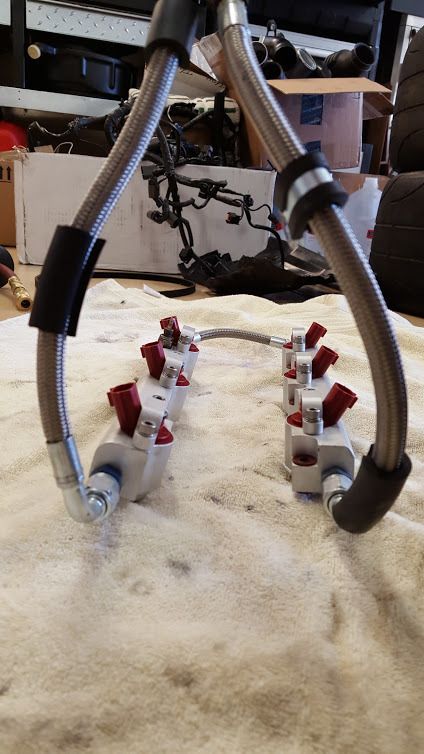
-Full Ash 2.5" IC piping including planar kit
-Modded IC's inlets/outlets for 2.5" piping
-BDE motor mounts
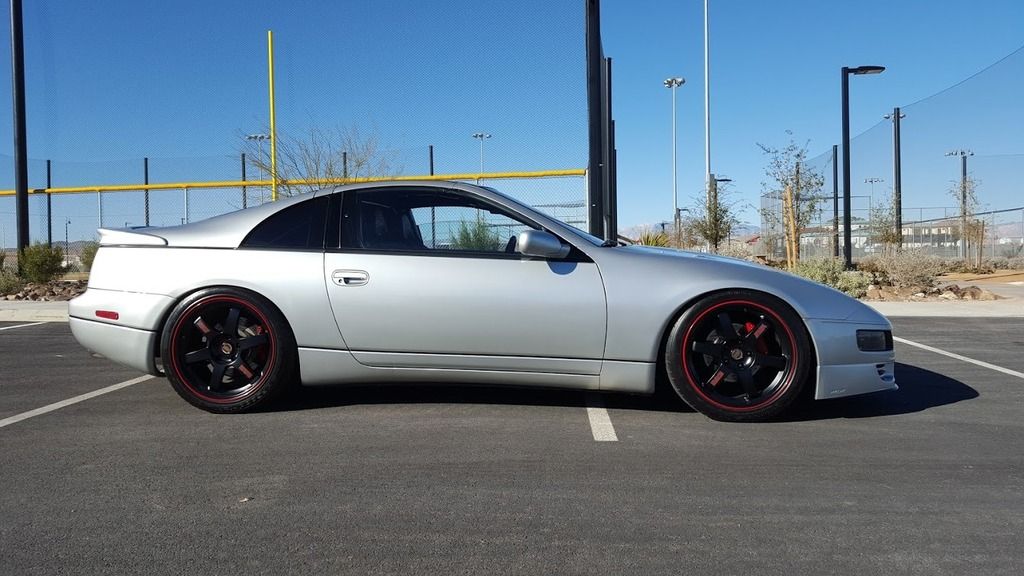
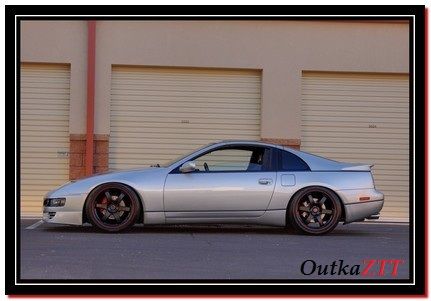
Along with a host of other things like Hicas delete, NA PS pump, polished parts, Koyo radiator, new wiring harnesses, etc, etc, etc. The list goes on.I must say it's so nice to be driving the Z again. I didn't realize how much I missed it until I was able to actually drive it and enjoy it again. I'm still in the break in process but have just started putting about 5lbs of boost to it and it feels great so far. Can't wait to get it broken in so we can start putting some real boost to it. Anyway, below are some poor quality pics (sorry) that I took of just some of the process:
Flying Z, let the rebuild begin
Buh-bye AC

Bye old Sport 500's
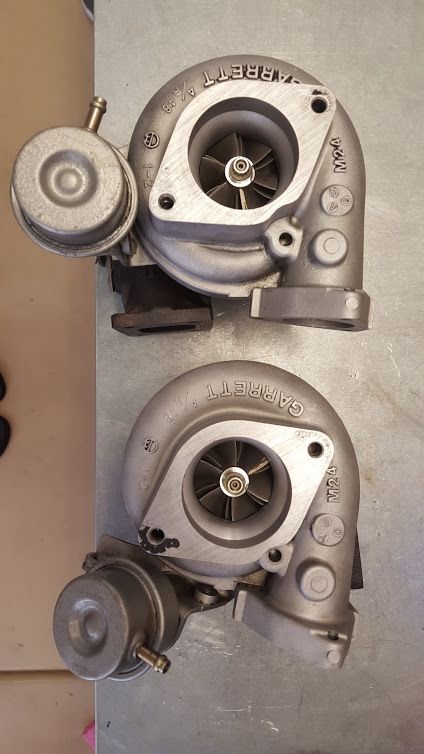
Hello new Sport 550's
New 3" exhaust
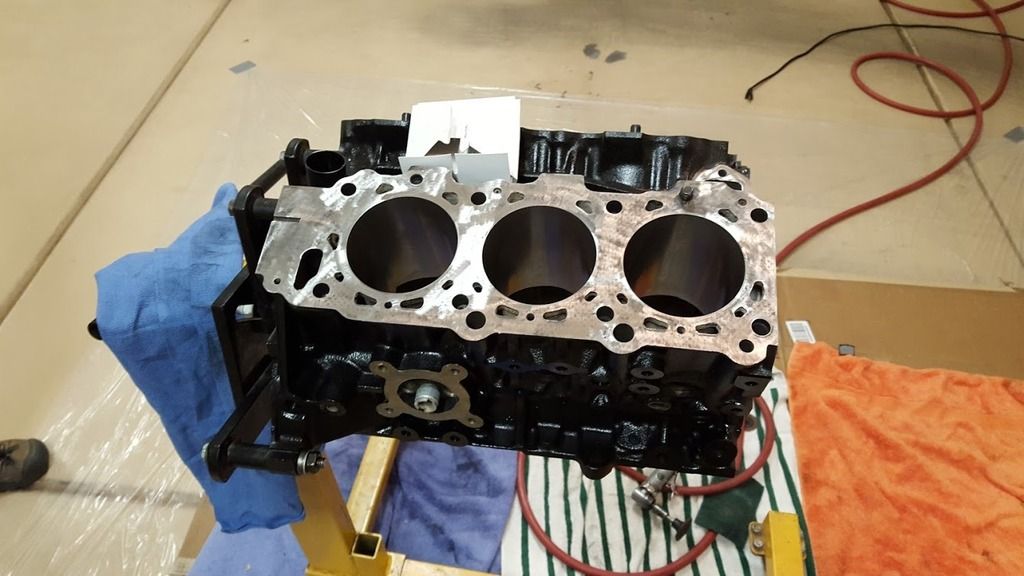
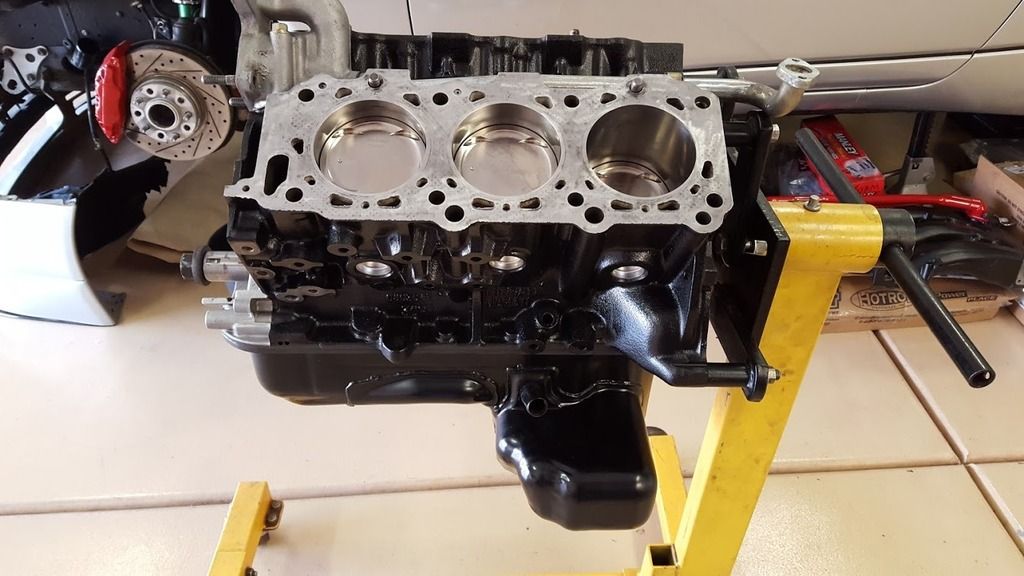
Block painted and ready for crank and pistons
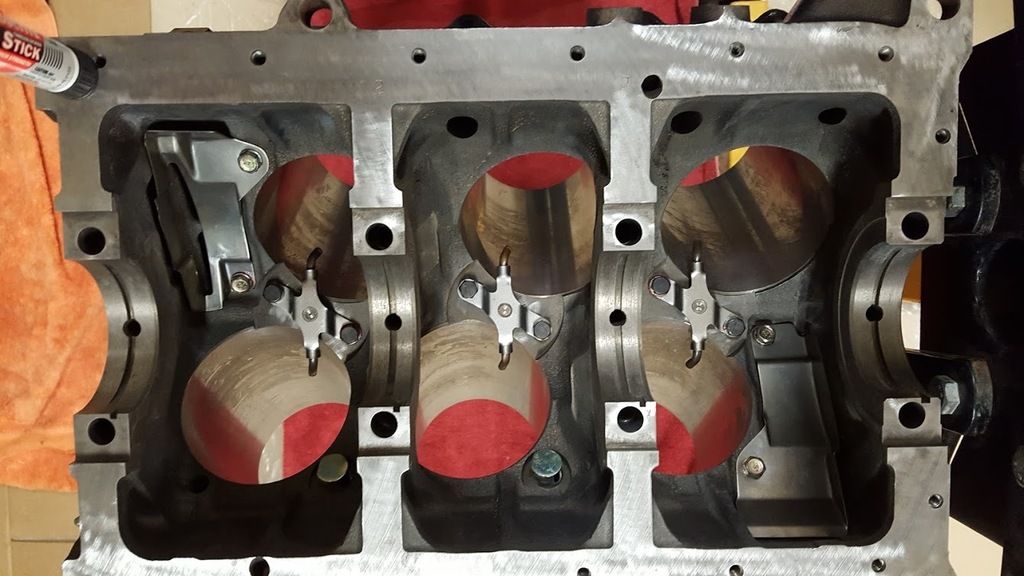
NA oil squirters
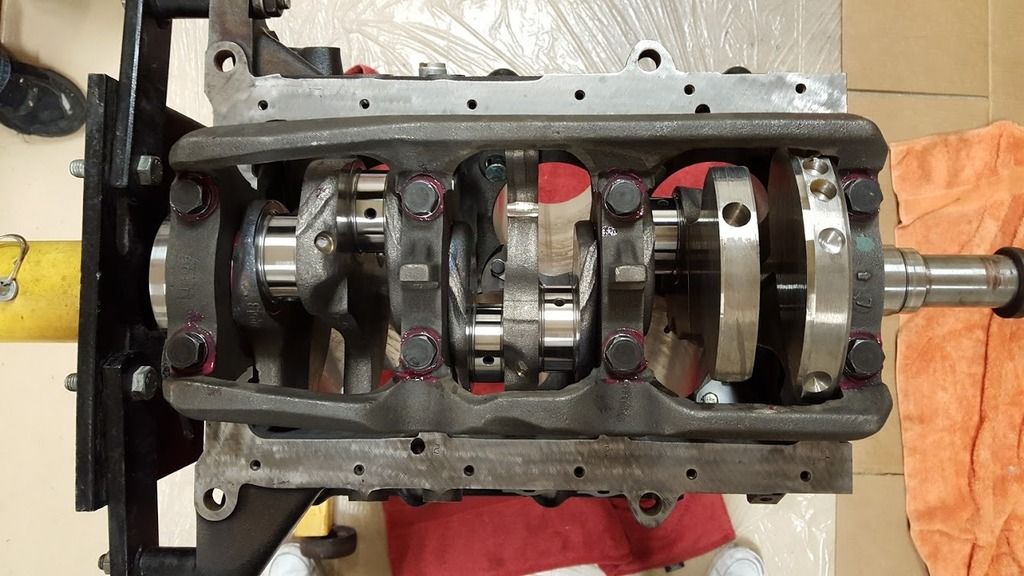
Pretty crank
These ZSpec bolt kits are fantastic. The pricing on them is incredible for what you get and the service was excellent.

Pretty pistons are in

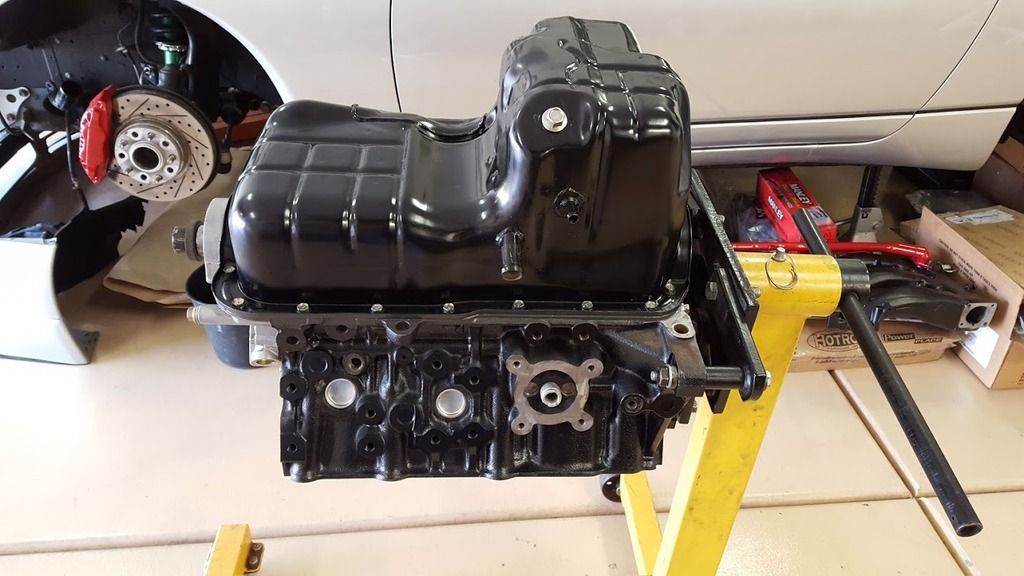
Painted block and oil pan
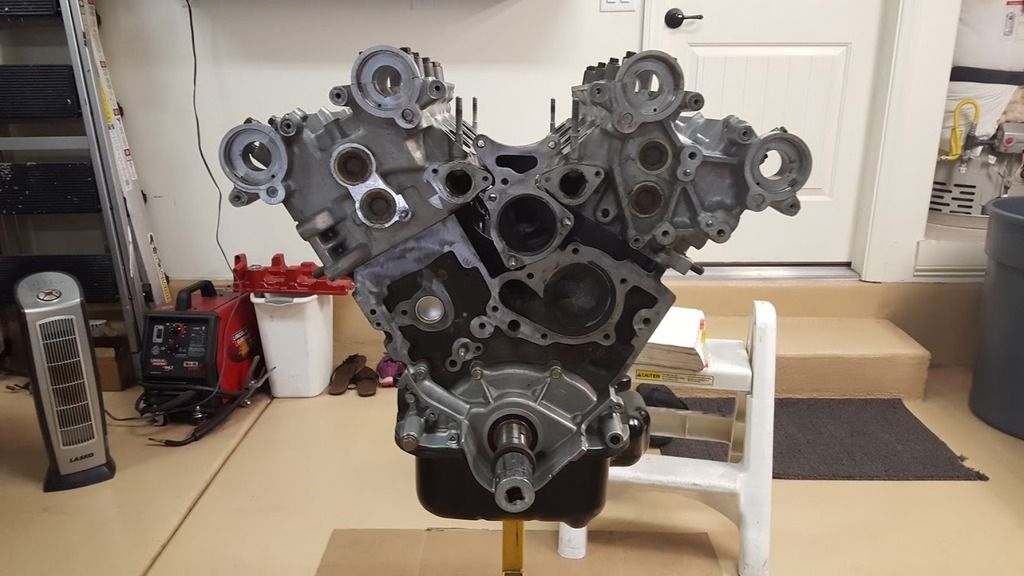
Heads on
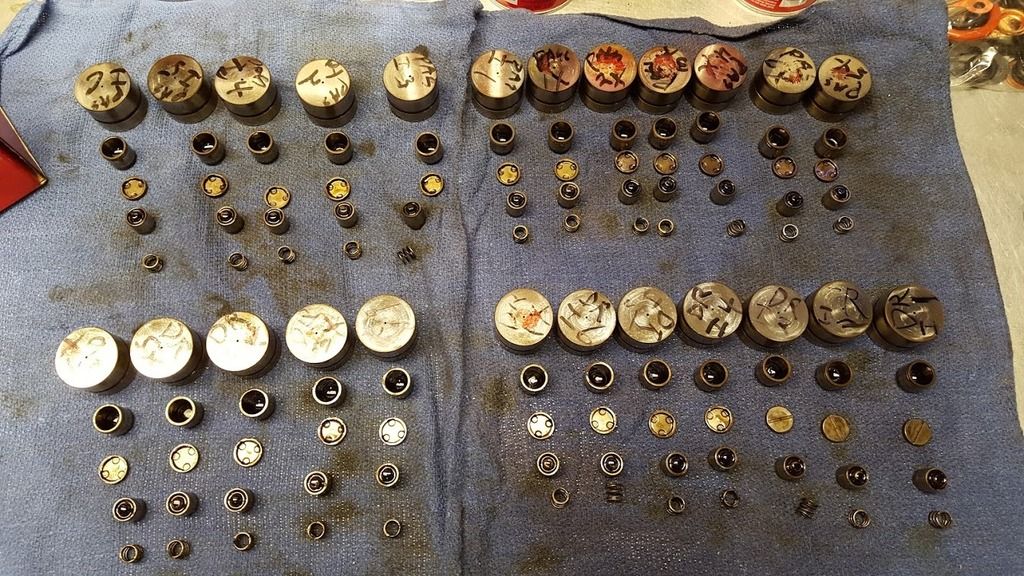
Most of my lifters were in poor shape so Mark graciously let me use his tappets. So I tore mine down and rebuilt them using his tappets. Came out great in the end. No pics of the finished product though :-(
Getting closer
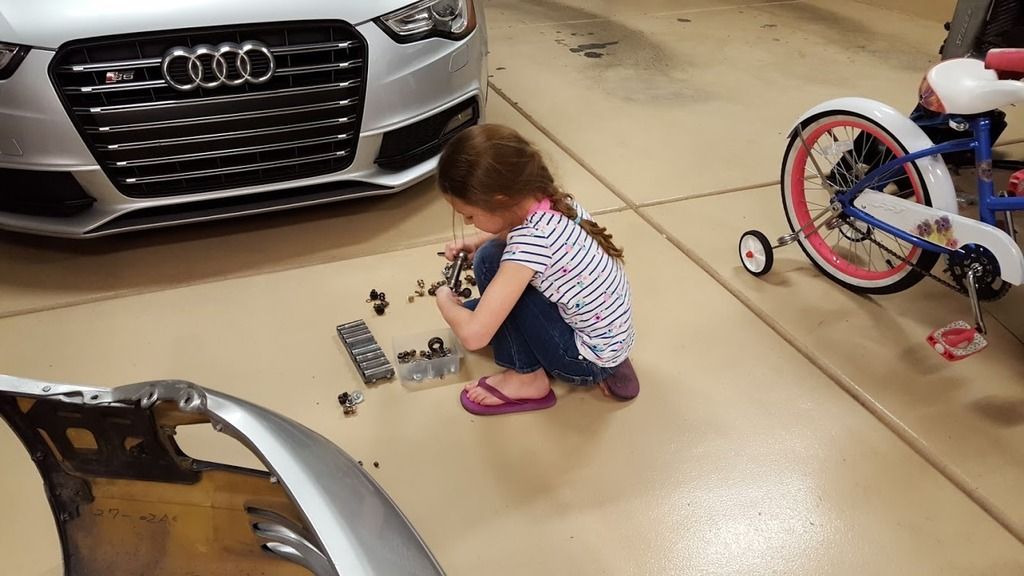
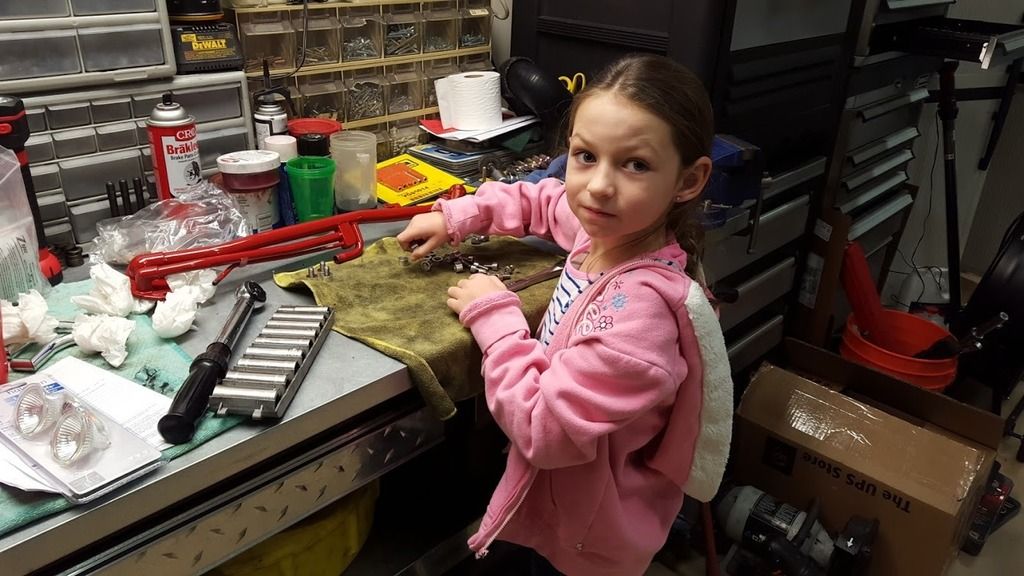
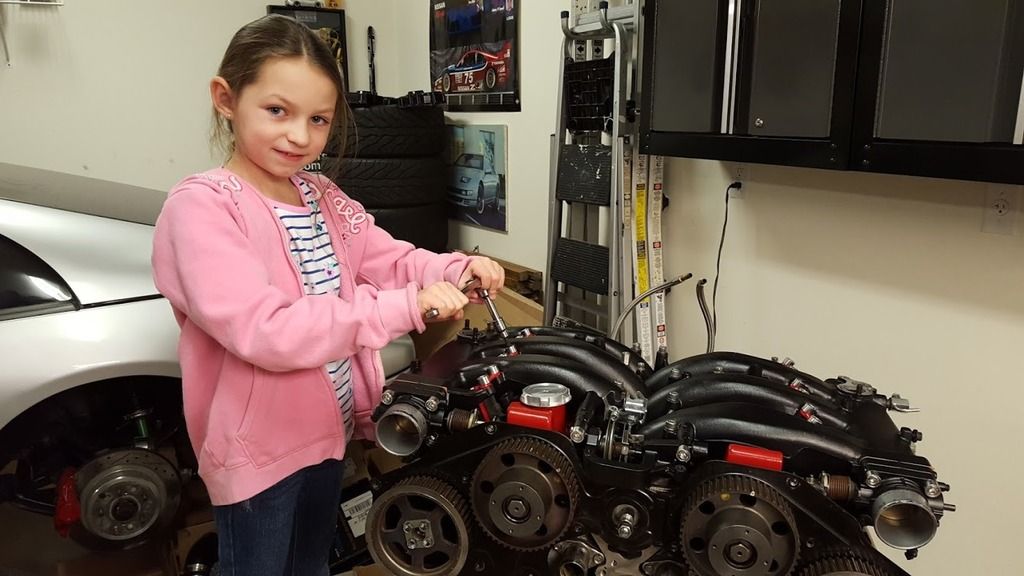
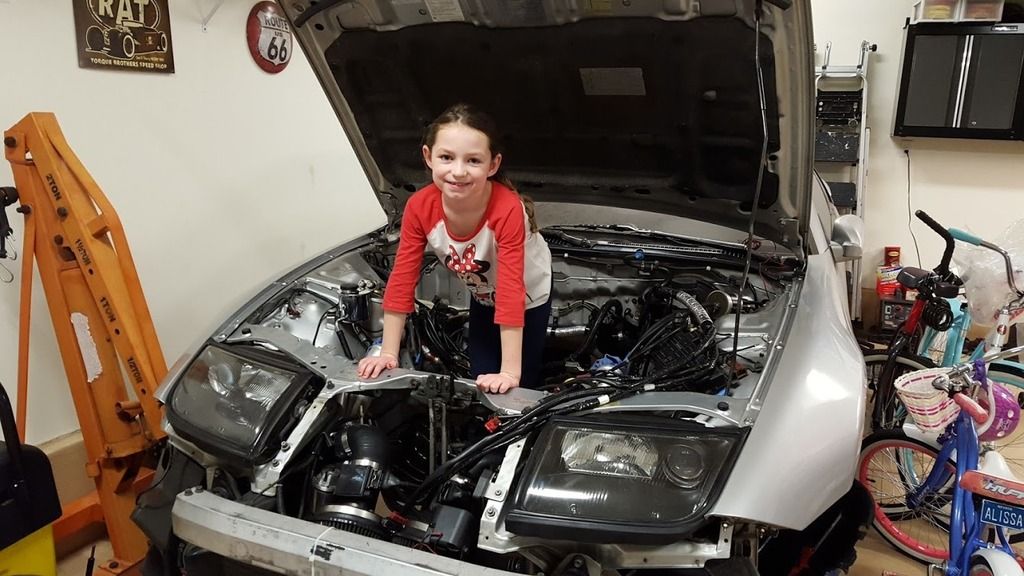
My daughter really wanted to help so I put her to work putting nuts and bolts together haha
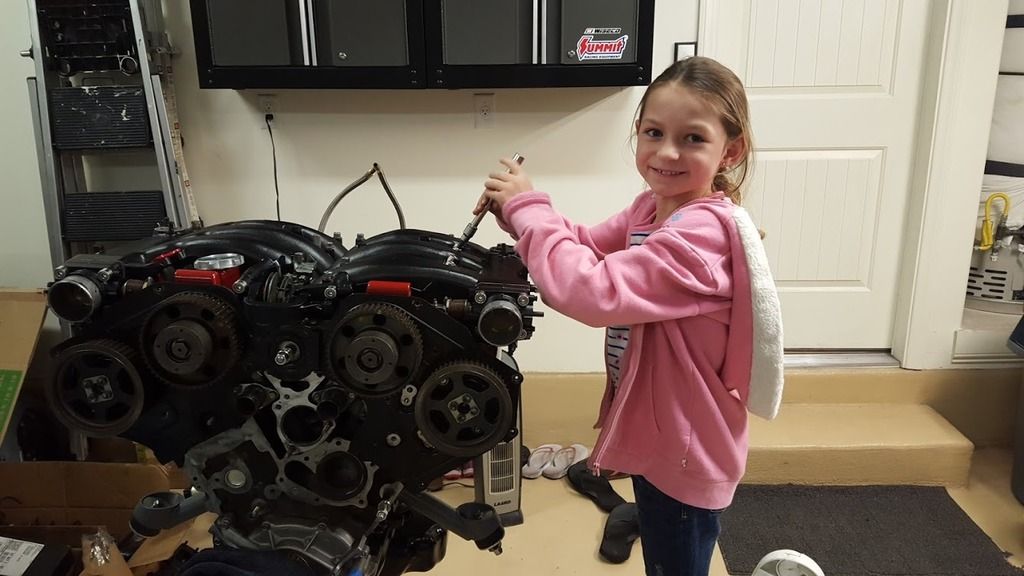
Then I let her tighten up the coil packs. She loved it and did a great job
MSP mini's before I covered them up with the heat shields :-(
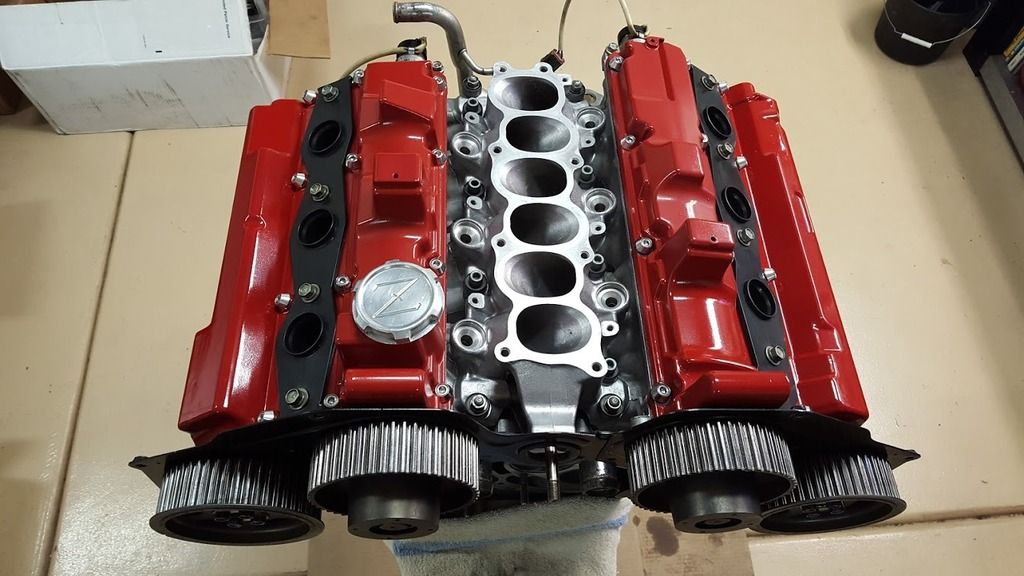
Timing belt done and covers on
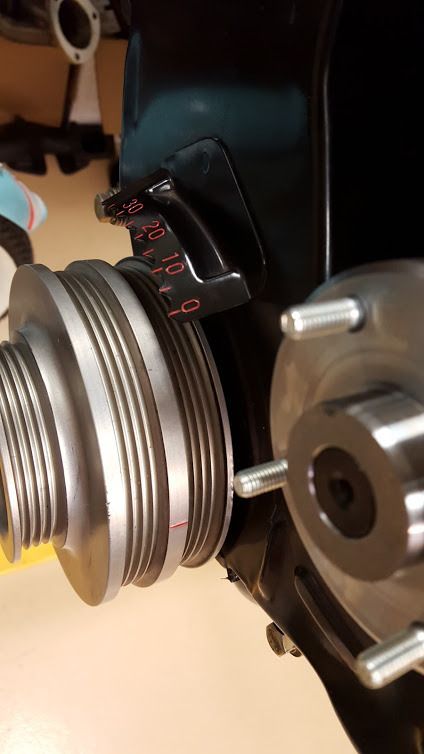
For some reason I really liked the way the timing marks turned out
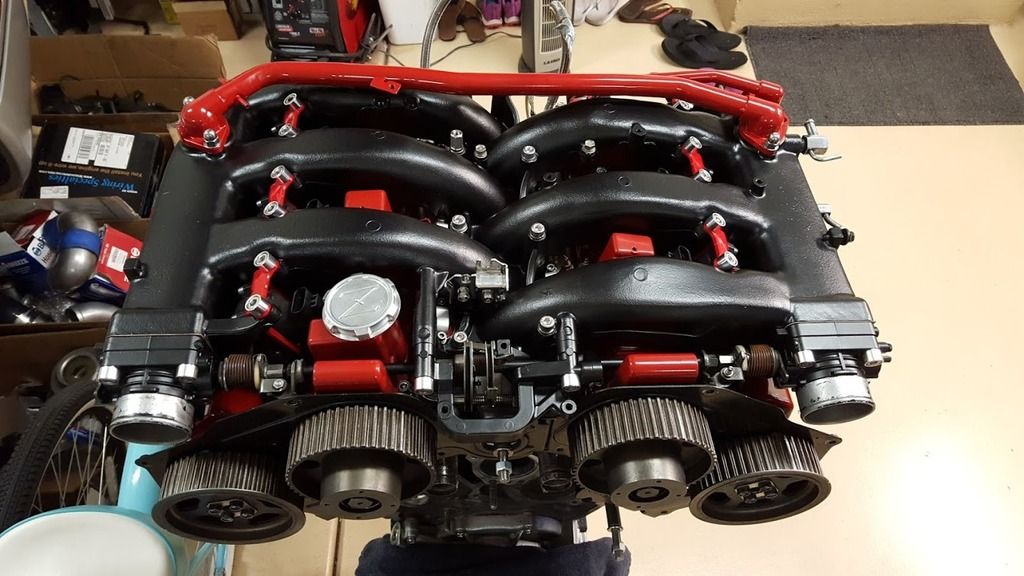
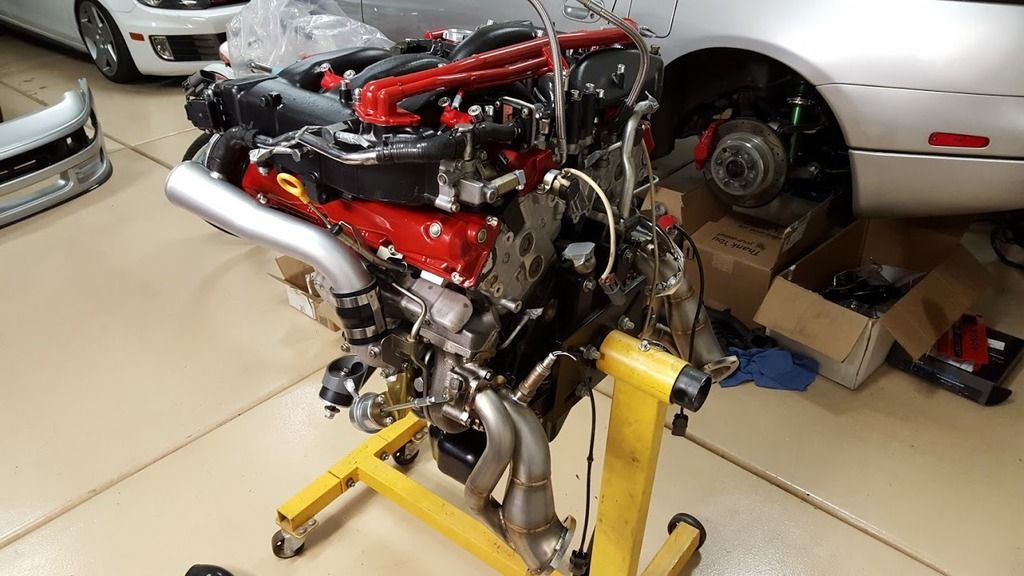
Turbos on, everything's starting to come together
The obligatory standing in the engine bay shot
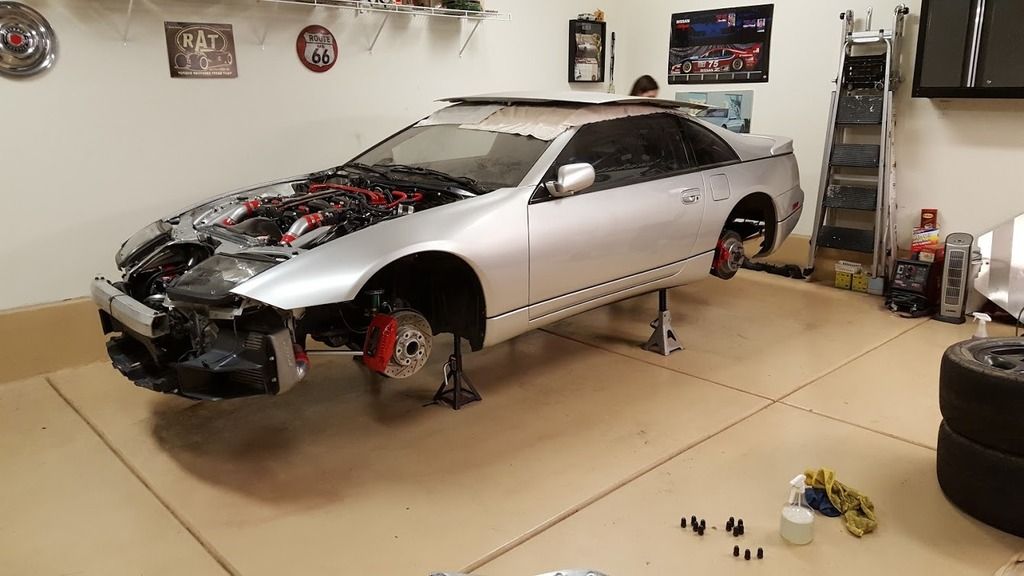
Dropped in and starting to button things up. Dont mind the black 45 degree silicone hose on the outlet pipe. It was temporary
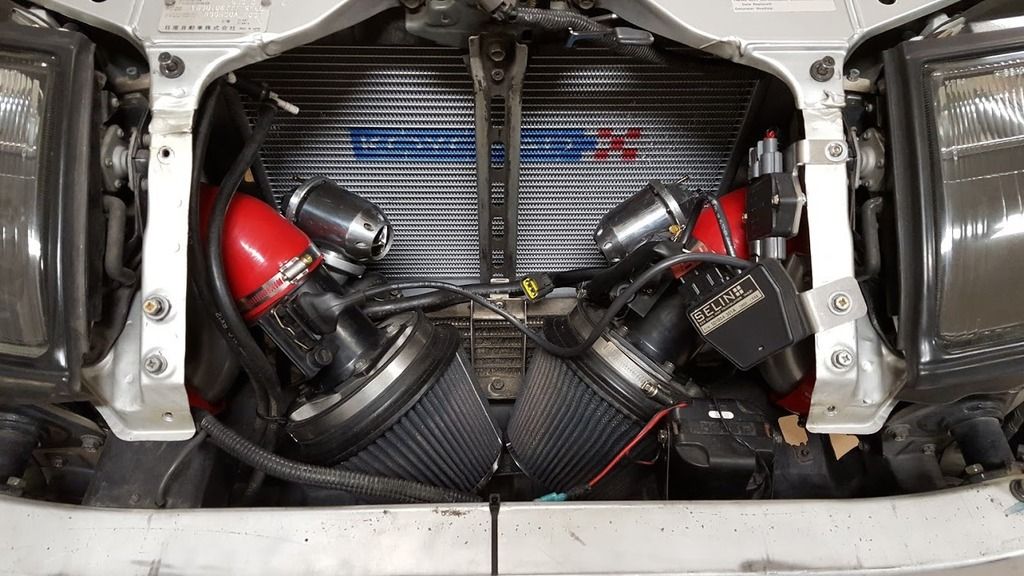
Dual pop setup with Selin translator and PTU relocation. Gets cramped in there really fast
Almost done!
We attempted to start the car for the first time and only the left bank was firing. We thought at first that it had something to do with the injector harness on the Wiring Specialties harness (wonderful product btw). After some diagnosing (thanks again Mike Smith!!) it was determined that all three of the injectors on the right side were clogged. When I initially took the fuel rail off I just wrapped it up and set it in a box. The leftover fuel must have puddled up on the right side injectors and clogged them. I had to pull the plenum and the fuel rail and clean the injectors then put power to them until they finally clicked. Worked like a charm and much thanks to MSP for the help in diagnosing!
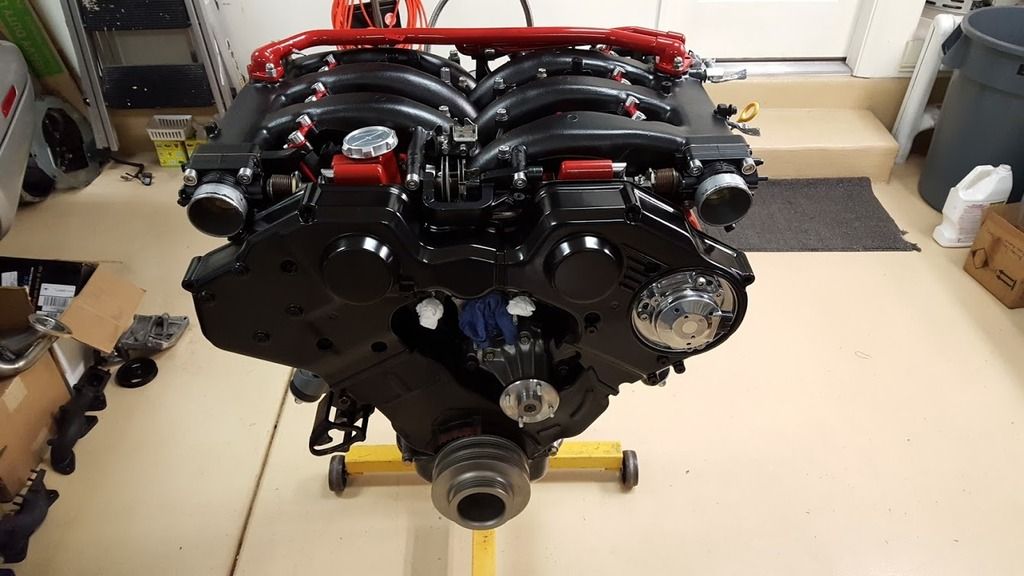
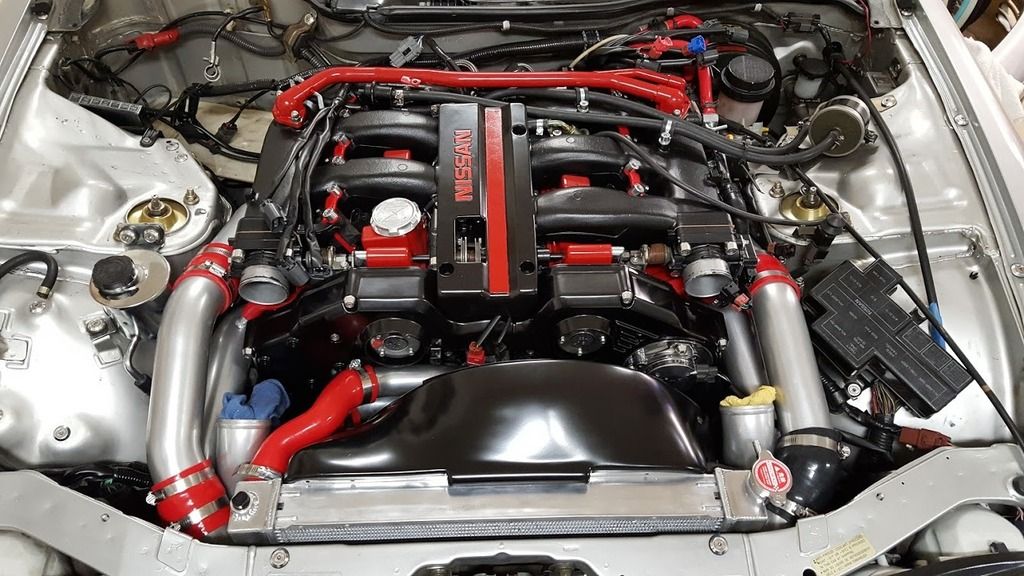
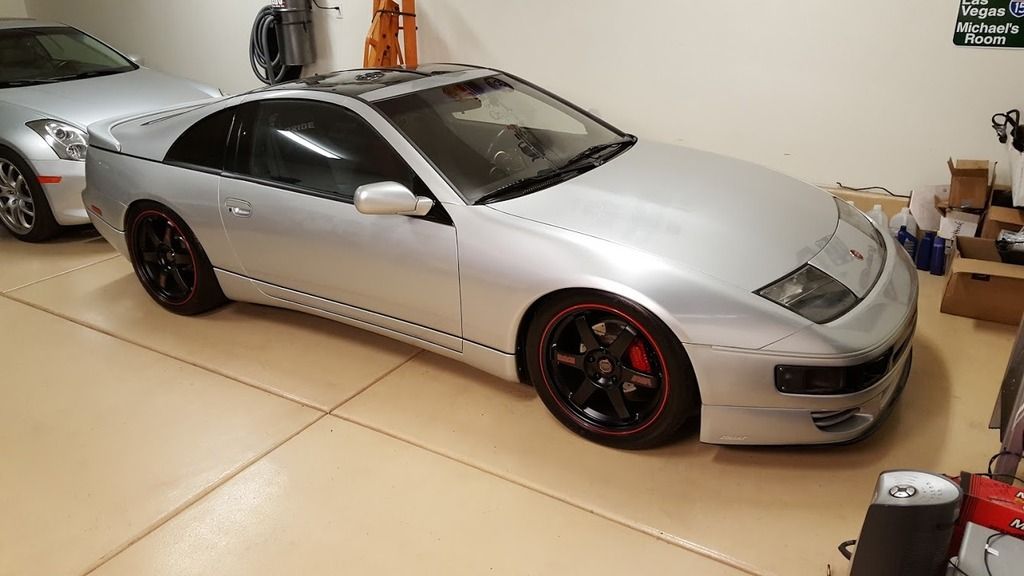
Finally done and running
That's about it. Thanks for checking out the post, hope you enjoyed it.
 |


 Finally back in business v2.0 -
  07:48:02 02/27/16