| I've been enjoying my Z for 4+ years now but last fall she started smoking during cold starts. It eventually got so bad that it was embarrassing to drive it around. I could see noticeable amounts of oil seeping down past the valve stem seals and pooling up behind the valves so I decided to tackle replacing the valve stem seals. 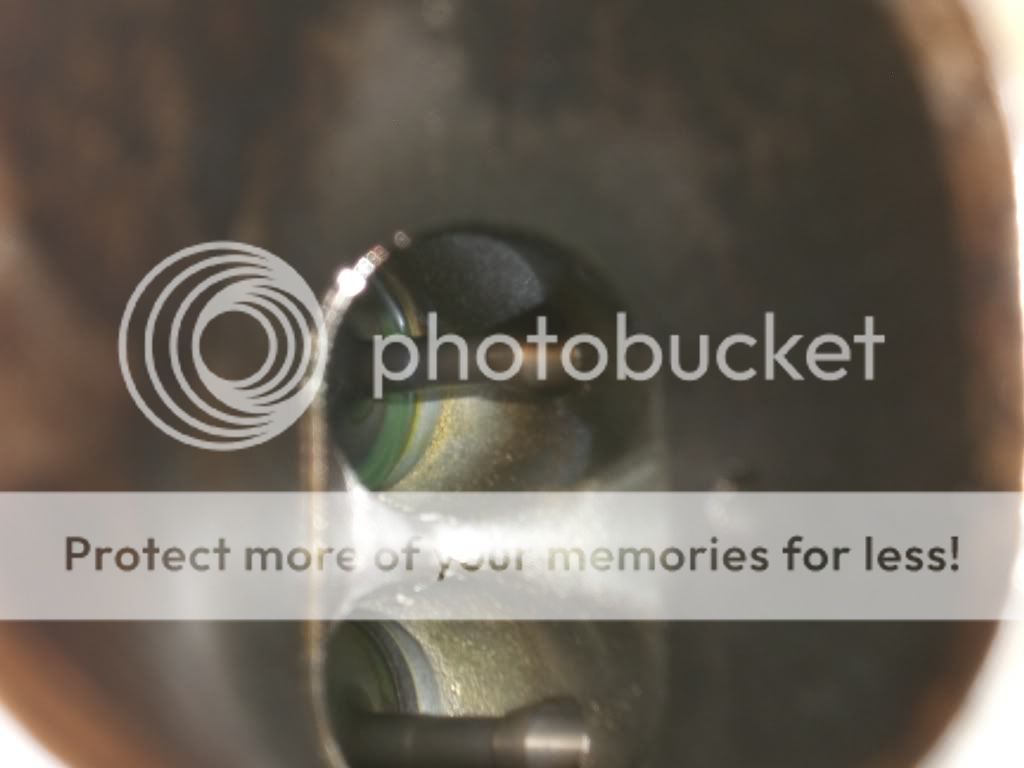
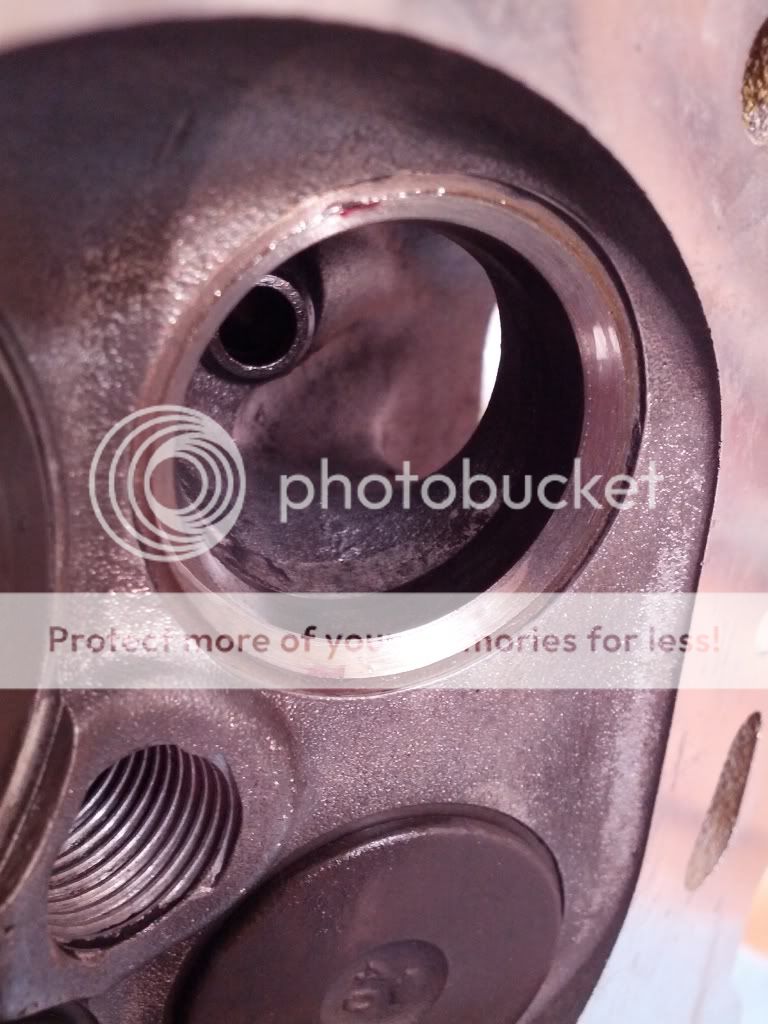
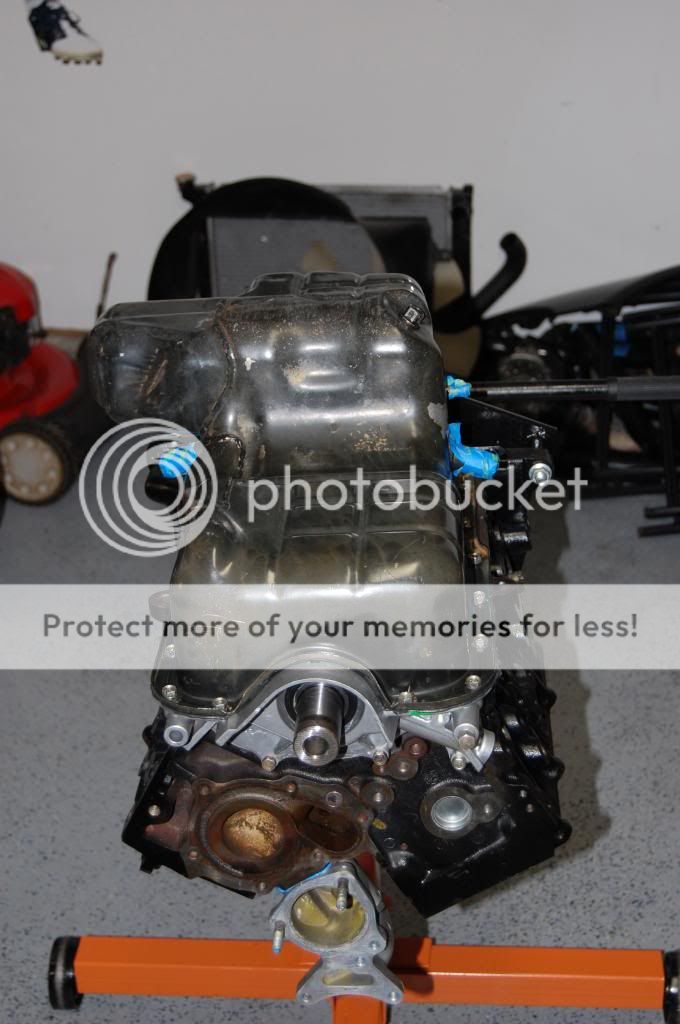
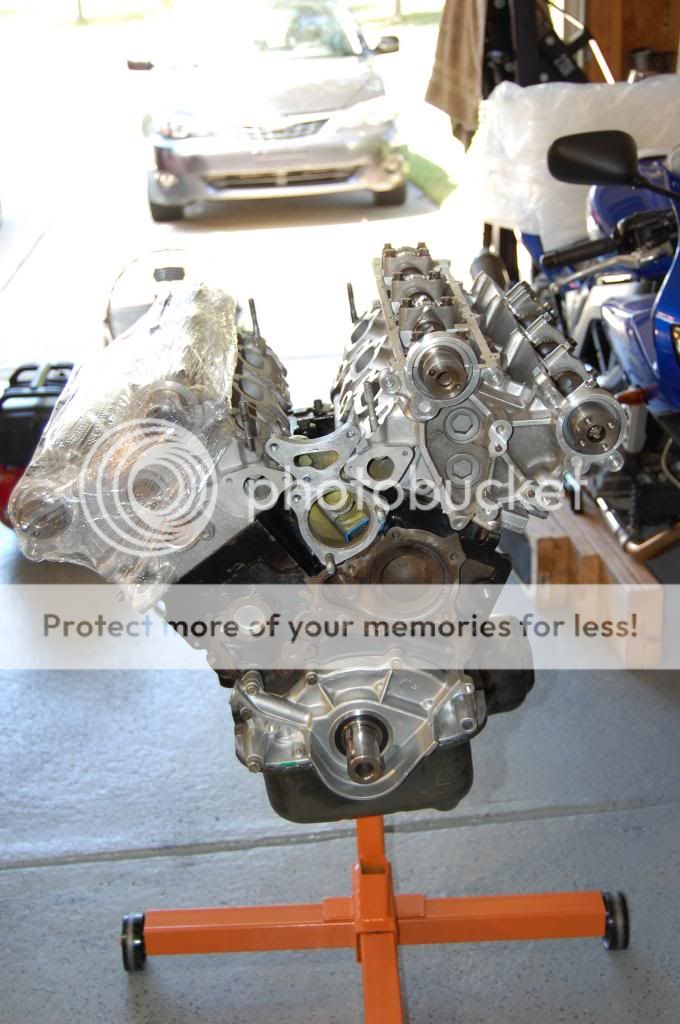
Everything was going well up until I dropped one of the keepers down an oil gallery hole in the passenger head. I tried just about everything to flush it out but no luck so I made the decision to pull the engine out and retrieve the lost keeper. Pulled the oil pan and found it!
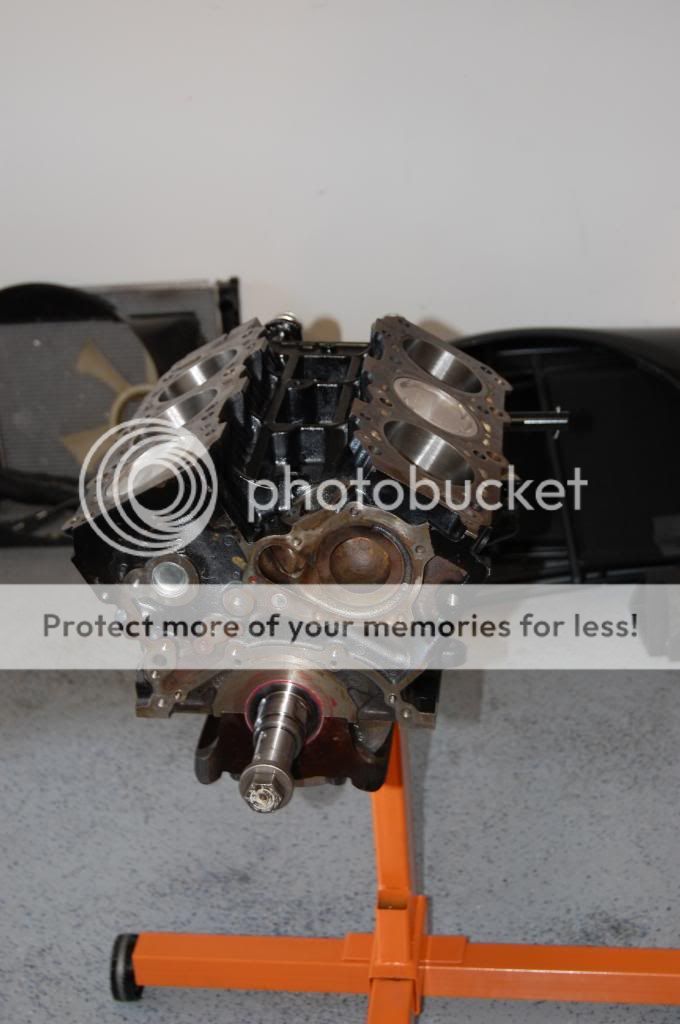
The engine had 155K+ miles on it and have somewhat low compression on 2 cylinders so I had a tough decision ahead of me. Do a stock rebuild to address the lower compression or seal it back up and run it. I chose the rebuild option. :)
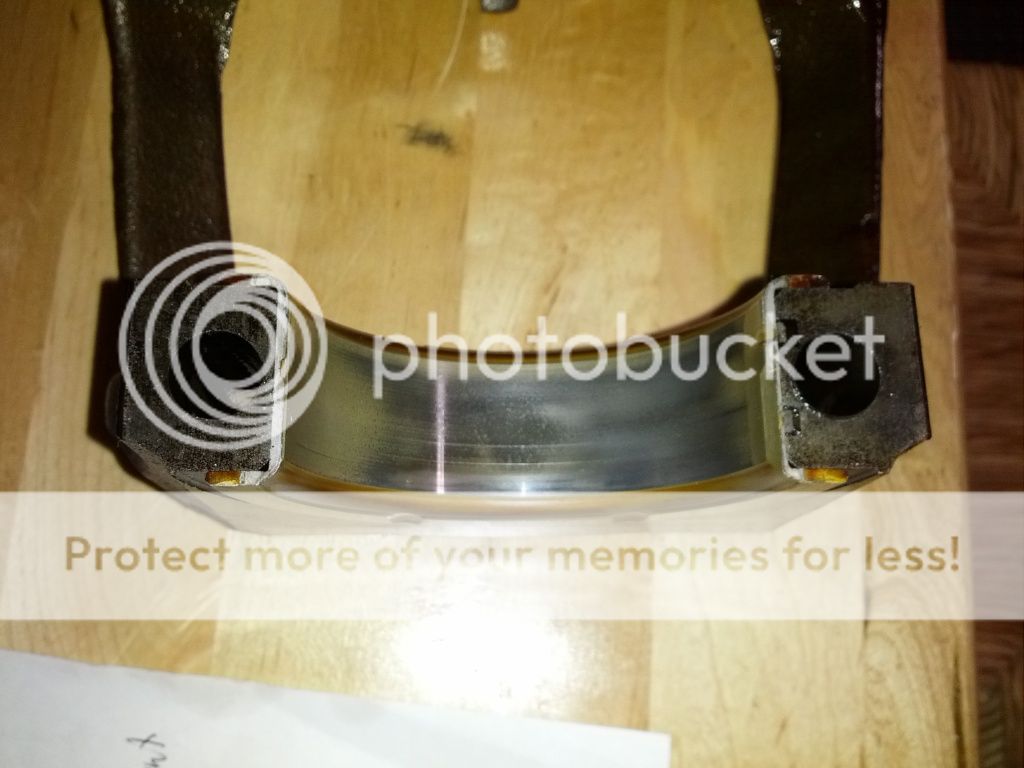
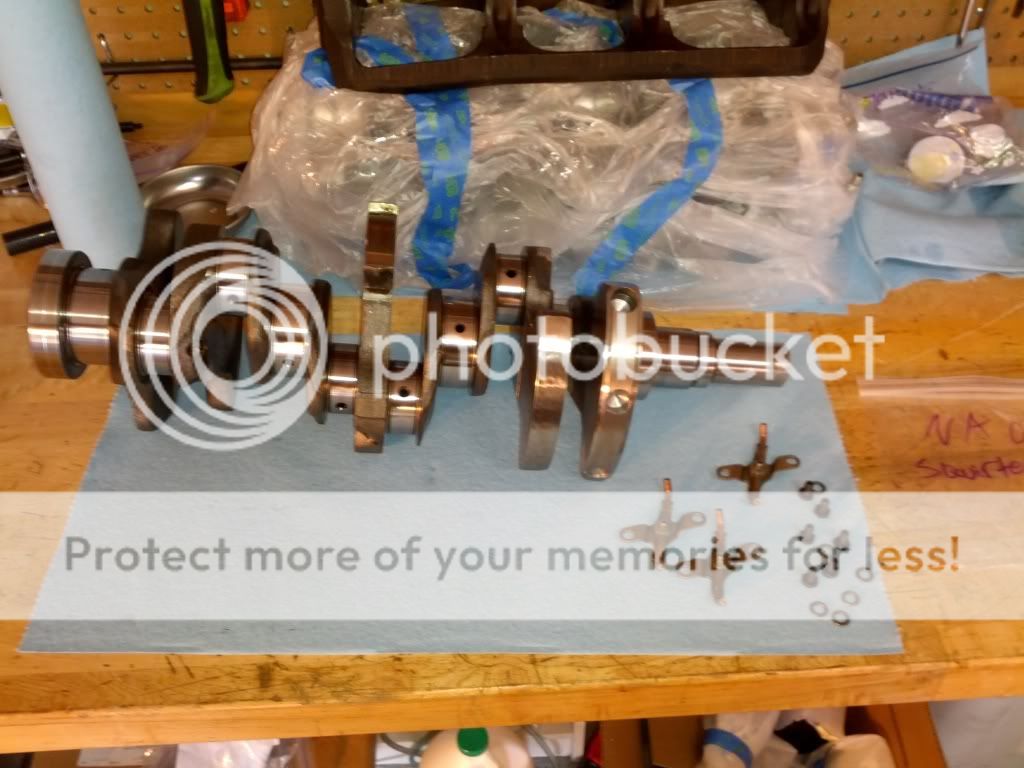
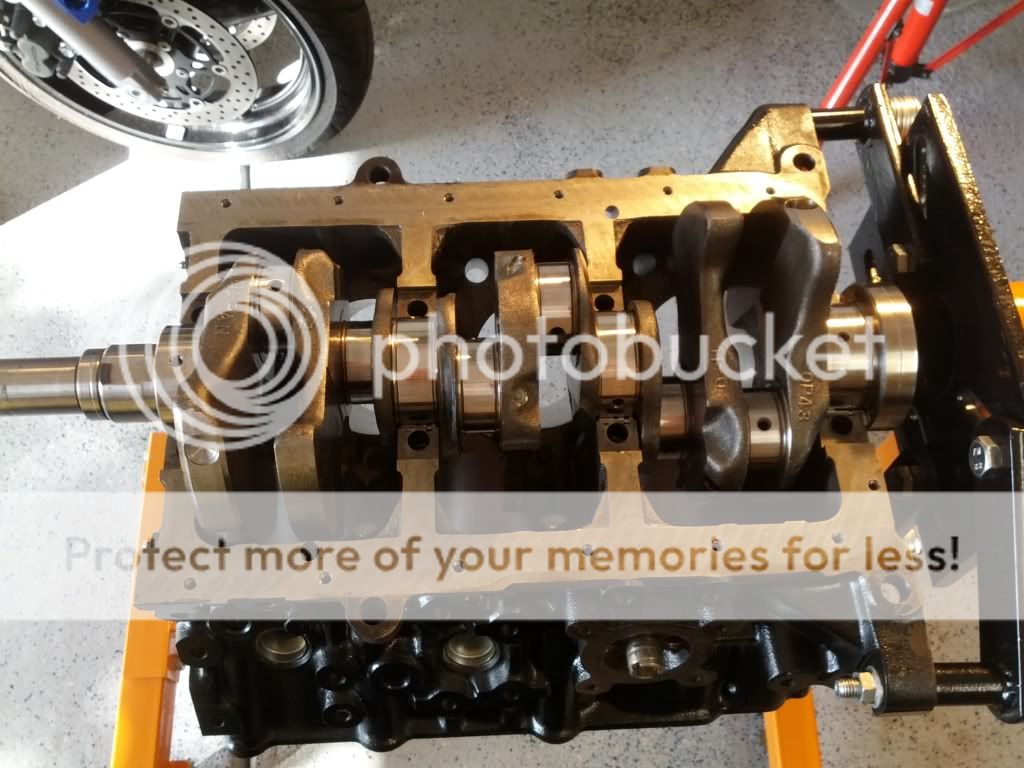
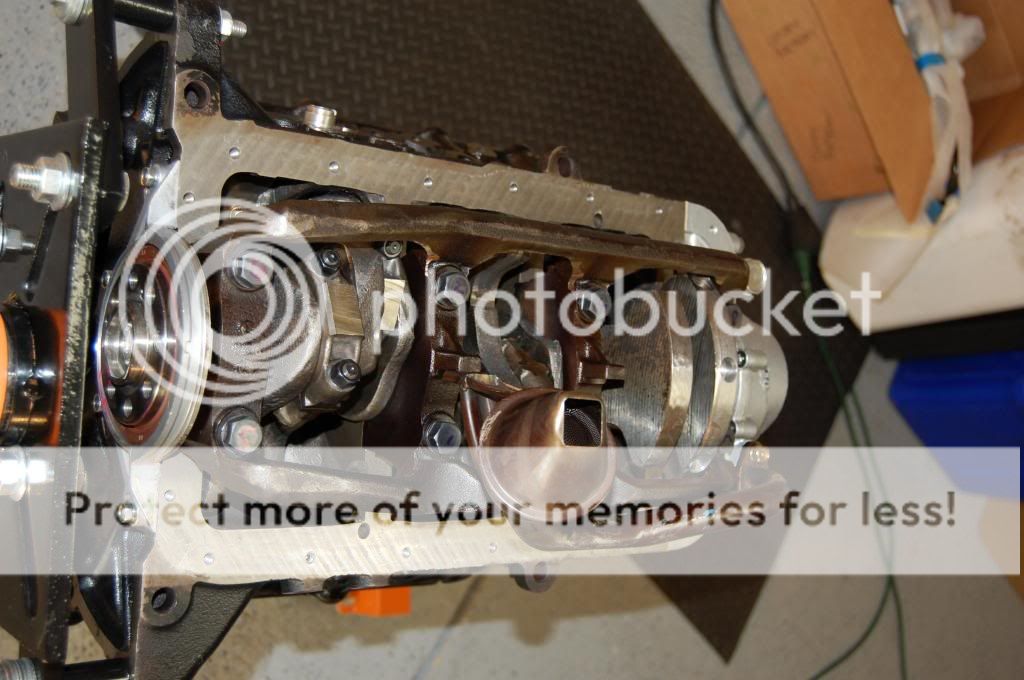
I put it on the engine and begin stripping it down. The bottom end looked pretty clean with no abnormal bearing wear. Crank journals were clean with no scratches or gouges and rods were just as clean. 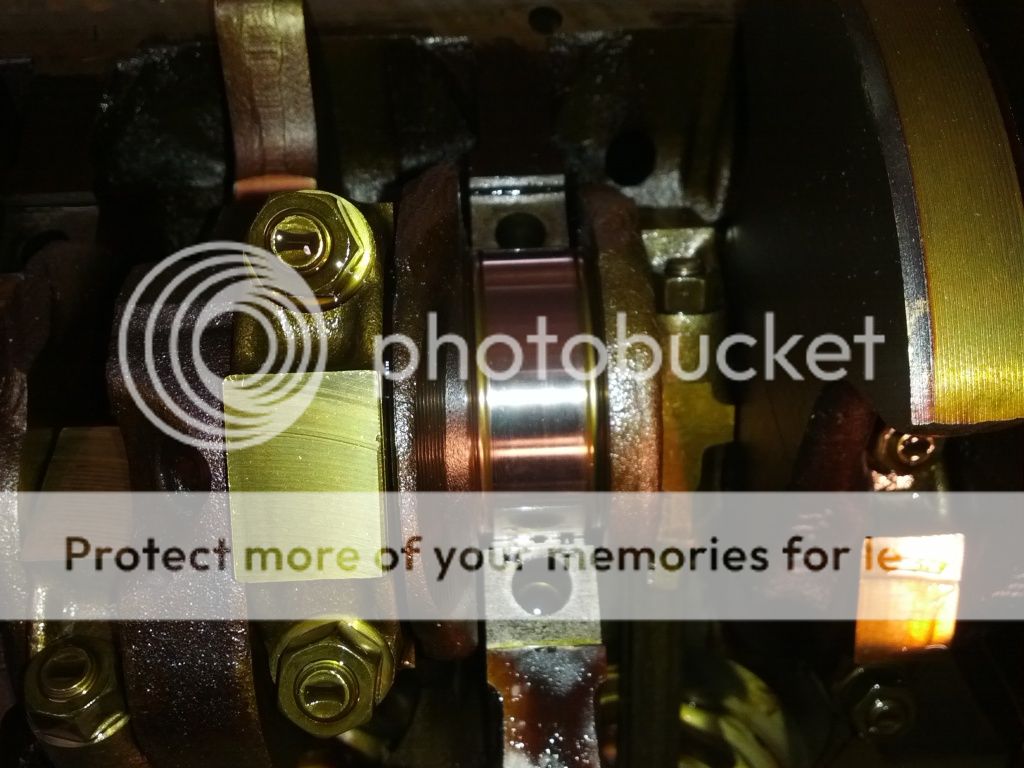
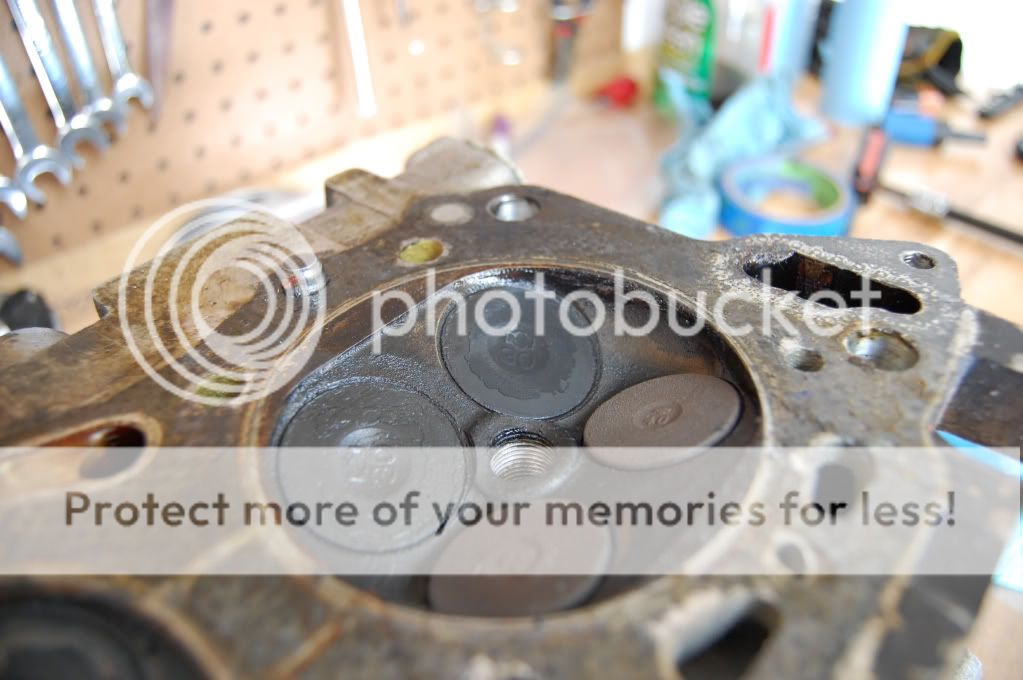
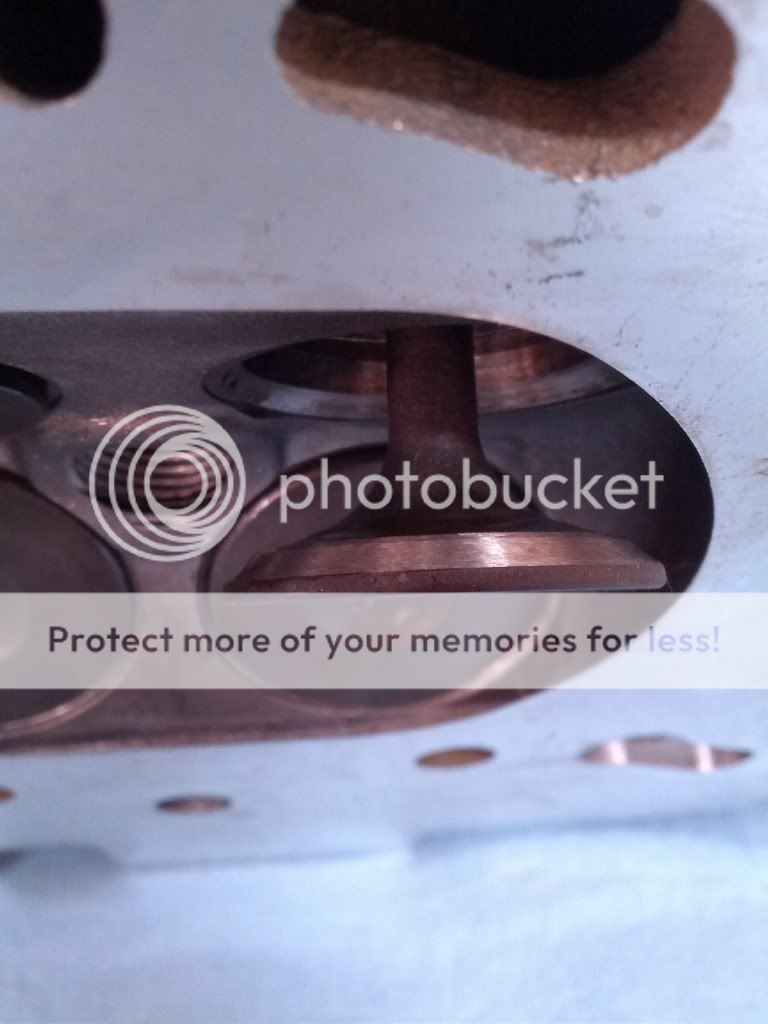
Next up were the cylinder heads. First thing I noticed were the dreaded 30P intake valves that were sunk into the valve seats. I read about this issue on the early 1990's and just my luck... I had 12 of them.
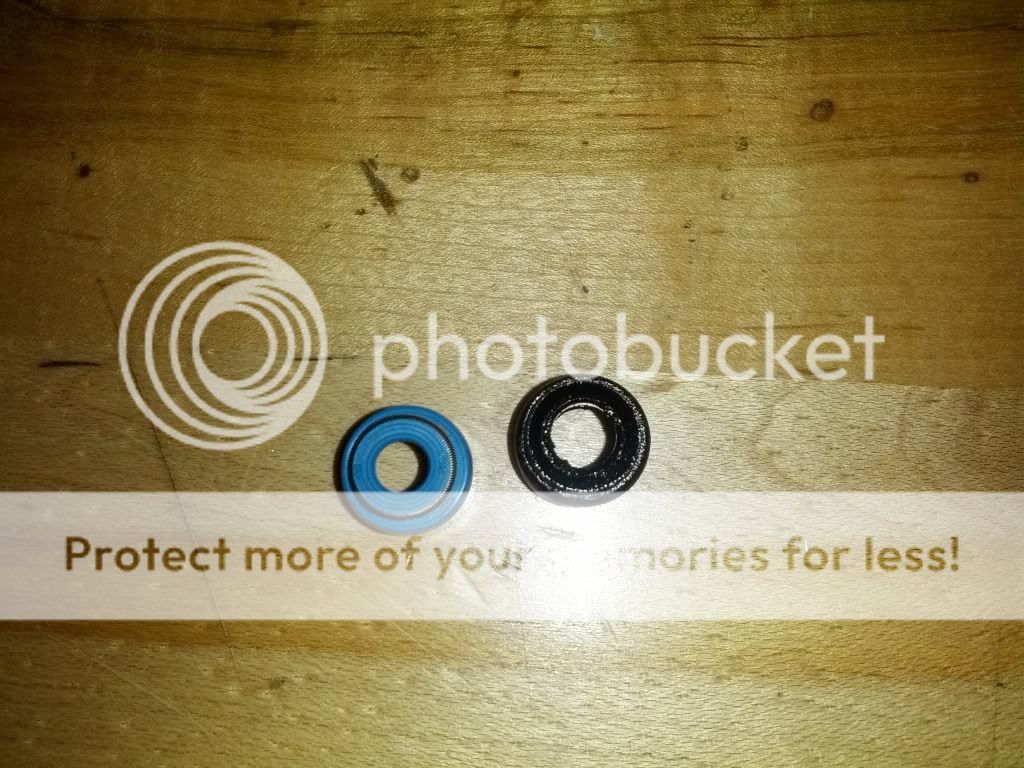
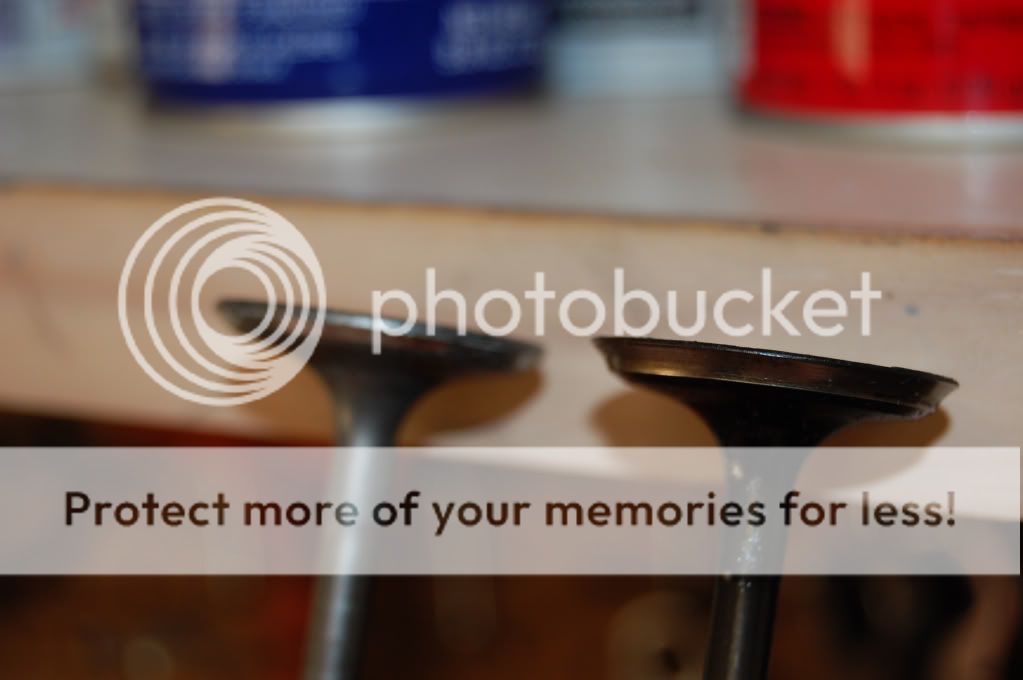
 They were all replaced with newer OEM "EG" intake valve. New valve on the left, old on the right.
 I sent the heads off to the local machine shop to cut the seats and new valves as well as a 3-angle valve job. Nothing special here just need them to seal up.
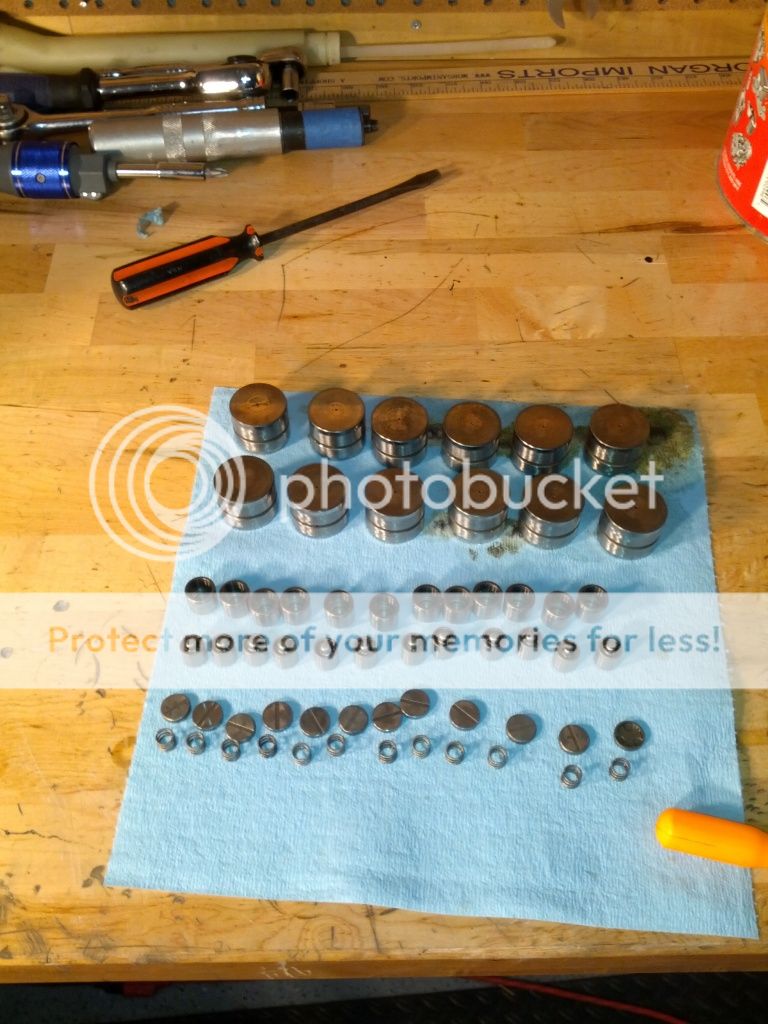
 Refurbished my lifters while I was waiting on the machine shop
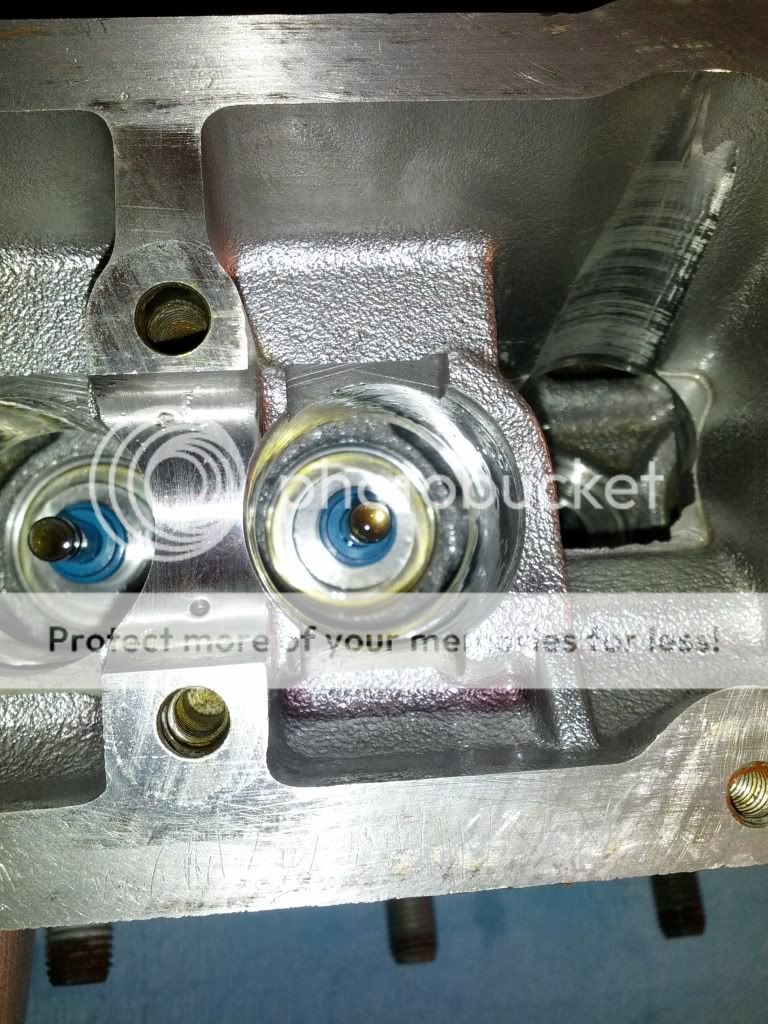
 Z1 viton valve stem seals
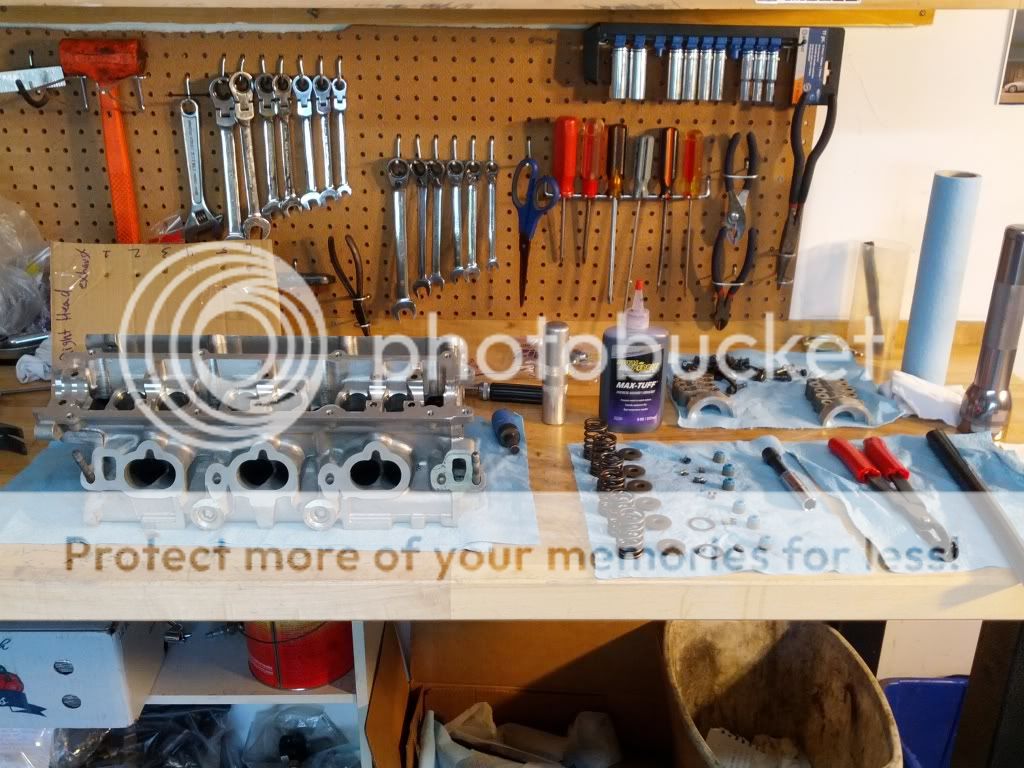
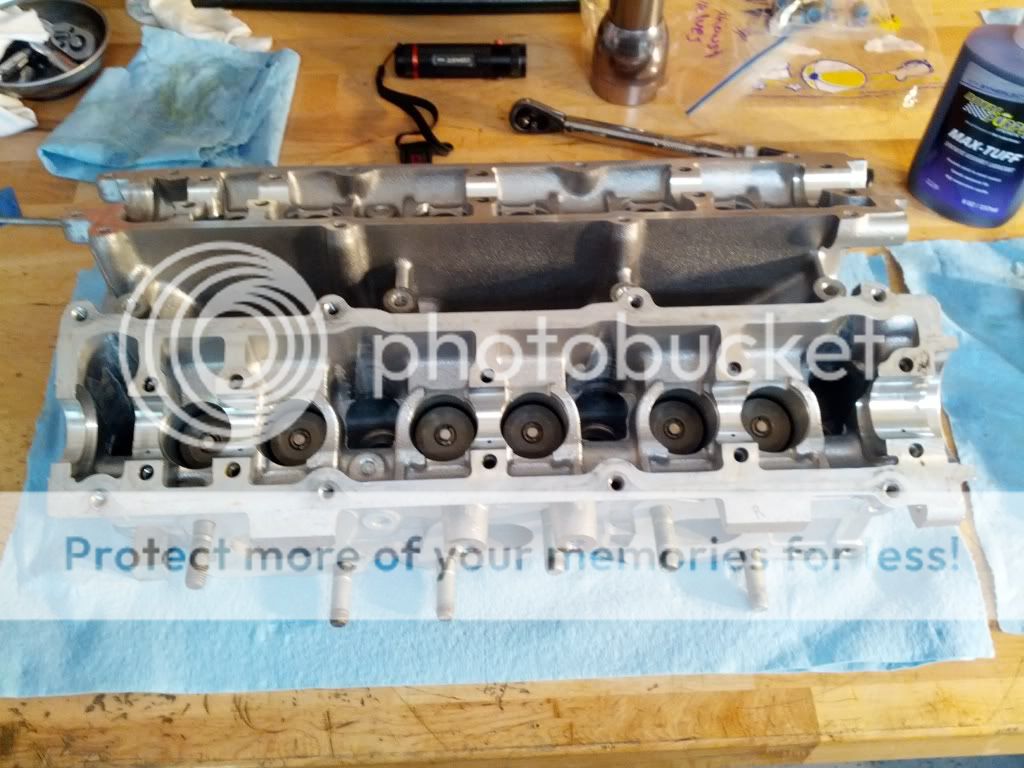
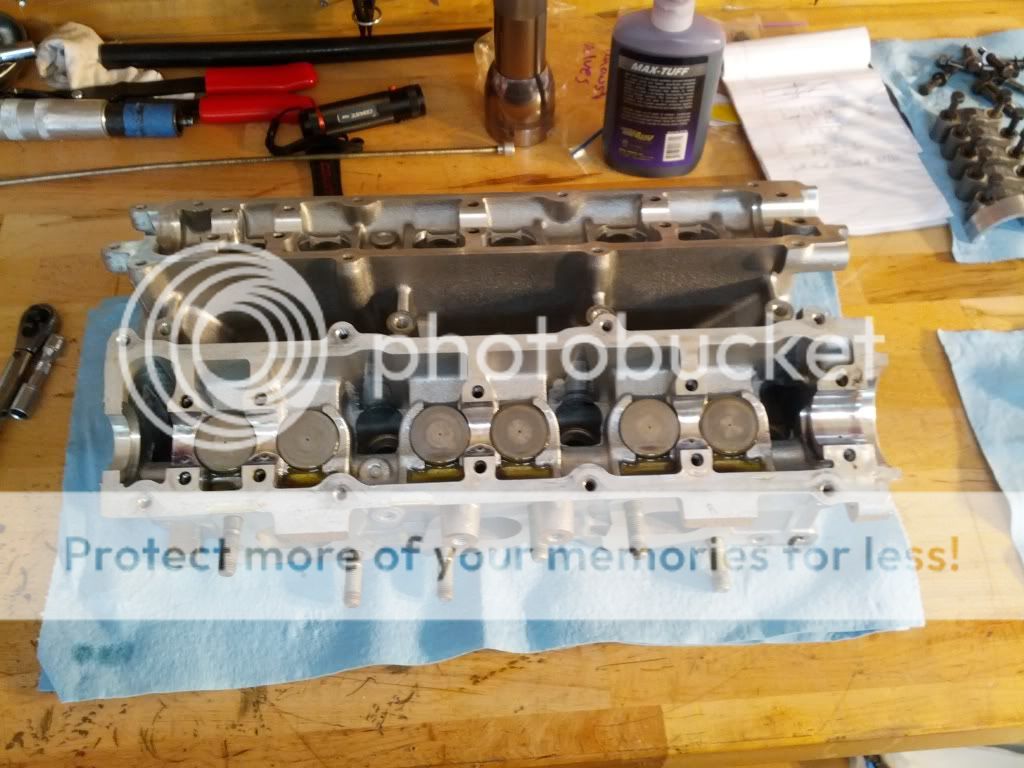
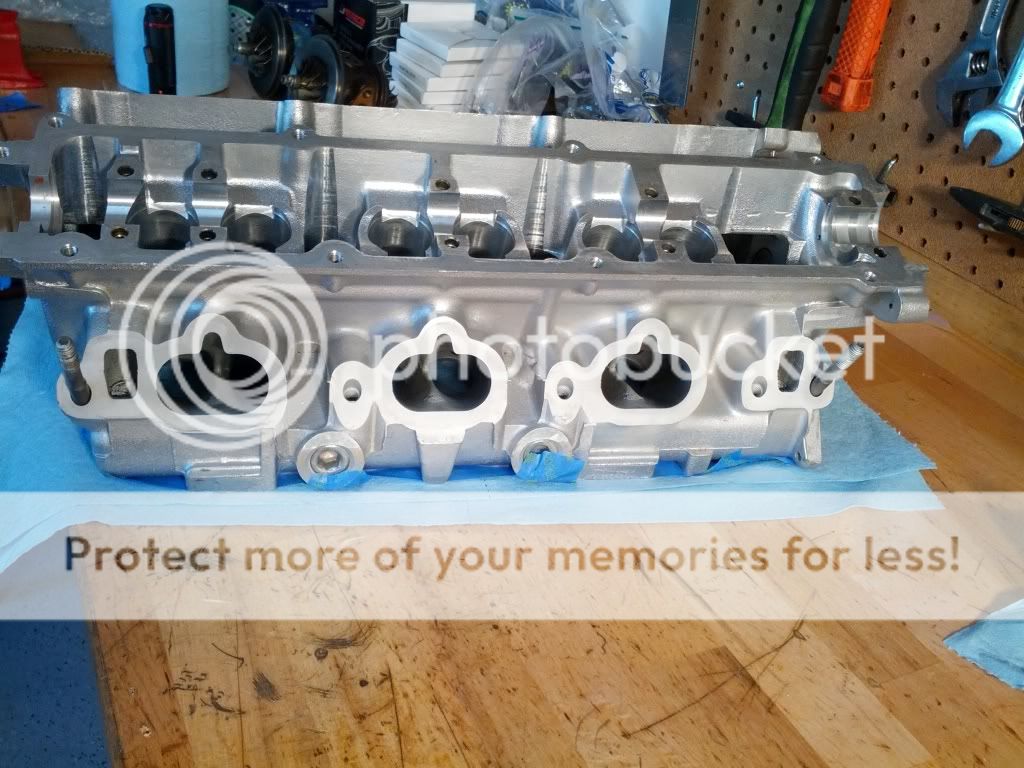
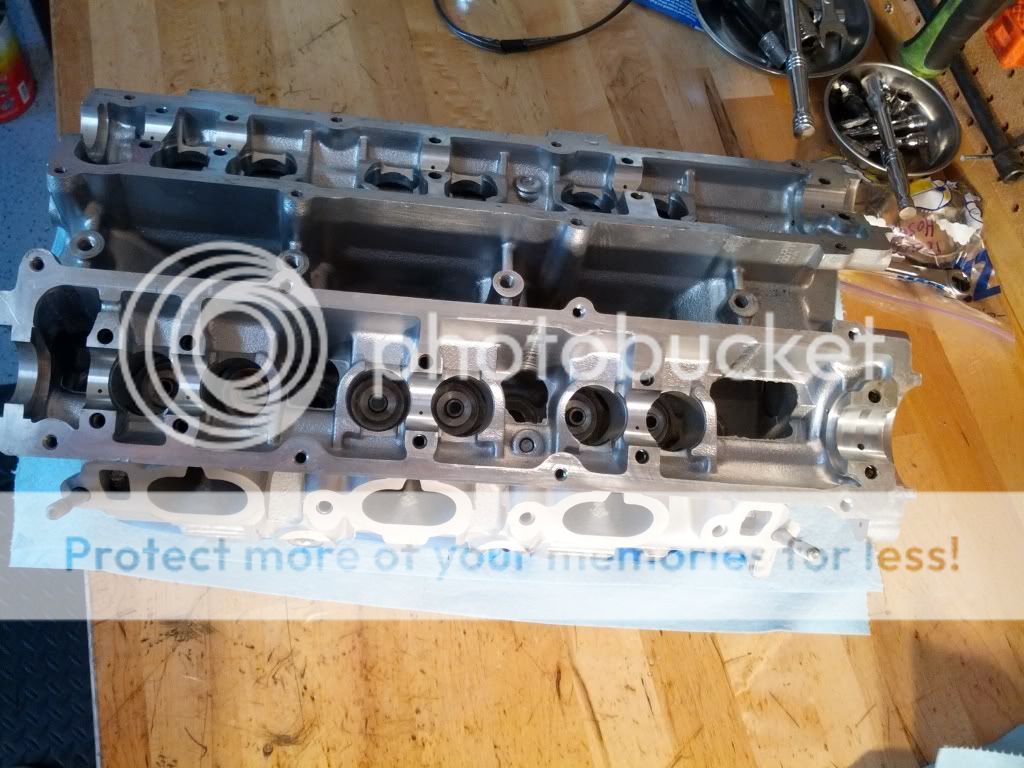
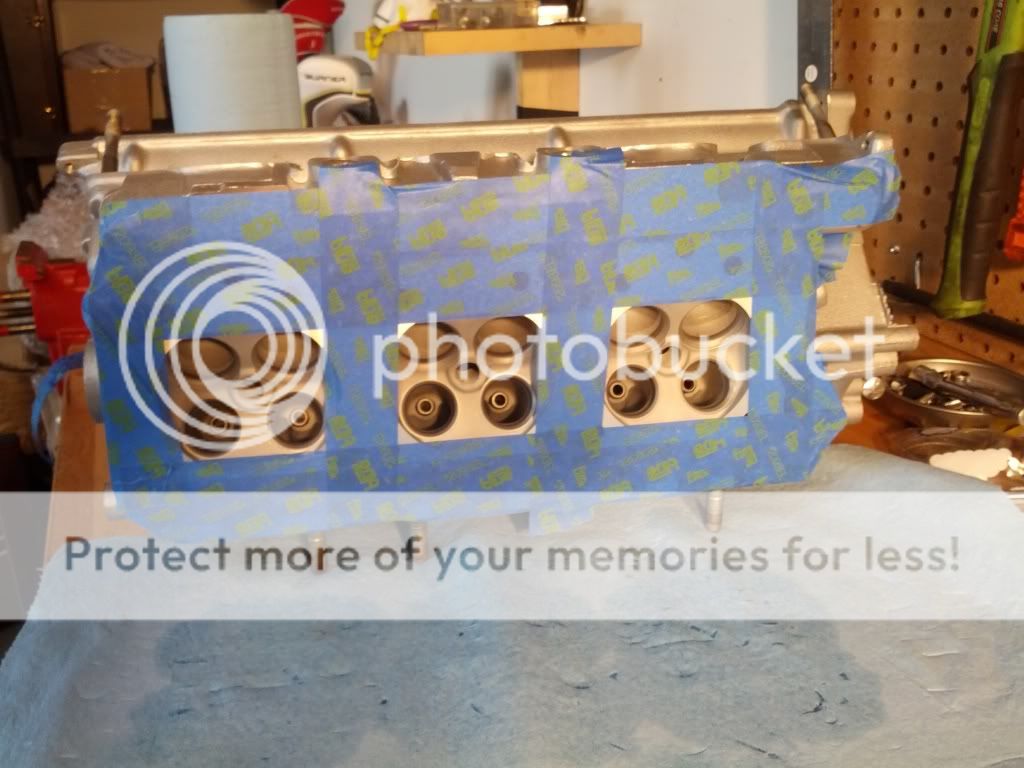
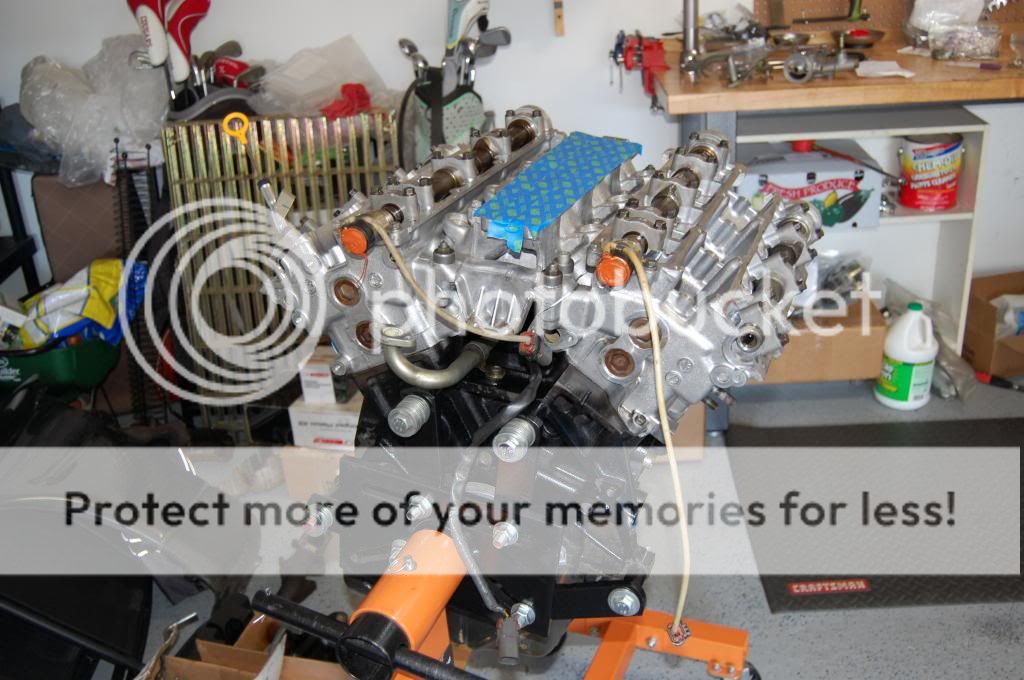
 Both heads rebuilt and sealed up waiting to be installed. 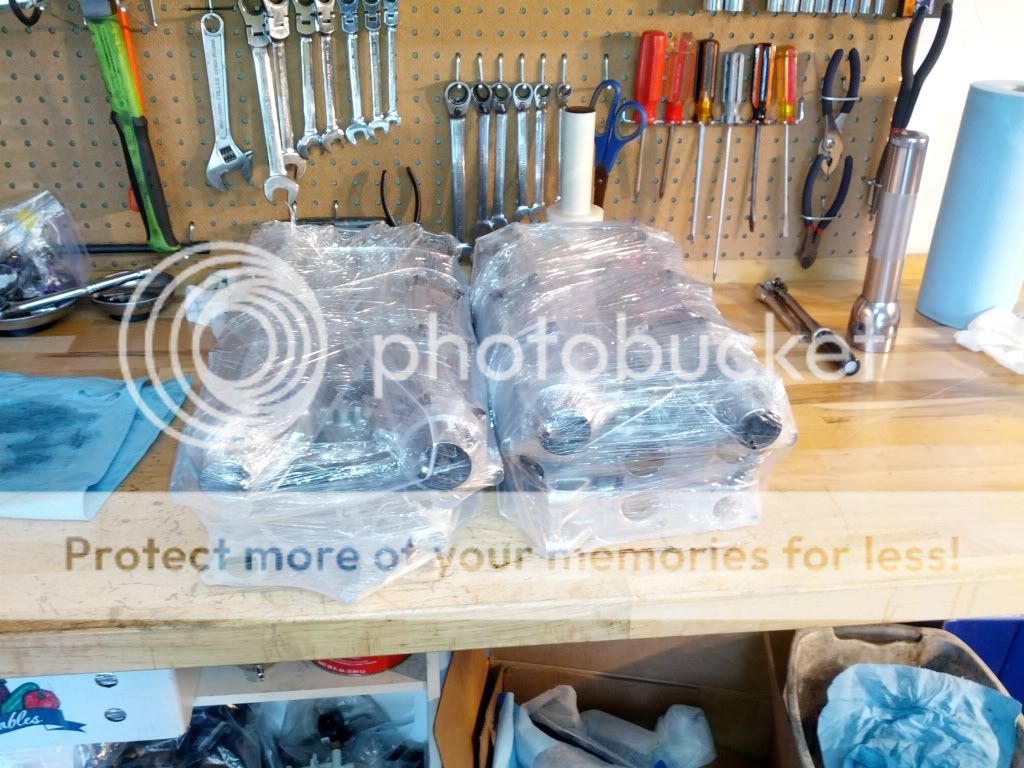
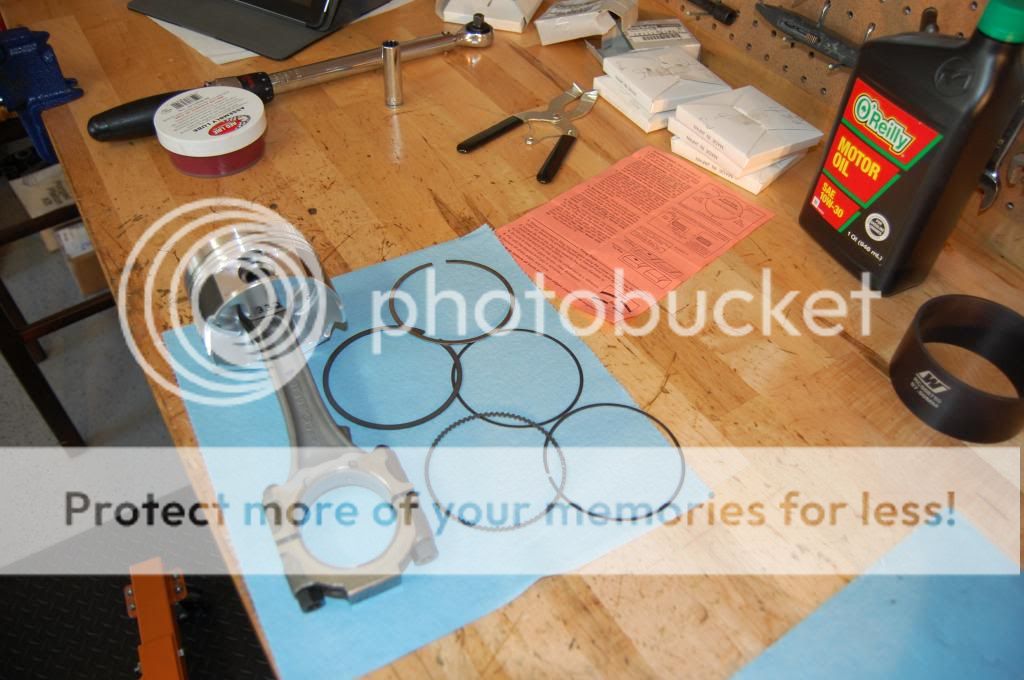
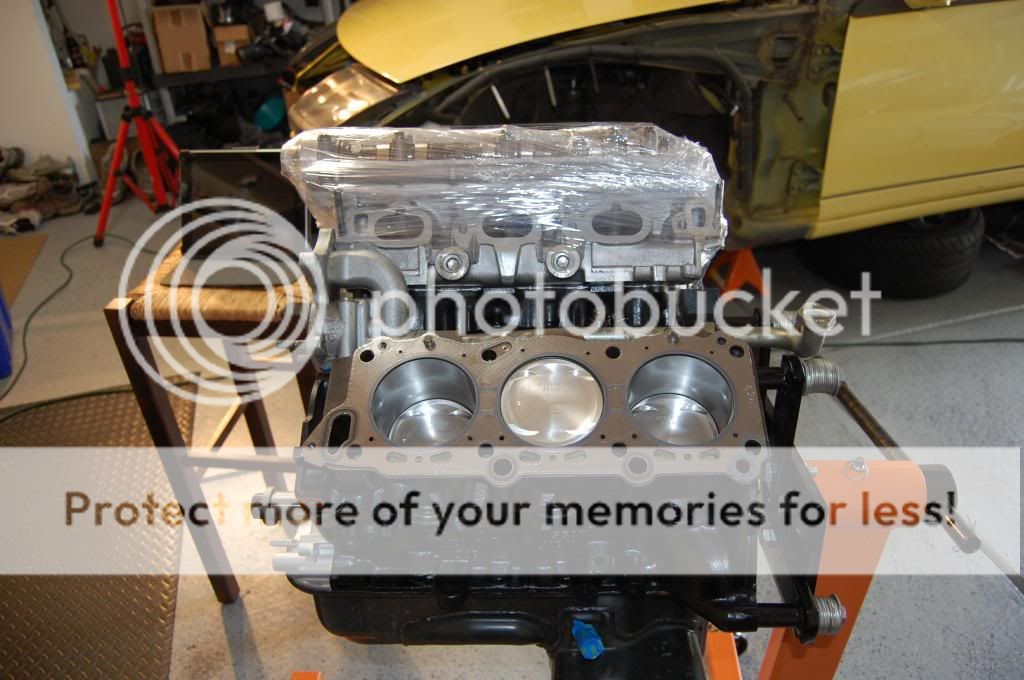
I was going hone the cylinders and reinstall the OEM pistons with new rings but came across a good deal a set of .020 Wiseco pistons so I had to send the block off to the machine shop. Had it bored .020 over, cleaned up the coolant gallery flashings, removed all oil gallery plugs, restrictors and check valves and had it hot tanked. I had ARP rod bolts installed, the rods resized and the crank micro-polished. The entire rotating assembly was then balanced.
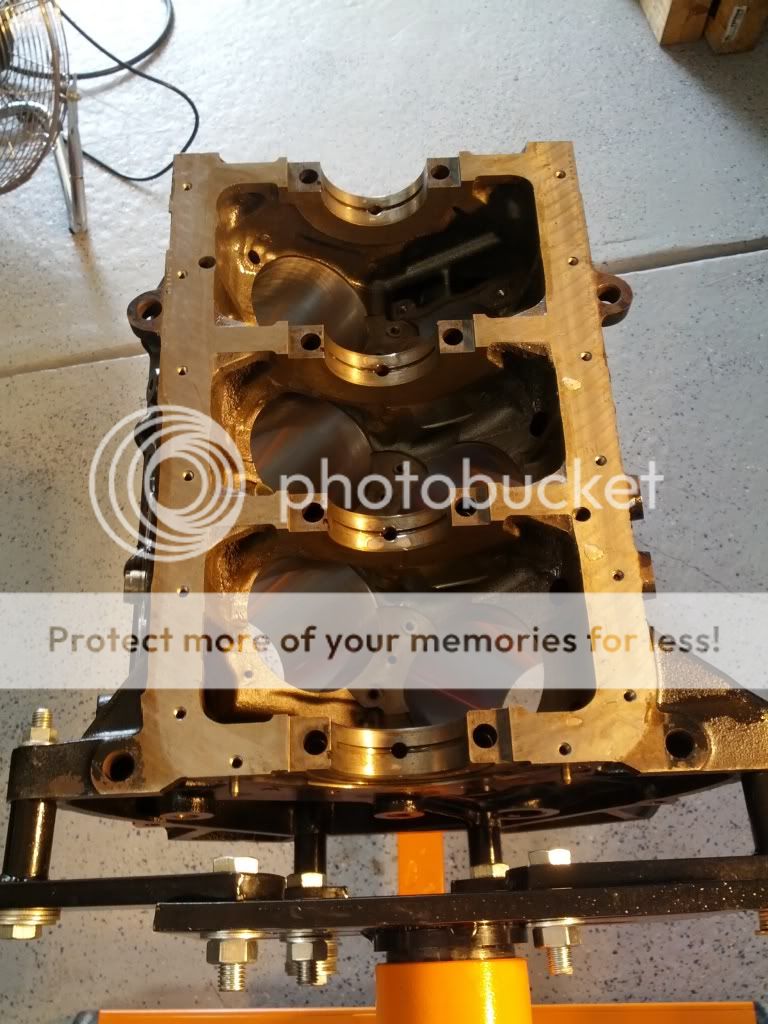

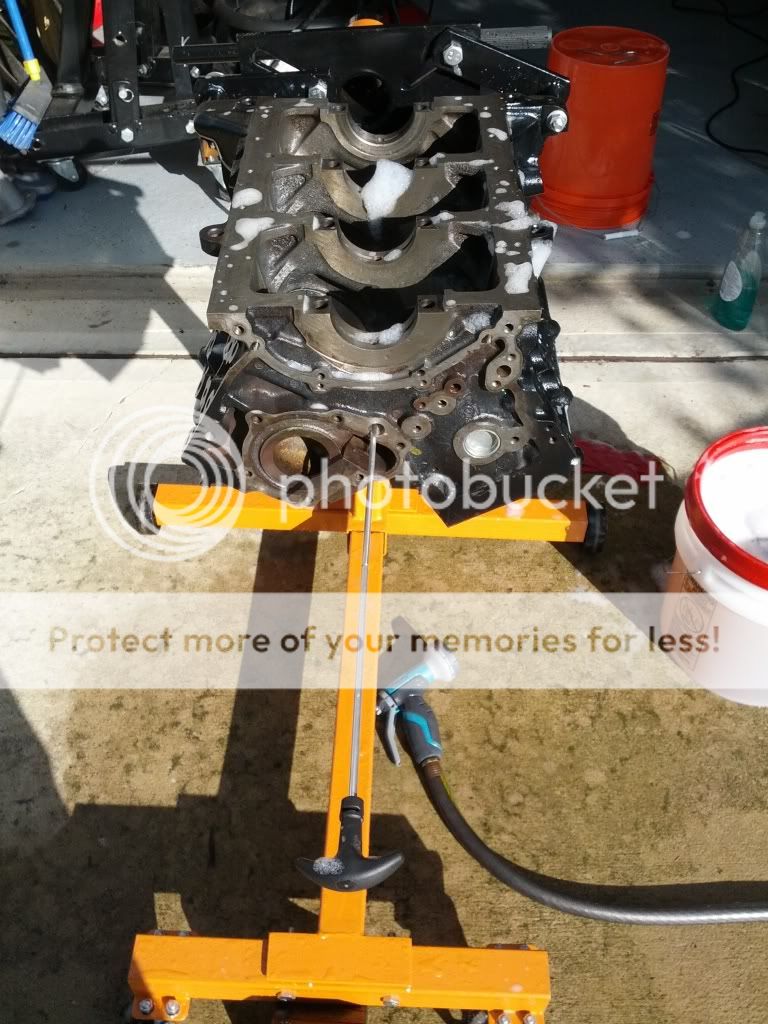
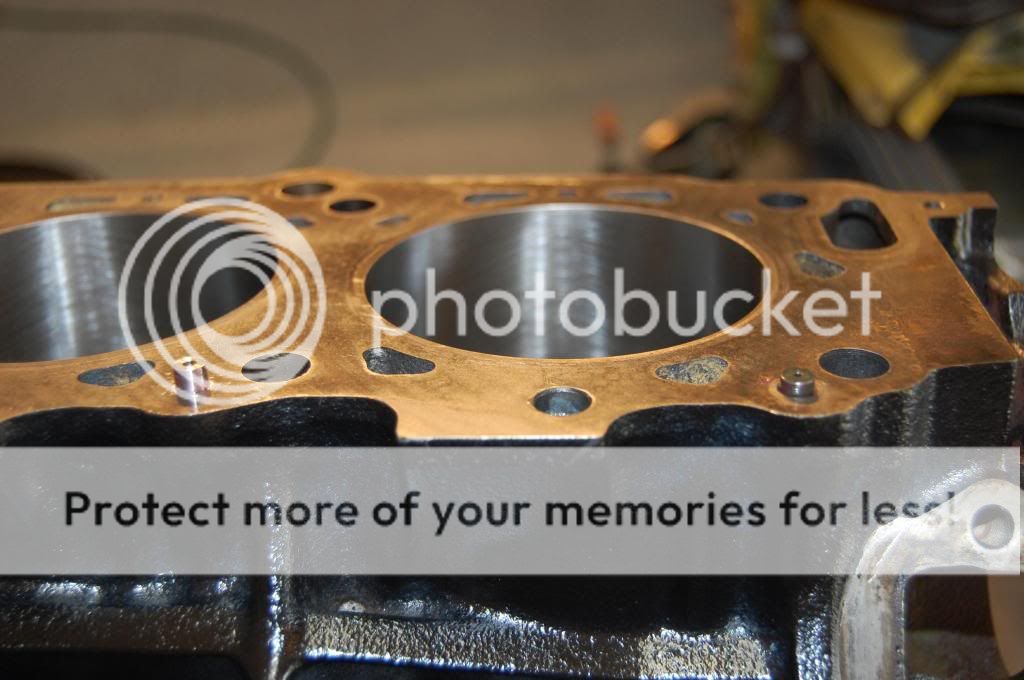 I finally collected all the parts needed for my rebuild to it was time to give the block a final wash down before assembly. I purchased a rifle barrel cleaning kit and cleaned out the oil and coolant galleries. 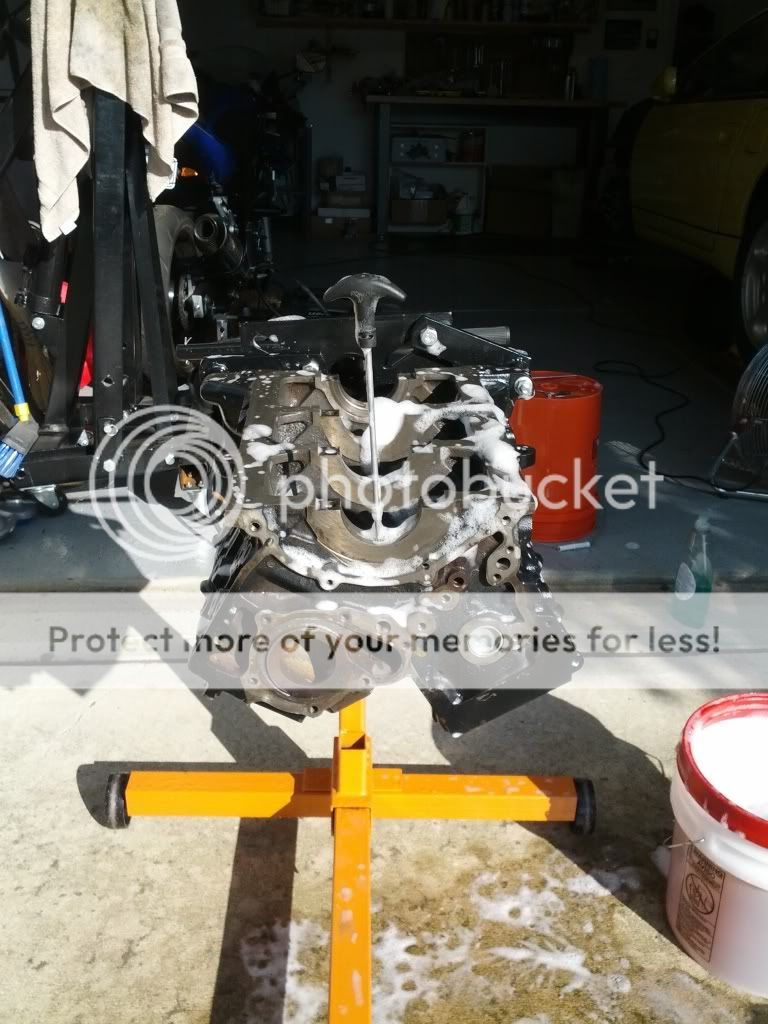
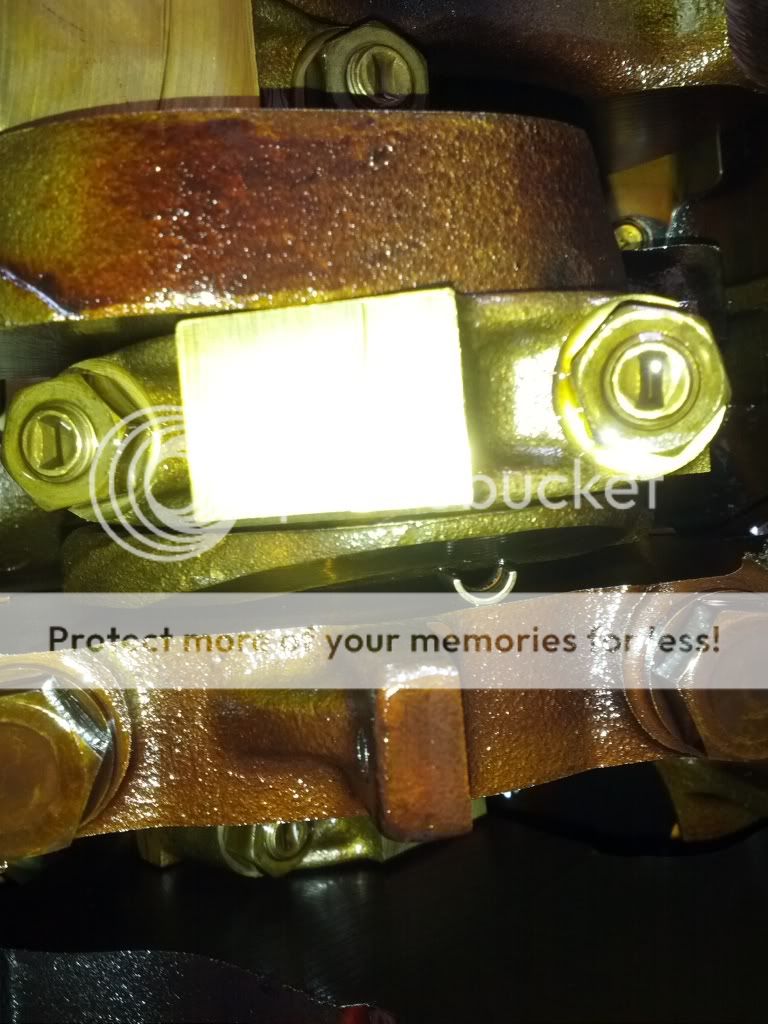
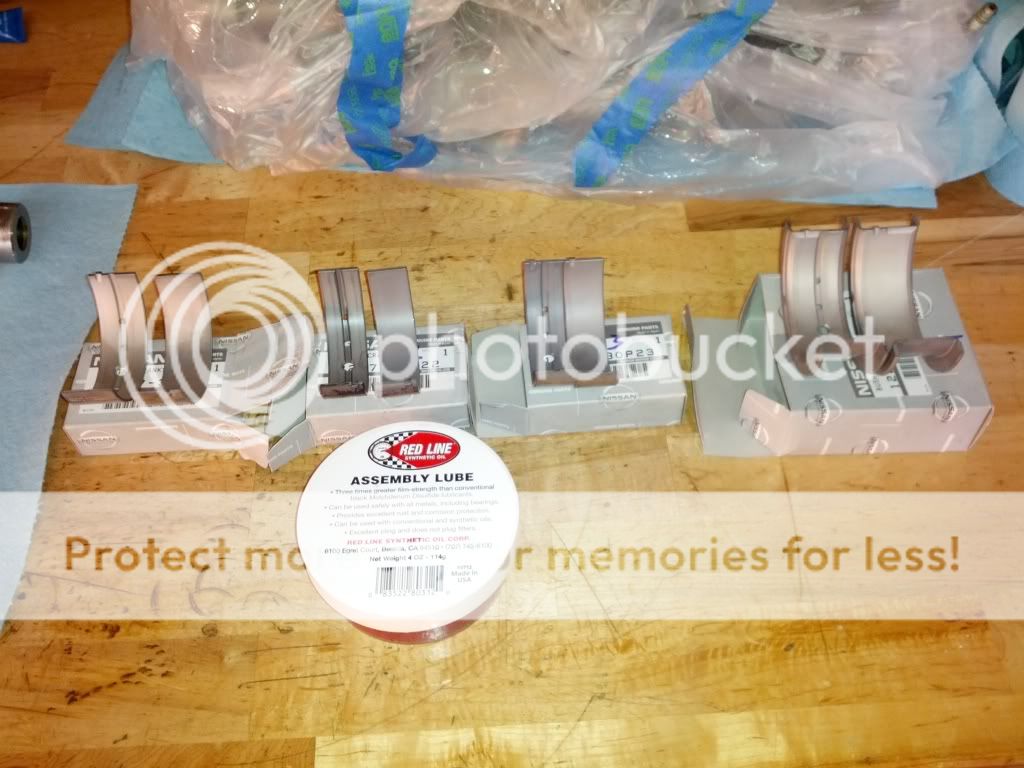
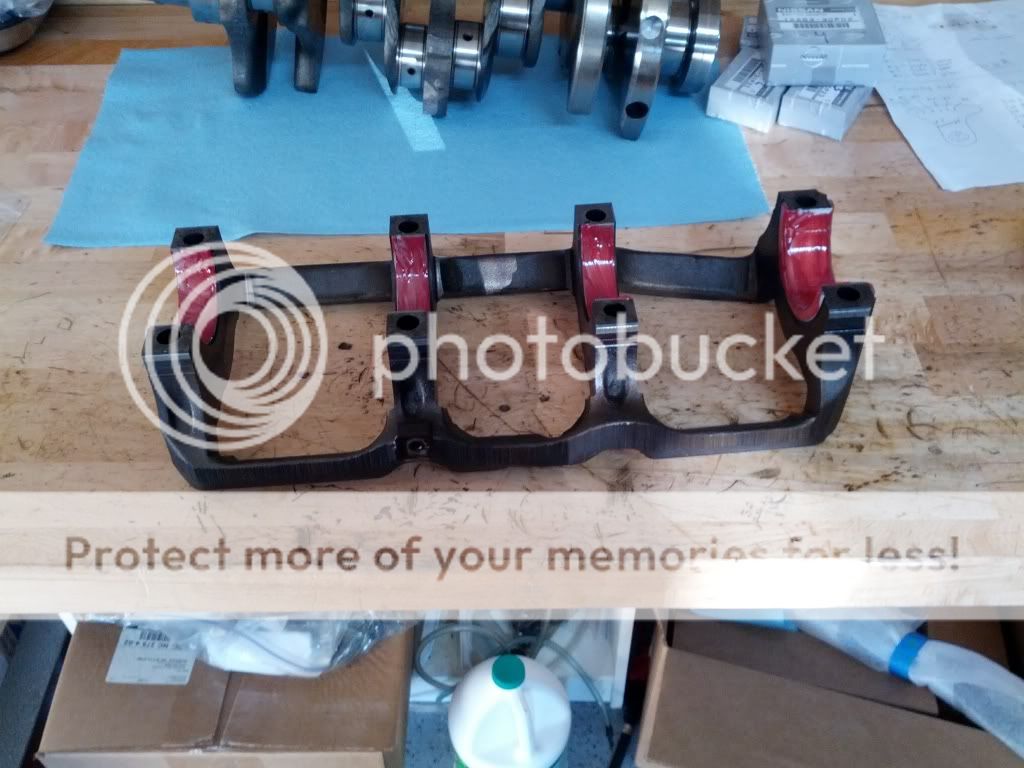
I went with OEM bearings and OEM main bolts for the bottom end. I used plasti-gauge on the main and rod bearings even though I had the machine shop spec out my tolerances. All readings came out within spec.
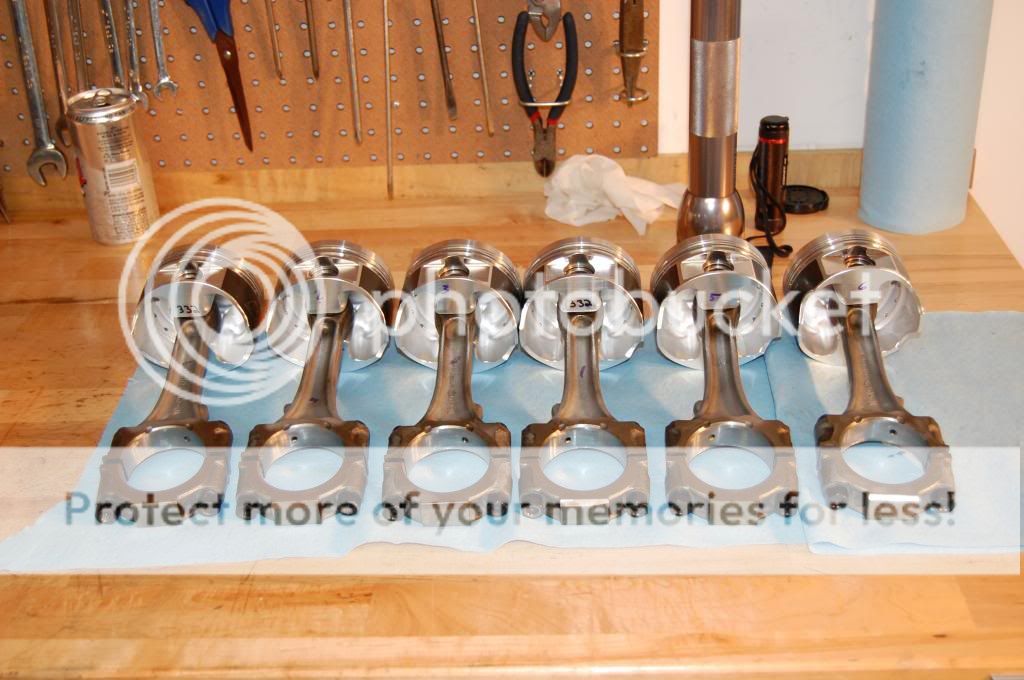
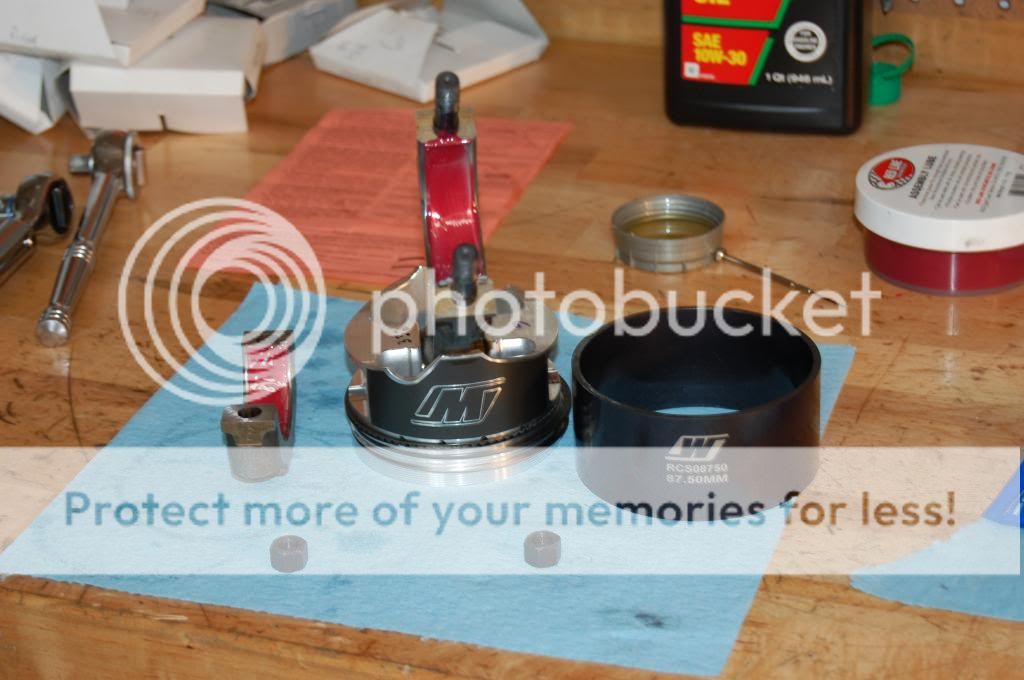
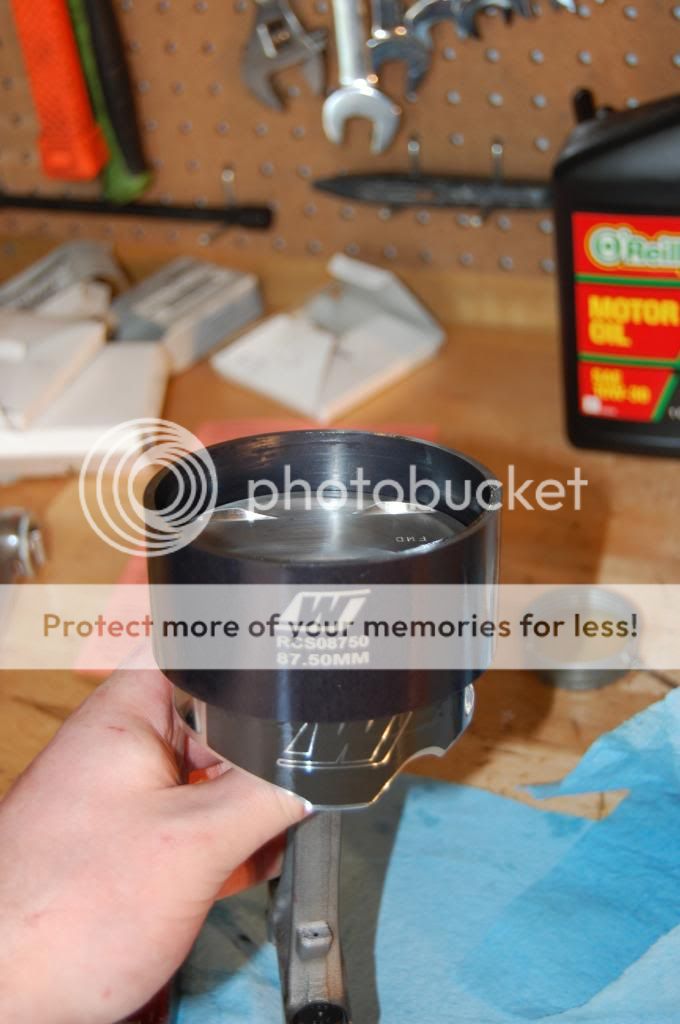
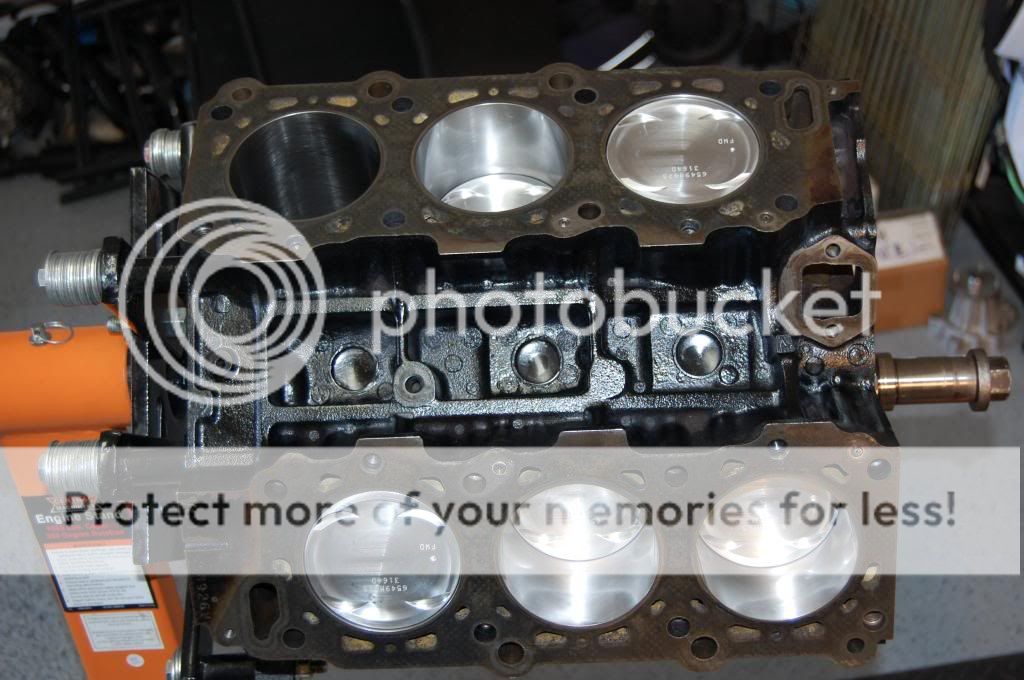
 Pistons were up next 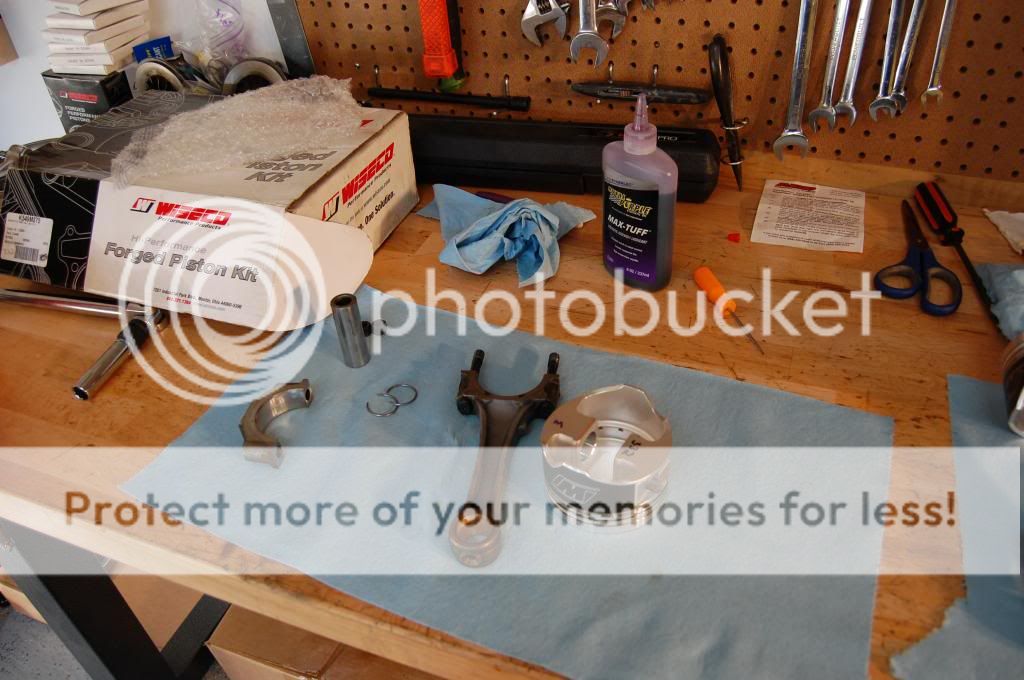
New OEM oil pump installed along with new o-ring for the pickup tube
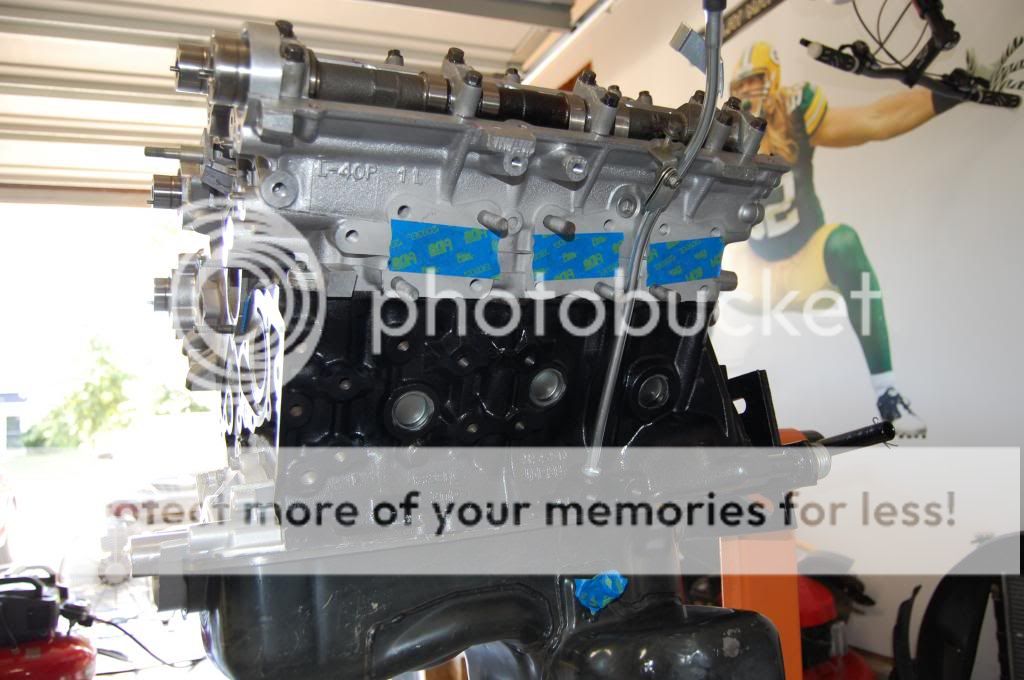
 and finally sealed up the bottom end.
 Threw the heads on next
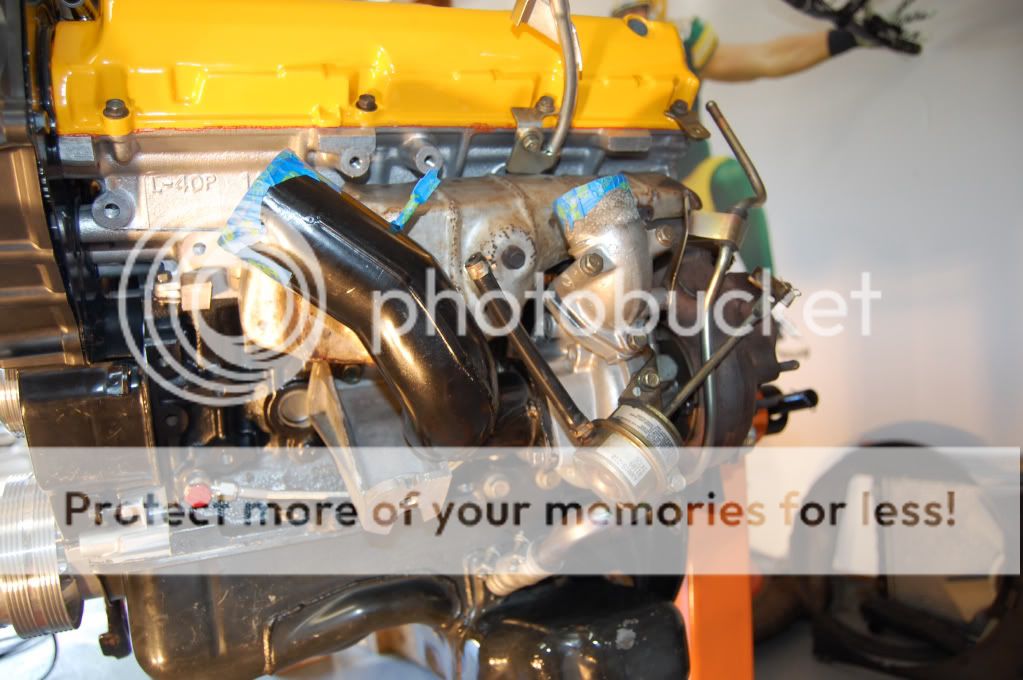
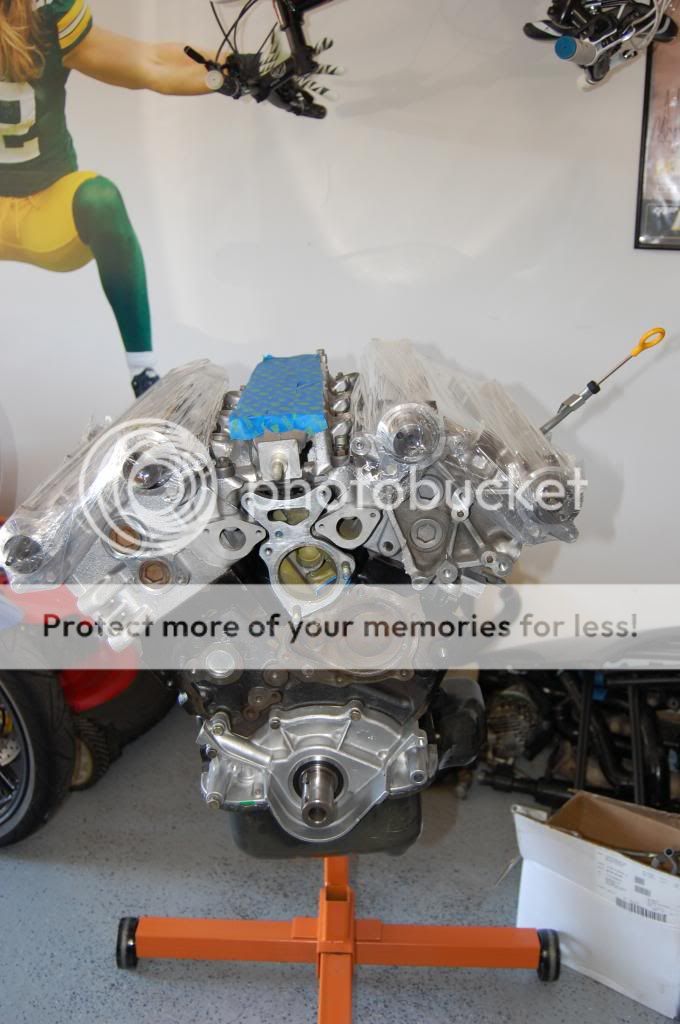 Scored a set of used MSP manifolds from a forum member! 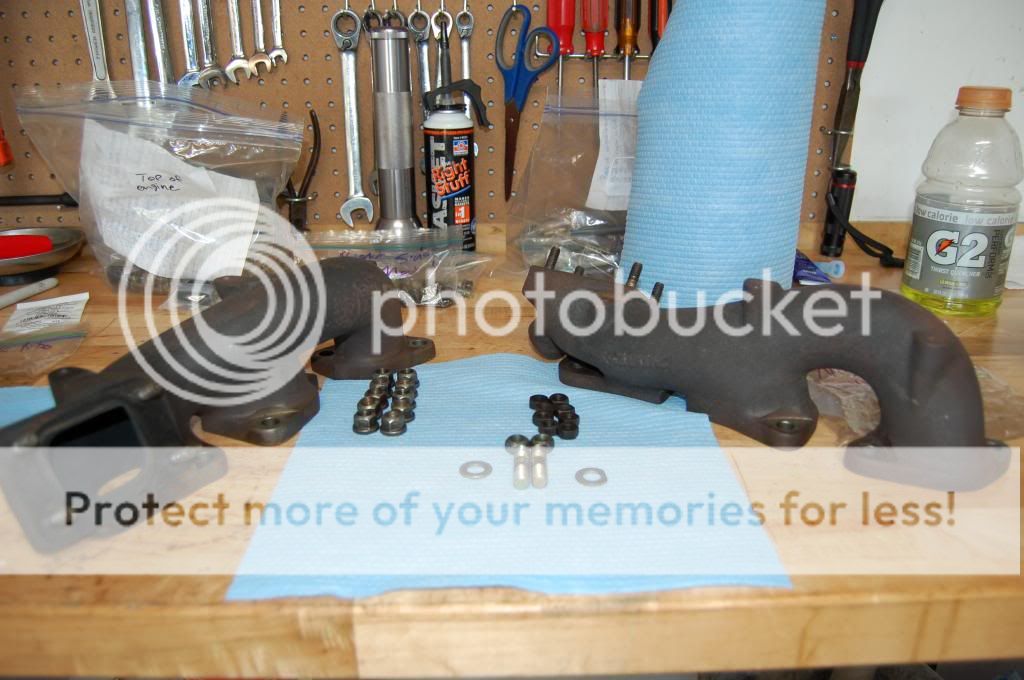
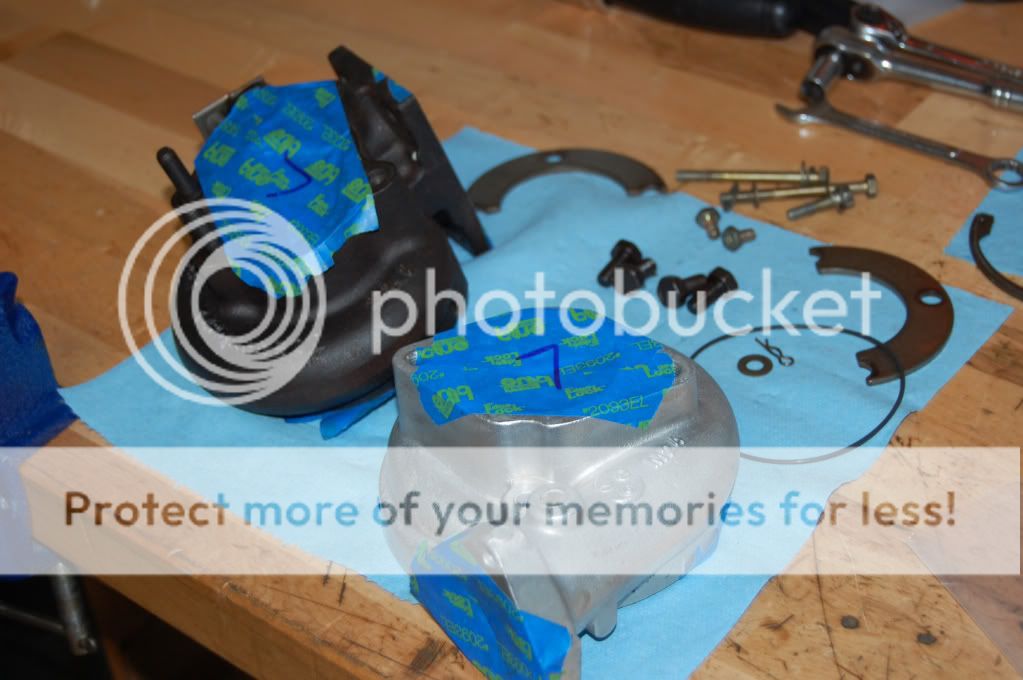
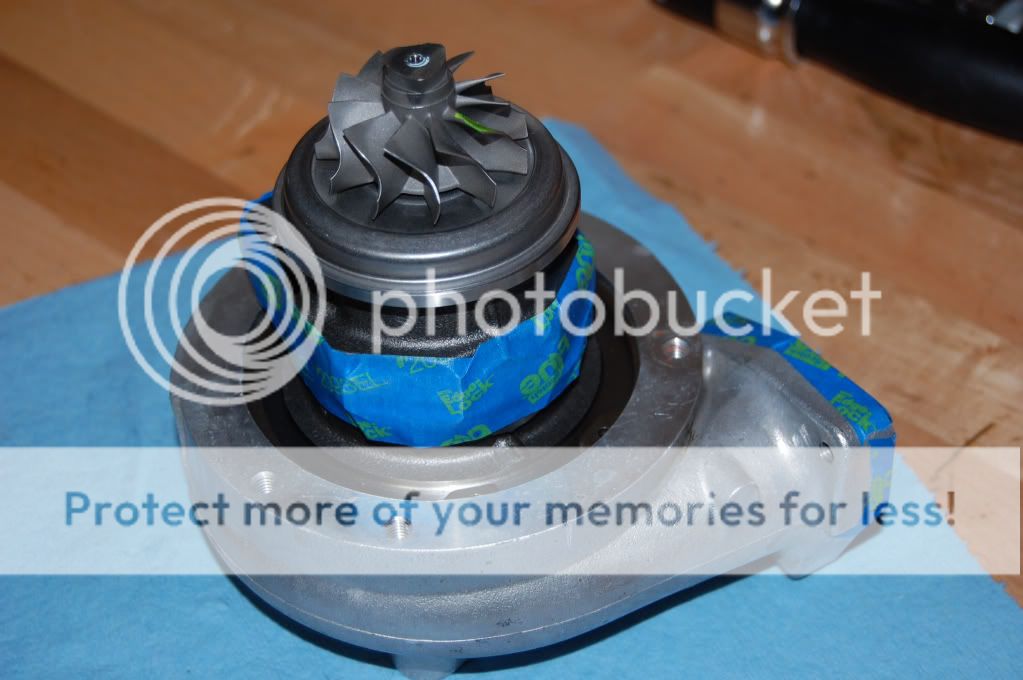
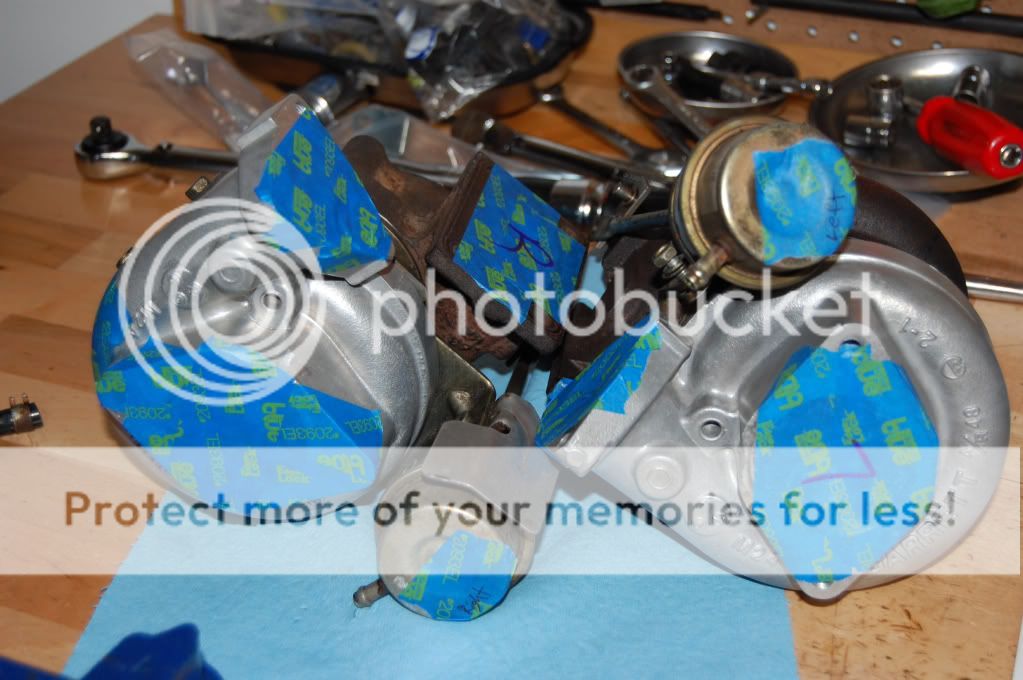
My automatic turbo's had about 40k miles on them so I decided to replace them with new OEM CHRA's. I picked up .63 a/r manual turbine housings to help pick up some more top end. I also installed 5-speed intake camshafts. 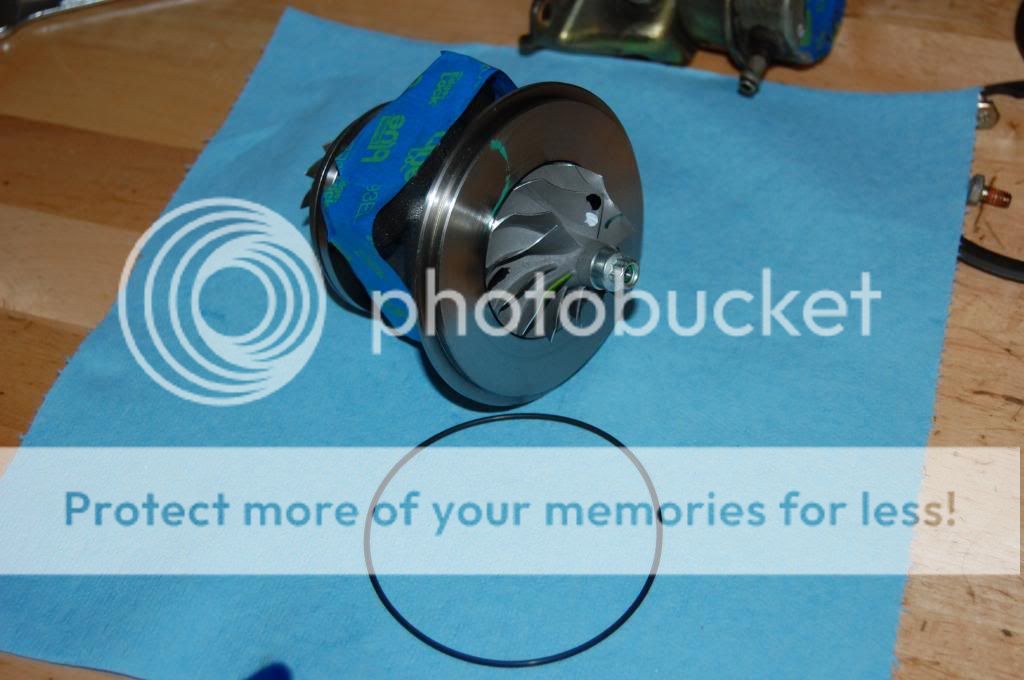
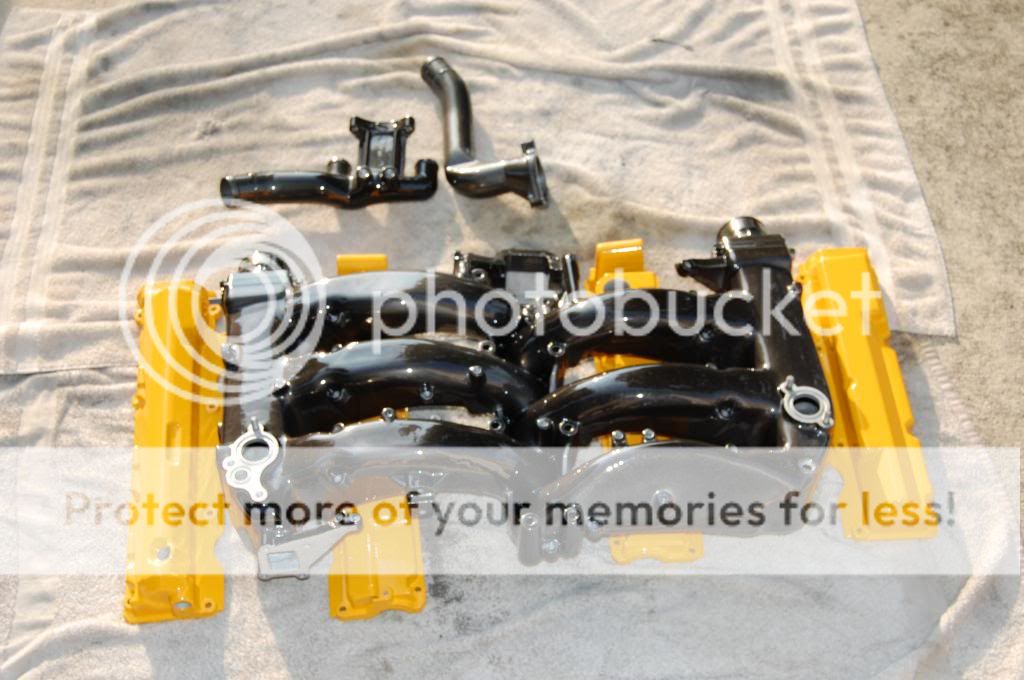
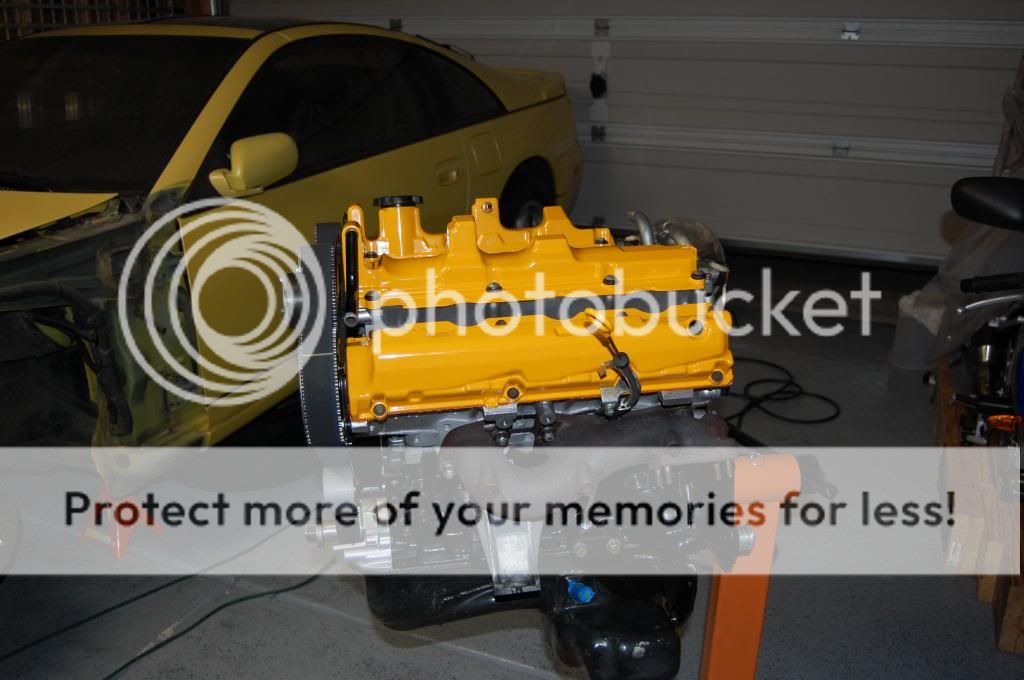
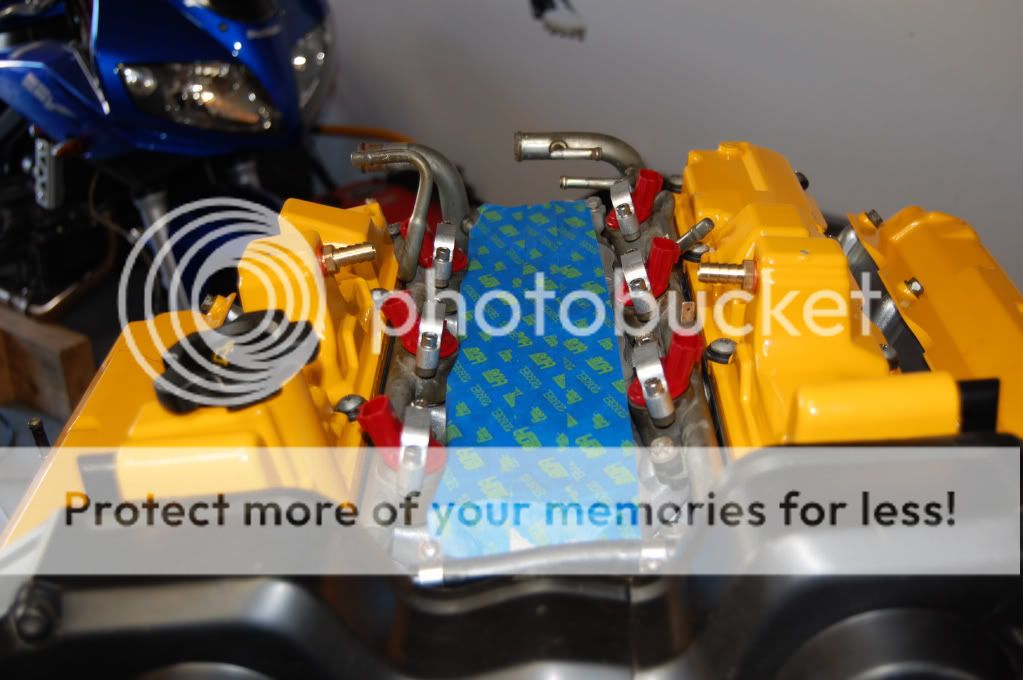
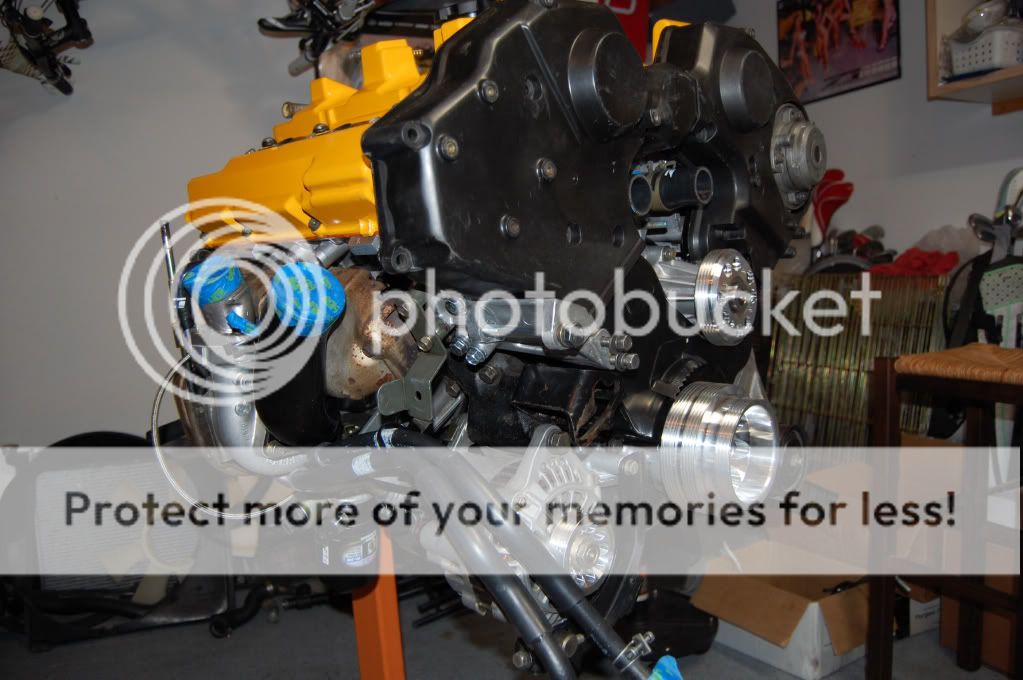
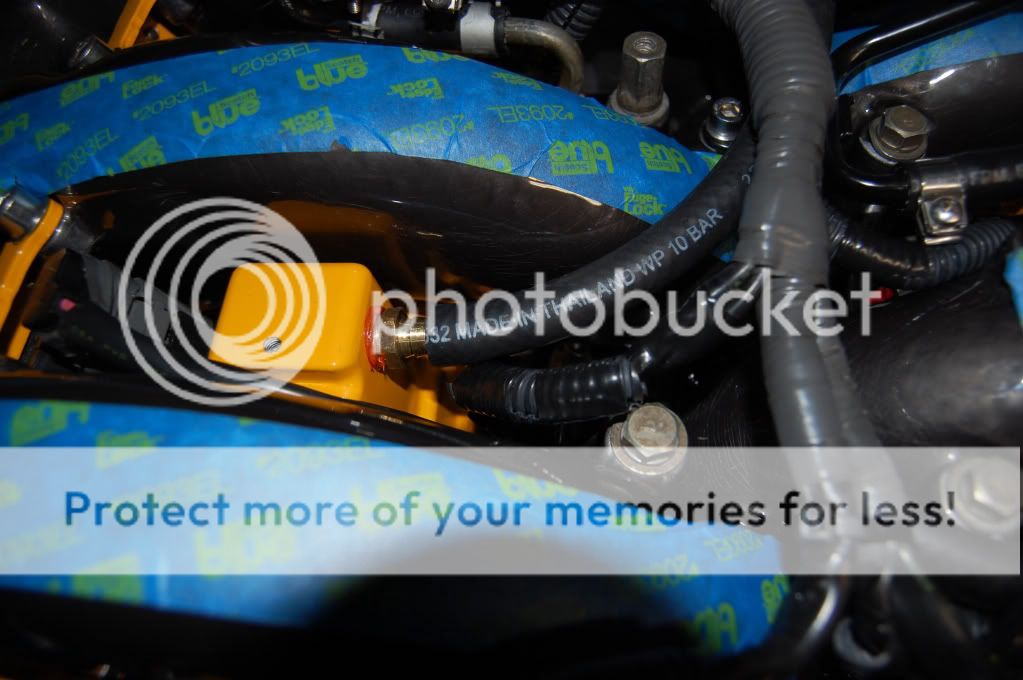
I decided to "dress up" my engine bay this time around. I sanded down the plenum and water pipes to a smooth finish before powder coating. I drilled out the oil baffles inside the valve covers as well prior to powder coating then tapped the holes and reinstalled them. The plenum and water pipes were done in black chrome and valve covers in yellow (can see it a mile away!) 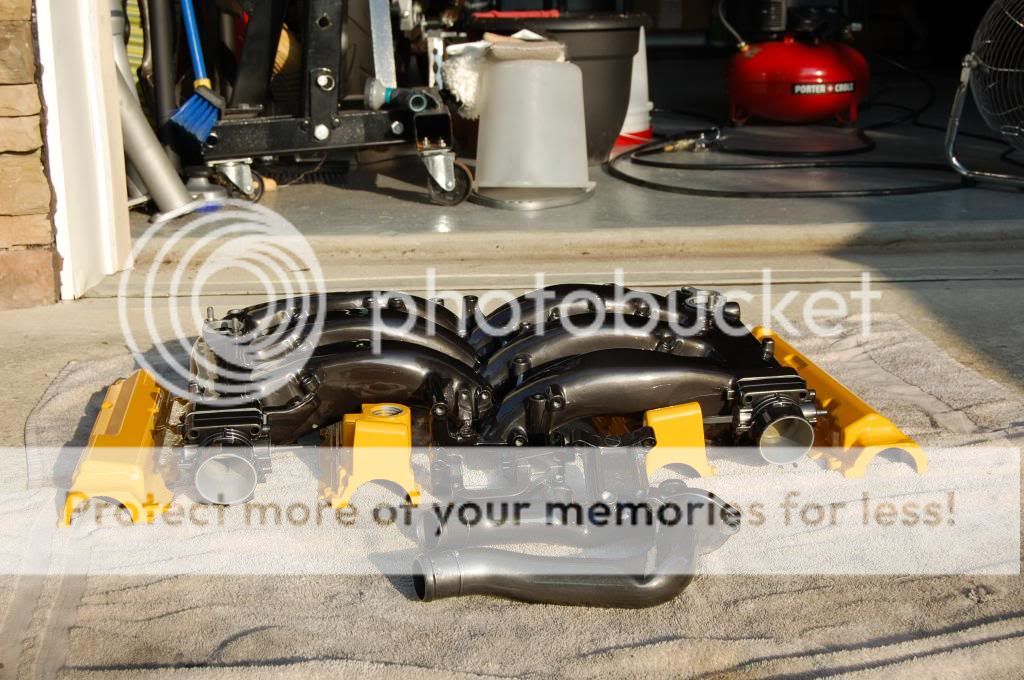
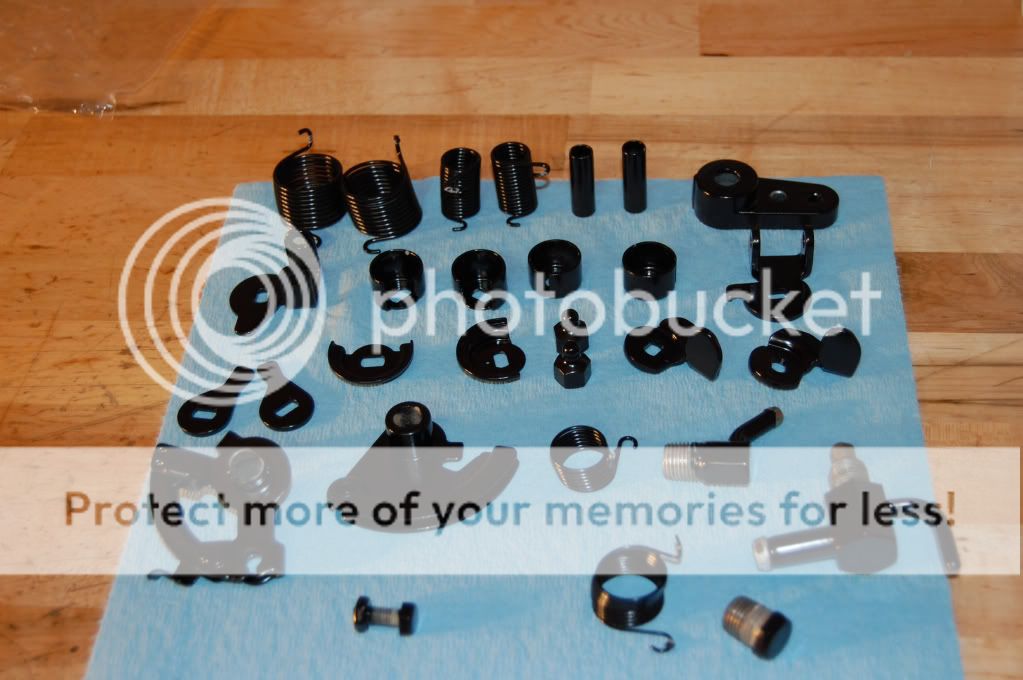
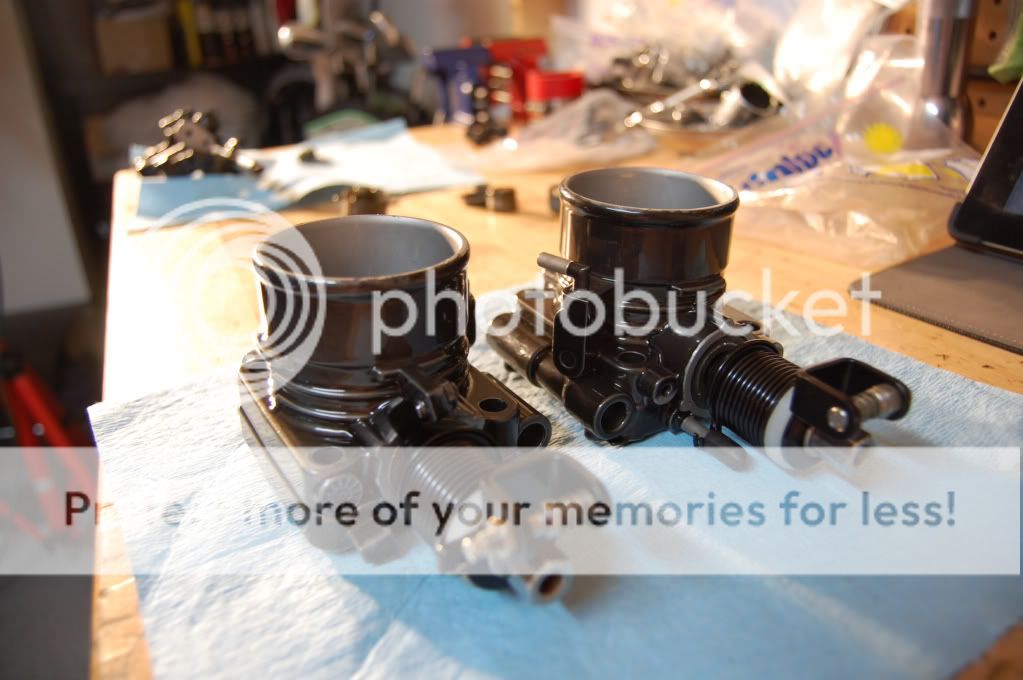
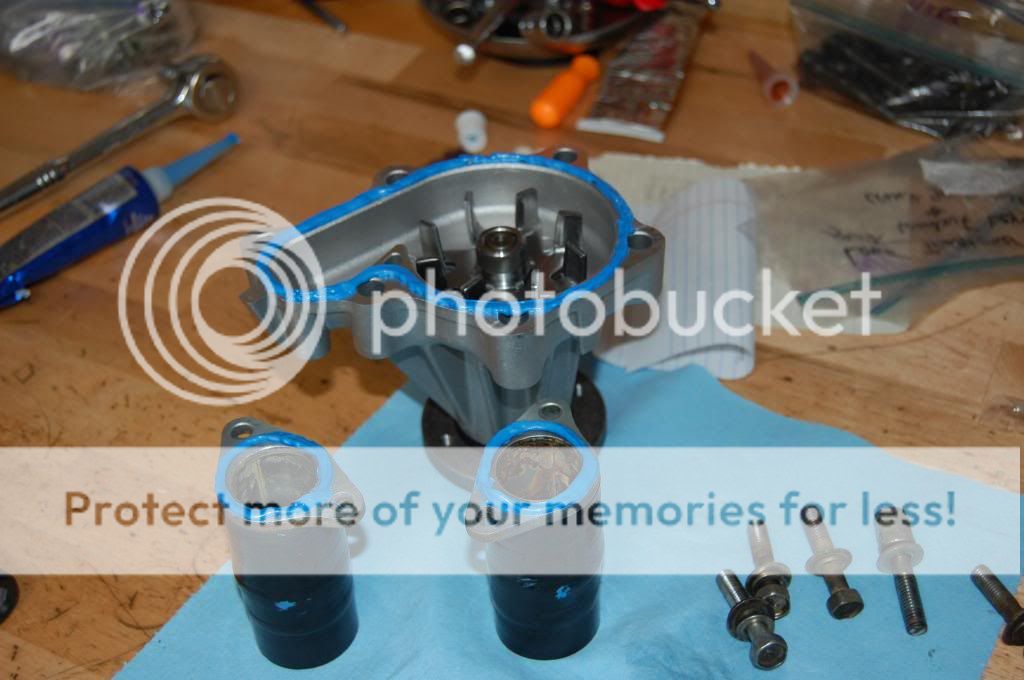
rebuild throttle bodies with Z1 replacement plastics 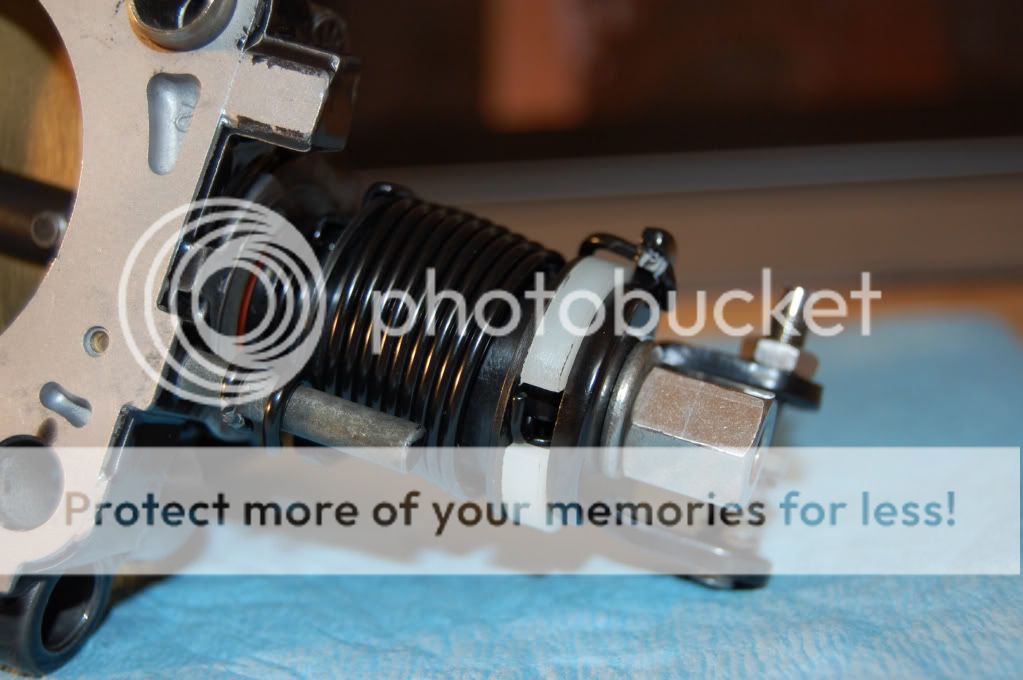

Started installing the remaining engine parts. All OEM parts were used here. 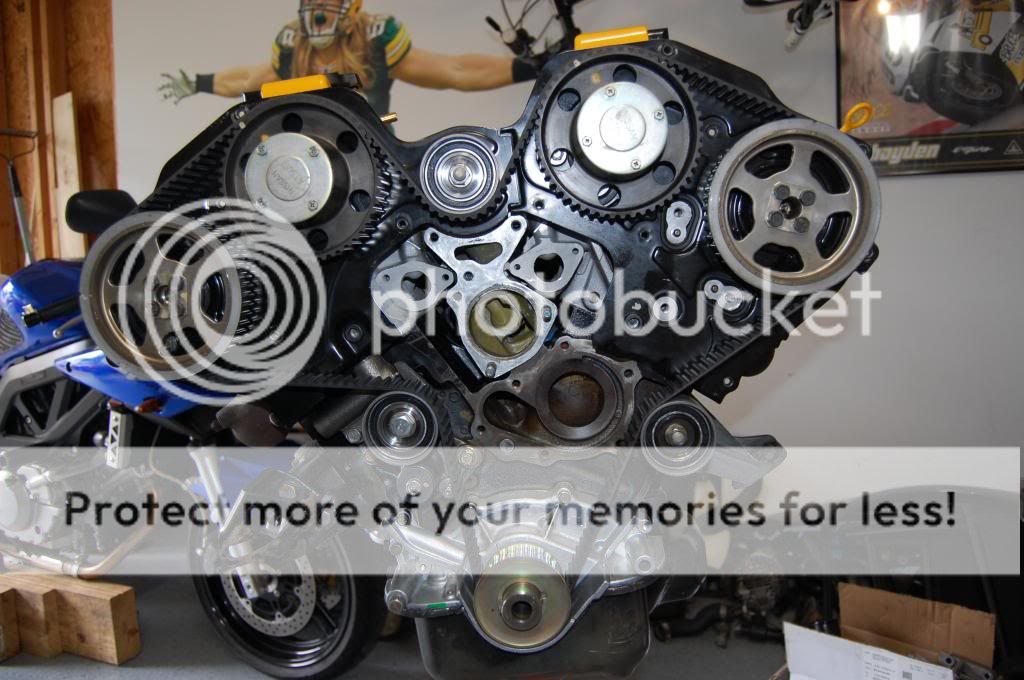

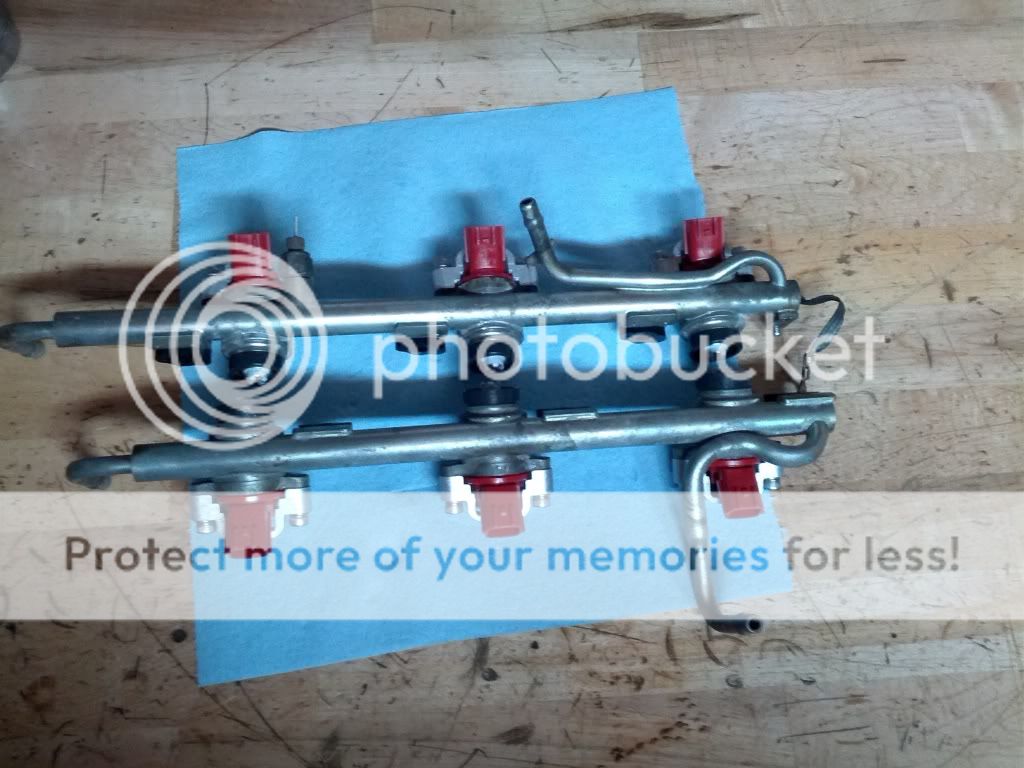
Went with Nismo 740cc injectors and coz injector adapter kit 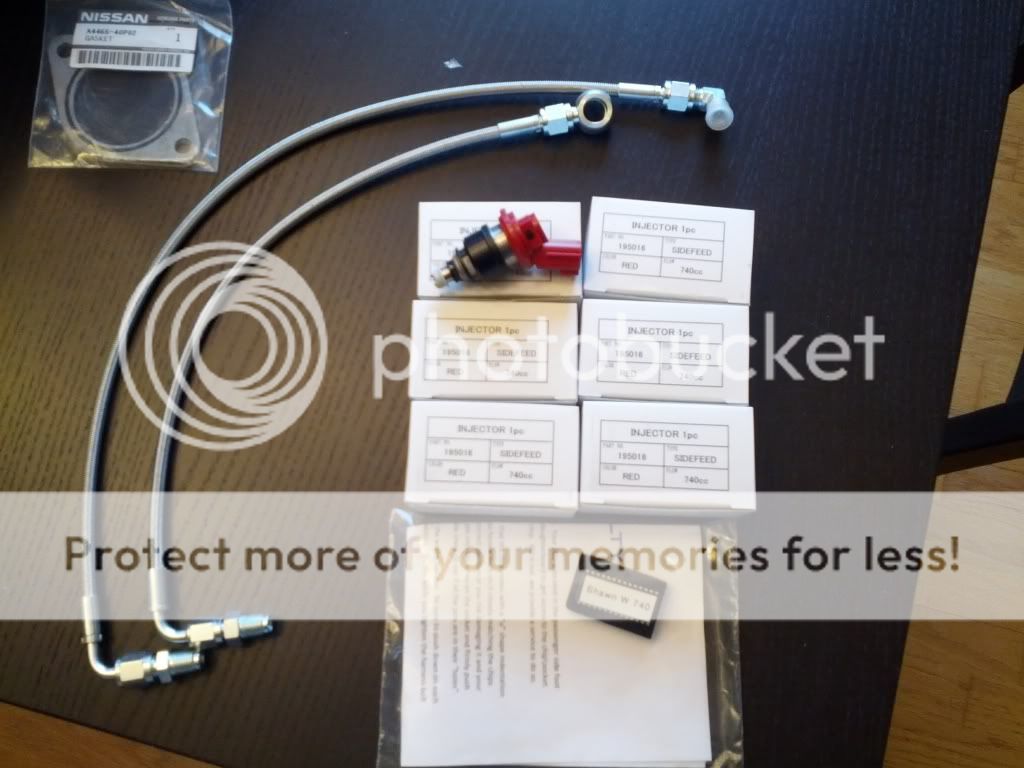
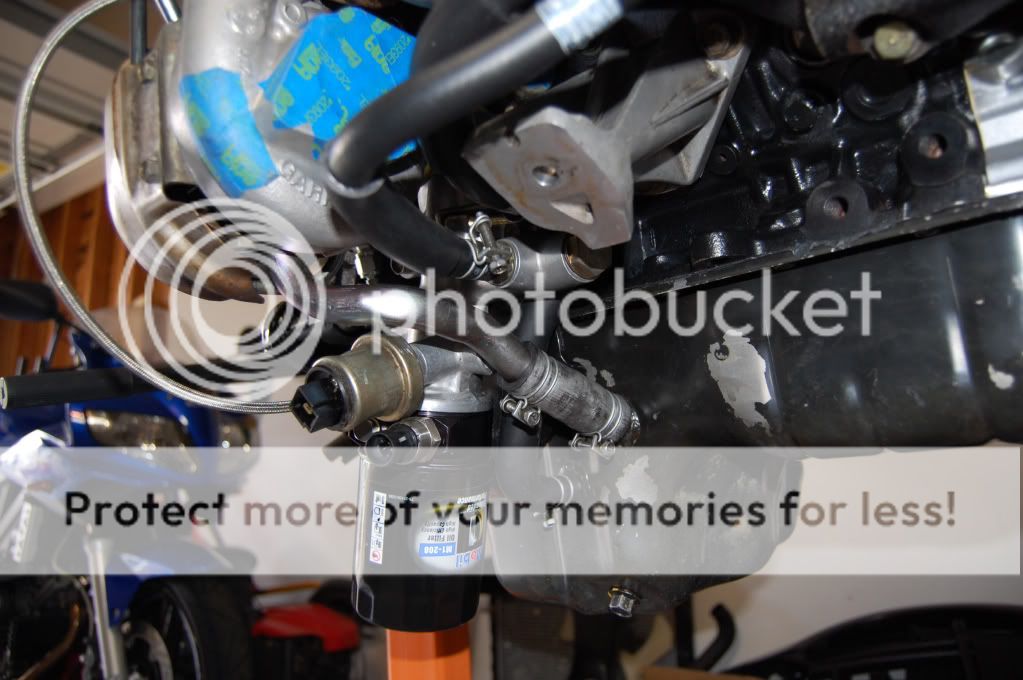
Did the NA power steering conversion while I was at it 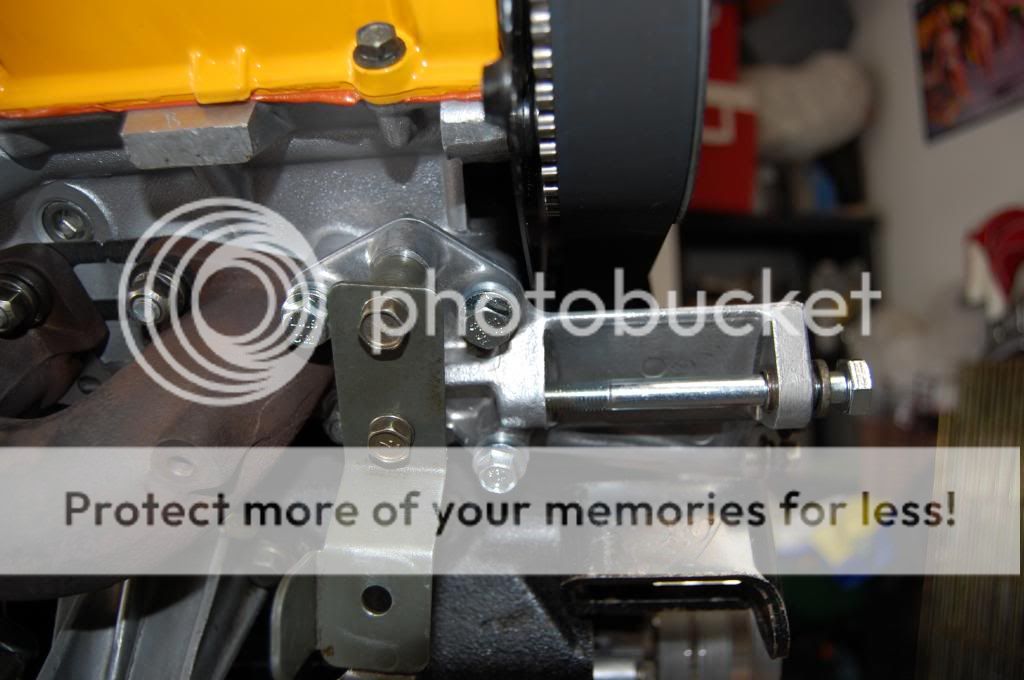
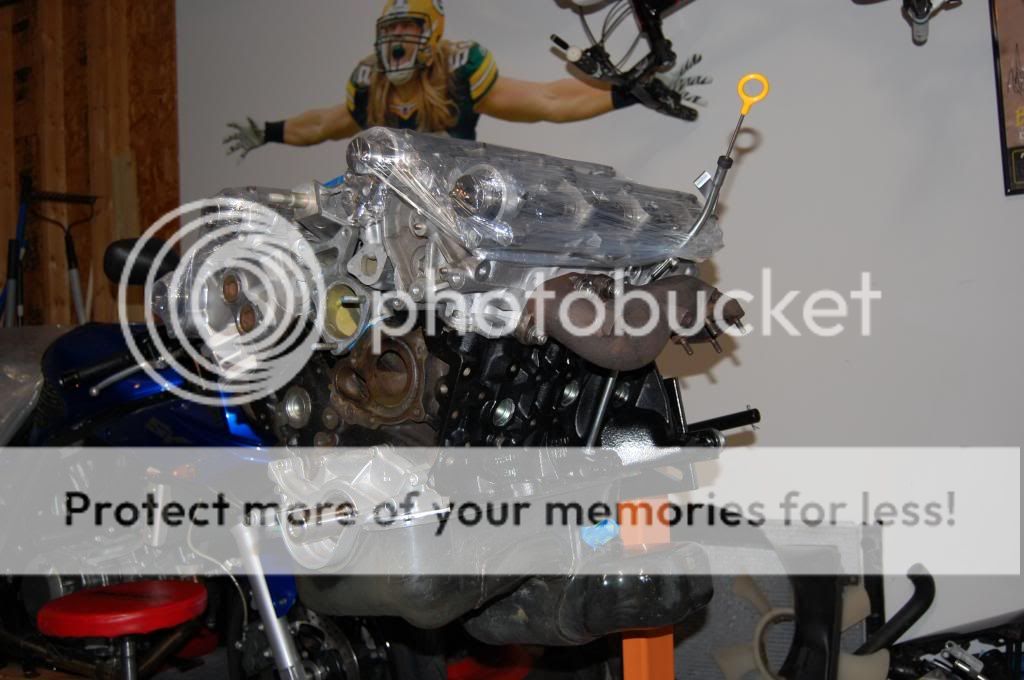
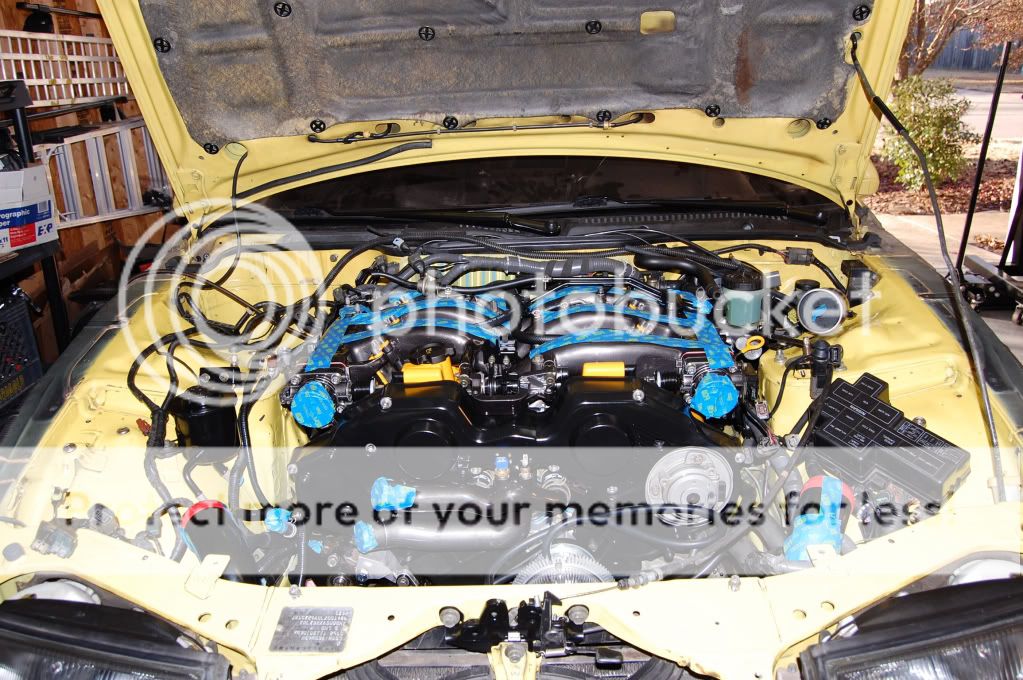
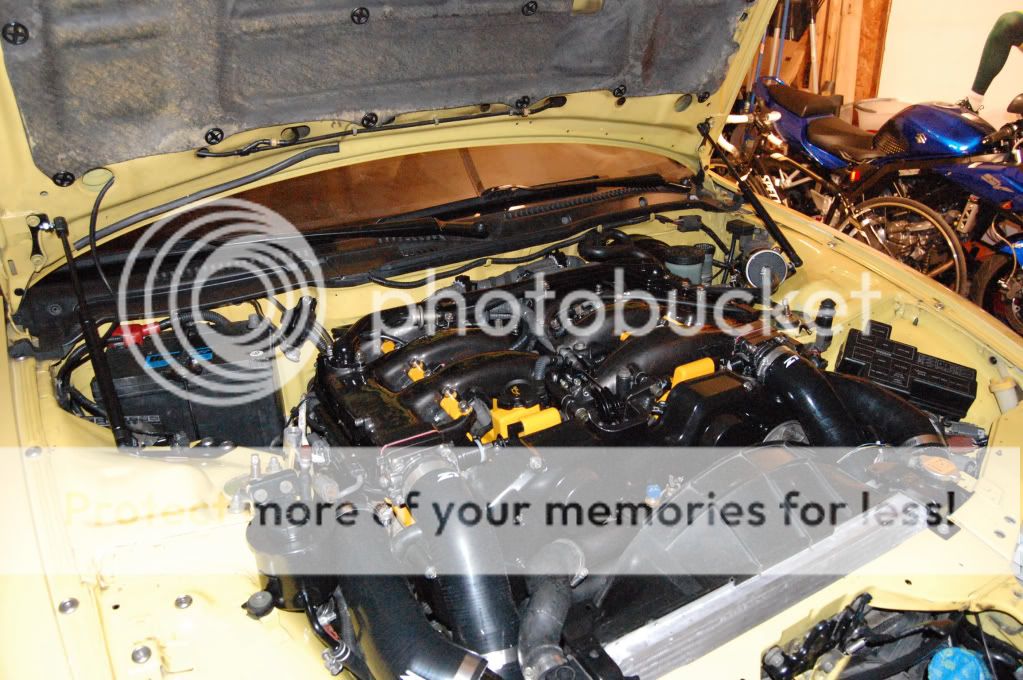
Started installing the top parts of the engine
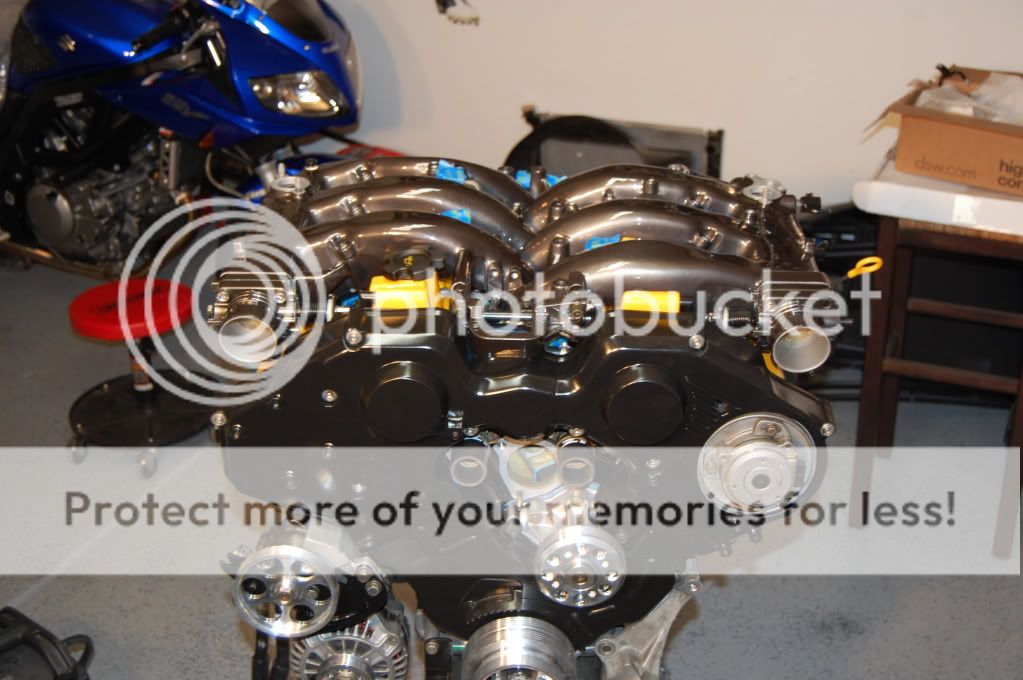
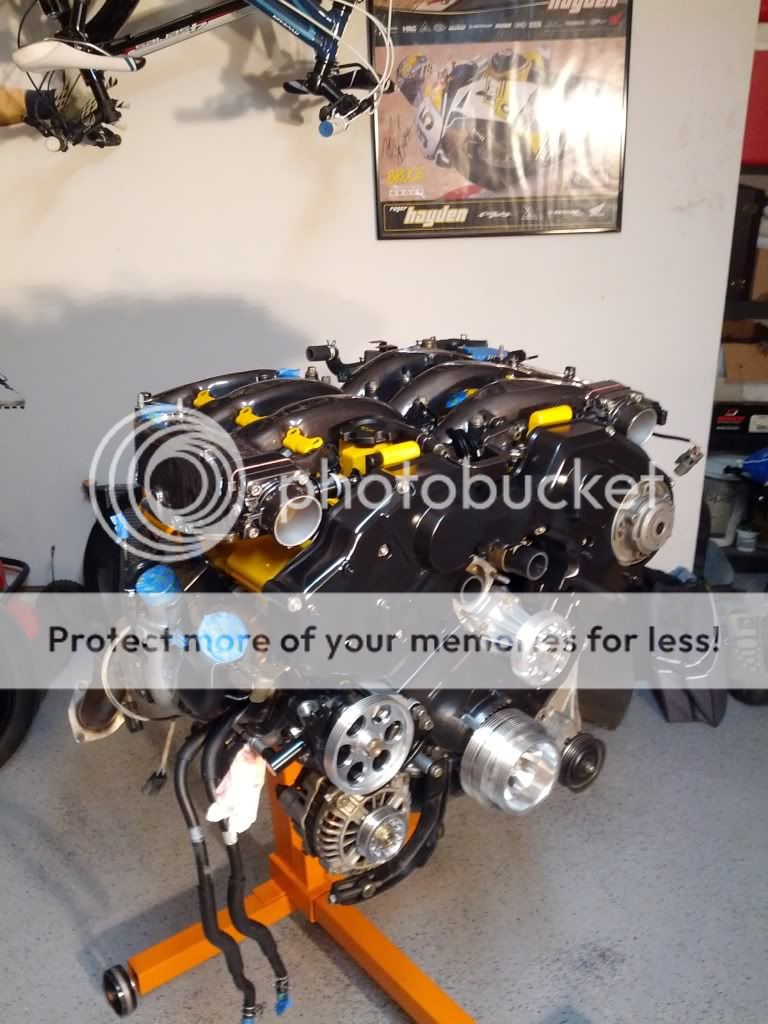
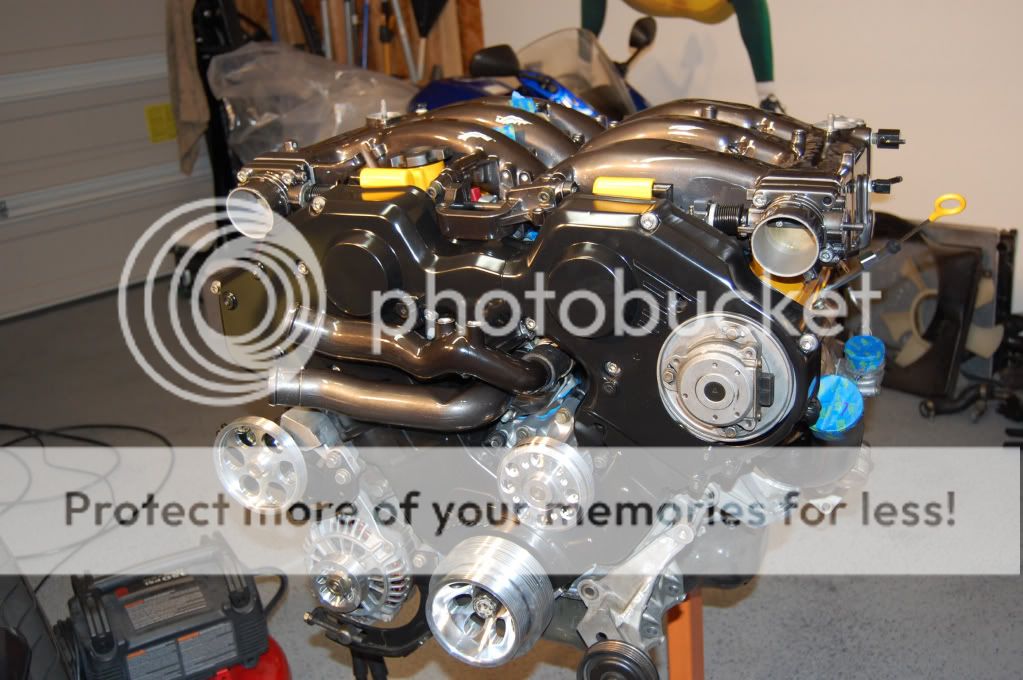 Got that sucker installed in an afternoon
 Did the Woody PCV reroute
 and GM style plugs
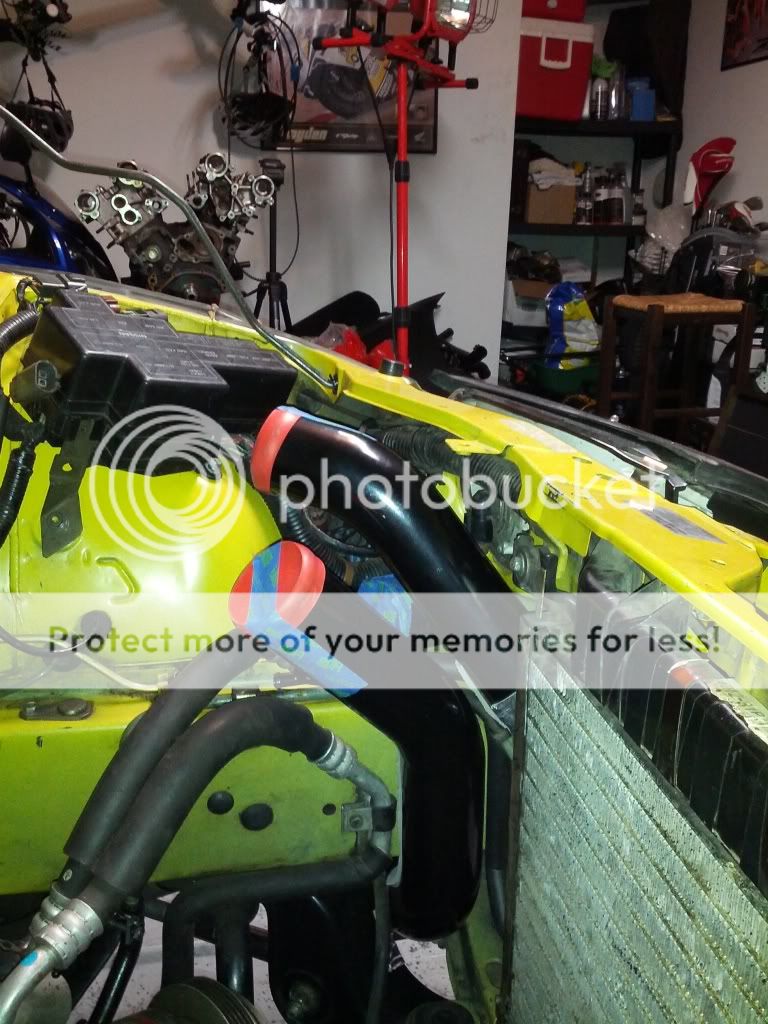
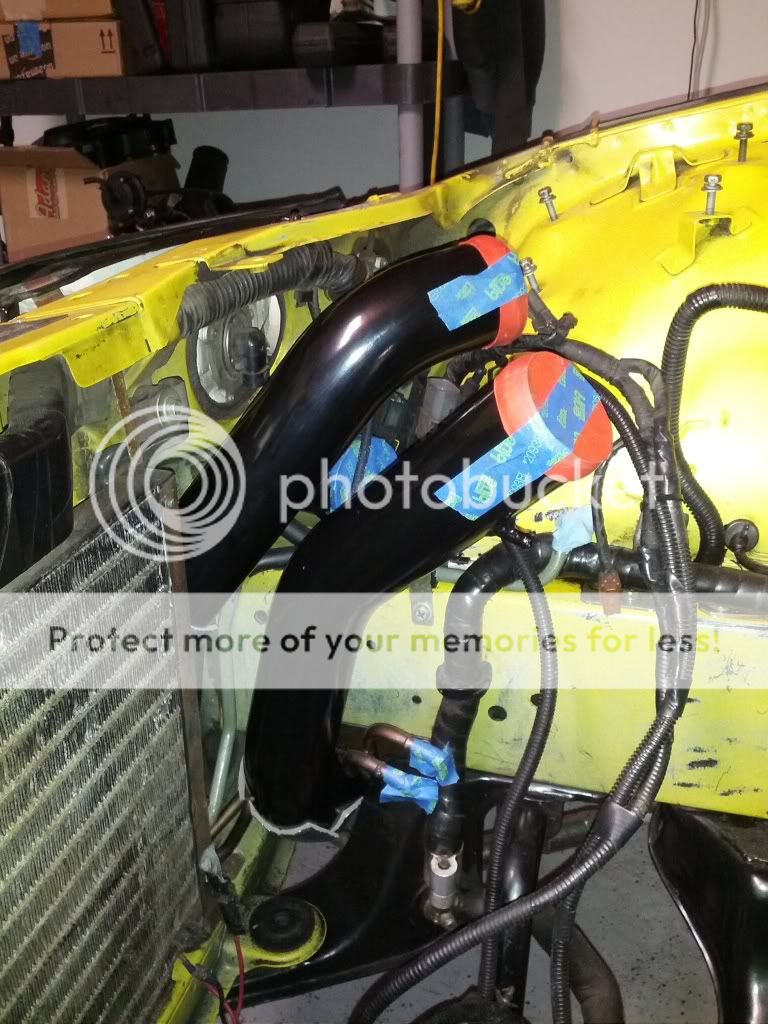
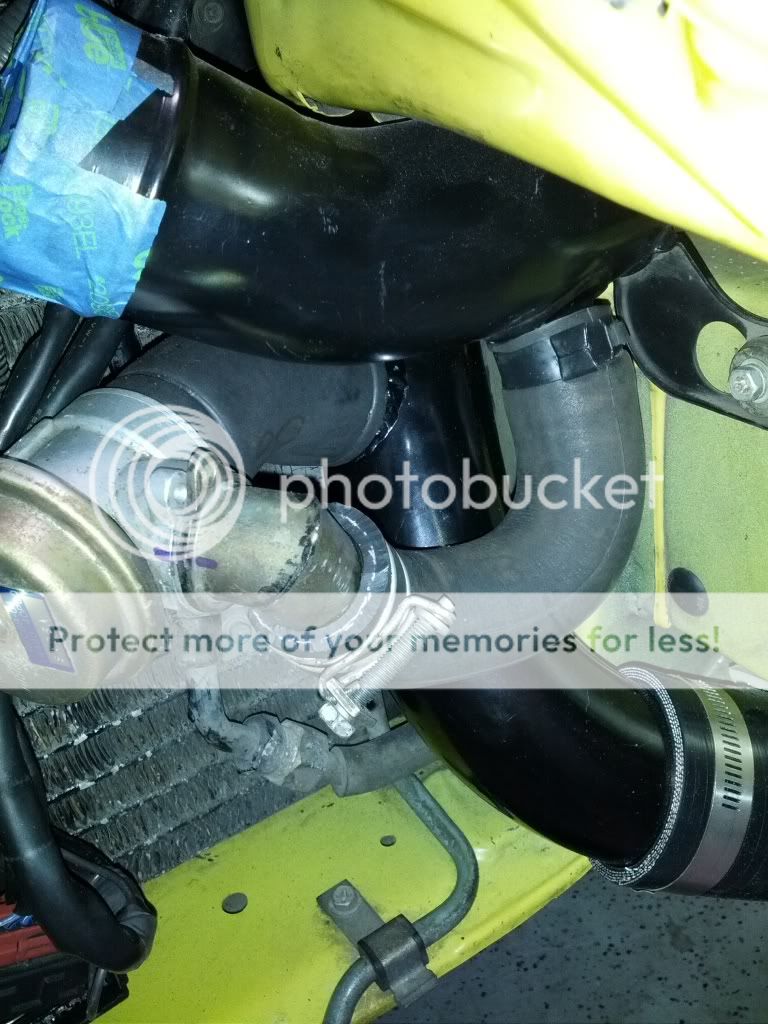
 Went with the Z1 BA SMIC and 2.5 piping. It was a pain in the ass to install and if I could do it again... I'd probably go with the ashspec kit. 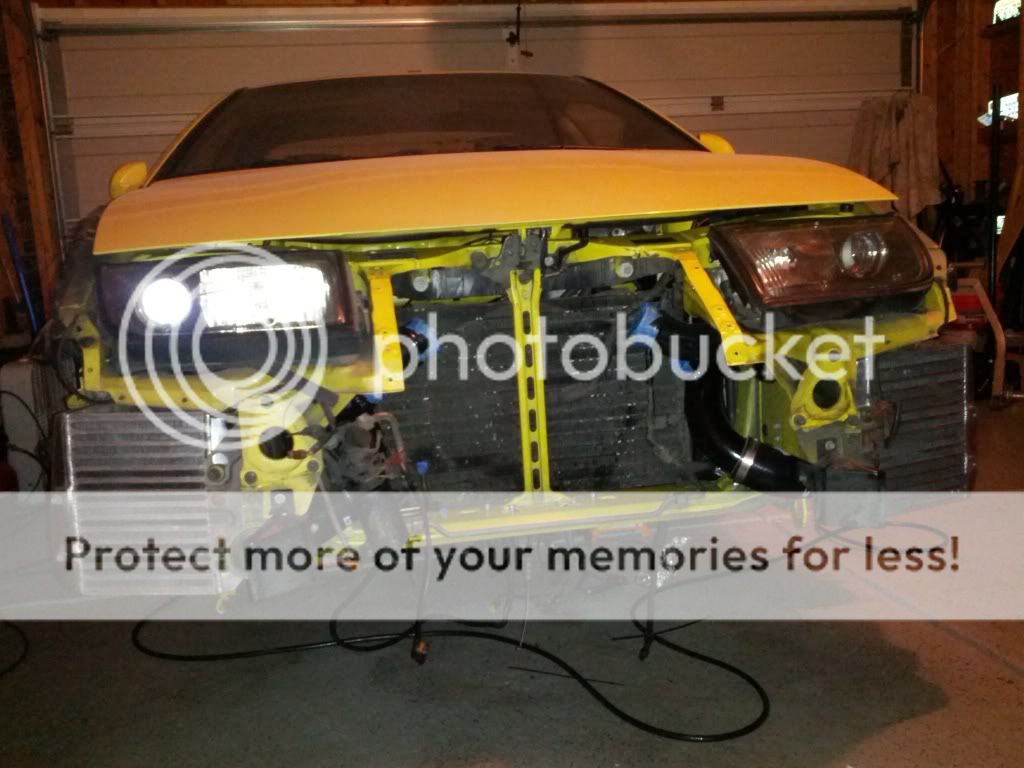
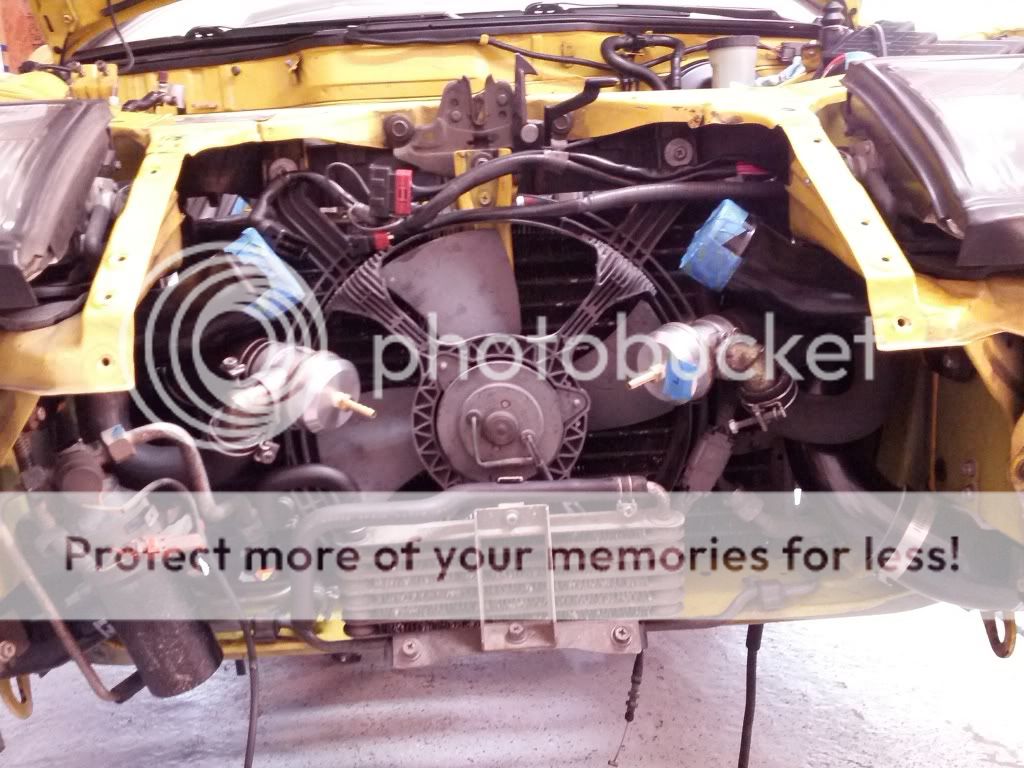
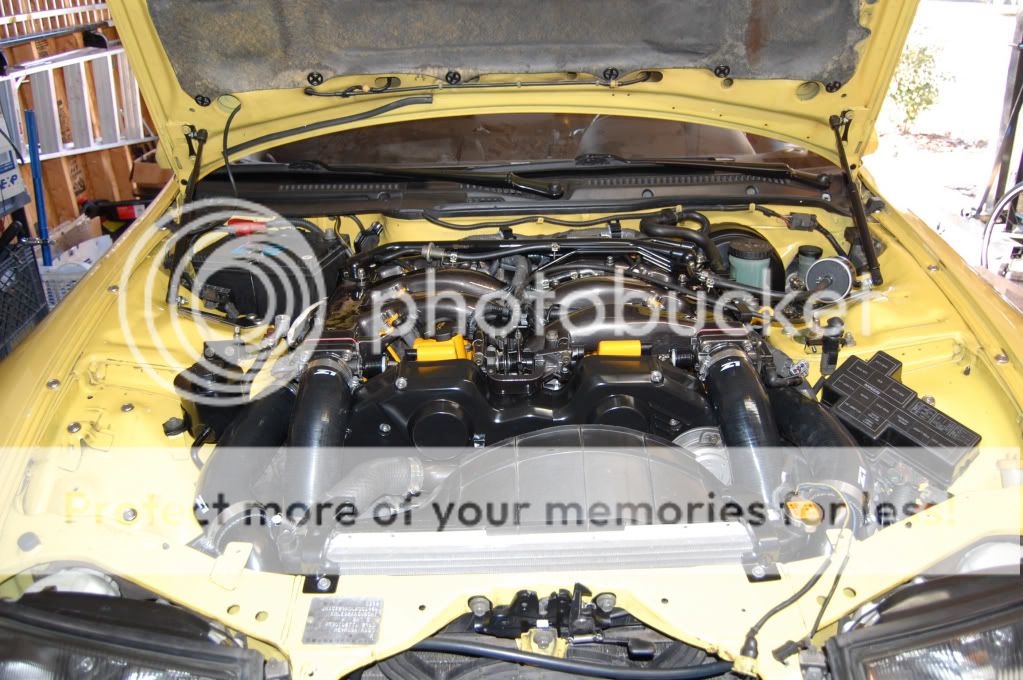
There's a ton of stuff I left out but in total this is about 15 months worth of work whenever I had free time. The car fired up last Sunday and is running great so far. I'm running a SpecialtyZ tuned chip for now until I can get a custom tune done in the future.
|


 Just completed my first rebuild. Lots of pics... -