| So, pardon my pics but had to take them with my Ipad as my 18-55 Nikon lens broke on me and I have nothing that will capture close up images. Ordered one, so next update should have better pics. As for the project, I continue to shave off an ounce here and an ounce there. The goal of this vehicle is to shave off as much as I possibly can while still making the car legally streetable. Apparently, I keep pushing the limits of what is "legal" in Texas. Originally this bumper was intended not to run an absorber, but I still wanted to utilize it but customization would be needed. Essentially we installed it under the bumper and had to cut away the section exposing the reinforcement bar underneath to allow air to travel up and out. Although we cannot get the full effect of a stock absorber, still using the absorber allowed for a better bumper fit and a hit of stock like safety. Our rebar originally was dented so we swapped it out for another one to be able to be road worth. I had time, so I actually buffed out the rebar as well, since it is now able to be see visually. You can see it if you look closely.
 Next on the list was the new Greddy differential cover that I finally got around to installing after EP Racing had it heat coated. You can easily see the difference in this unit versus the stock one.
 Another shot.
 And after bench pressing this into place, along with a few four letter words bellowing out of my garage and through my neighborhood, I got it in. The SPL solid differential bushings made for a very tight fit. Big thanks to Sean Farrah over at SPL for sending those over.
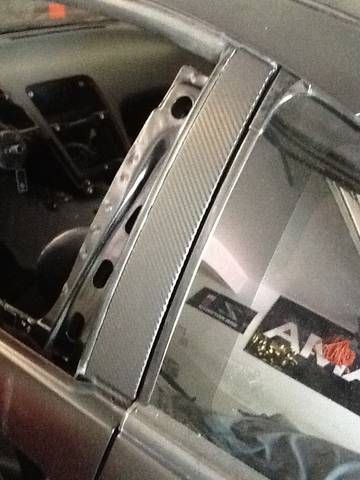
 Since I had a little free time in between things I decided to cover the door pillar, honestly I was just tired of looking at it in black and wanted something different. Using a typical real CF lay over, this is what I can out with.
 Finally ordered a seat cover for the Kirkey Intermediate Road Race seat. Kirkey supplies this tweed in a red, gray or black. We opted for the black. With this cover in, this seat rivals high dollar popular seats in the market at a fraction of the cost and a portion of the weight. Also, if you look closely I added elastic paracord, that will be hooked to the seat harness. This will allow the harness to be tensioned back towards the seat when exiting the vehicle. A little trick I picked up after sitting in the a true time attack car recently. Cheap, smart and easy.
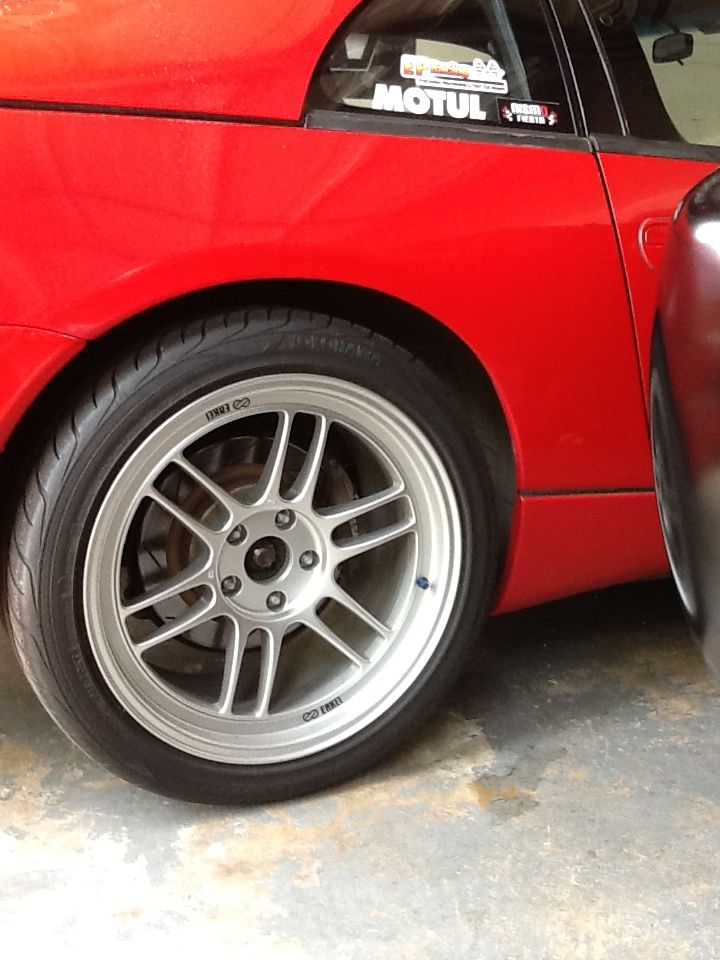
 This is a shot of a set of Enkei RPF1's on my other slicktop. Enkei is apparently going to release a black chrome in the RPF1 soon, and I think this will be what we will utilize for LOWFATZ as well. They are ridiculously light, fairly inexpensive and well made. I absolutely love mine on the daily. These should be a great addition to the project.
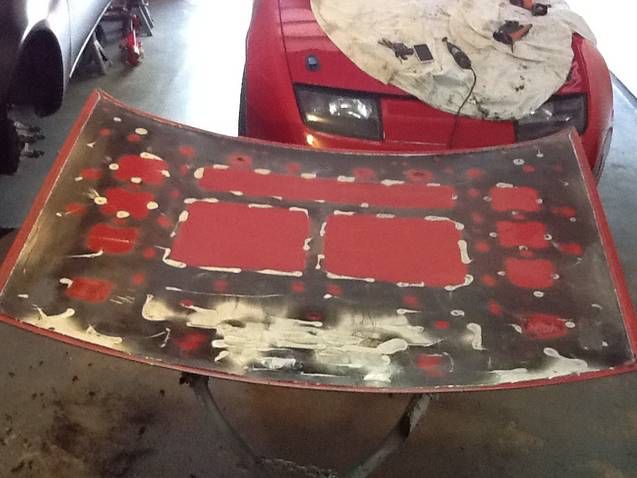
 Previously I was looking for more ways to cut weight in the hood area. Originally we removed the hood latch, hood latch cable, hardware and the heavy steel reinforcement in the stock aluminum hood. We opted to utilize aerocatch hood pins to allow us to do this. While on that note, I figured why stop there. What you are looking at below is the inner skeleton of the stock aluminum hood, removed from the outer skin.
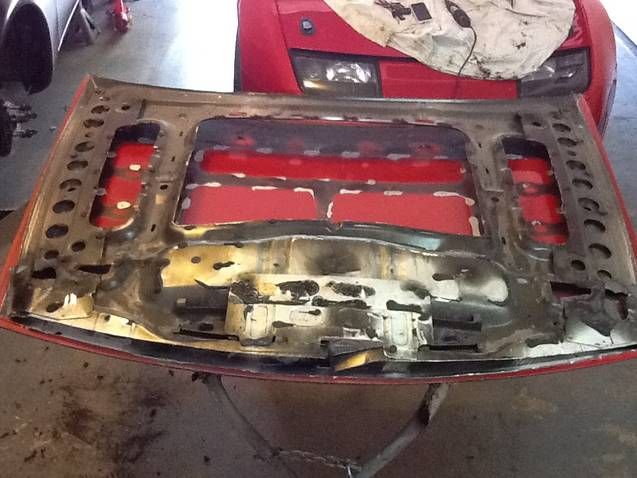 With the shell removed, the outer skin weighs in at a feather light 2lbs and 6 ounces. We do loose some rigidity in the hood obviously, but considering the car is primarily a track car, this would be standard.
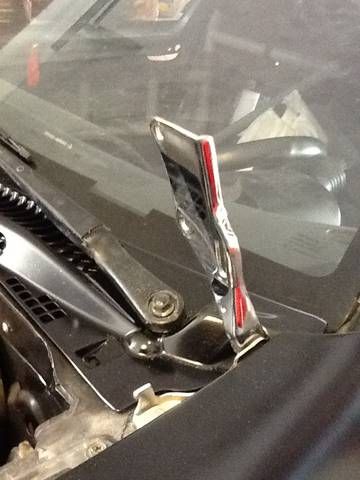
 Now that the inner reinforcement is now removed from the hood, we no longer will have the use of the stock hood hinge. This is another saving that we hoped to get rid of, to offset this area, we simply add in another set of aerocatch hood pins for the rear portion of the hood.
For the record, removing the skin is a huge PITA. But it was worth it to shave some extra poundage.
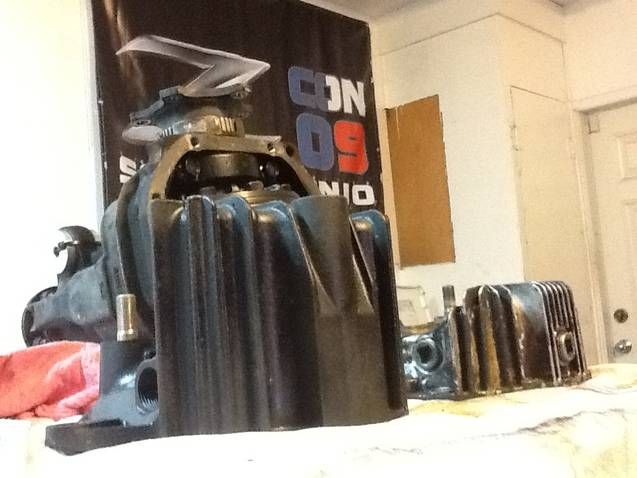
 As far as updates, that is it for now. I will be receiving the engine parts back from powdercoat soon and should have brakes for the track car next update. Thanks for looking and all the support from everyone out there.
 |


 UPDATE on the LOWFATZ Project. -
  20:10:57 09/29/12