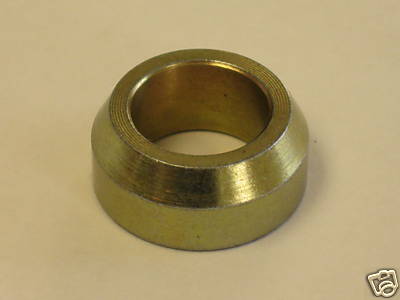
| So to be fair my Z seems to spend more time barricaded in the garage by 2 or 3 project then it does on the road. So it seems that I always end up w. some last minute project that I'd like to get done before the next Z event... This year was no different and since driving out to Arizona for ZCon is pretty much off the table I figured it was pretty much "now or not until next year". So 1st item of business was reinstalling my DS rear upper control arm which I had taken apart when Adam bought his S13 ~ Nov 2011ish. We needed to measure out the joint spacers to replace on a set of arms he had that where missing them. That left my car 3 wheelin' for about 6 months :-), honestly I'm just happy I didn't loose the stupid things before I had a chance to reinstall them. All that just to measure out one of these:
 While I was reinstalling the upper arm it seemed like a good idea to get my SPL lock out kit installed as well. This does a nice job of removing the stock off center bolts which can slip under high loads. TT's use 1 pair, NA's can use 2 pairs if you have adjustable toe arms.

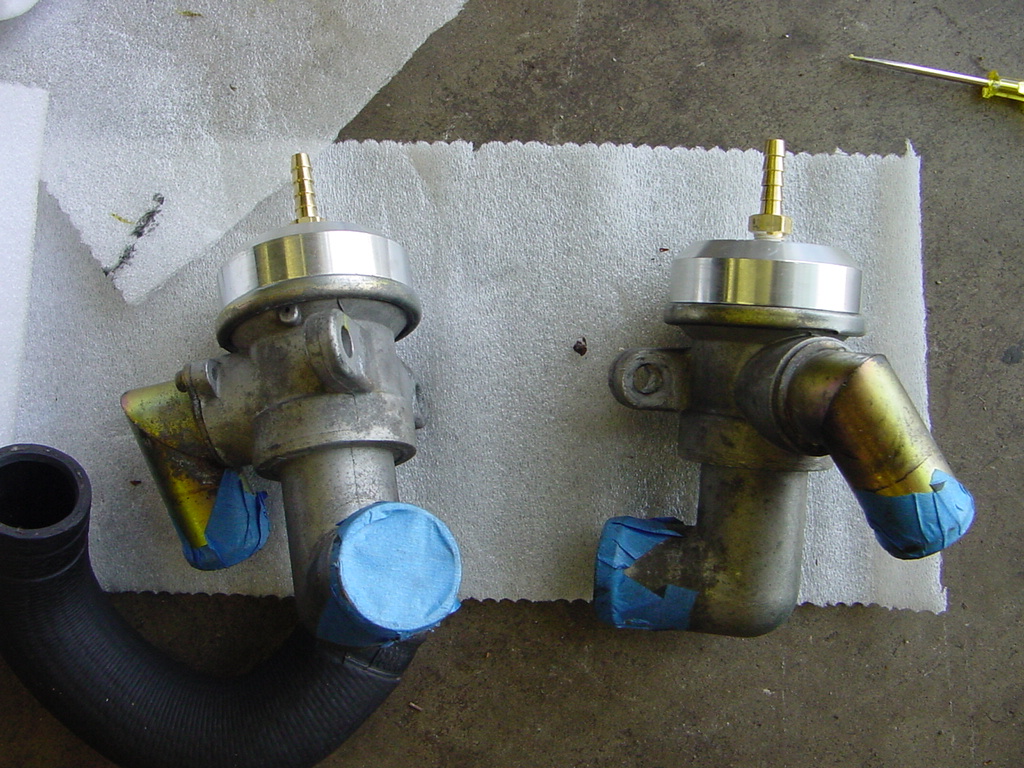
[ http://www.splparts.com/chassis-Z32.html#SPLEL70 ] Next on deck was getting my recircs modified w. the BDE goose honk killer kit and reinstalled. The Goose Honk Killer (GHK) is a kit that will increase the internal spring pressure of both factory recirc valves and this additional spring pressure will only allow the Recircs to open under high vacuum conditions. This is the exact same reason why aftermarket BOVs prevent the Goose Honk and can be vented direct to the atmosphere... because they are not open under idle/low-load conditions, allowing un-metered air to flow into the engine. To get access to them I needed to take out my dual intake, aux fan and unbolted the oil cooler. Details
[ http://bde-performance.com/goose.htm ] Here they are ready to go in:
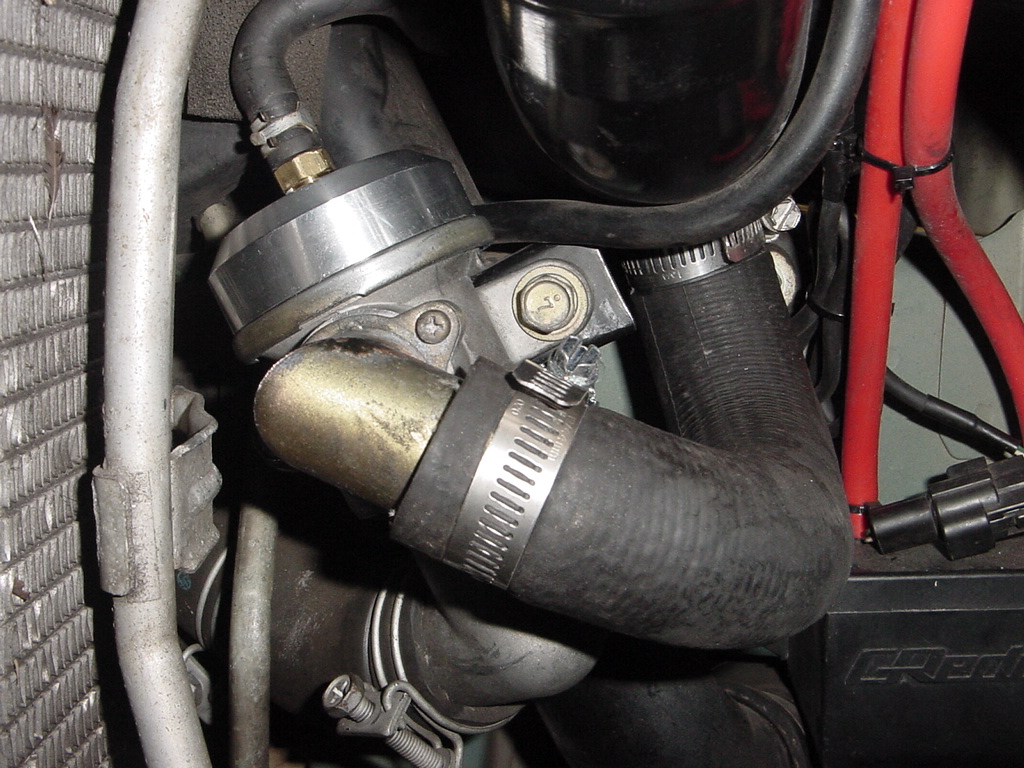
And installed:
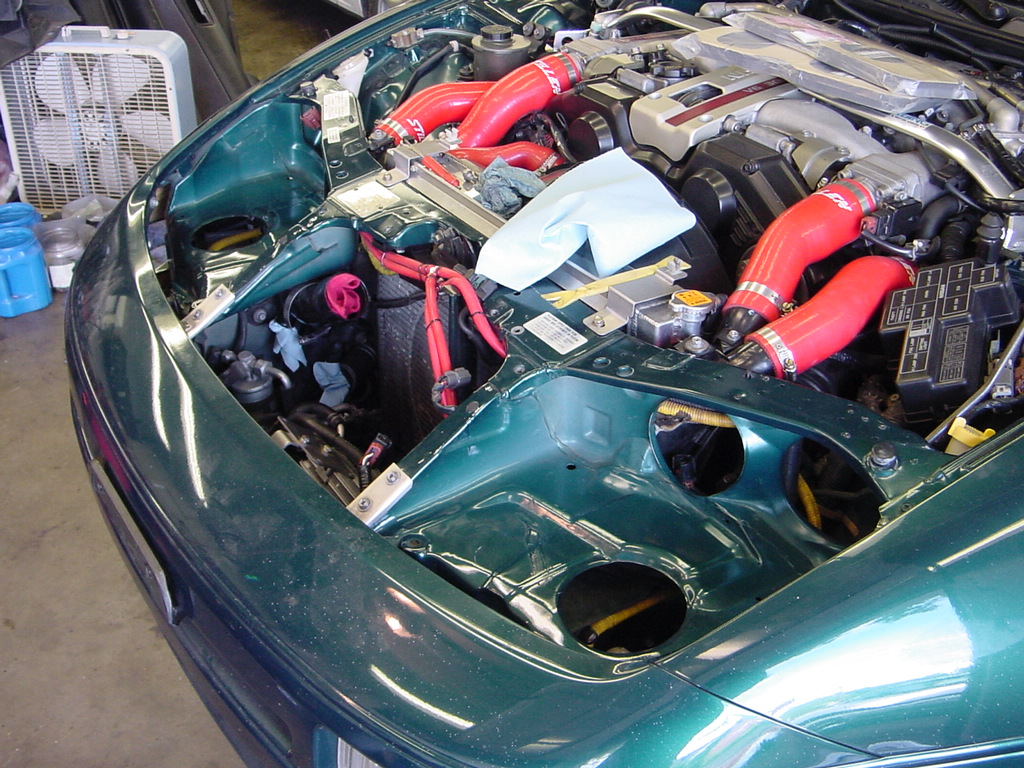
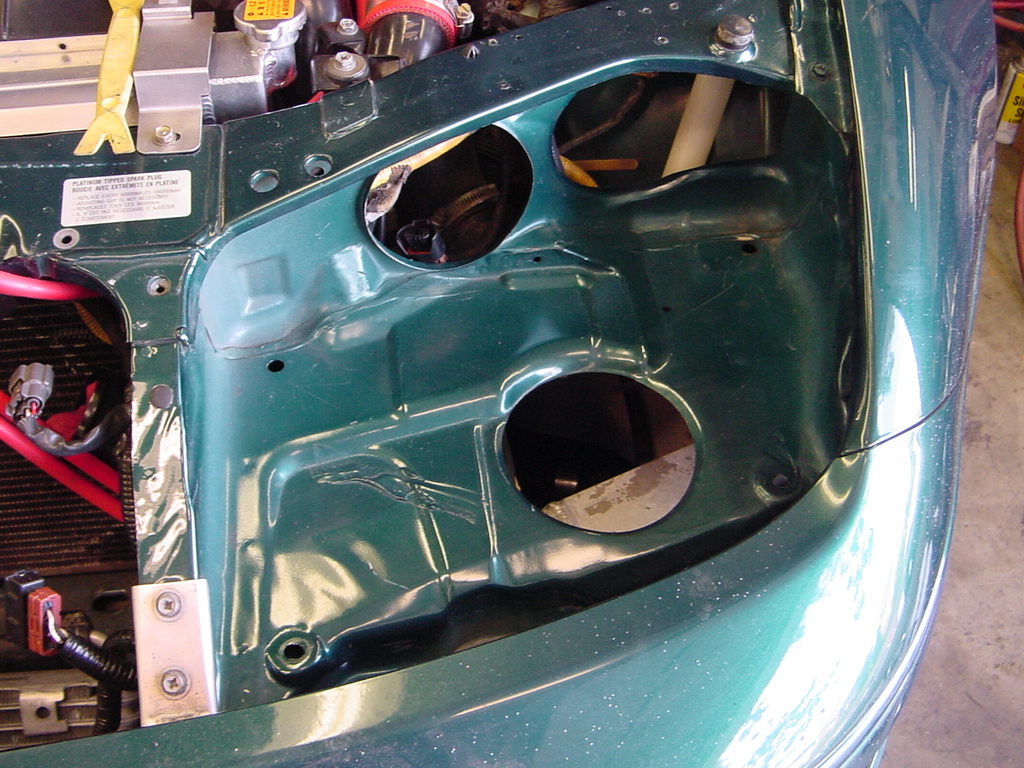
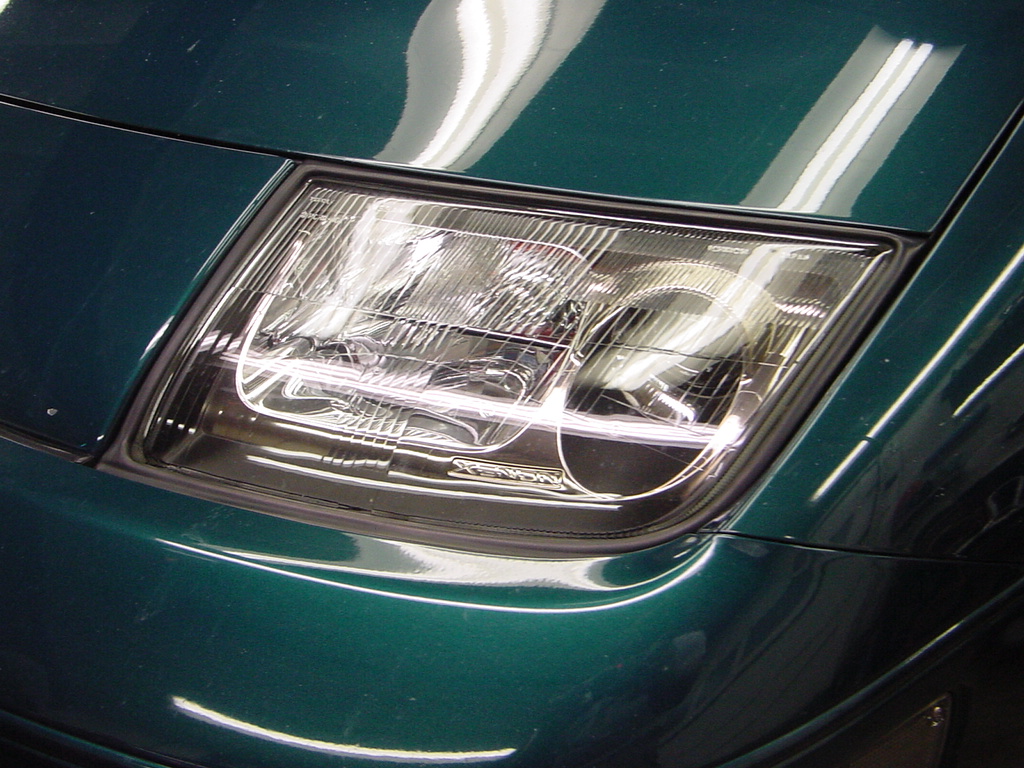
 Since I had most of the bits under the nose panel pulled out of the way... this presented a dilemma. I've had a set of JDM Xenon head lights packed away for some time and this would be the easiest time to access all the mounting bolts with out having to remove the fascia. Irony:
[ http://www.yugobernie.com/techs/Headlight_Removal/ ] A few min later things looked like this:
 The old weather seal/foam in the buckets was breaking down so I removed it and any glue residue. I had a new set on hand to install when the lights went back in. These lights where originally sold by CZP w. their "plug & play" wiring modification - which is something that I developed for them years ago. However because they are not insulated or weather sealed connectors the adapter connectors had deteriorated and caused the lights to drop out now & then. I wanted to use fully weather sealed connectors this time around - the stock head light connectors can be depined (much like coil pack connectors) and the plastic bits can be replaced. I opted to use a set of the square black connectors like the waste gate solenoids use. Thankfully I had some available clipped from old EFI harnesses - Nissan used to sell these individually but the last time I tired to order them they came back as discontinued. 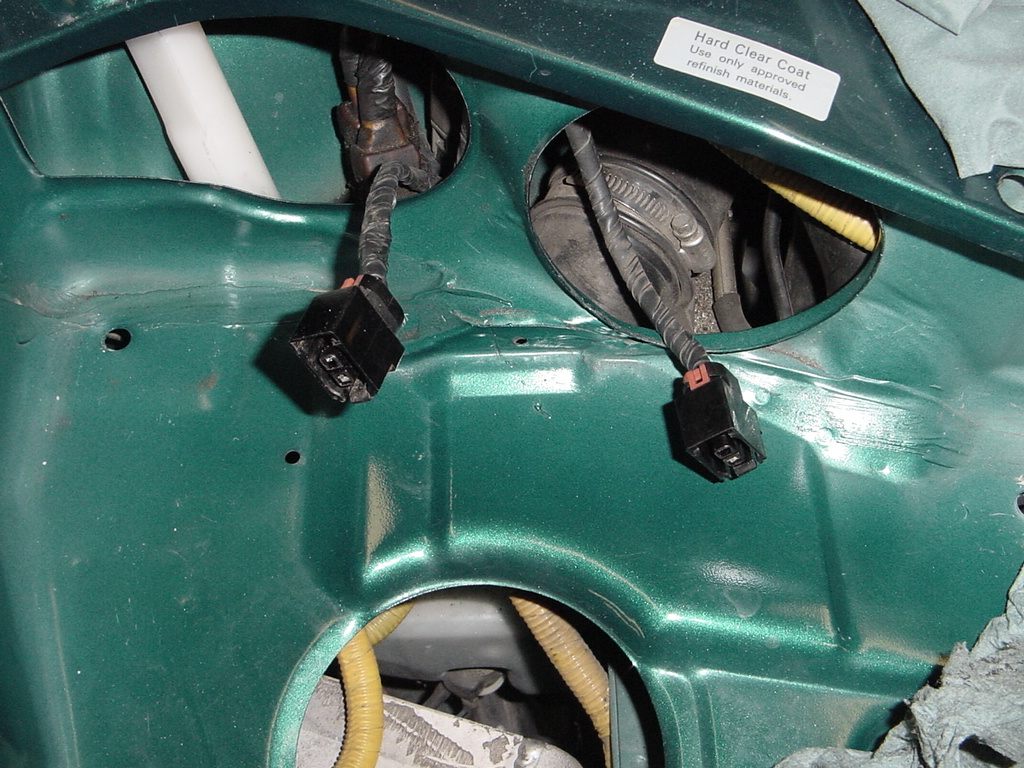
On the other side I changed out the wiring & connectors as such: 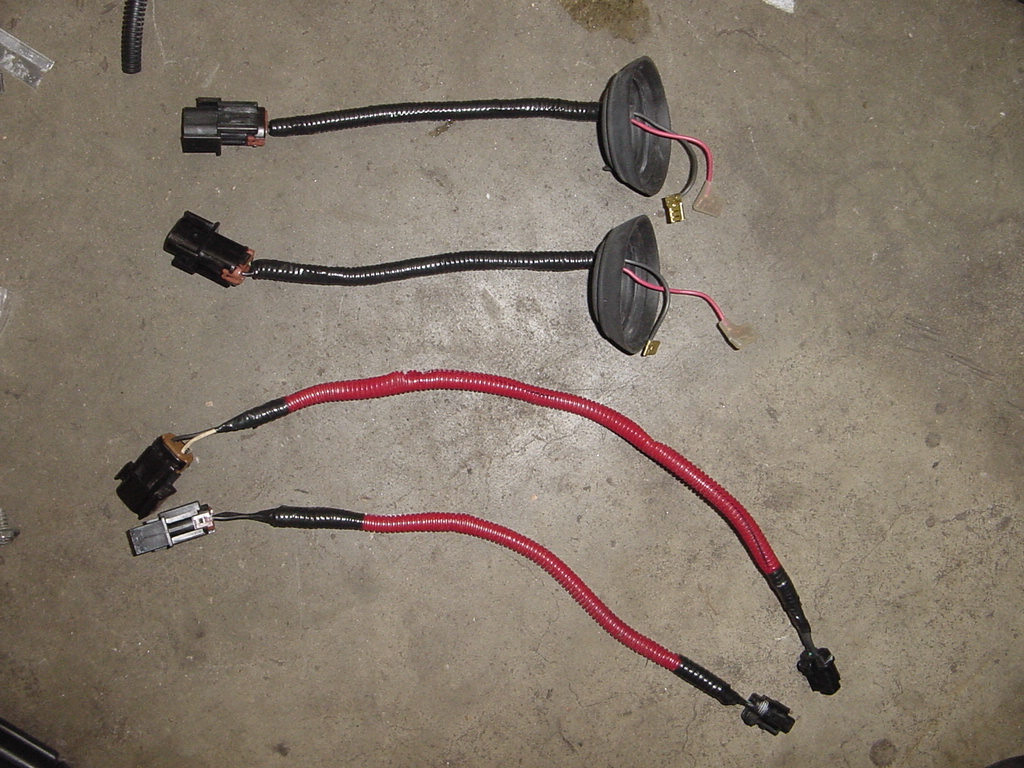
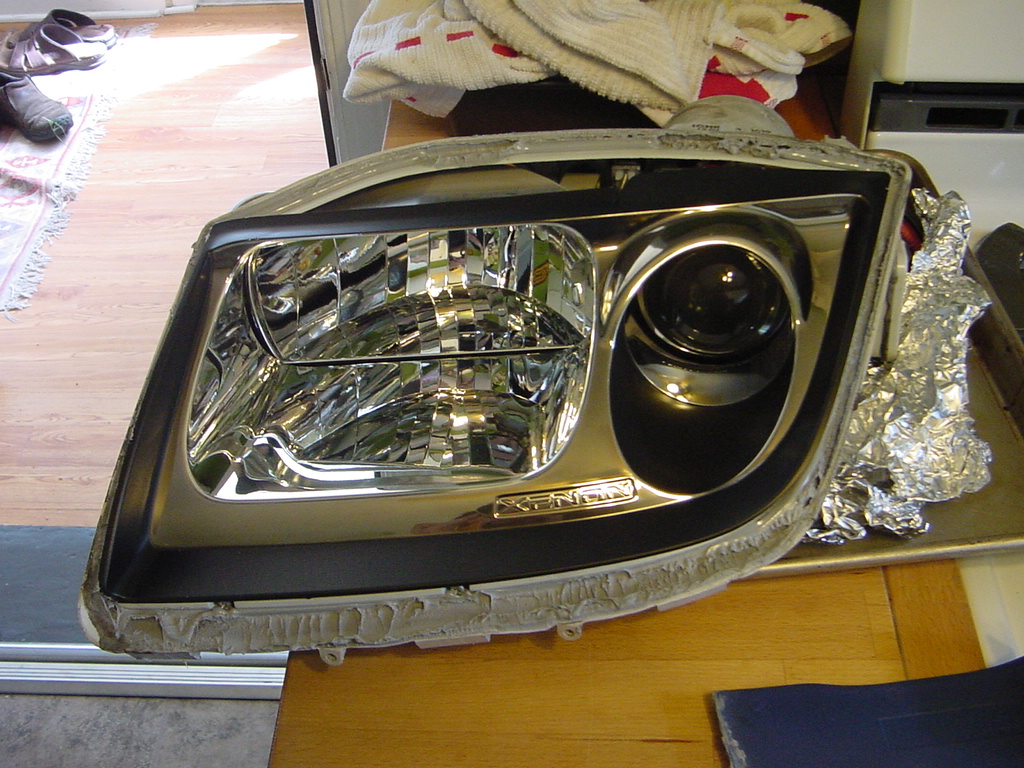
Well that was the easy part... The headlights are internally aimed for RHD use, the cut off shield in front of the bulb dictates the shape and cut off of the beam pattern. The only way to get access to the shield is to open up the head lights and take apart the projectors. Years back olyar15 did a AutoFAQ on this:
[ http://www.twinturbo.net/nissan/300zx/forums/technical/view/881894/Modifying-the-99-Jspec-HID-for-LHD.html ] I am reusing a few of his old pictures below to supplement ones I took. I opted for a much cooler oven temp in order to try and avoid any warping or heat related problems. I did a test run on a broken stock head light that I had been saving for just this reason. That went well so I decided to proceed. Removed all the possible bits from the outside of the headlights, including the gaskets, mounting brackets, bulbs and ballasts. The igniters on the side of the head lights are sealed/glued in place so I wrapped them in foil to deflect some heat. Oven 200 degrees, 20 min. - check
wife not home to see you turn her kitchen into a work space - check
shot of Jack to calm the nerves - check Here goes nothing: 
The projector housing assembly is held in and aimed by the 3 screws circled, I turned each one a little bit at a time until all 3 backed out of the projector assembly. 
I marked the adjustment bolt depth with green paint marker to be able to reassemble to near original setting/position. 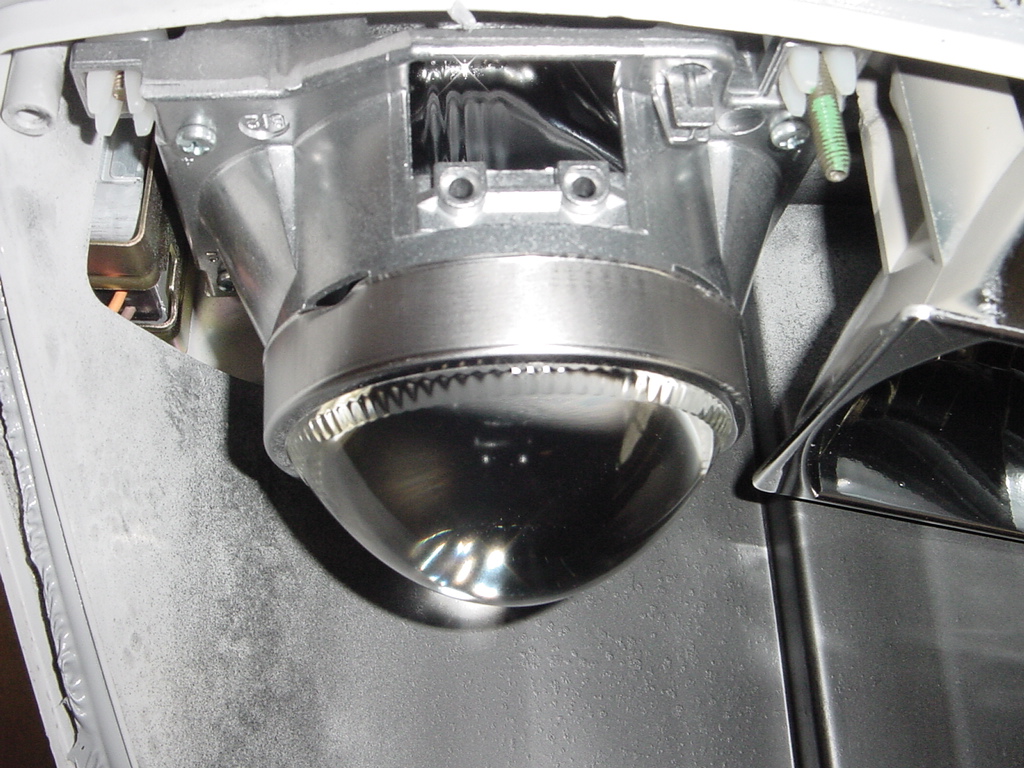
Assembly removed, rear of cut off shield displayed, it is secured by 2 phillips screws from the bottom. 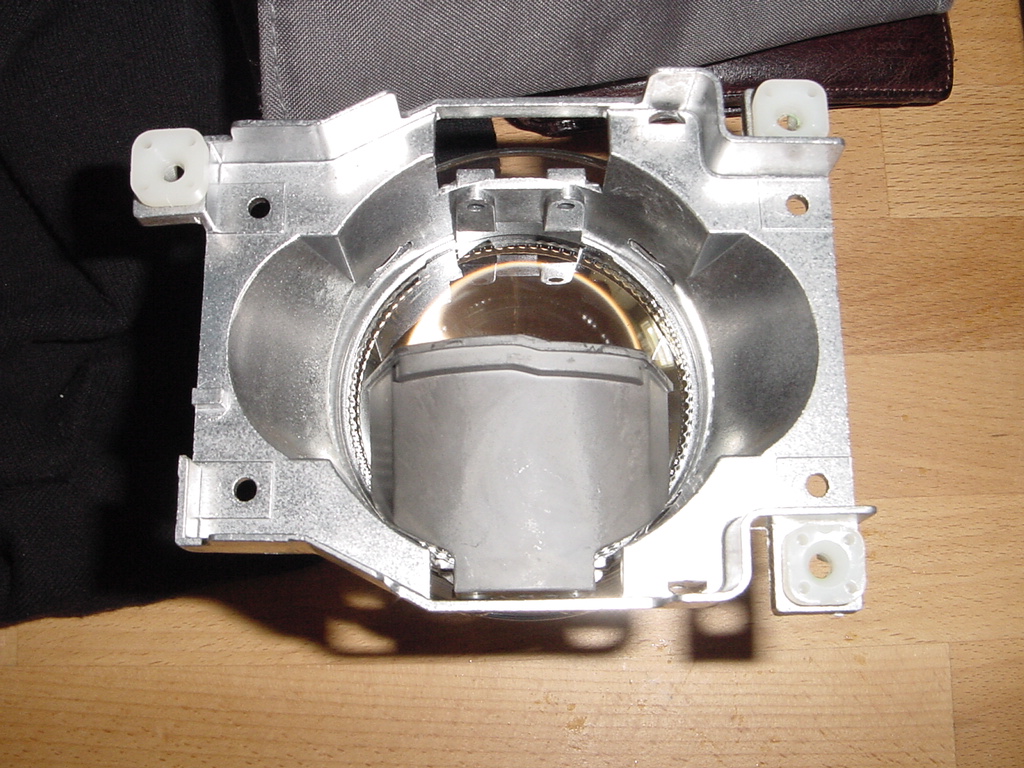
I reversed the cut-off pattern - this will produce less light into on coming traffic and illuminate the pass side of the road more. 
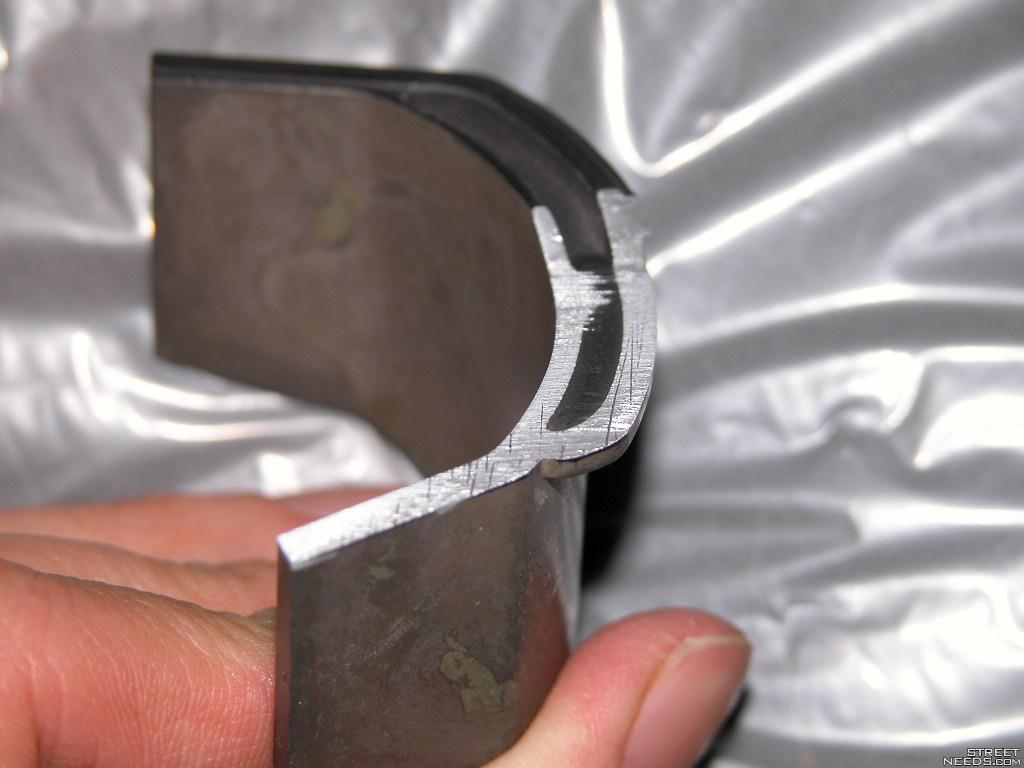
I trimmed both shields off on a bench grinder and repainted the cut edge flat black. They shields are symmetric so it doesn't matter which one goes into which head light. I reassembled the projectors and reinstalled them in the head lights. Oven 200 degrees 25 min.
The butyl tar became perfectly soft and the weight of the glass was enough to setting perfectly back into place. I reinstalled the metal retainer clips onto the headlight while they where still warm from the oven. I let the whole assemblies cool to room temp before reinstalling any of the other parts. DS installed
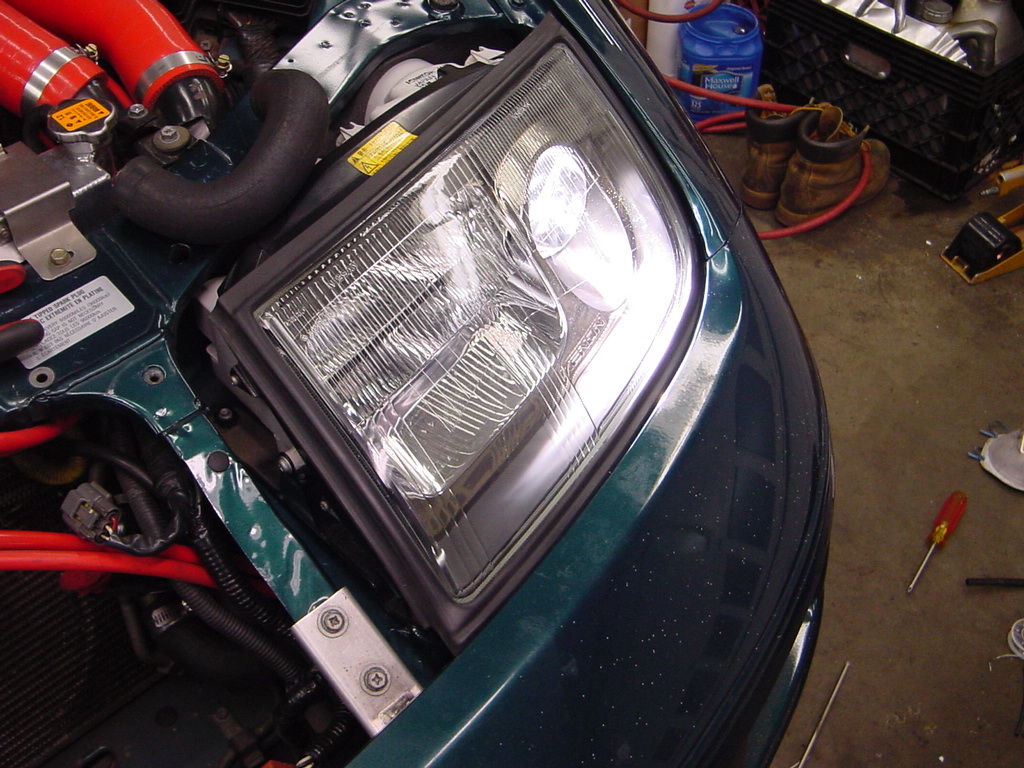
 I leveled the beams against the garage wall - only minor adjustment to the DS was needed, all the adjustment points are accessible from the top using a phillips screw driver. Before we left I ran the car through a car wash but even better we hit a huge rain storm on the way to ZdayZ - not a drop in them or any hint of condensation. Whew. BTW from the factory these lights use 4100K Philips D2S bulbs.
 Bernie Bilski berniebilski@cox.net
1995 Nissan 300ZX TwinTurbo in Cobalt Green
1997 Nissan 240SX SE in Ultra Red
ZCCNV #390 ~ ECZA #368 
|


 Small things to do before ZdayZ... -