Here is the update where my build actually runs.
When I saw the Atlanta Dyno day post a few months ago, I decided it was just what I needed to get motivated to finish my build. Also, July would be the 2 year mark since I disassembled it and I didn't want to go over 2 years.
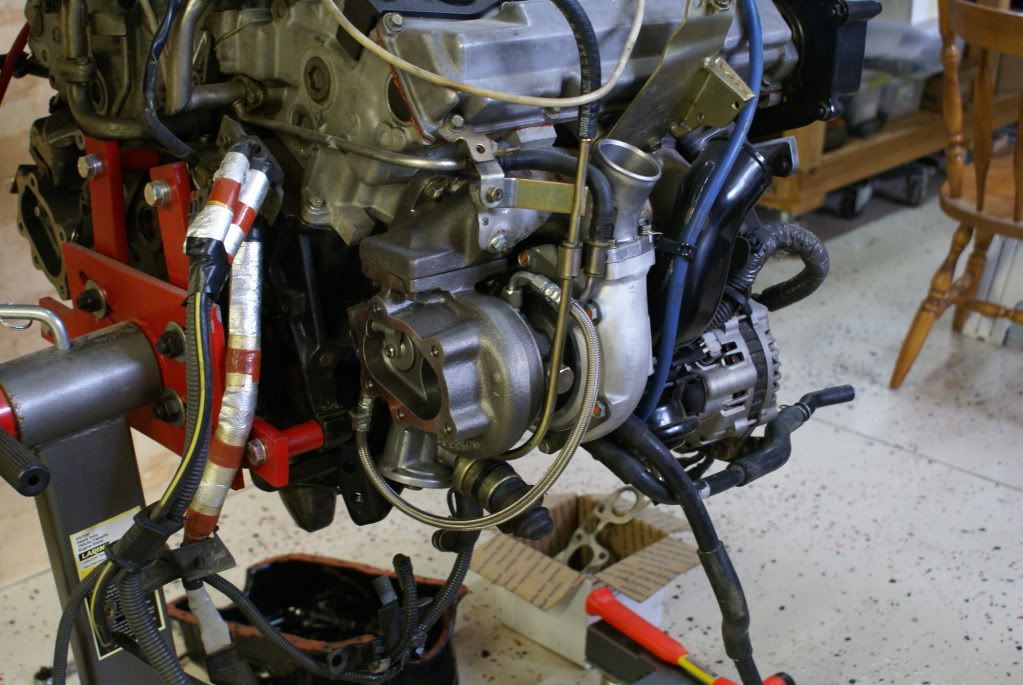
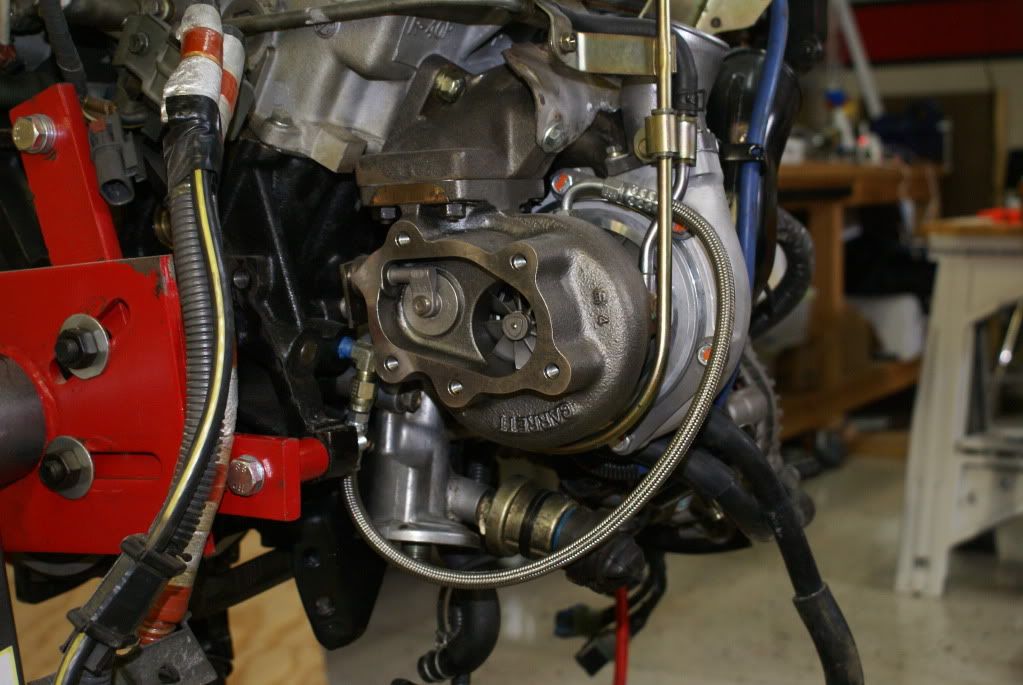
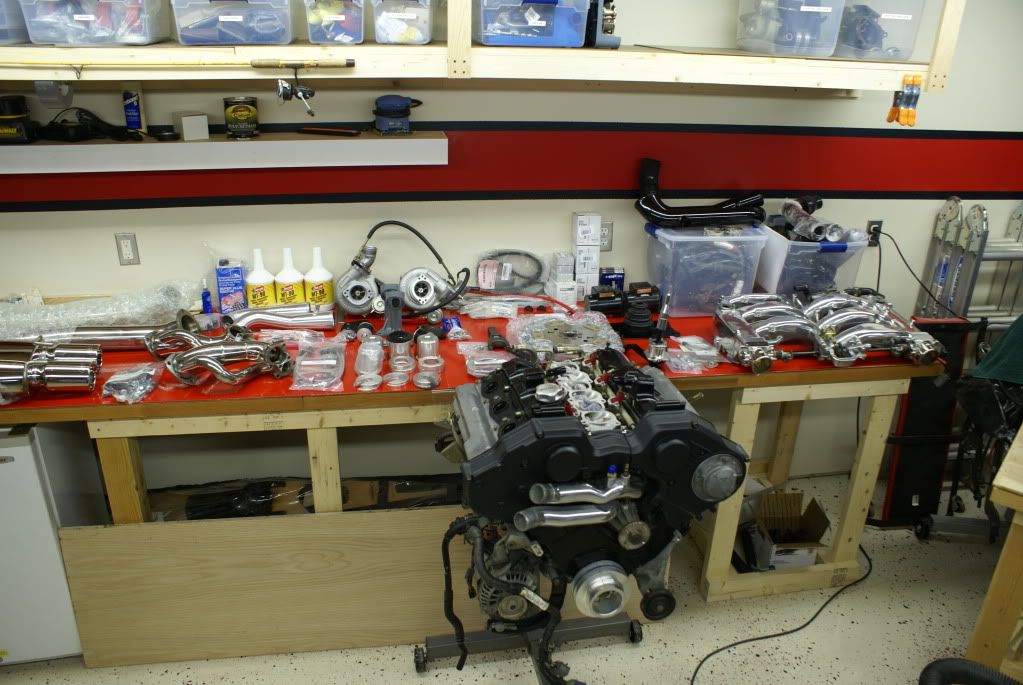
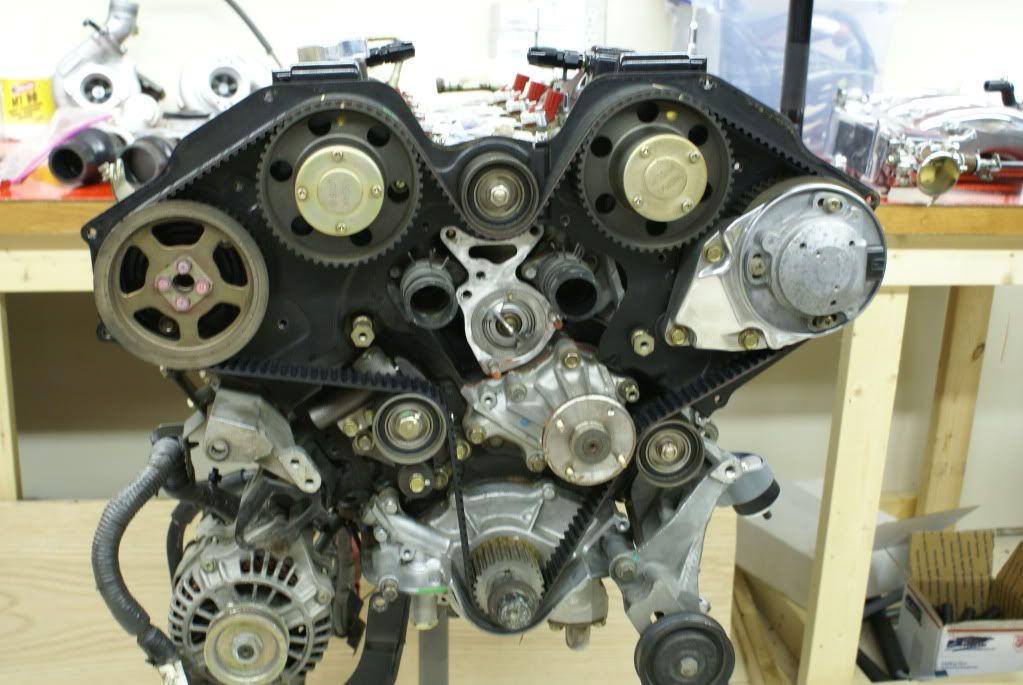
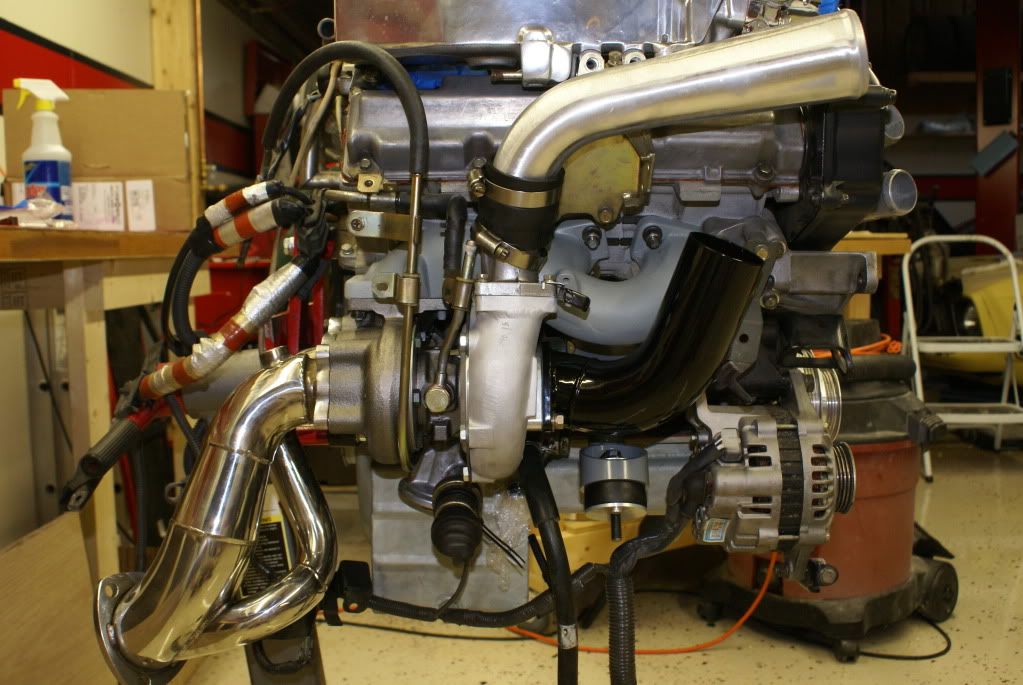
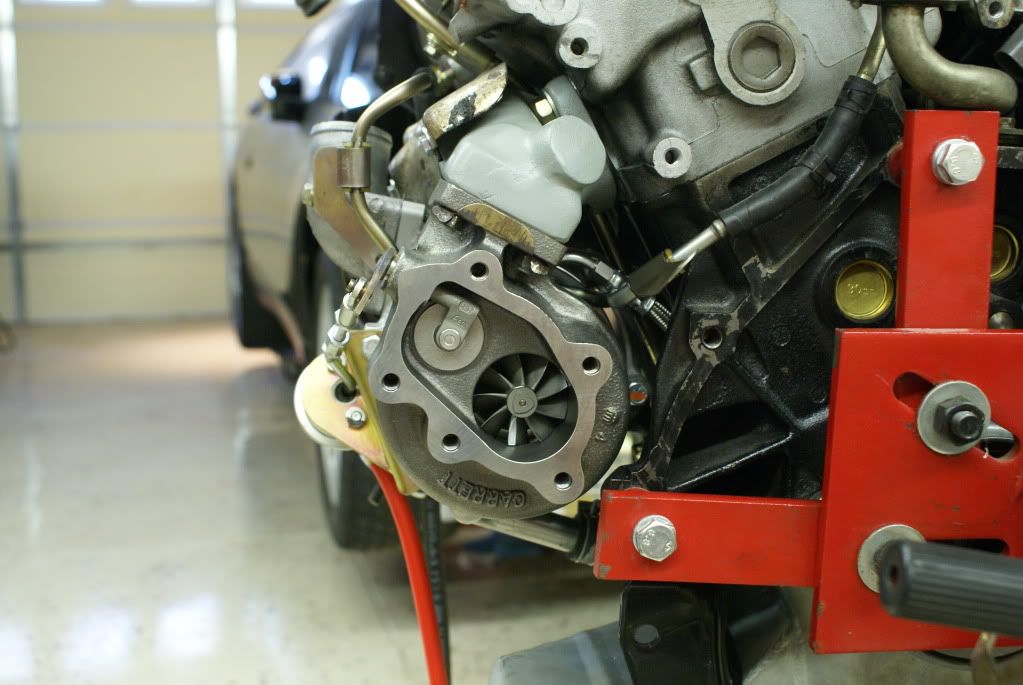
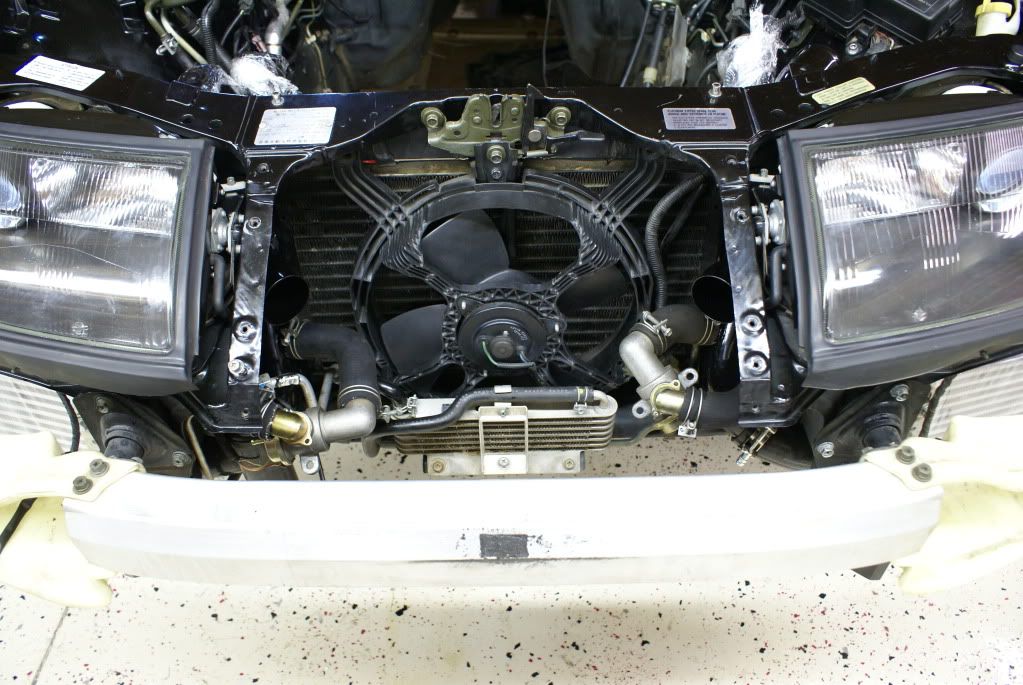
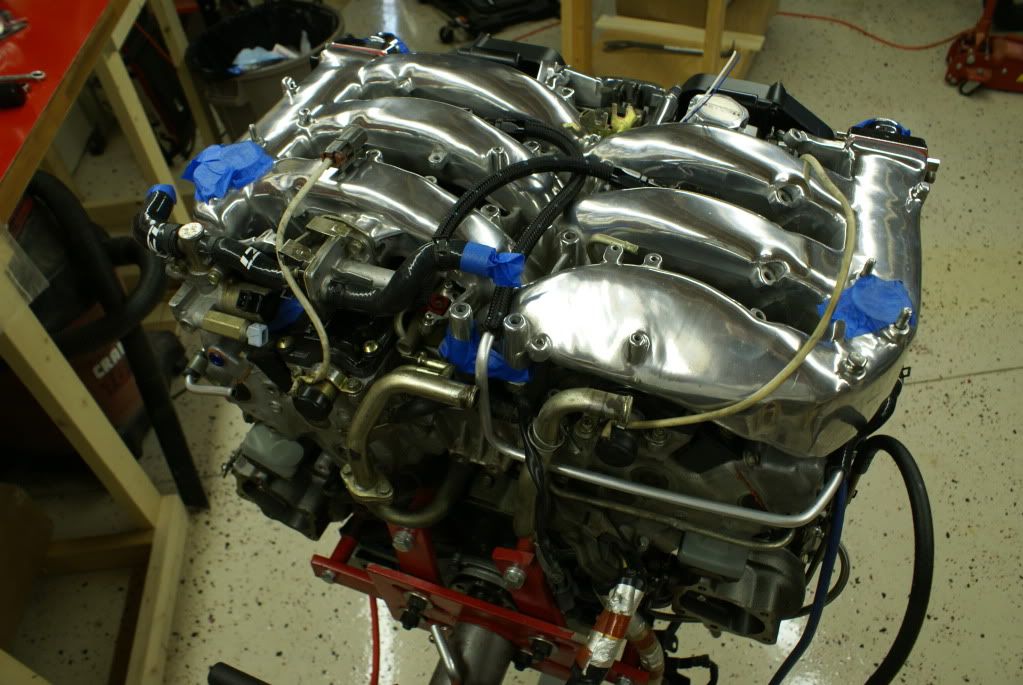
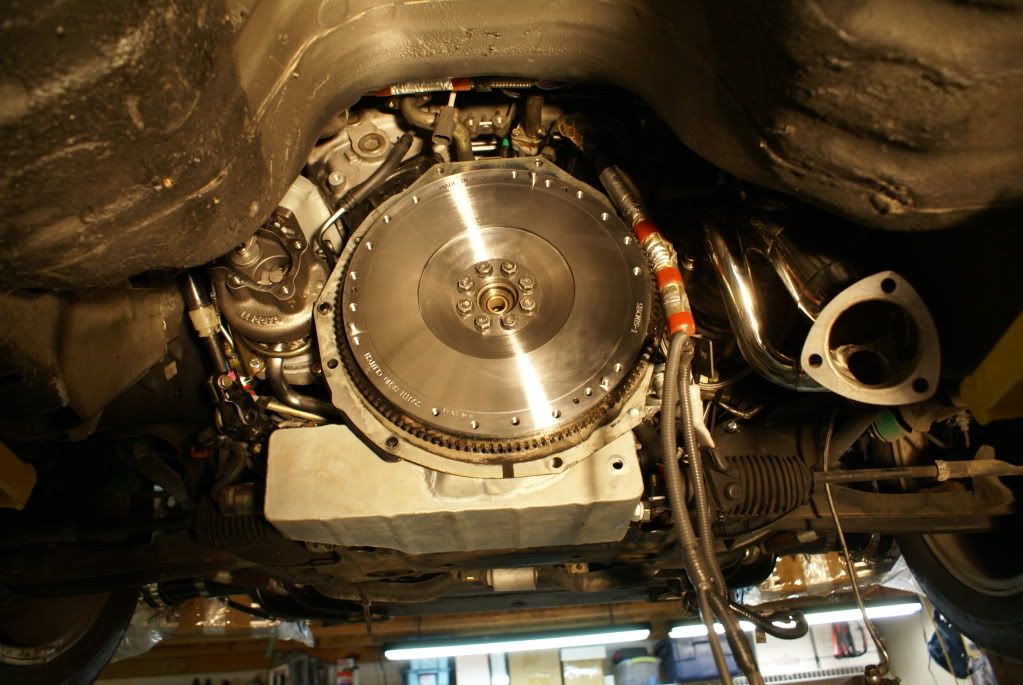
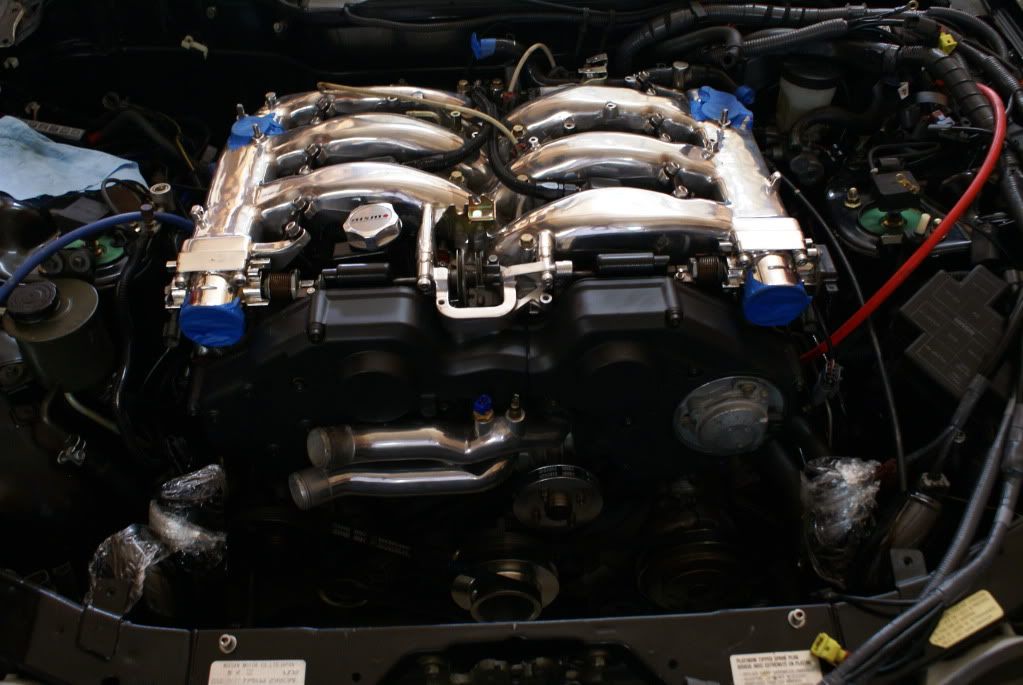
I'll let the pics do most of the explanation.Any comments on things to improve are welcome. I have since found several items I am correcting. Initial fitup with Sport 700s and MS manis
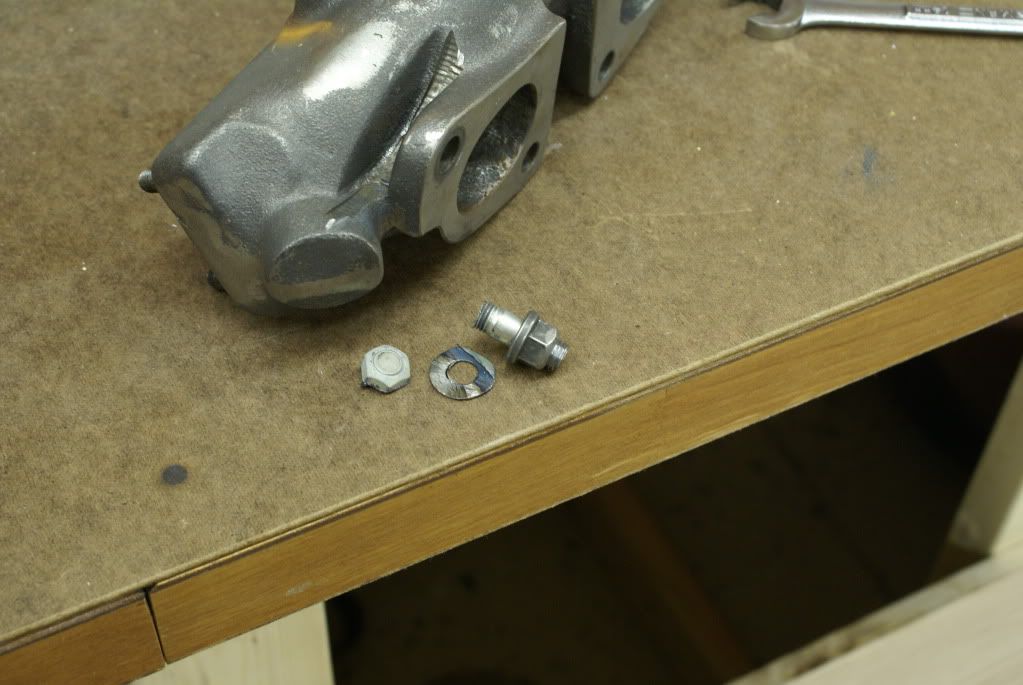
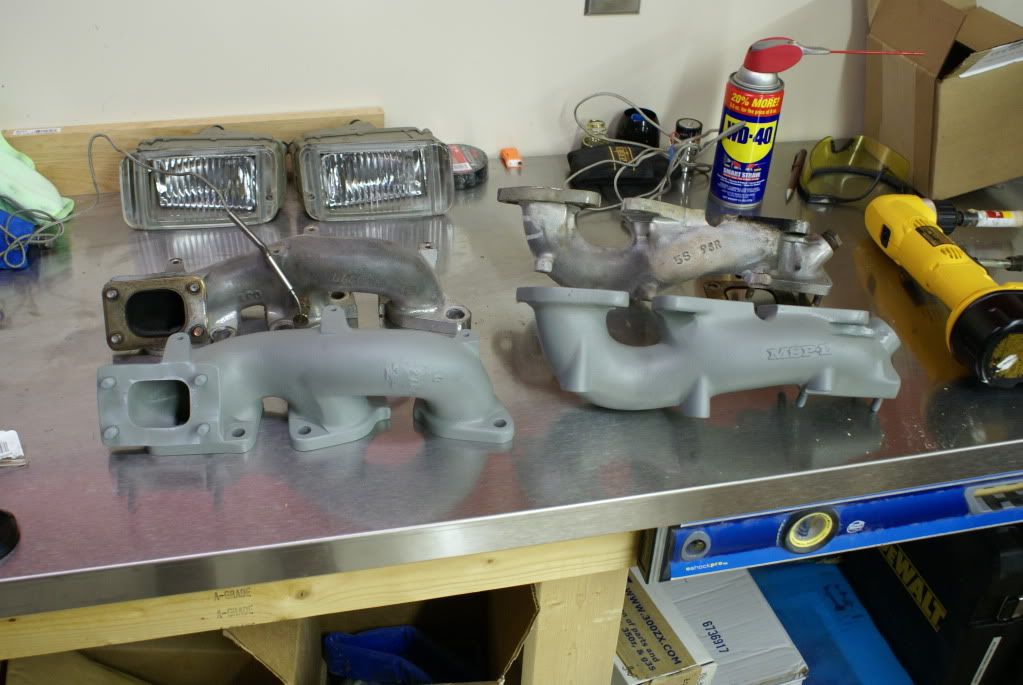
Next I decided to Ceramic coat my manifolds, so off they came. Had to cut this bolt out. Mike Smith graciously helped me out with a replacement. Thanks Mike.
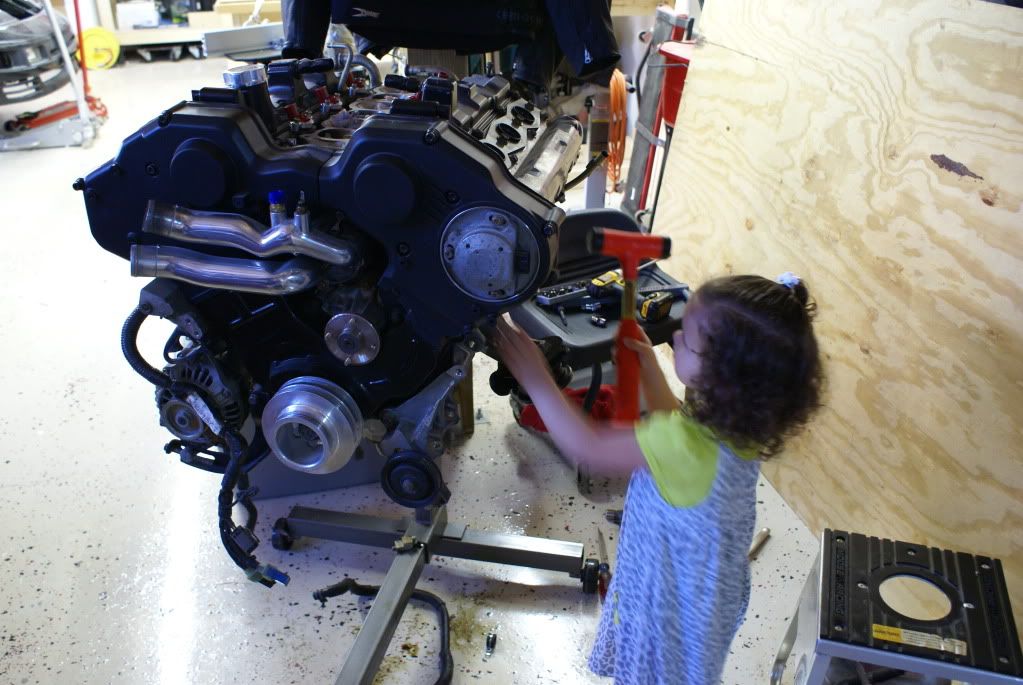
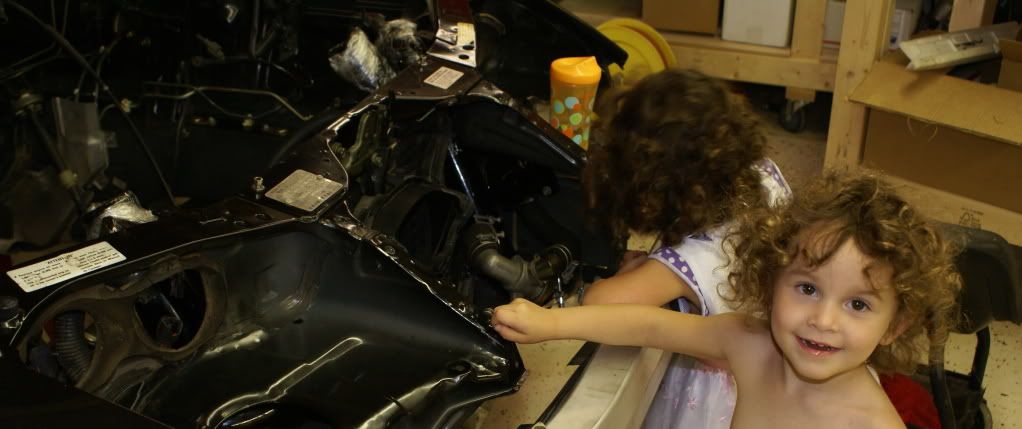
Since I was on a tight schedule, I recruited some help.
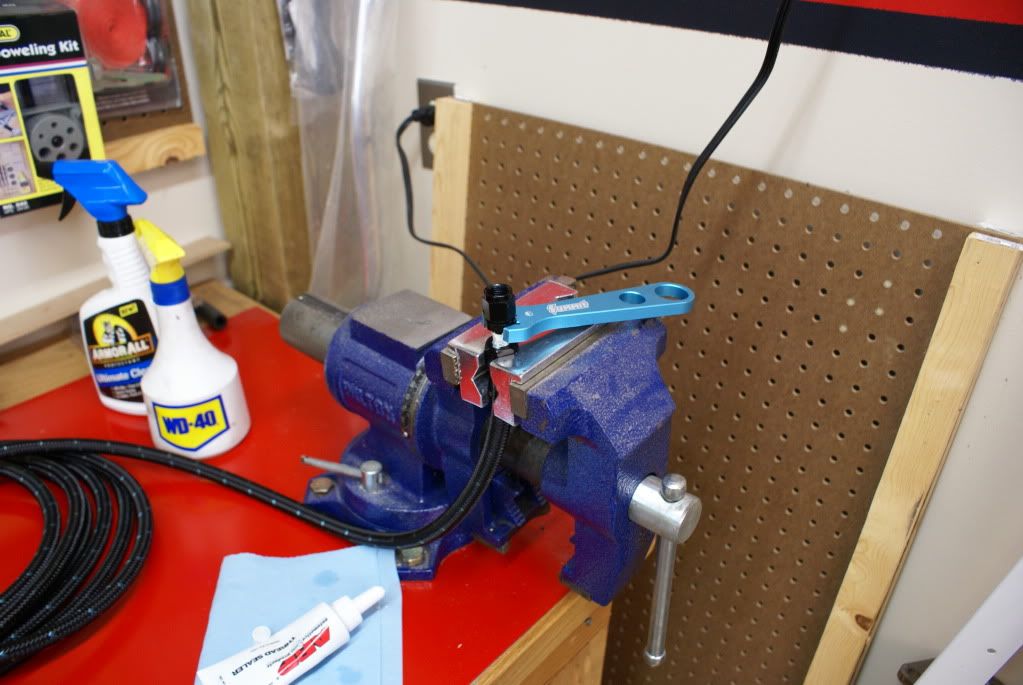
 This mod was the easiest of all.
 I was also slowed by having multiple projects going at once.
The workbench was / is one of those as you can see here.
It was somewhere about here that Ash announced the all new complete intake setup, so I decided to get them for the build also.
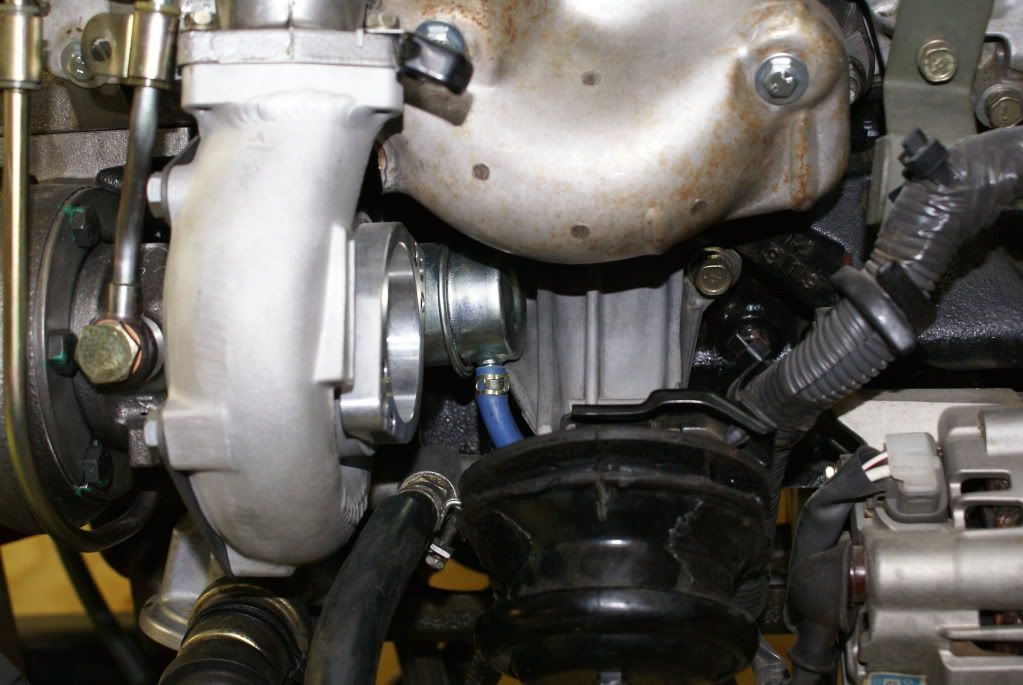
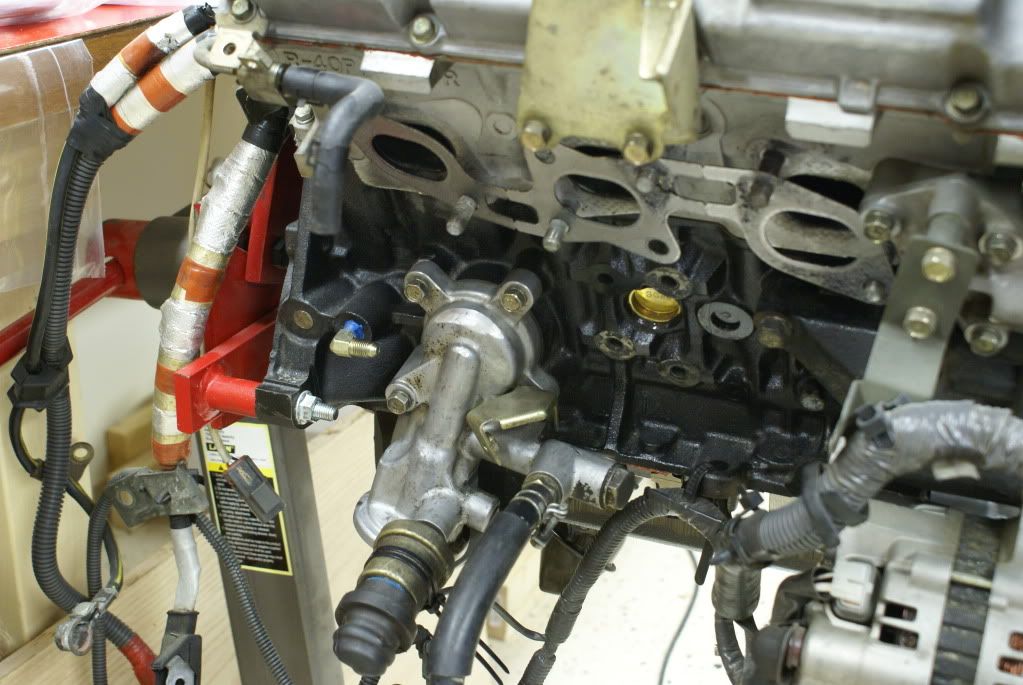
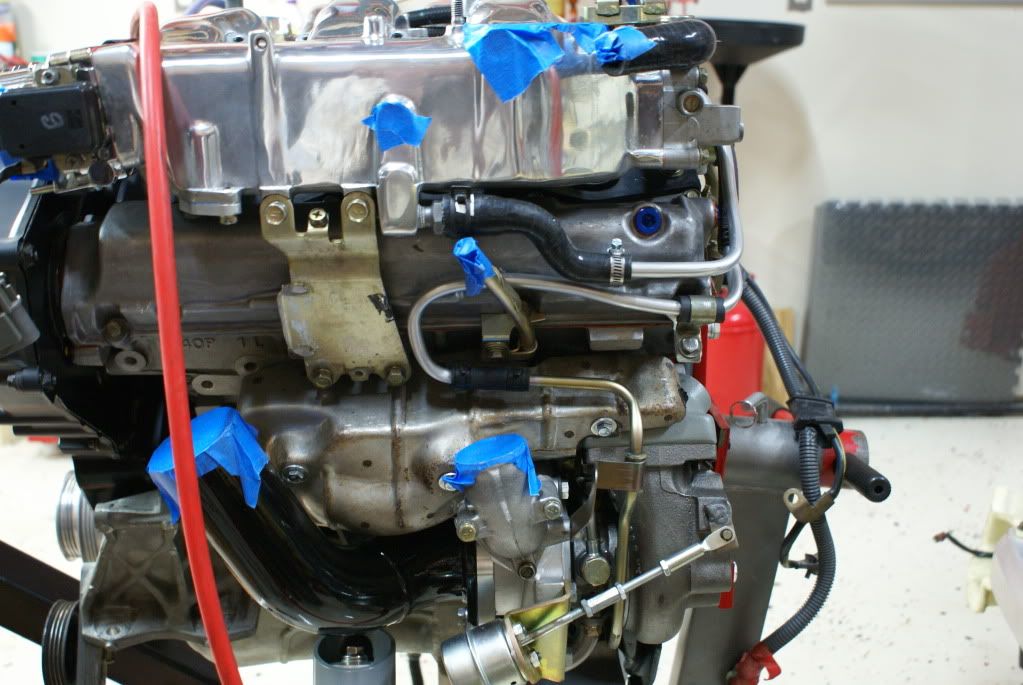
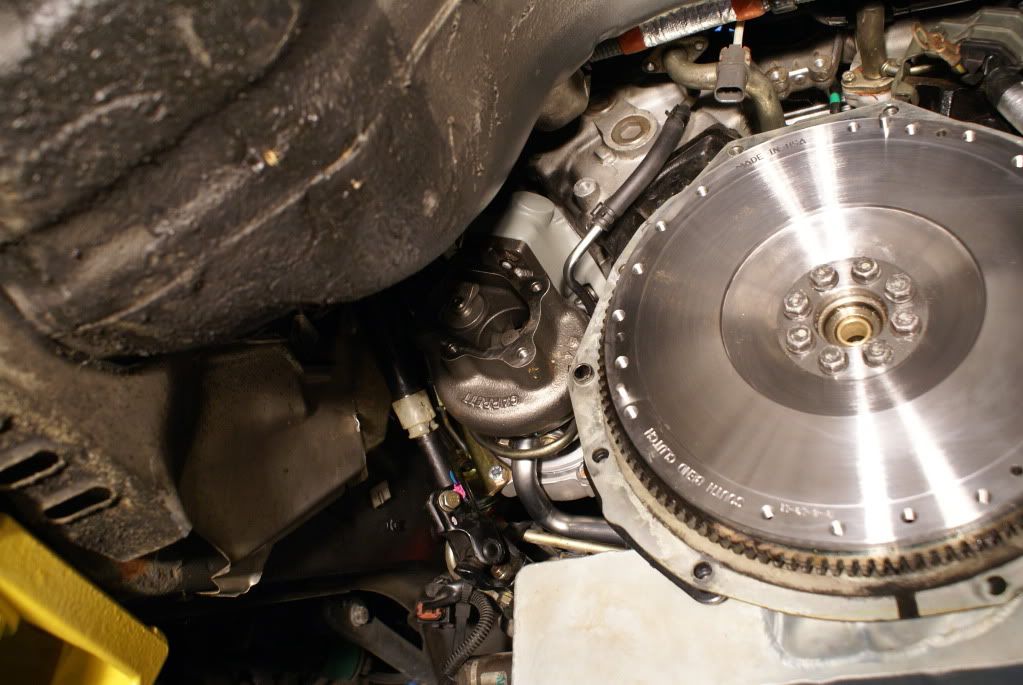
Also notice the rear corner of the block that is ground. This is necessary to clear the Sport 700s with MS Manis.
Also notice the stock motor mount grinding. This was also necessary to clear.
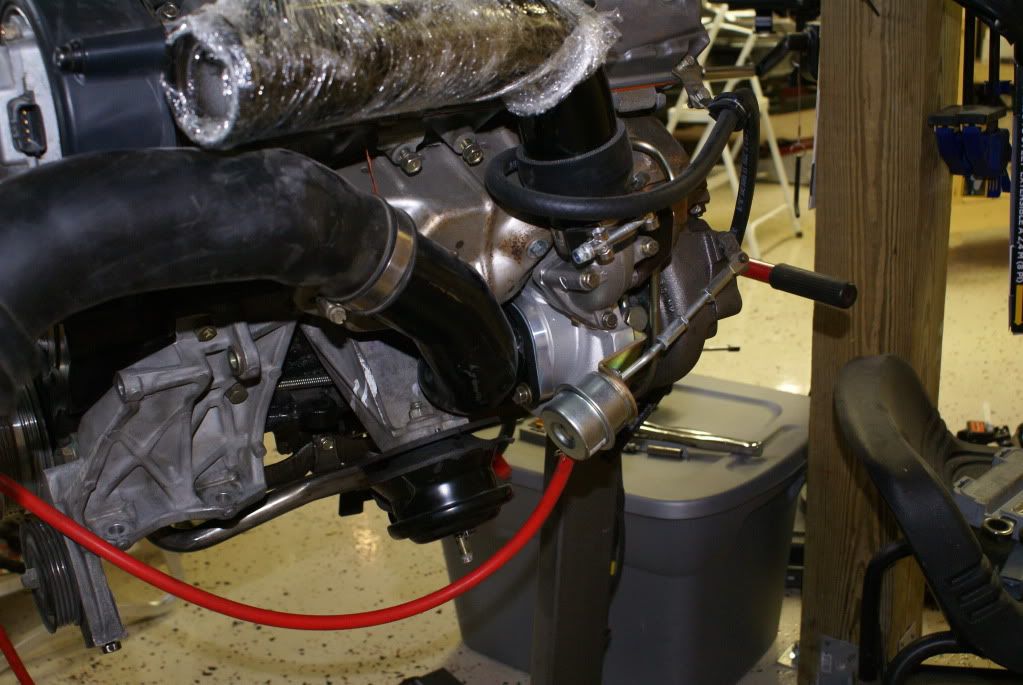
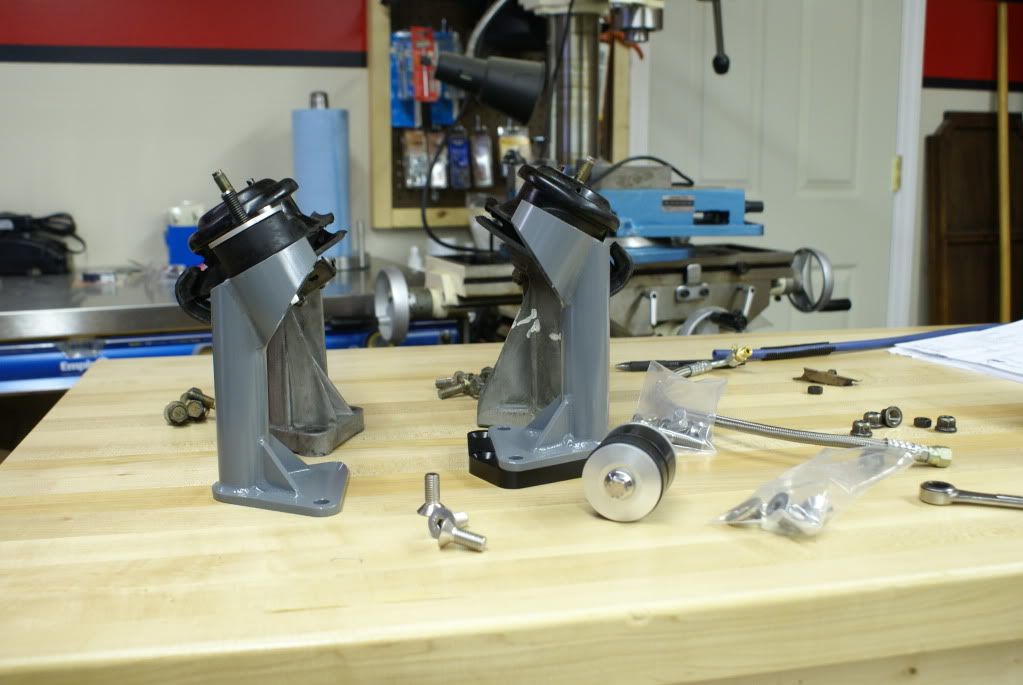
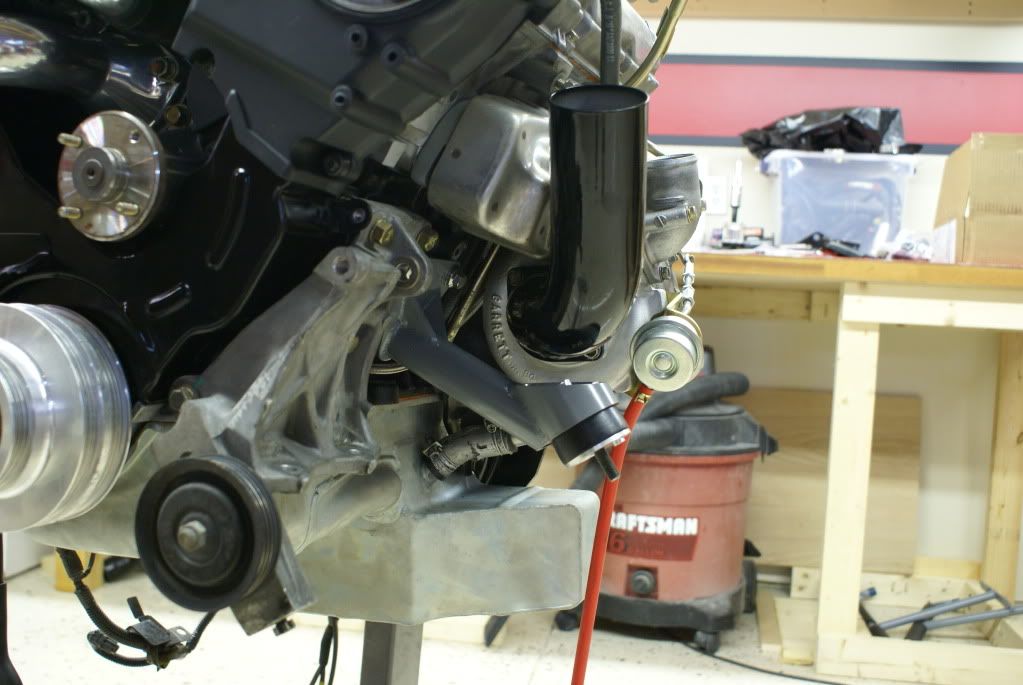
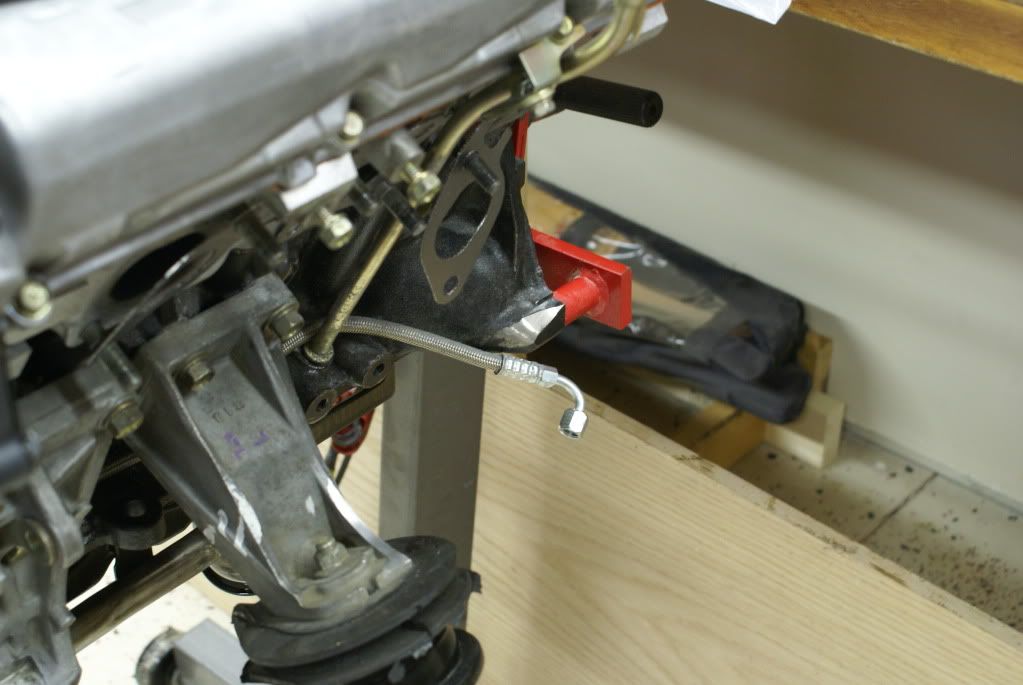 So I got the BDE motor mounts. I wanted these since I saw them in person at Zcon last year. Very nicely made.
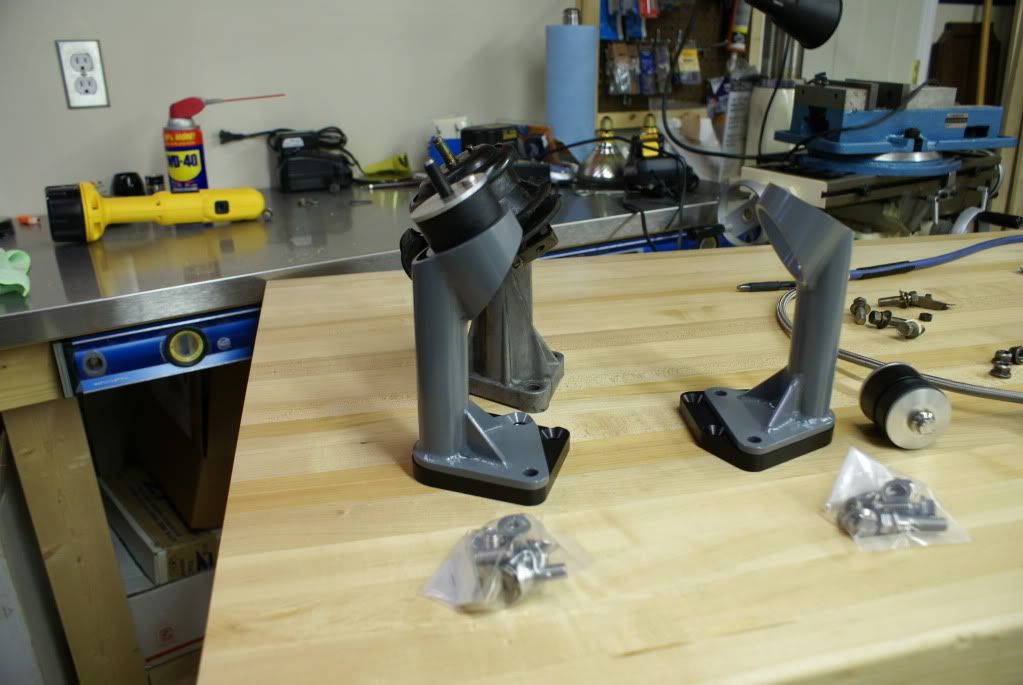 
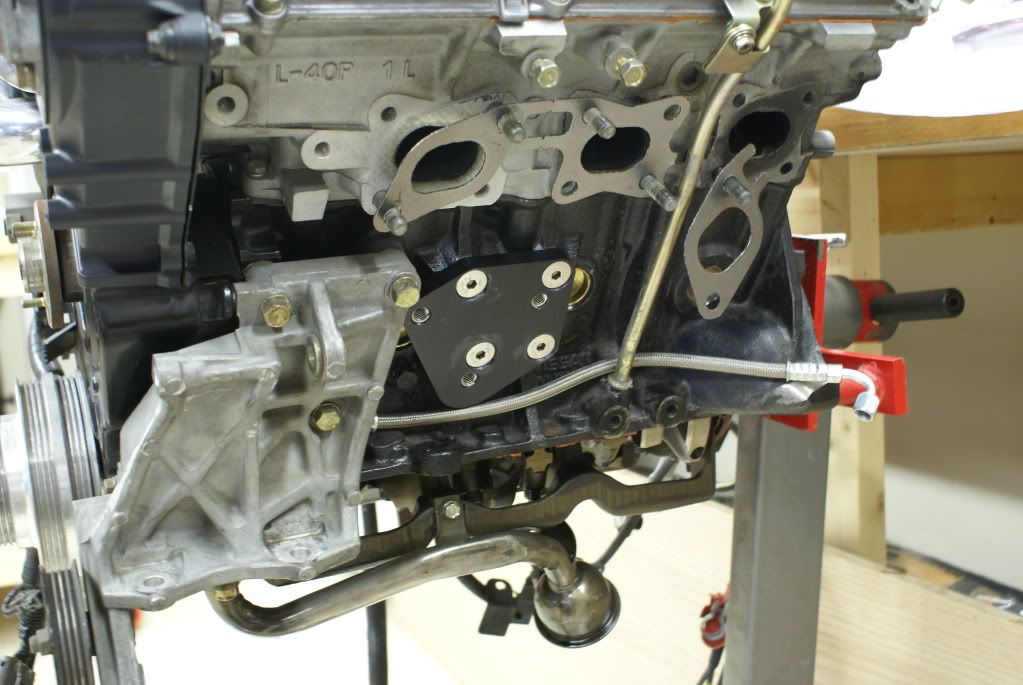
Base plate installed to block
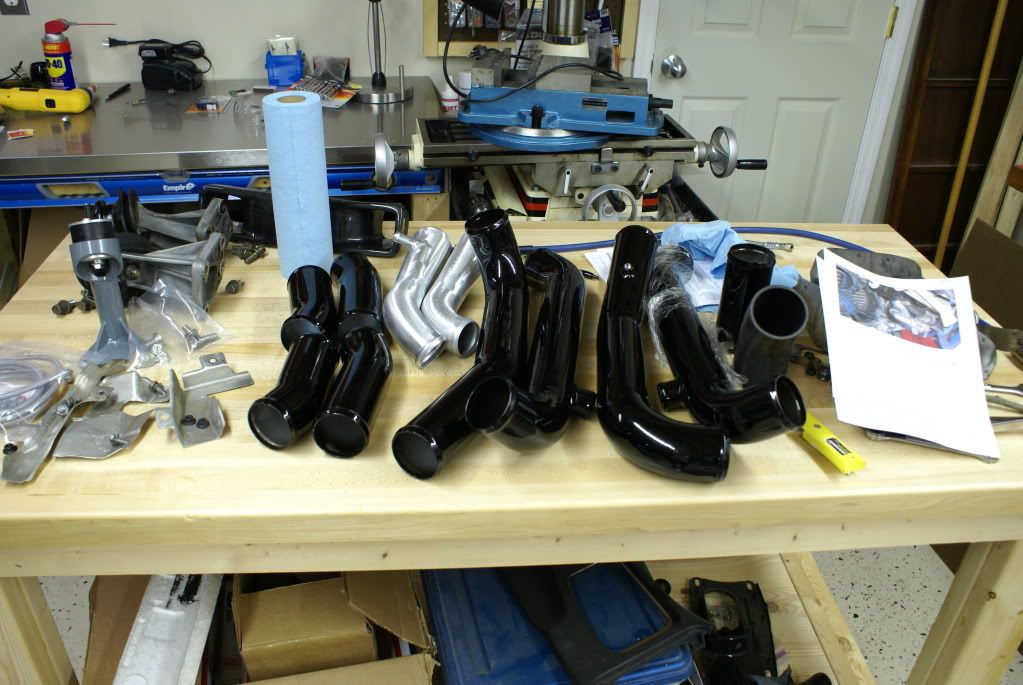
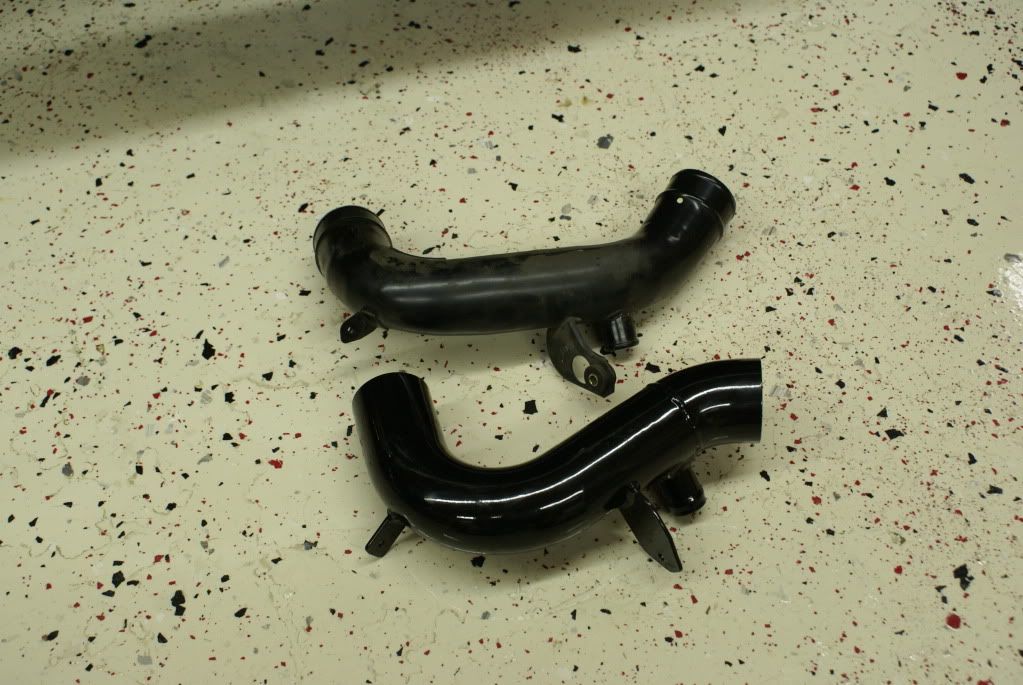
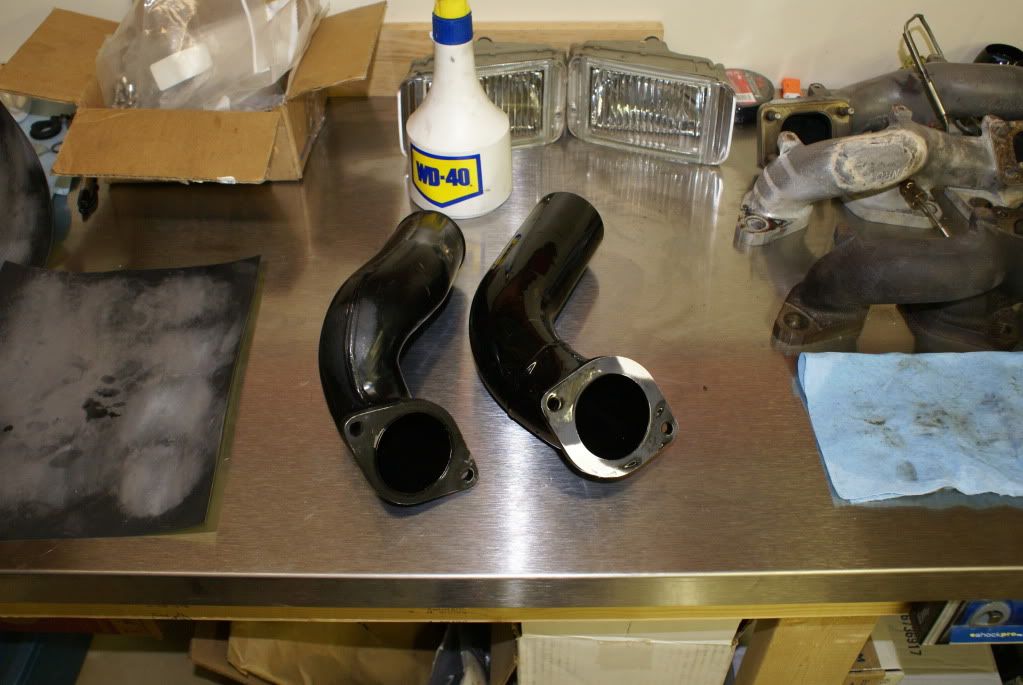
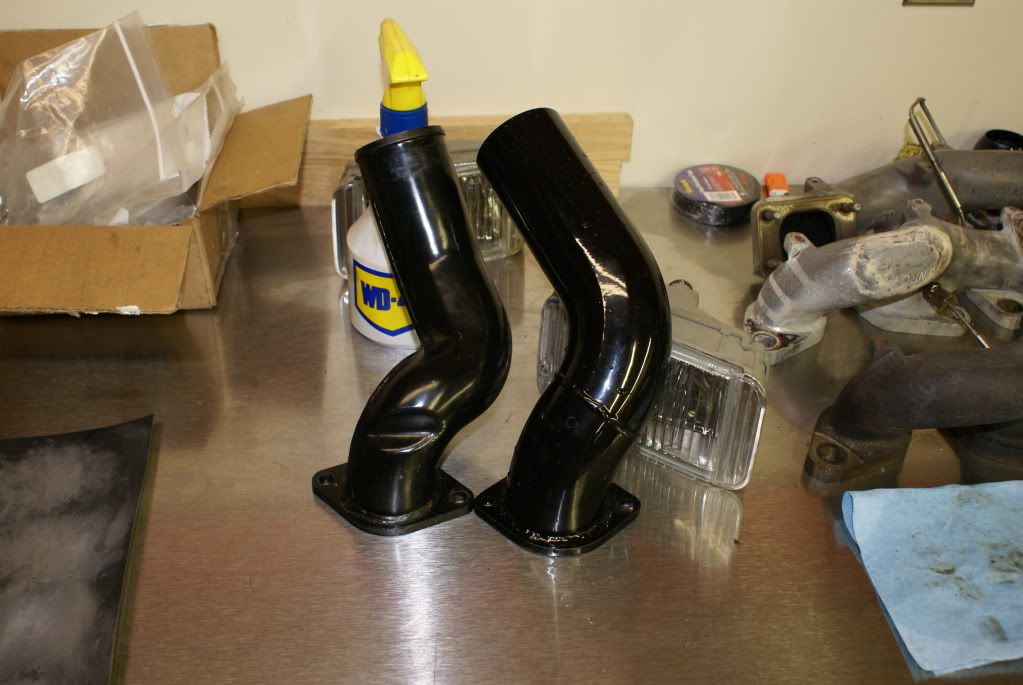
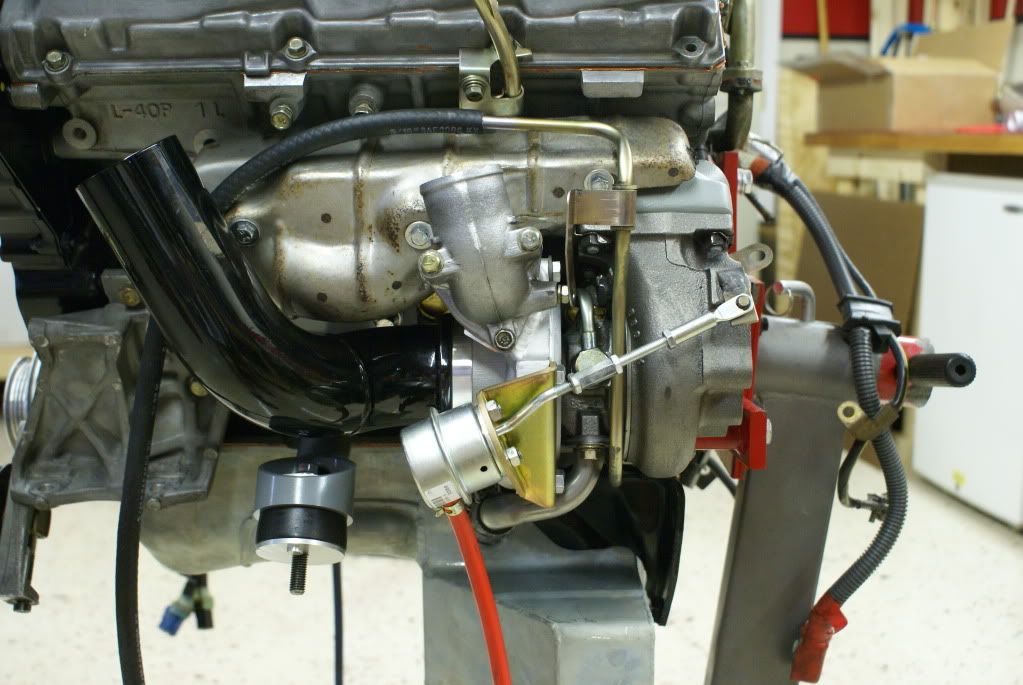
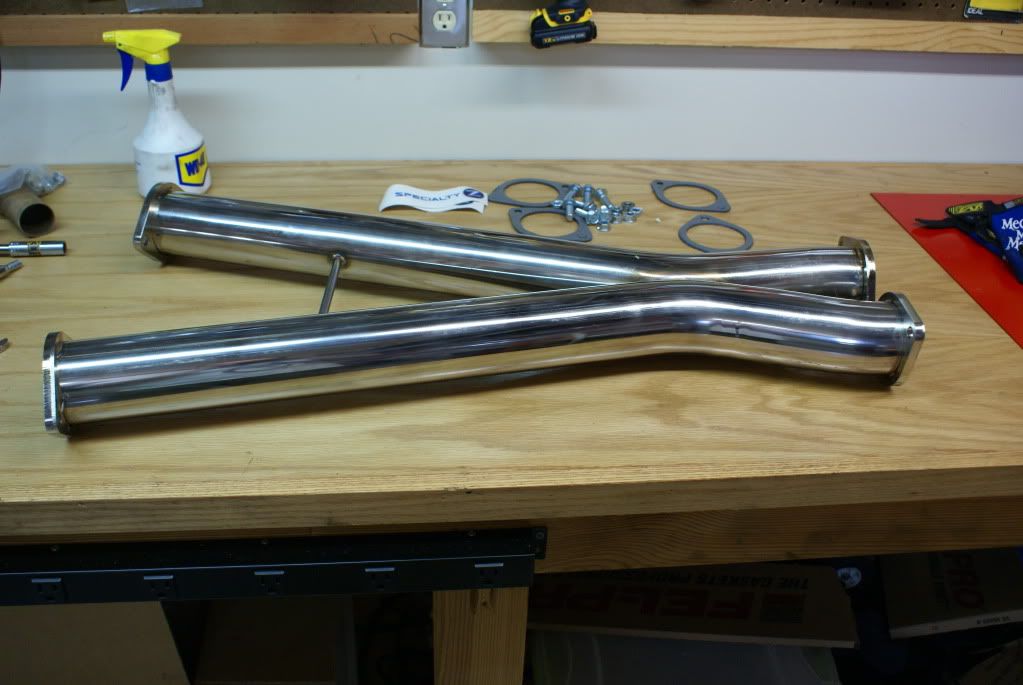
 Also added the Specialty Z outlet pipes to the mix
 Also time to eliminate the old drivability mod and clock the recirc valves to fit on the 2.5" I/C piping
 Not really due, but I replace timing belt while it was easy.
 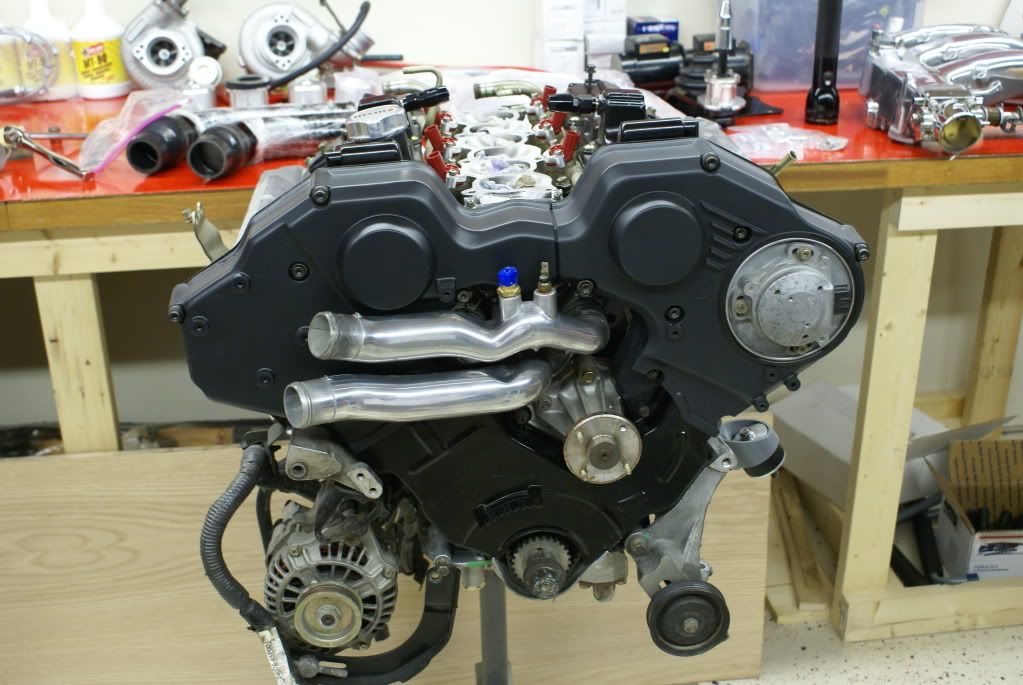
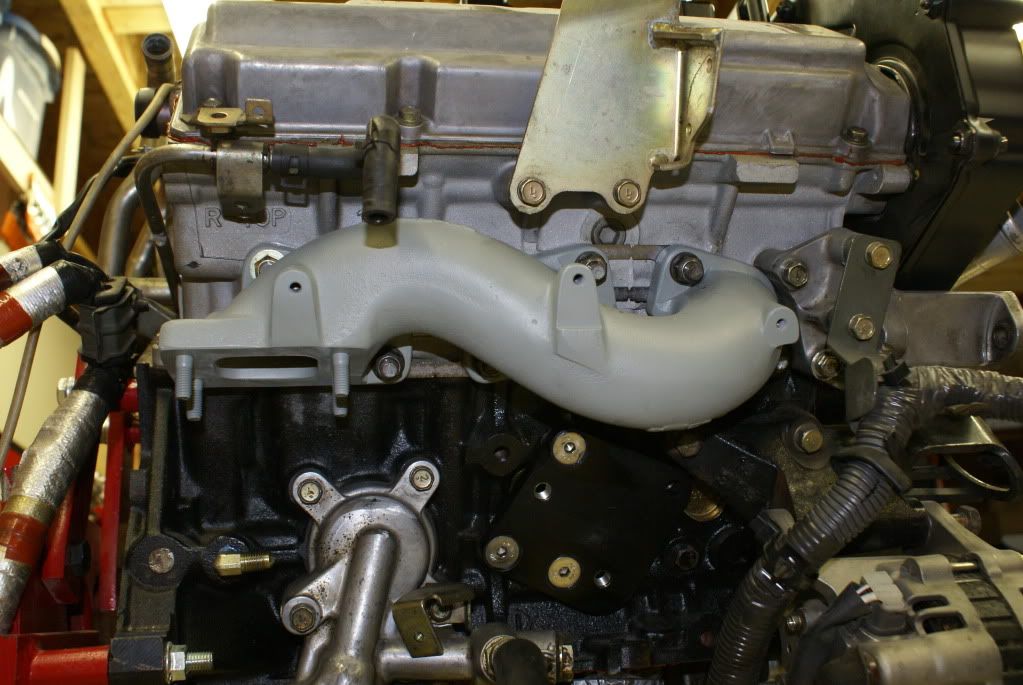
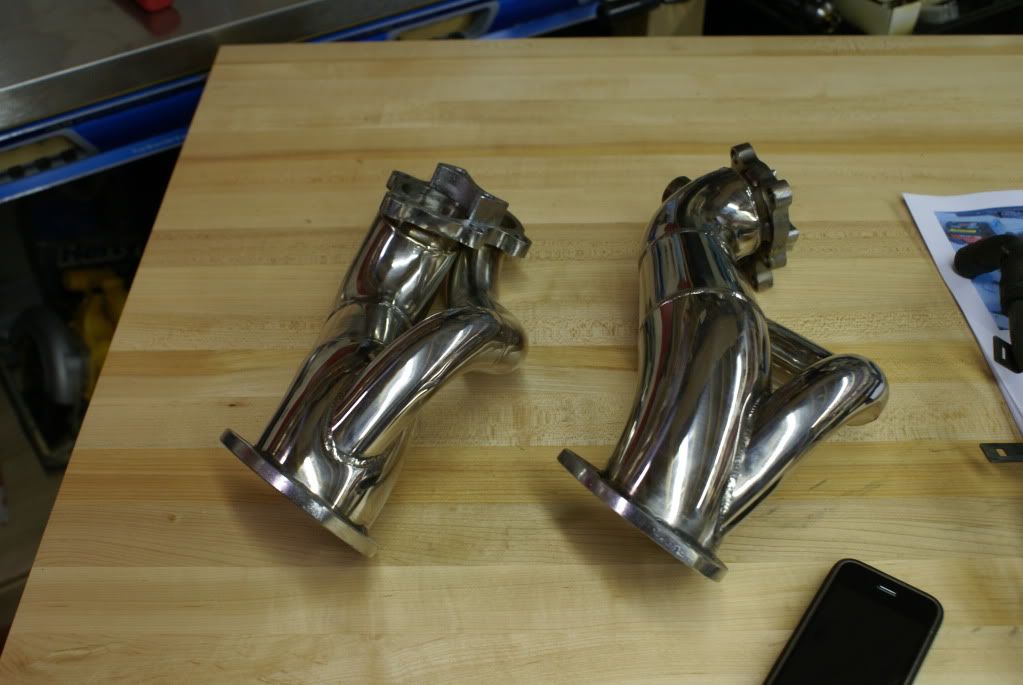
Manifolds back from Jet Hot
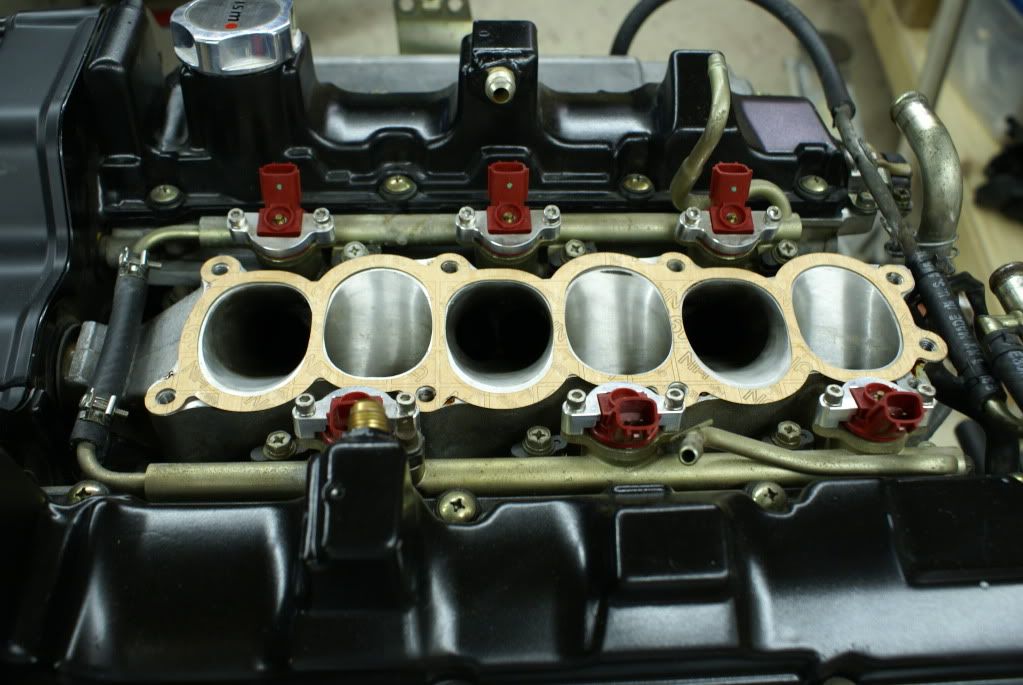
 Required cleaning up / levelling the flange surface.
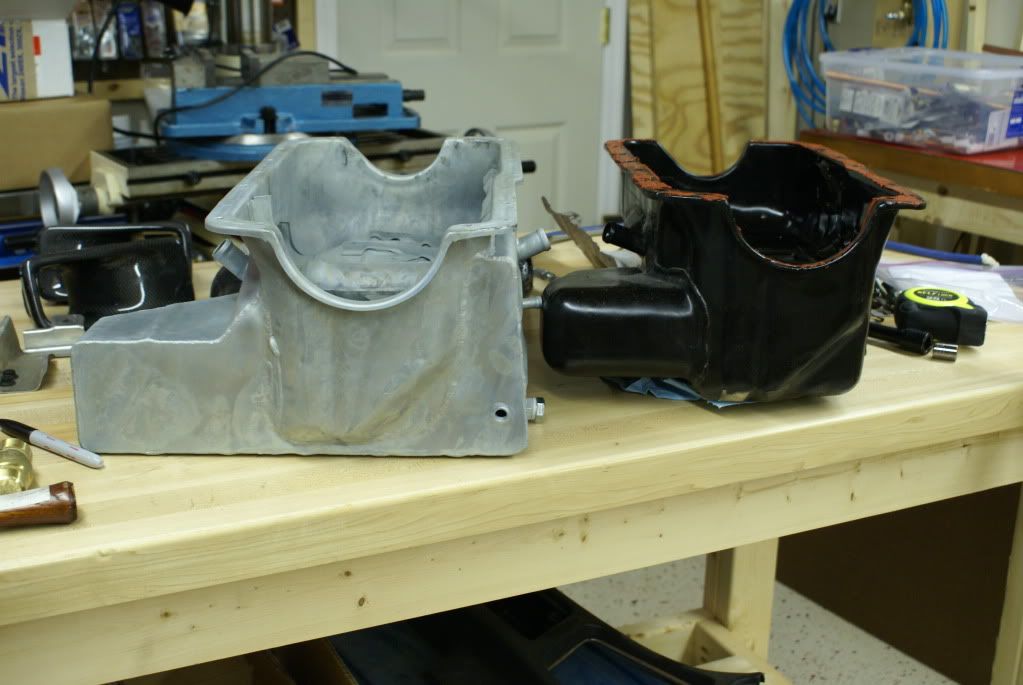
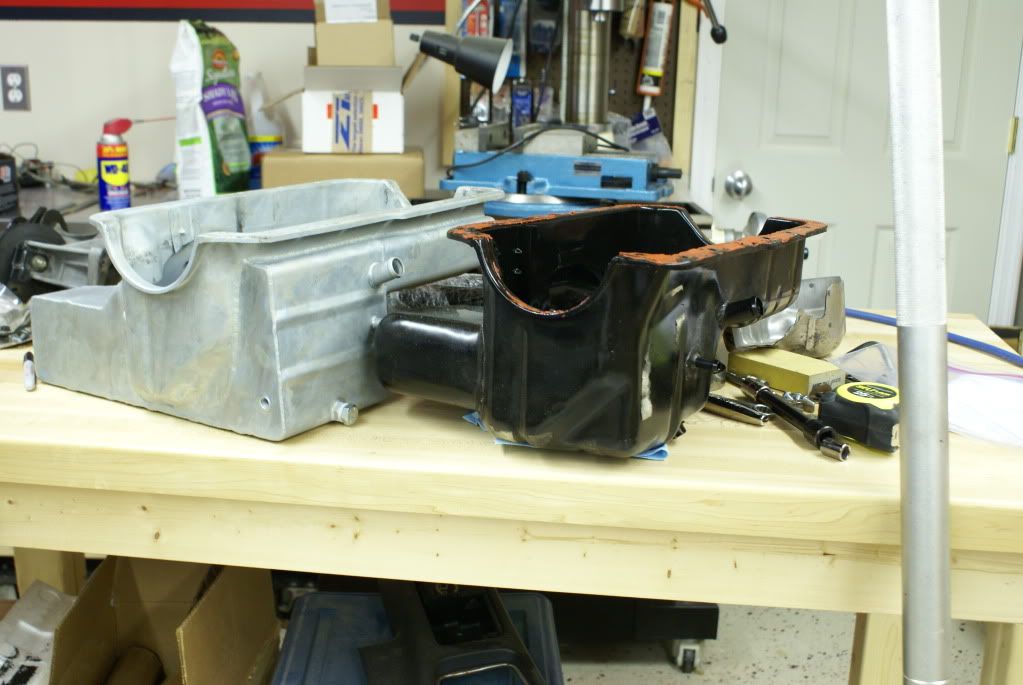
 Old and New
 Installing again (wasted a set of gaskets:()
 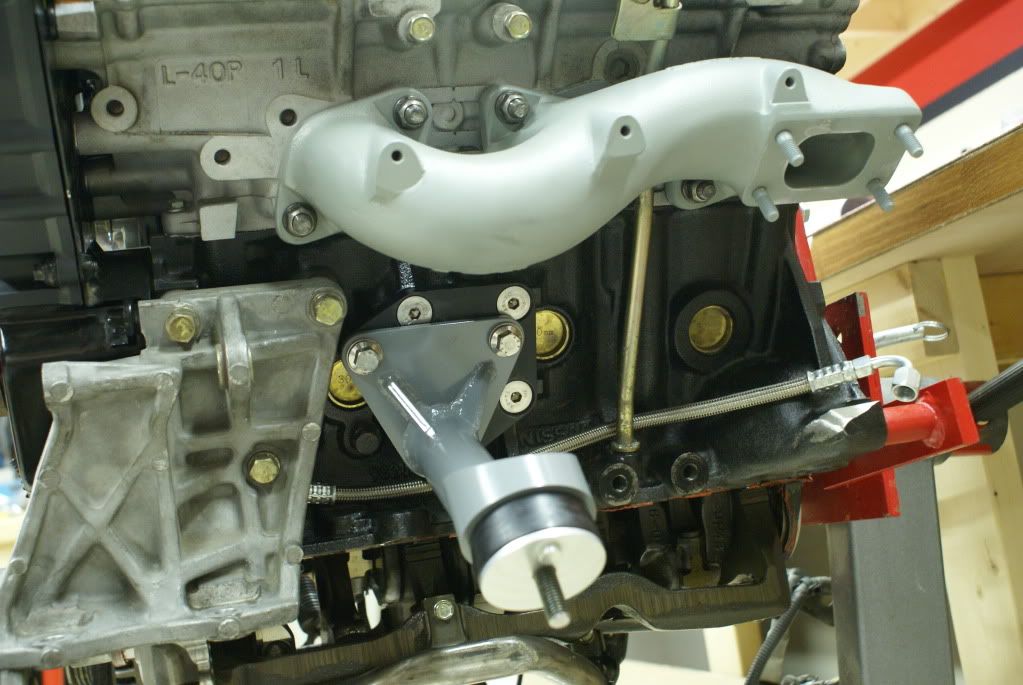
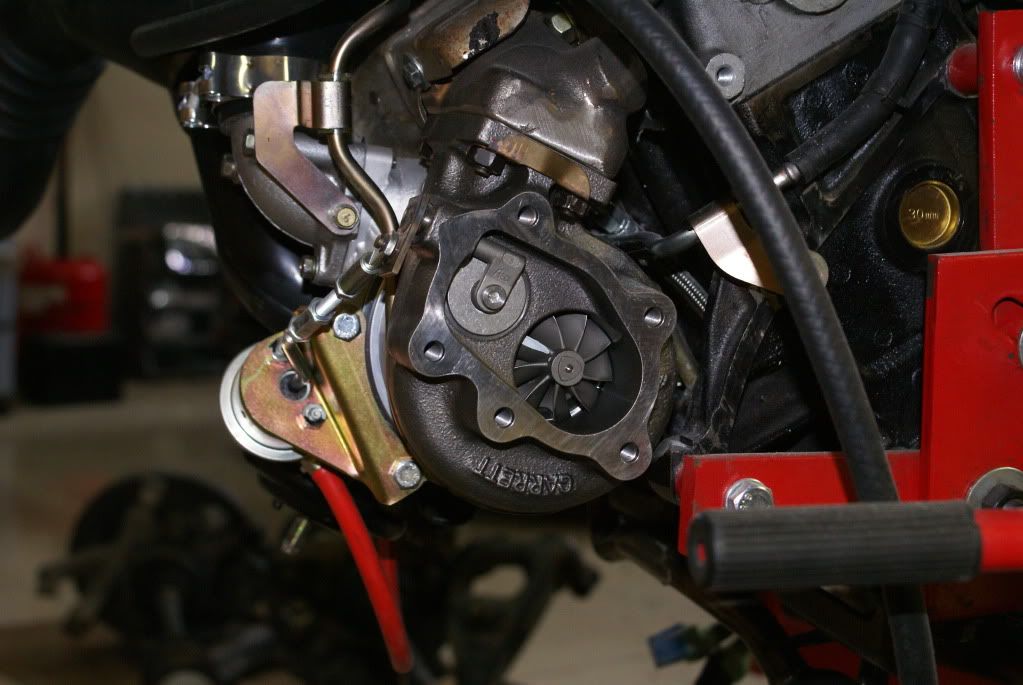
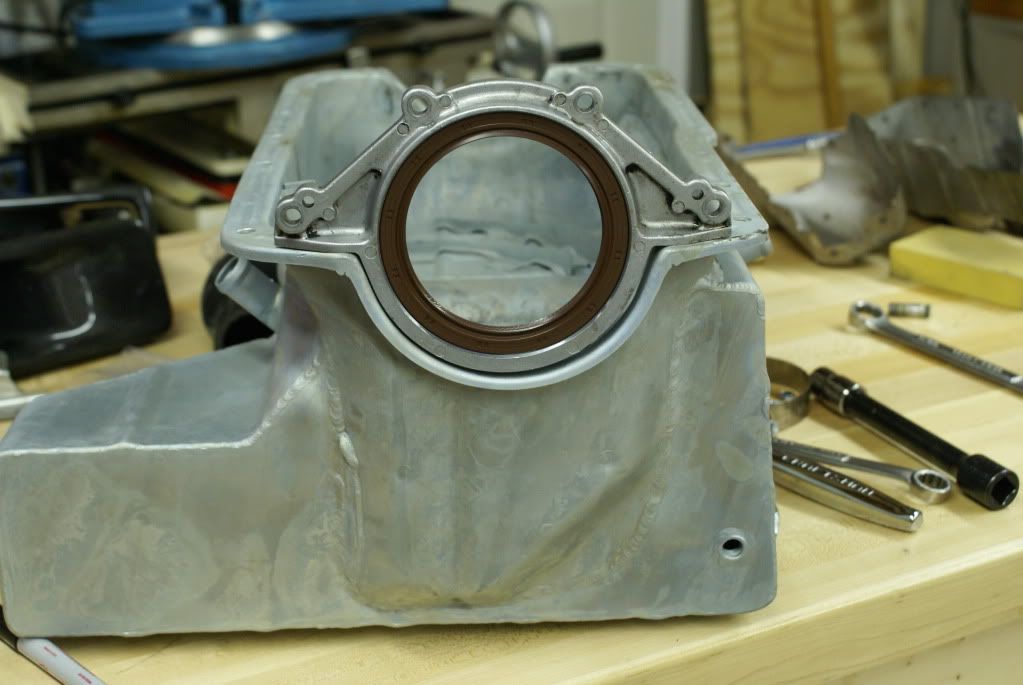
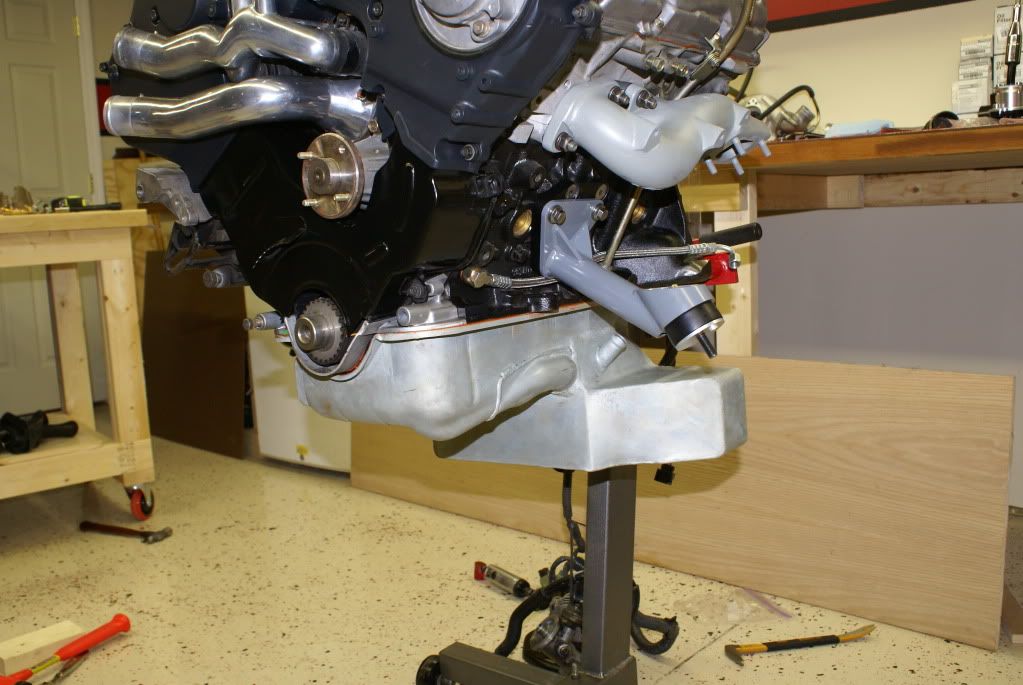
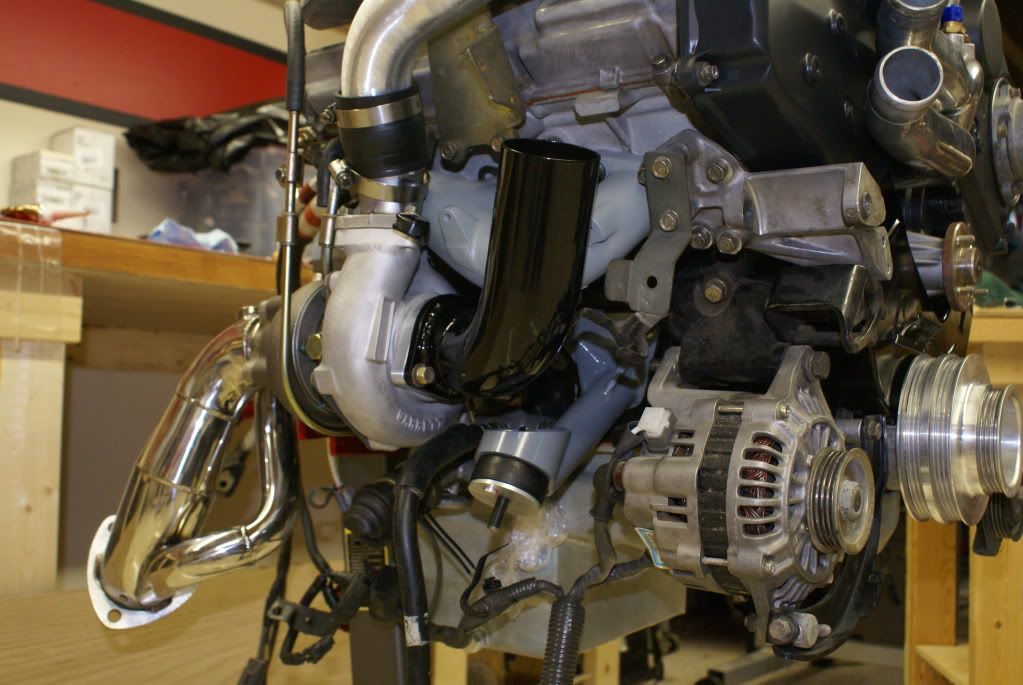
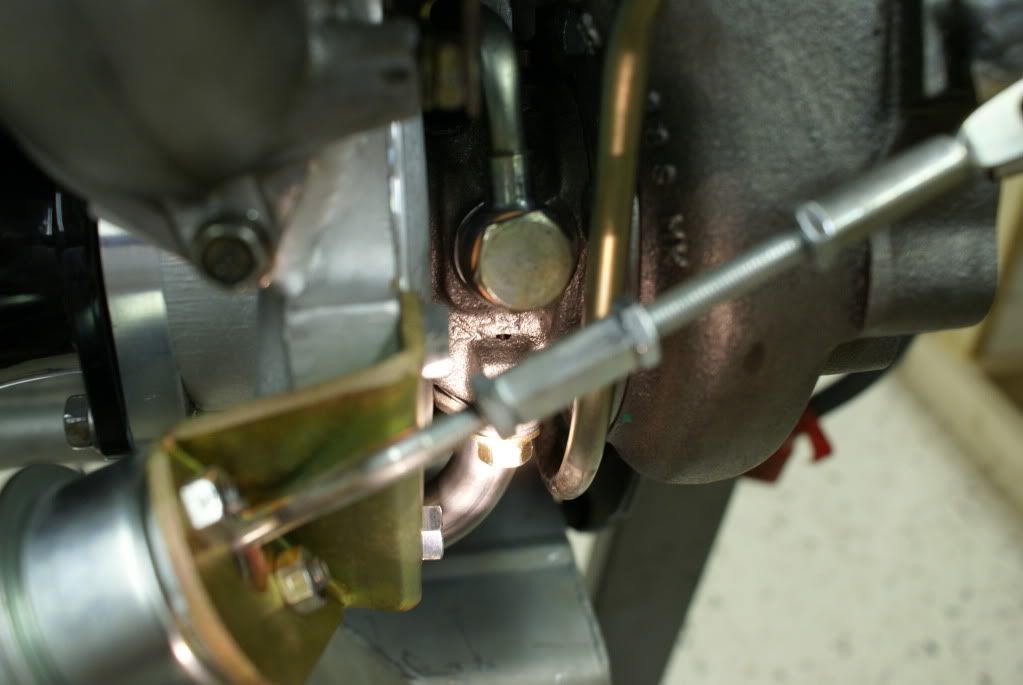
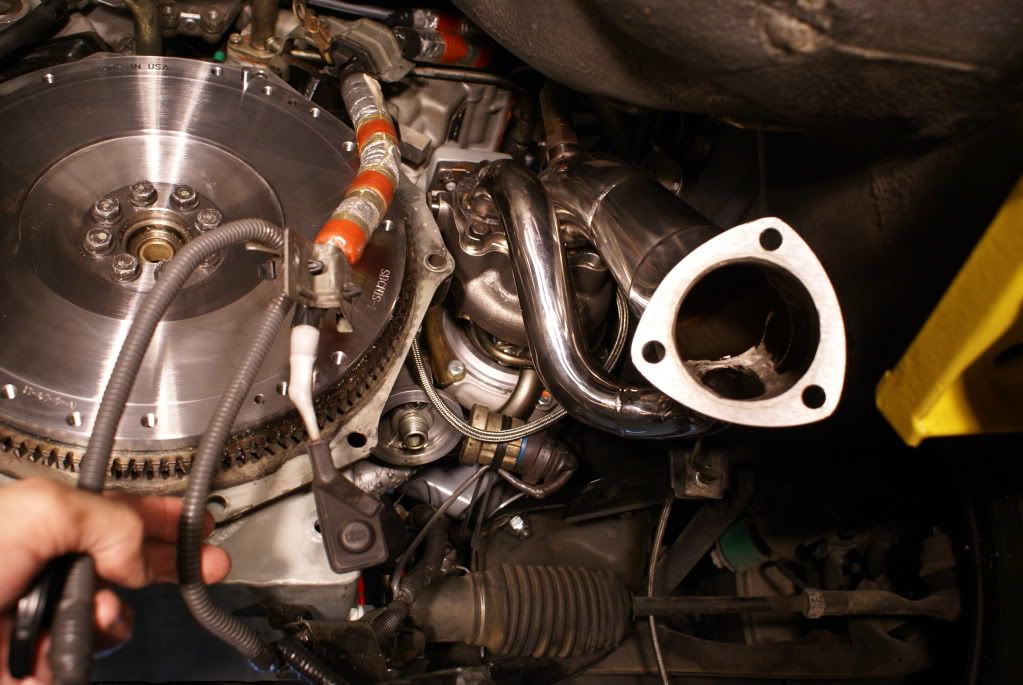
Notice the shiny spot on the oil tree. Again, grinding was required to clear the Sport 700 waste gate control arm.
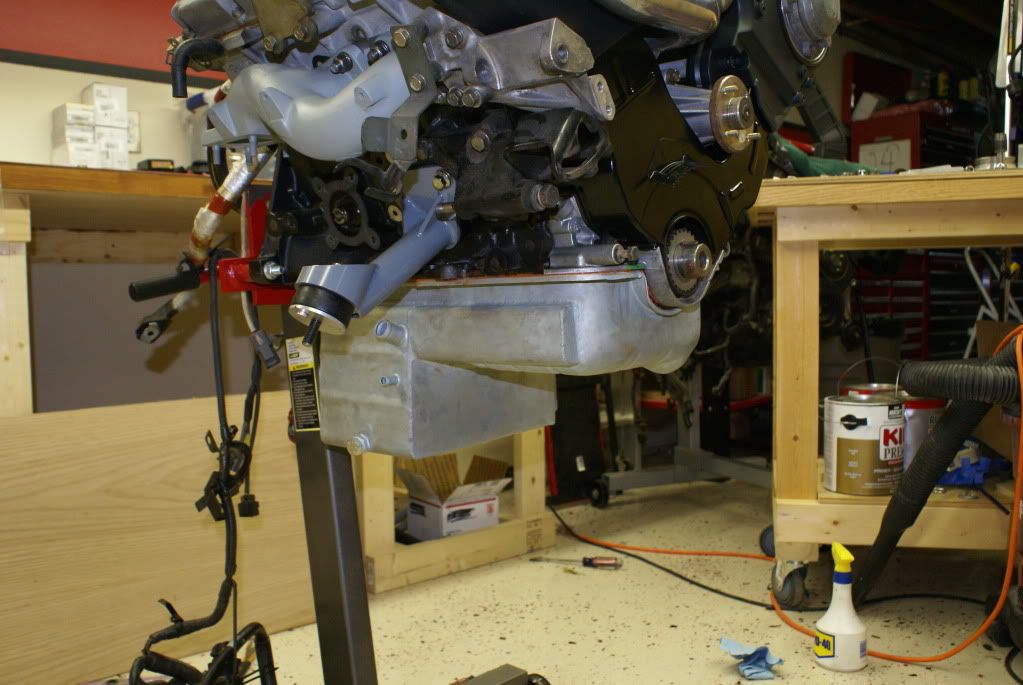
 Test fit only
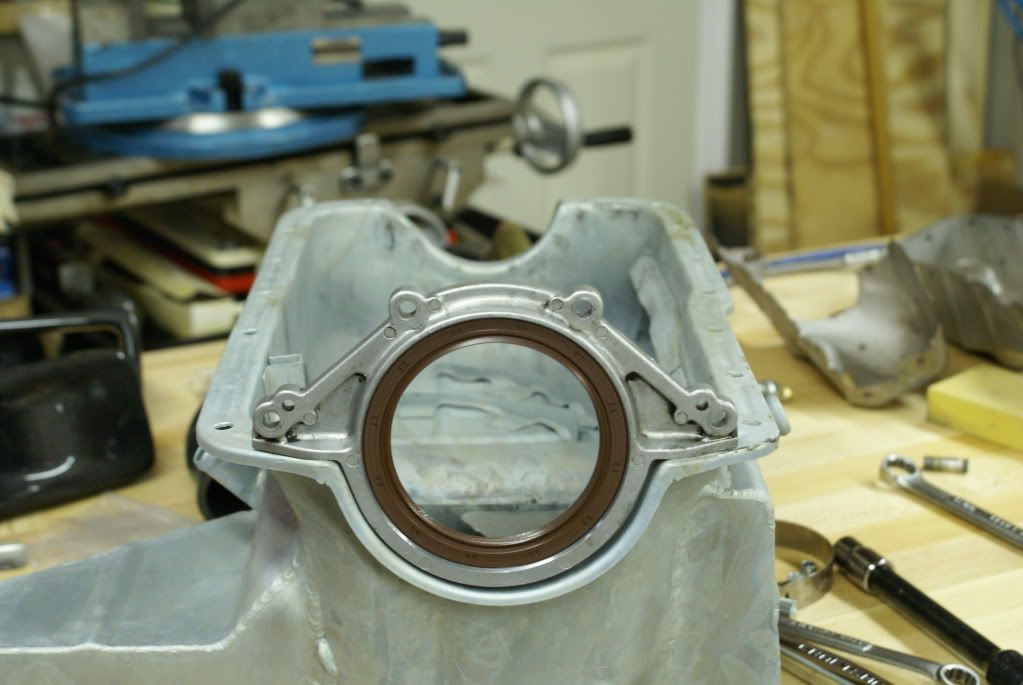
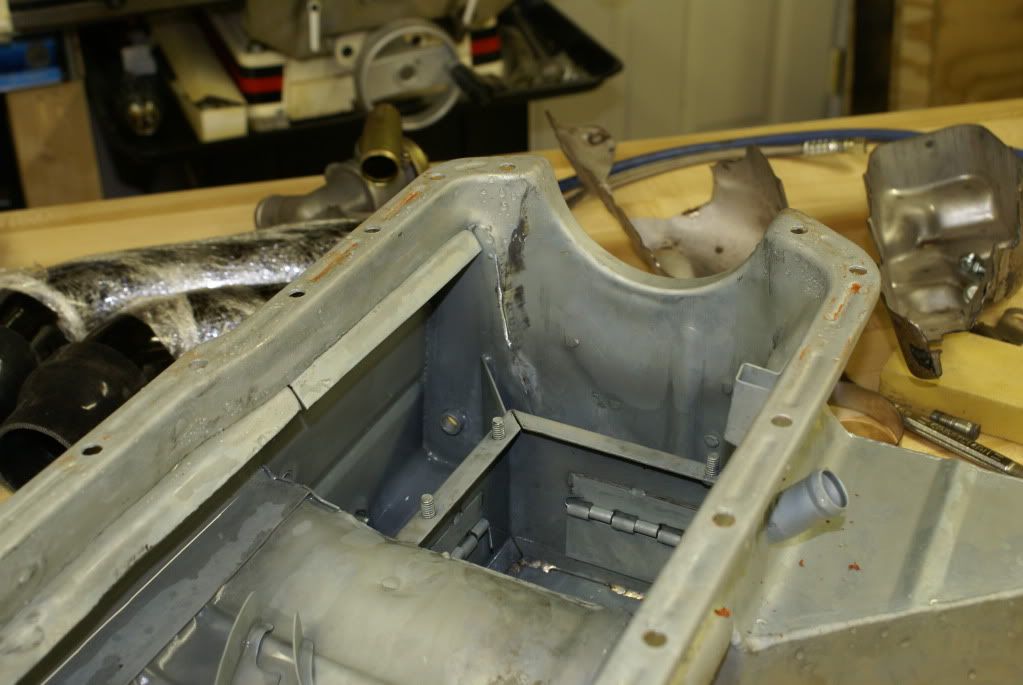
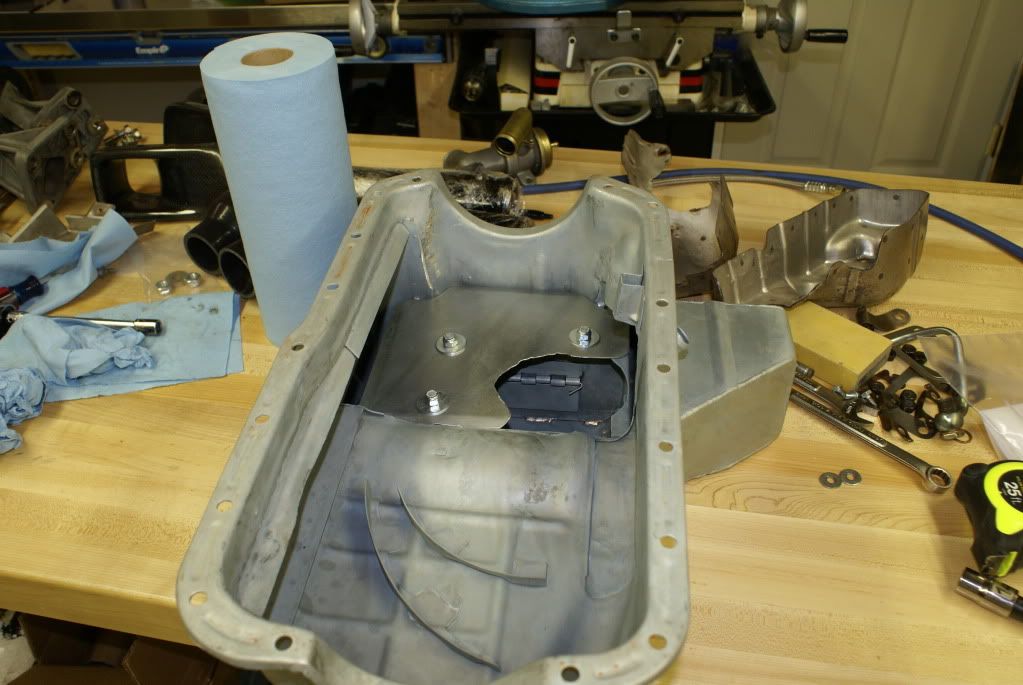
Here you can see where some clearancing was needed on the rear portion of the oil pan. The new metal was a bit long on the inside and contacted the crank girdle. The clearancing was needed to get the pan to set completely.
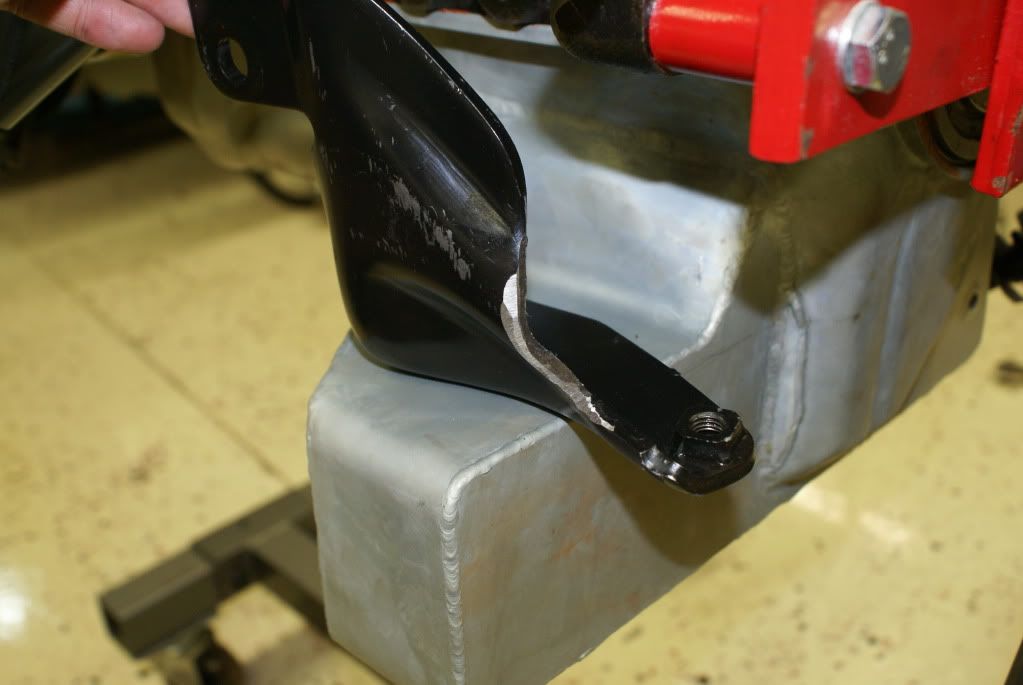
With some grinding again, I was able to keep the Driver side Trans bracket.
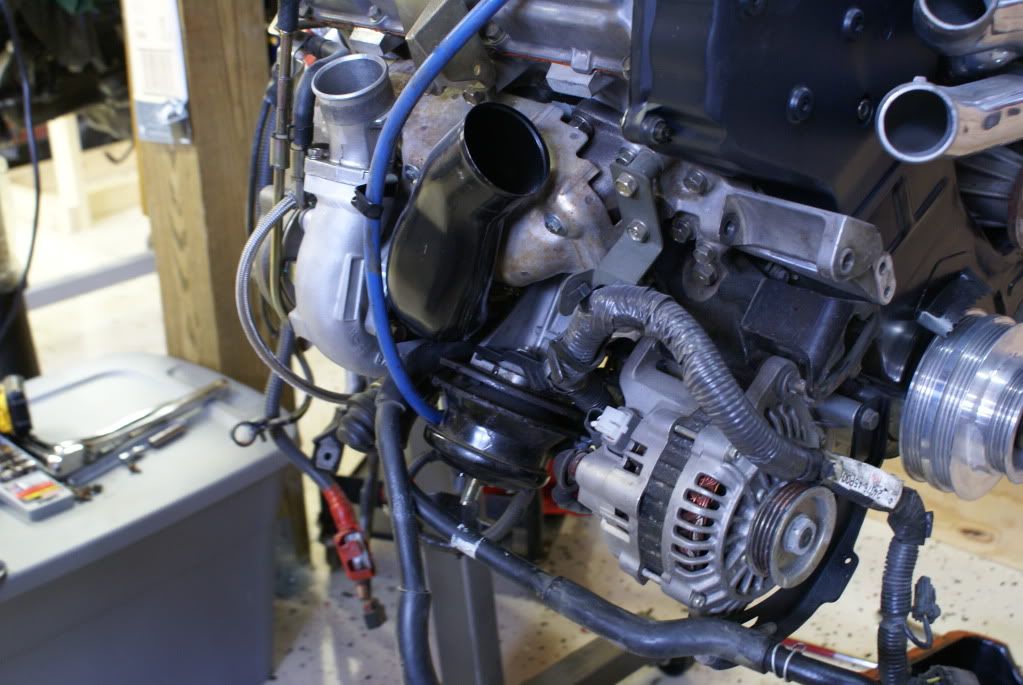
 Next few pics show test fit of Ash-spec 2.5" inlet pipe.
Recruited still more help
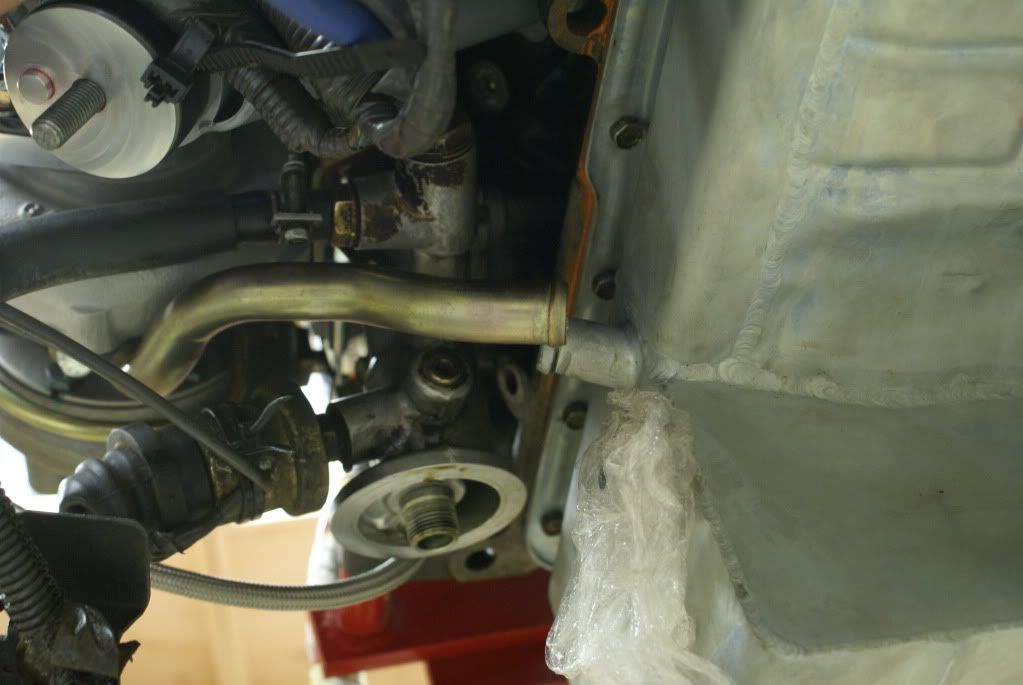
 Next problem was Pass side Oil drain tube. As you can see, no way it was going to be a bolt on affair.
So with come cutting
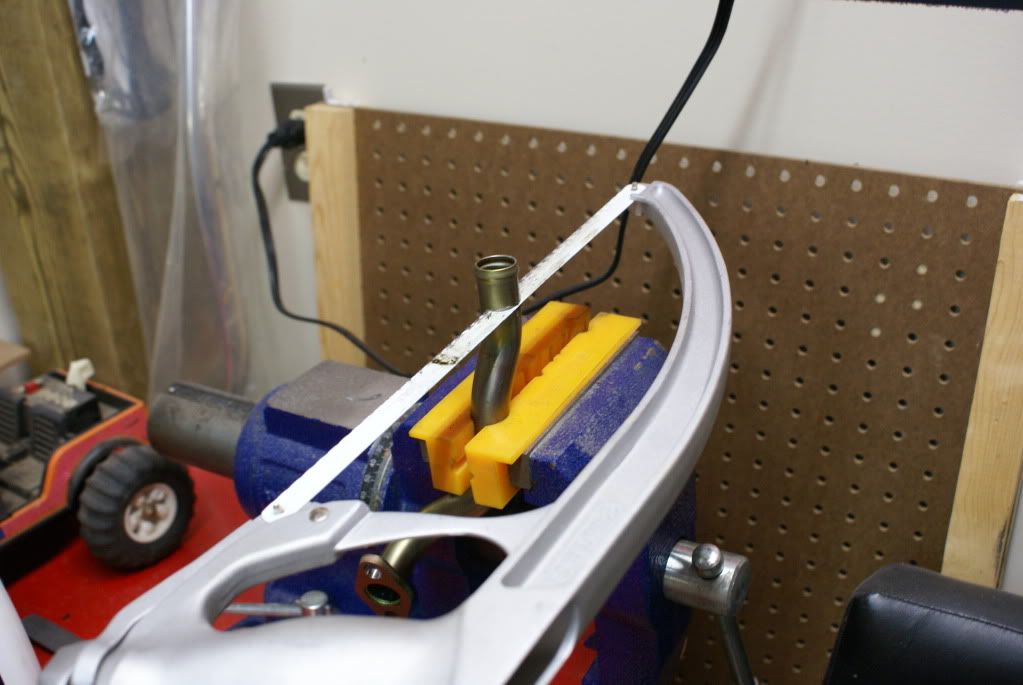 Closer, but still ng
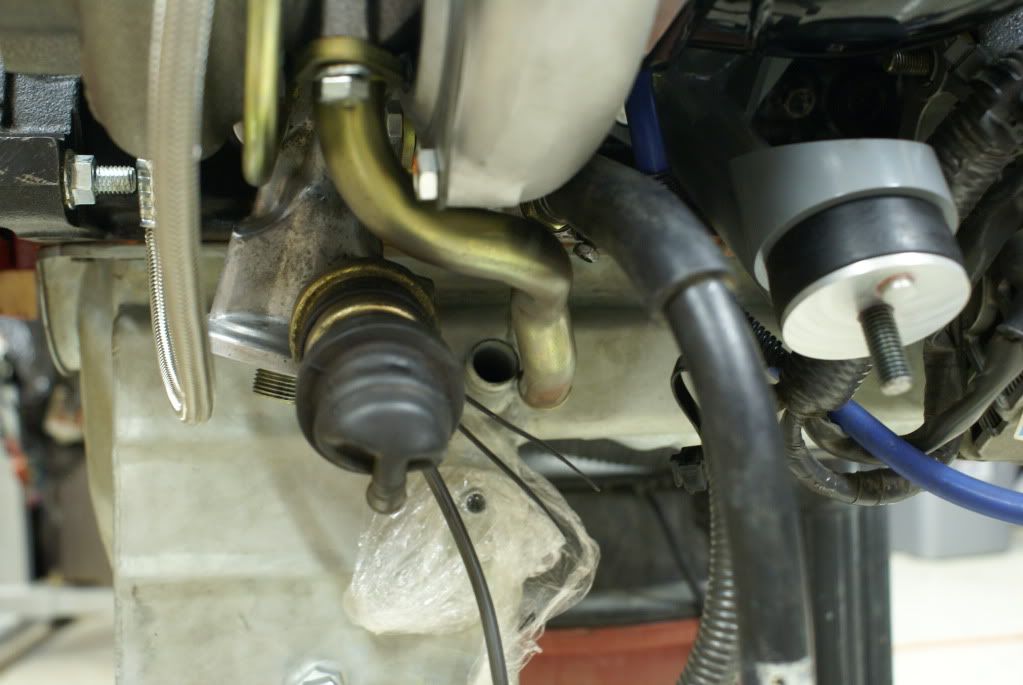
 After some bending / tweaking.
href="http://s272.photobucket.com/albums/jj168/btskaggs/Sport700Build/?action=view¤t=DSC03228.jpg" target="_blank">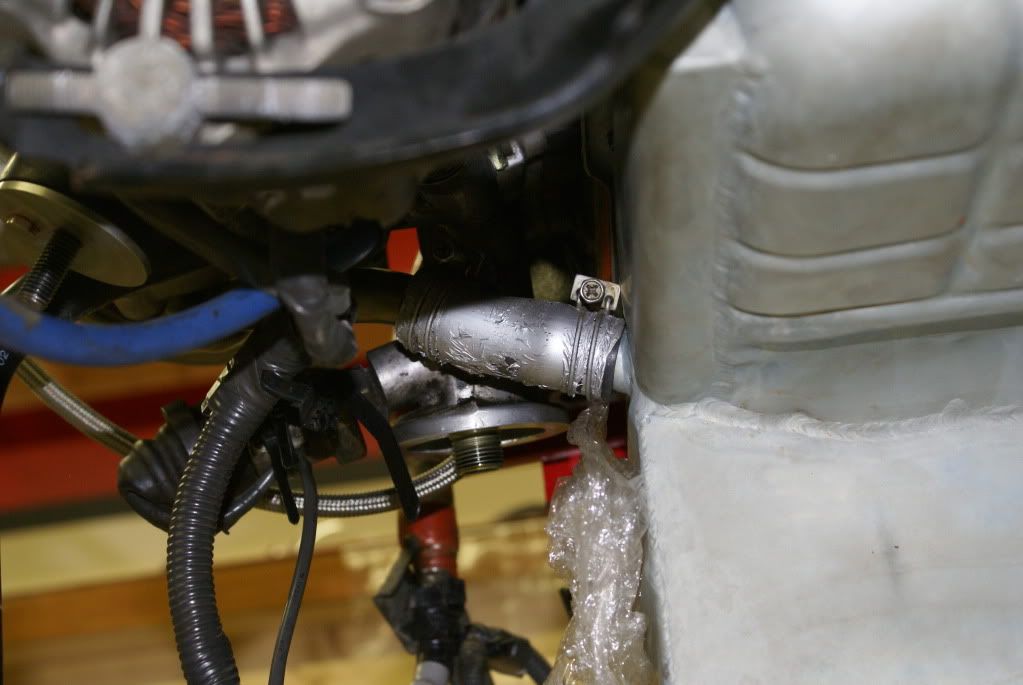 Before final install, also had to level the flange surfaces here
I was concerned that this casting void maybe a problem, but it wasn't.
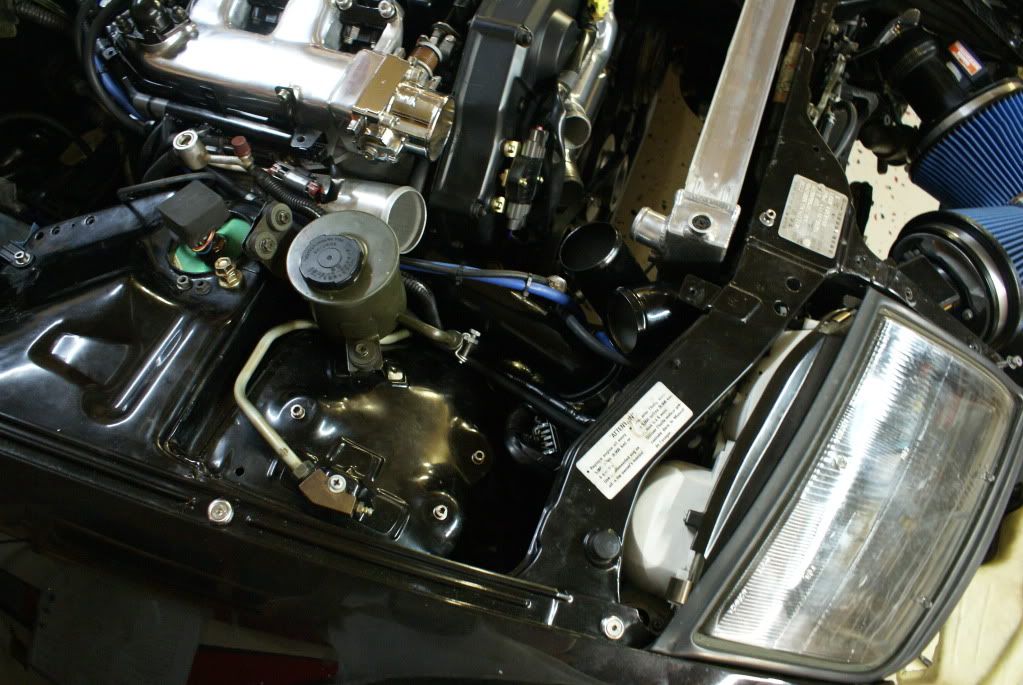
With heat shield, 2.5" inlet fit on Driver side
 And here you can see the possibilities for piping clearance.
 Recircs were also not a bolt on affair. Fortunately someone (maybe Woody) posted a pic just as I was trying to figure this out.
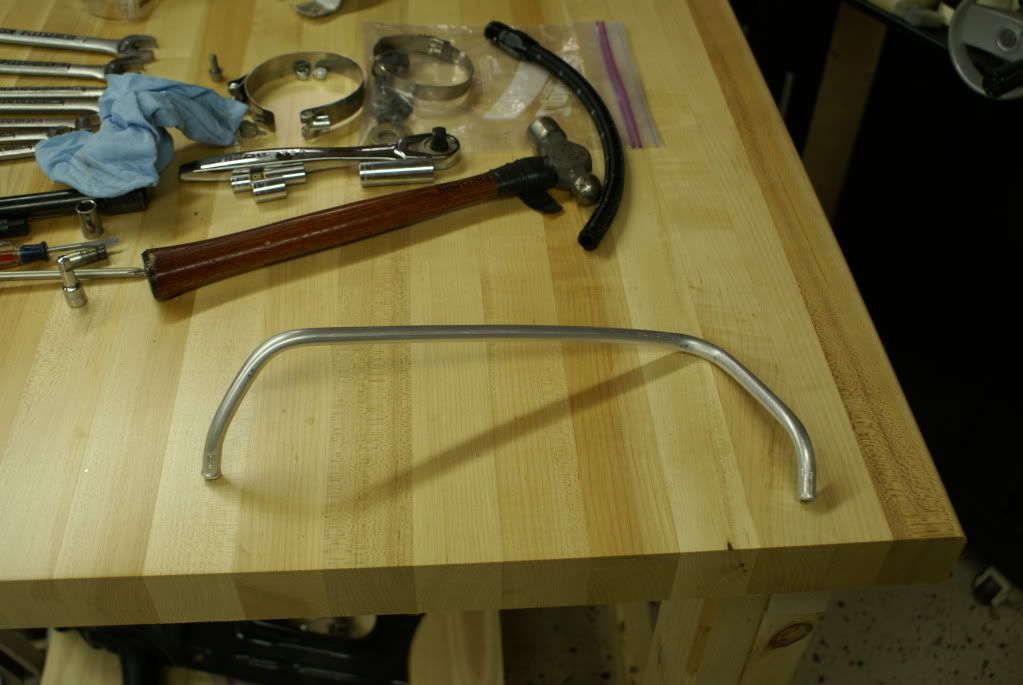
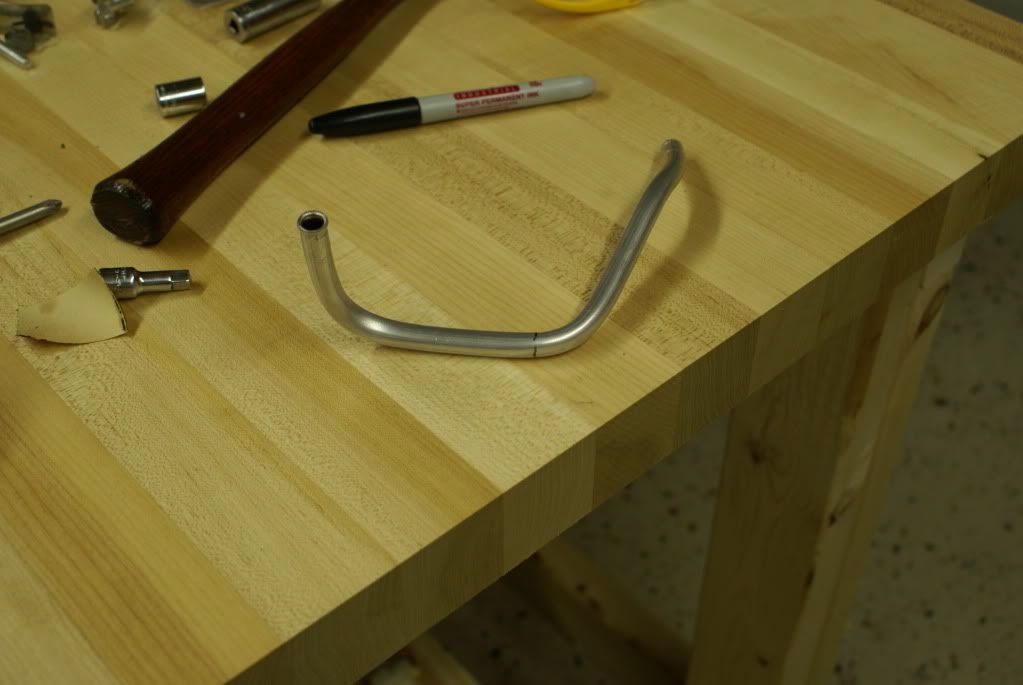
Making plumbing for the PVC re-route
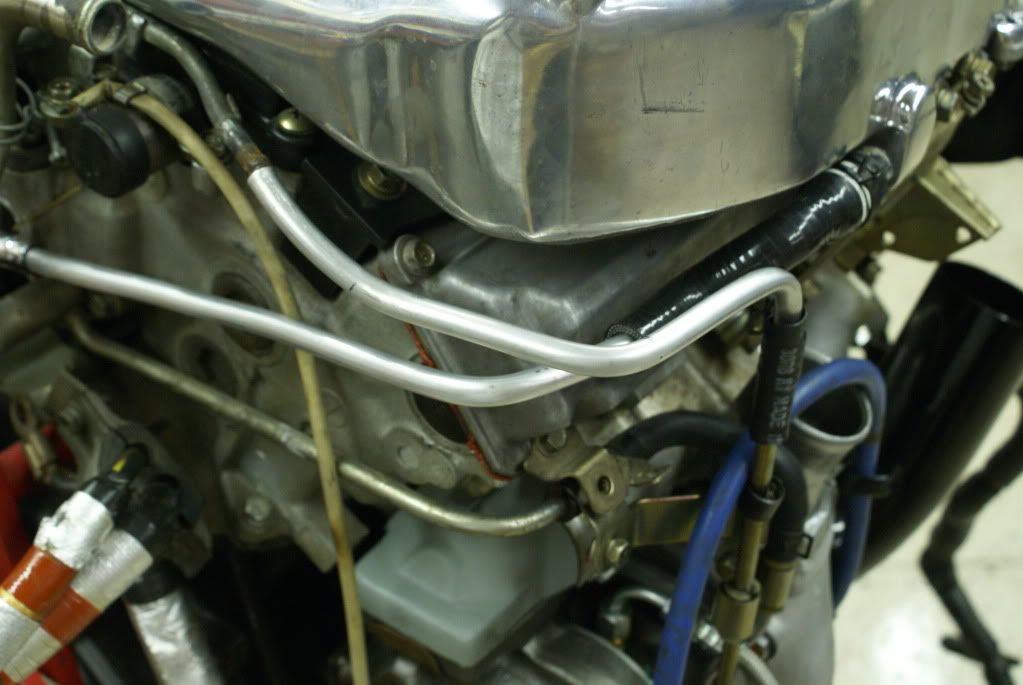
First attempt at making hard lines for Coolant bypass. Looks good, huh? Wrong. Several pics below will show why
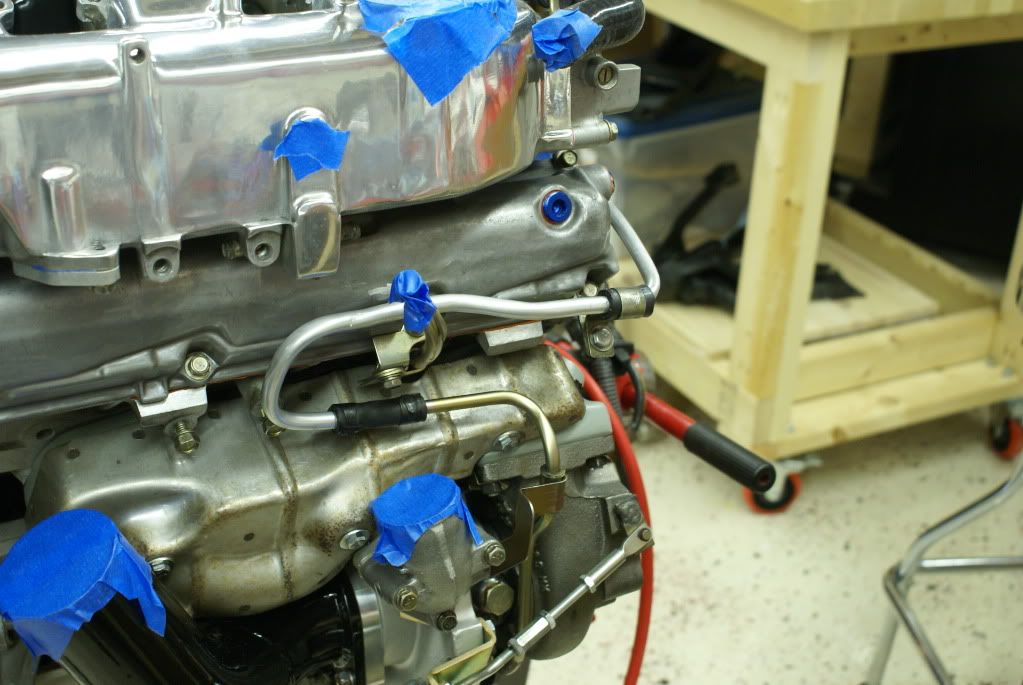 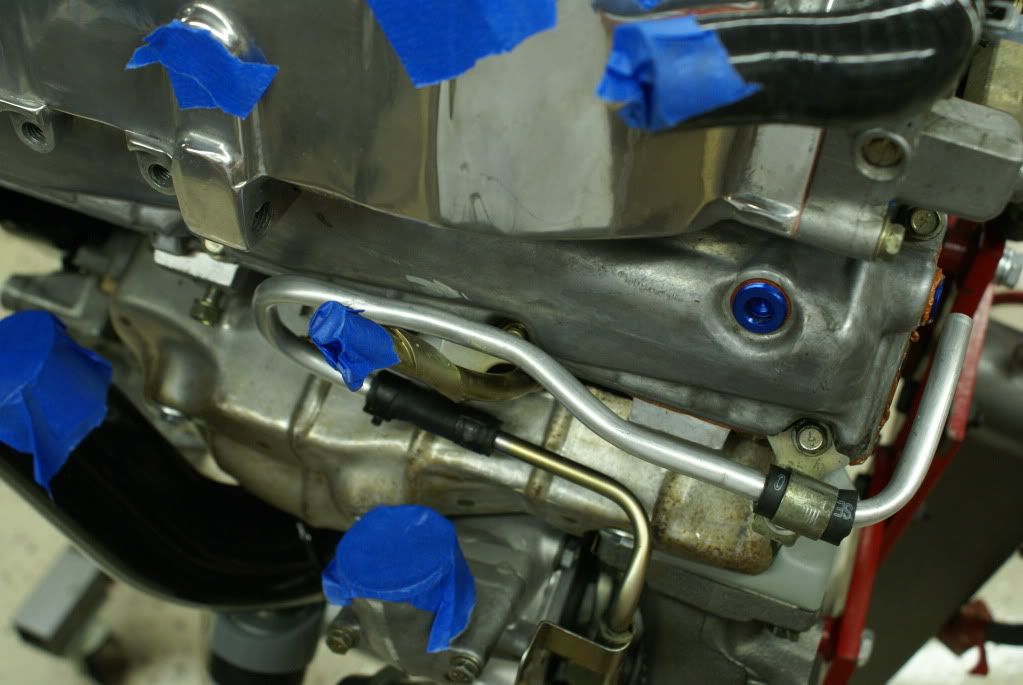
Here is the problem with the hard line. Touches the plenum bracket. So I made a new one.
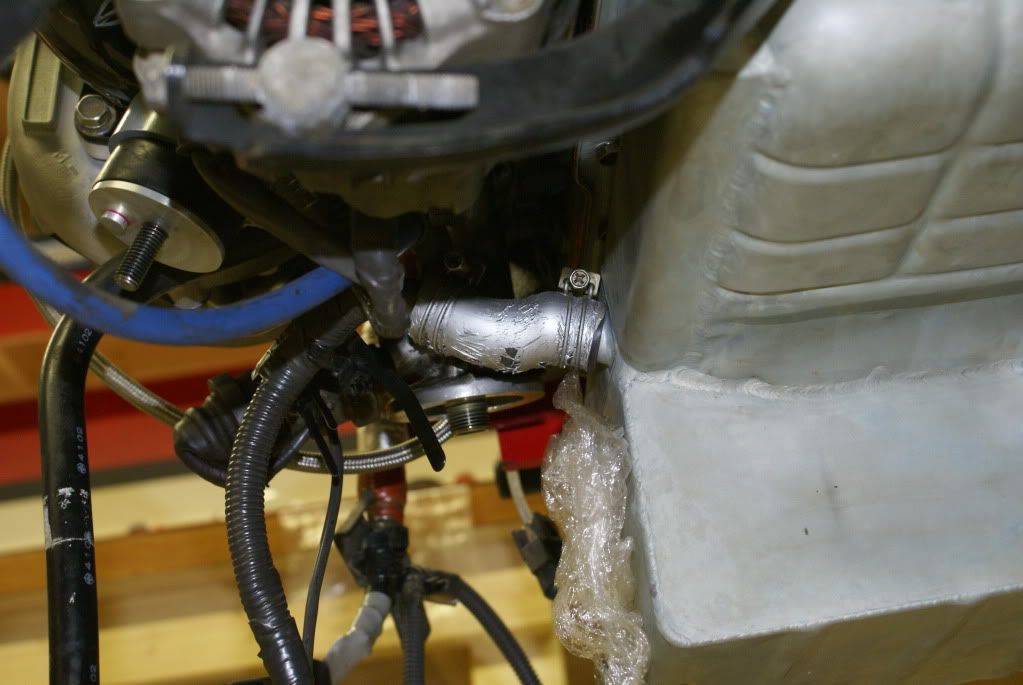
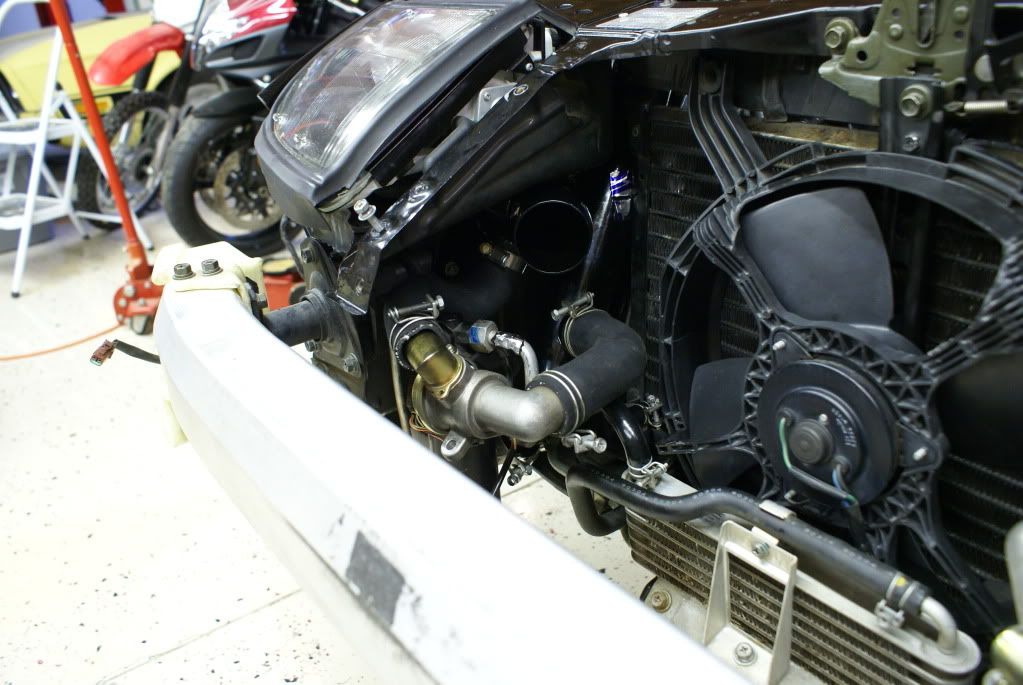
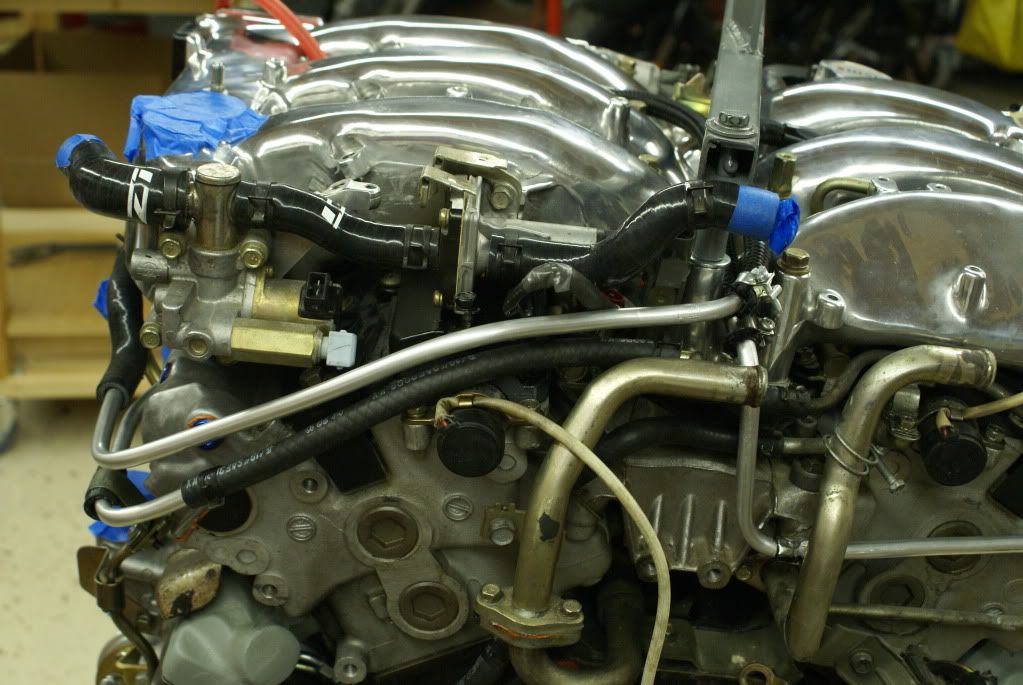
Next few pics show Passenger side Coolant bypass
 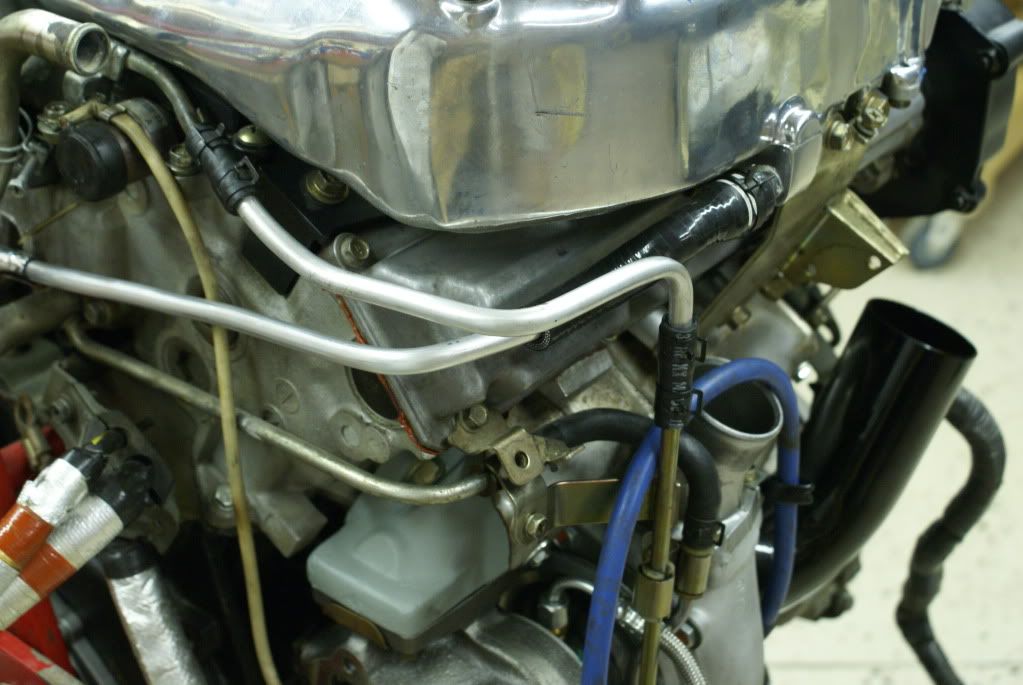
'95 W/H from Bernie
 New hard line
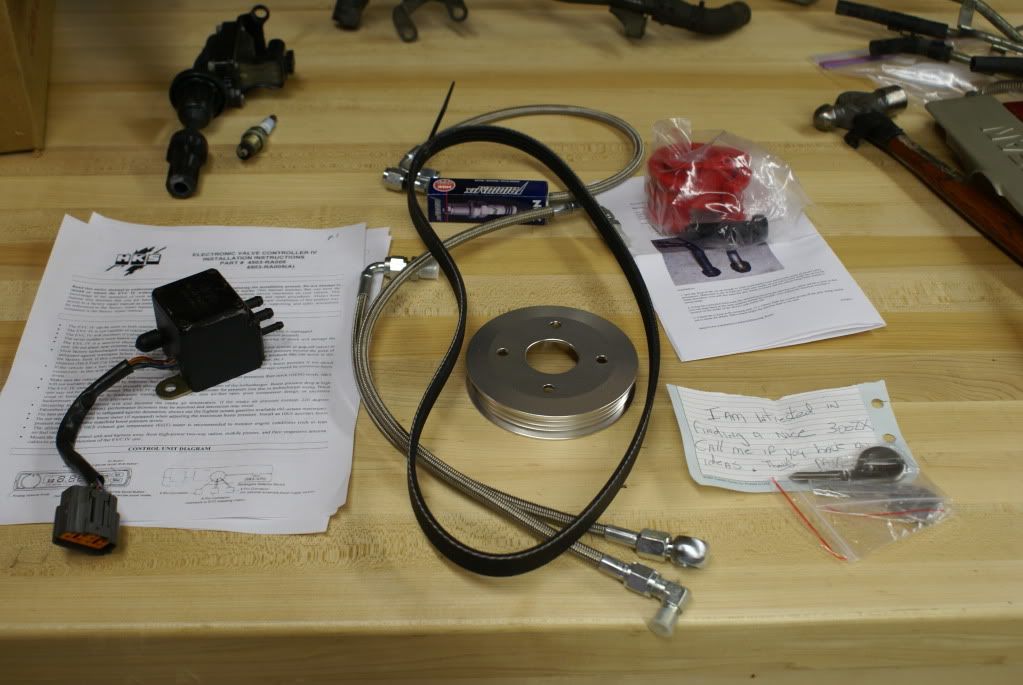
This pic shows:
a) My crappy boost valve controller, more parts from Bernie, keys from Aruba Dave, and a note someone left on my 91Z that day at work:)


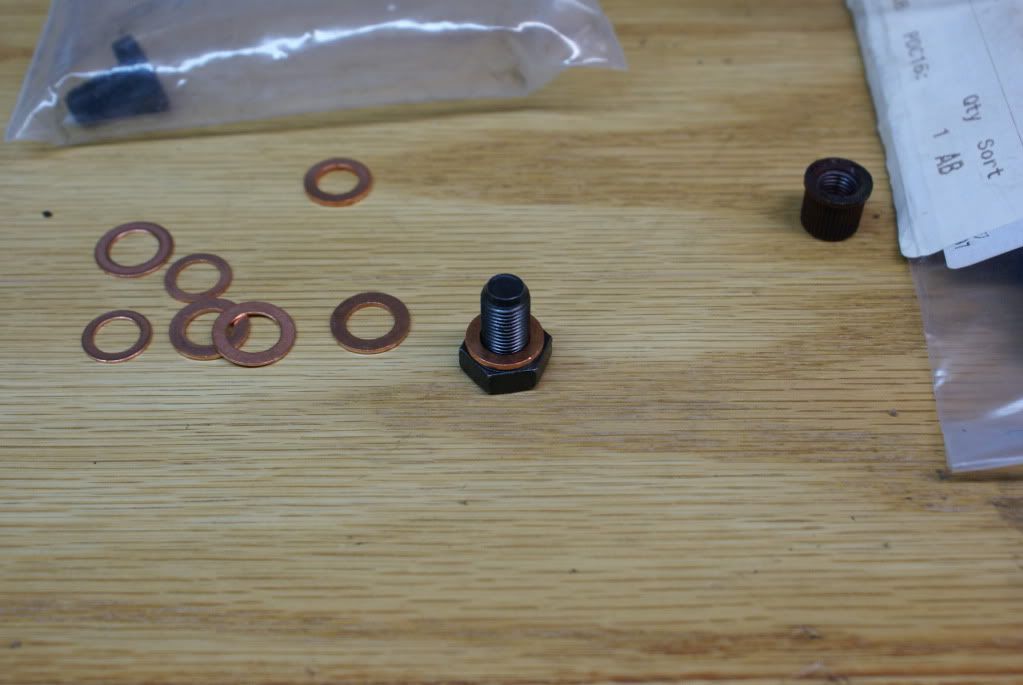
I had to special order this bolt to plug what I think is the oil temp sensor hole in the SZ oil pan.
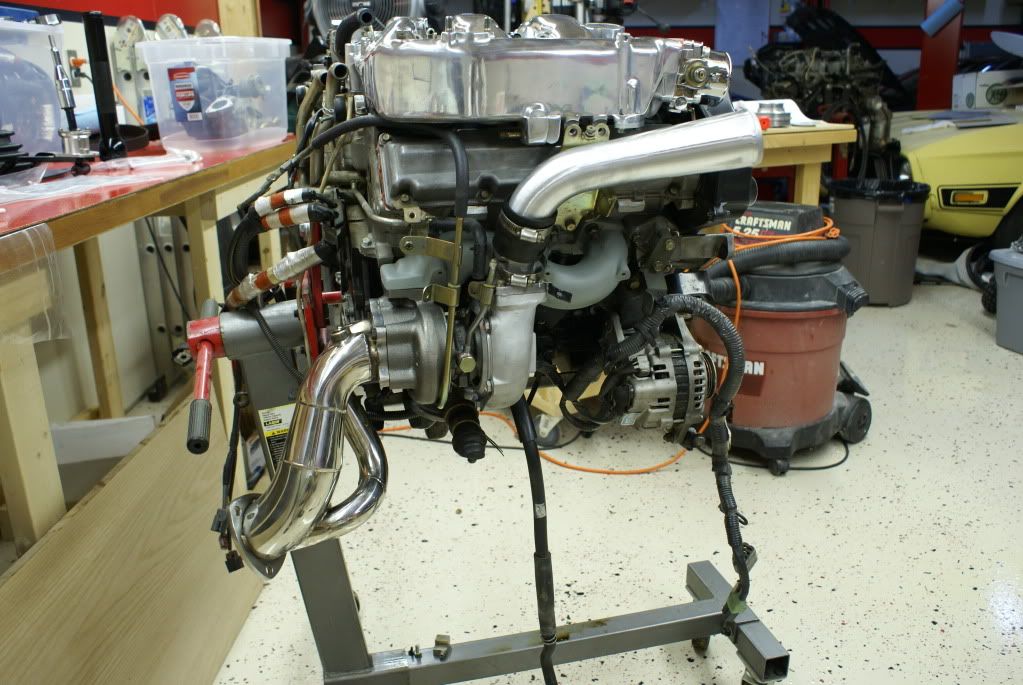
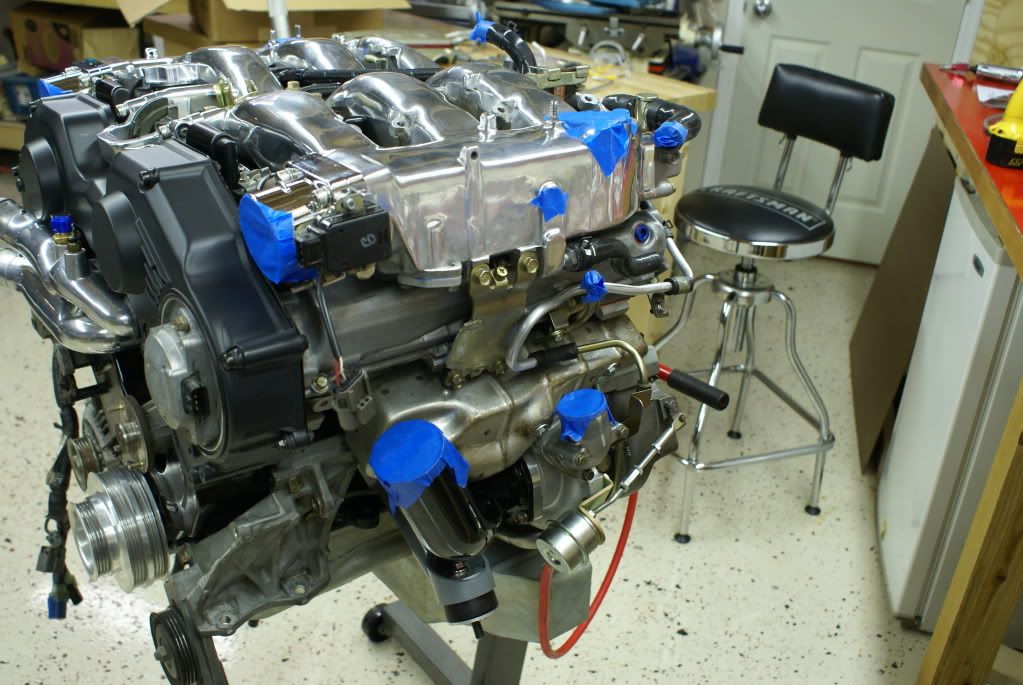
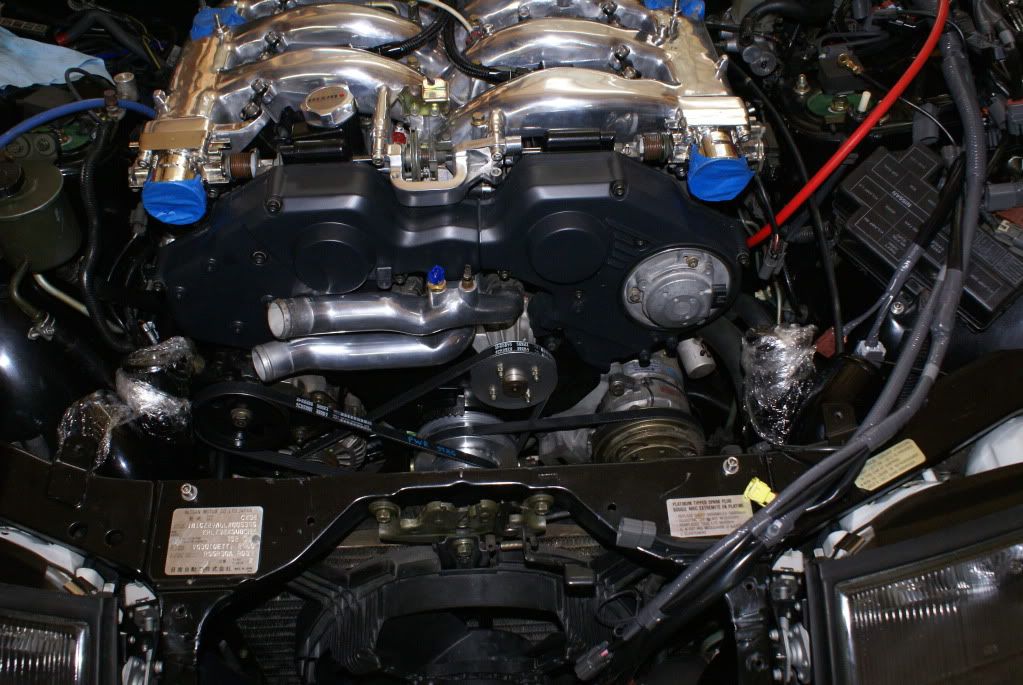
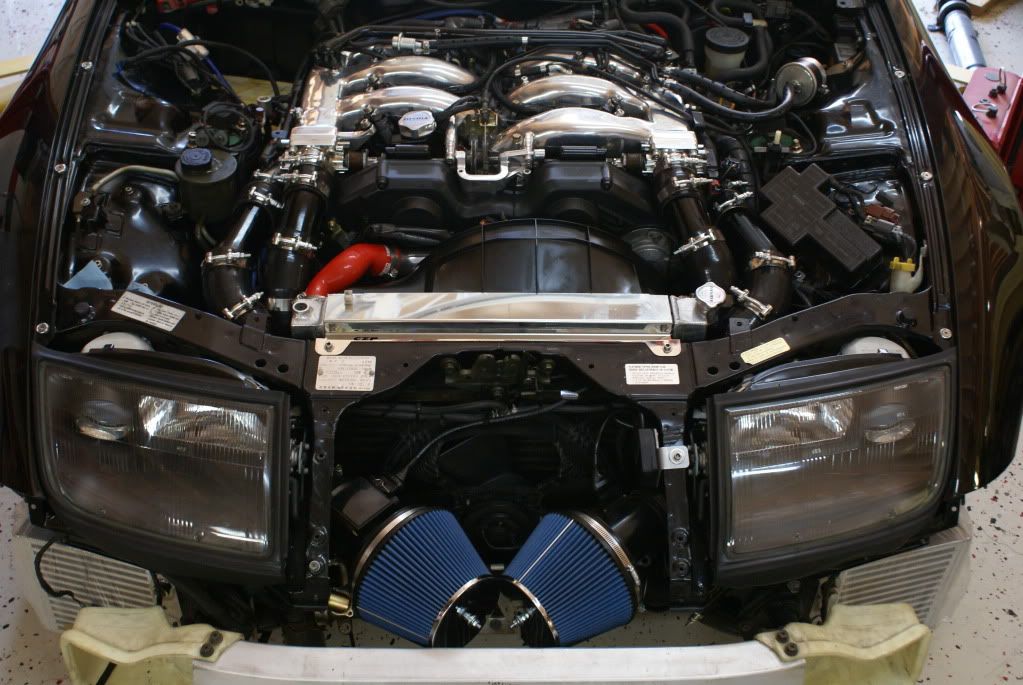
 Planar setup with dual pop chargers and Selin translator:)
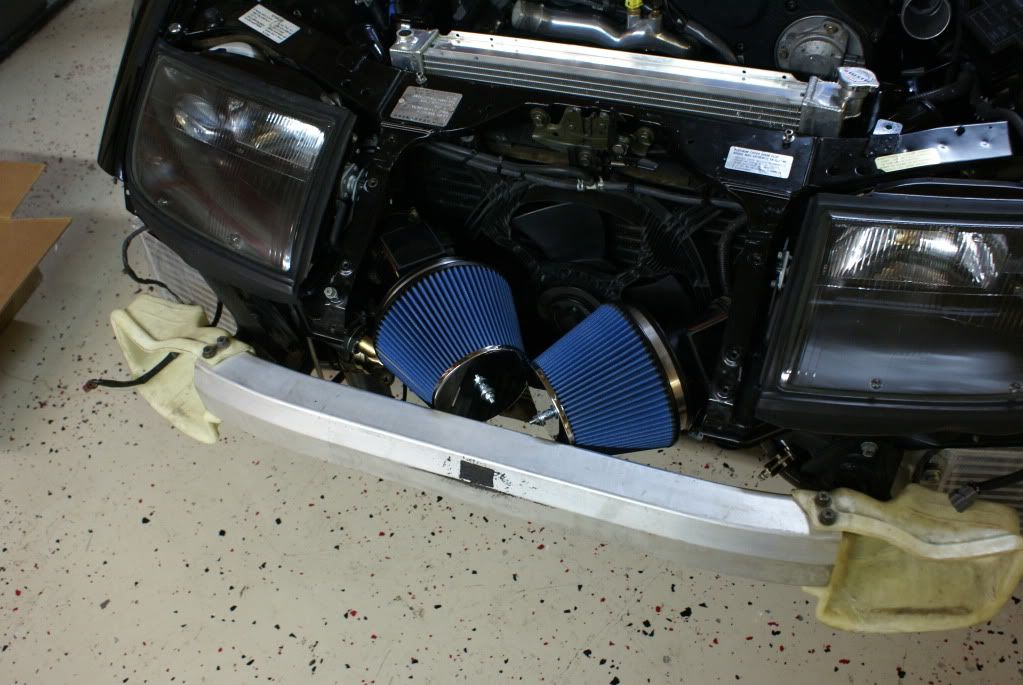 Specialty Z outlet pipes
href="http://s272.photobucket.com/albums/jj168/btskaggs/Sport700Build/?action=view¤t=DSC03288.jpg" target="_blank">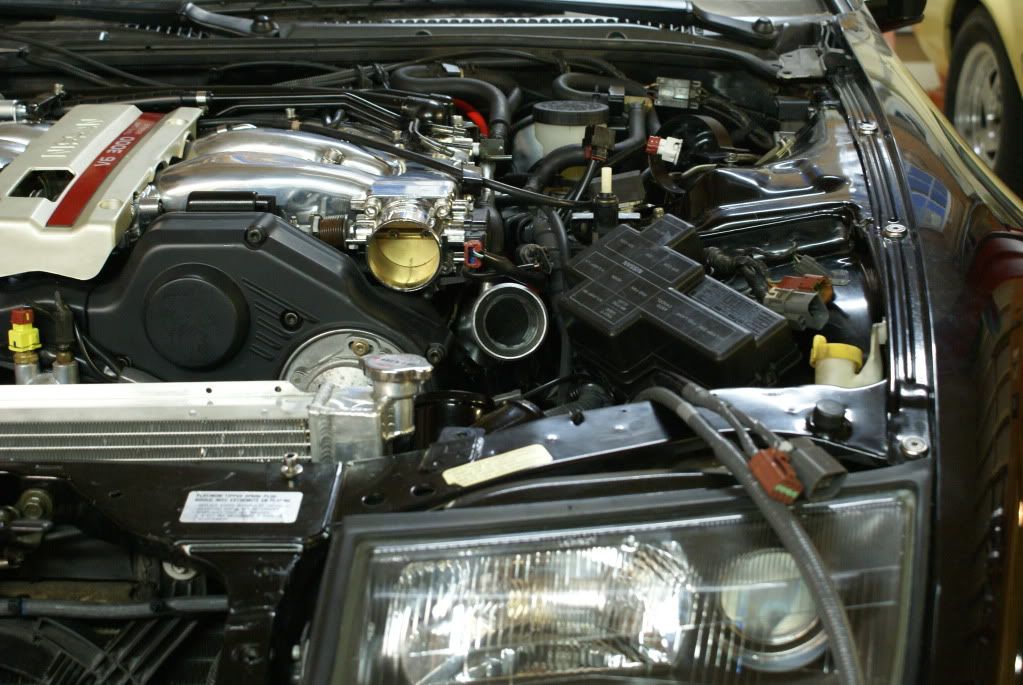 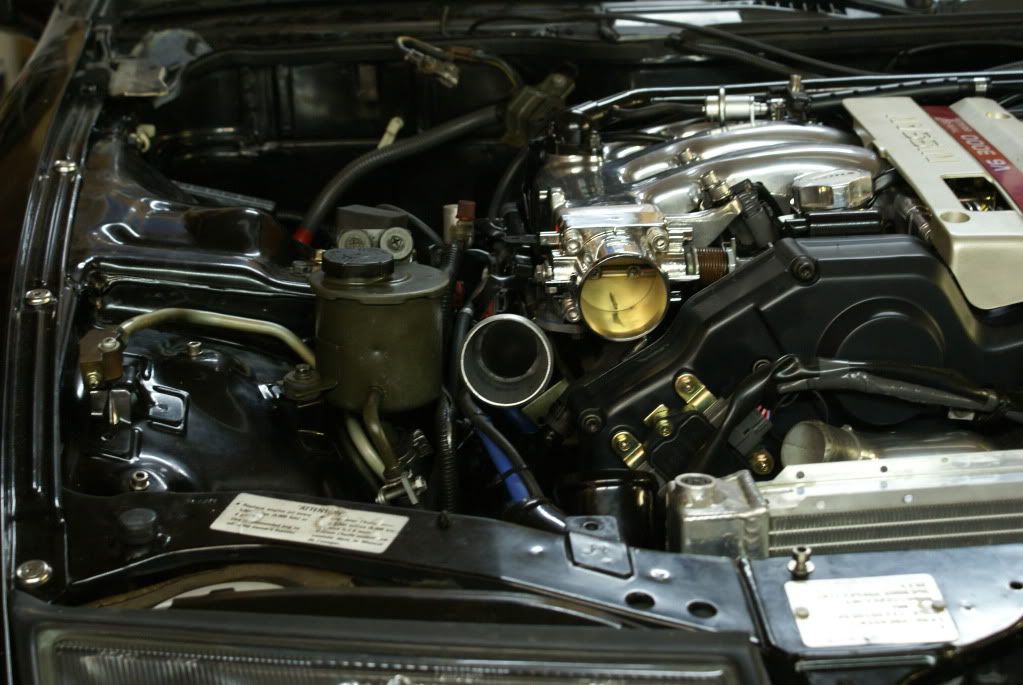
Top view of the Ash spec inlet piping. I should say here that Ash's pipe setup fit very well. I was pleased that all lined up and fit without hassle.
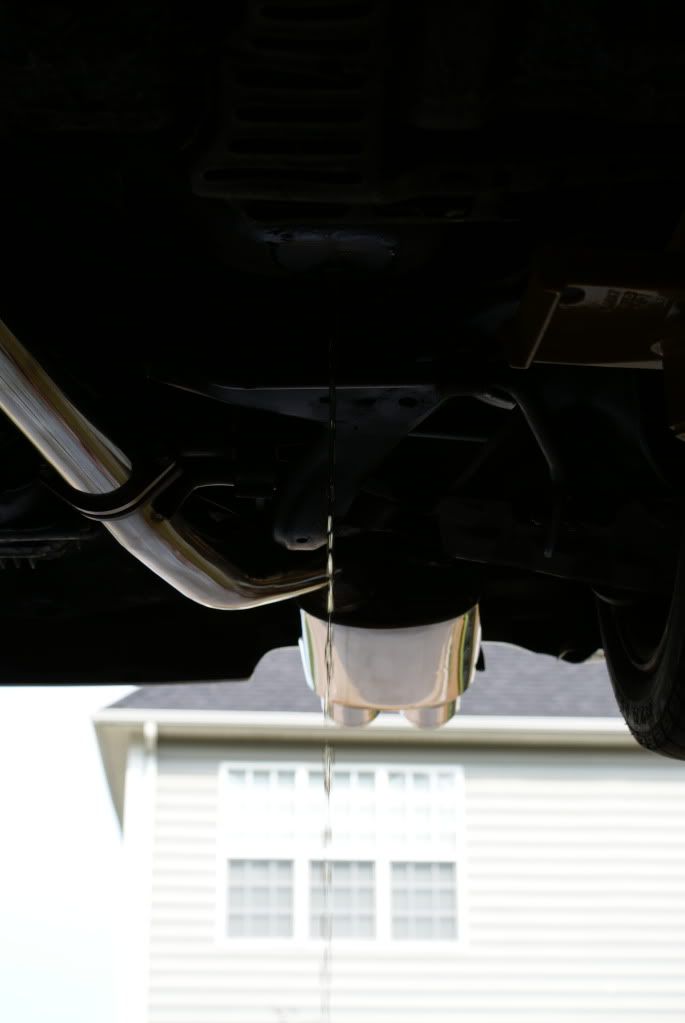
 Drained the 2 yr old gas
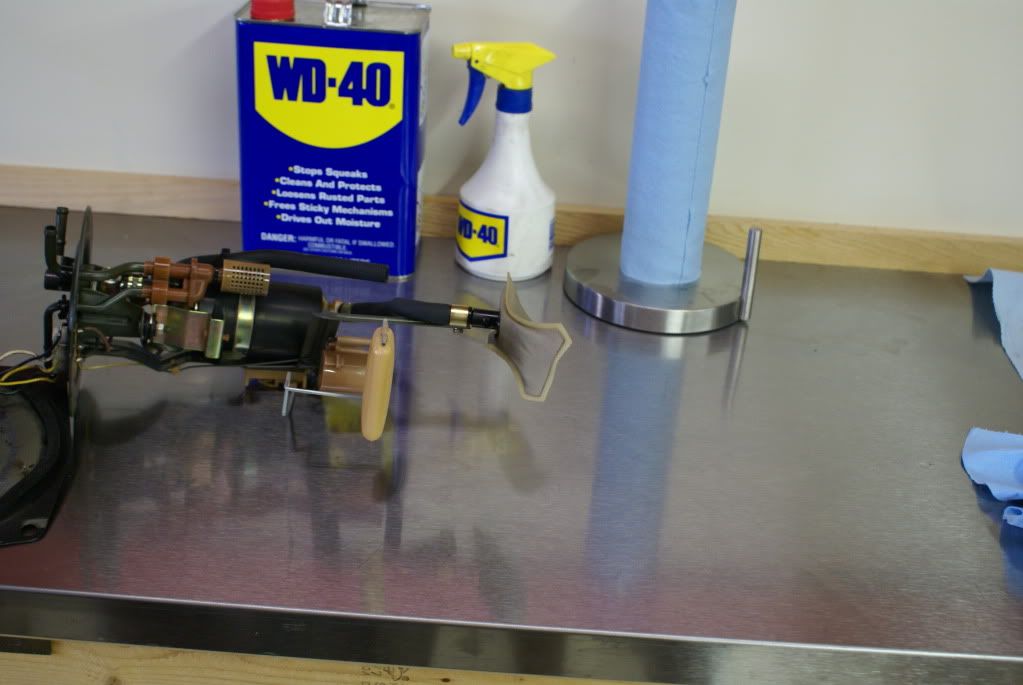
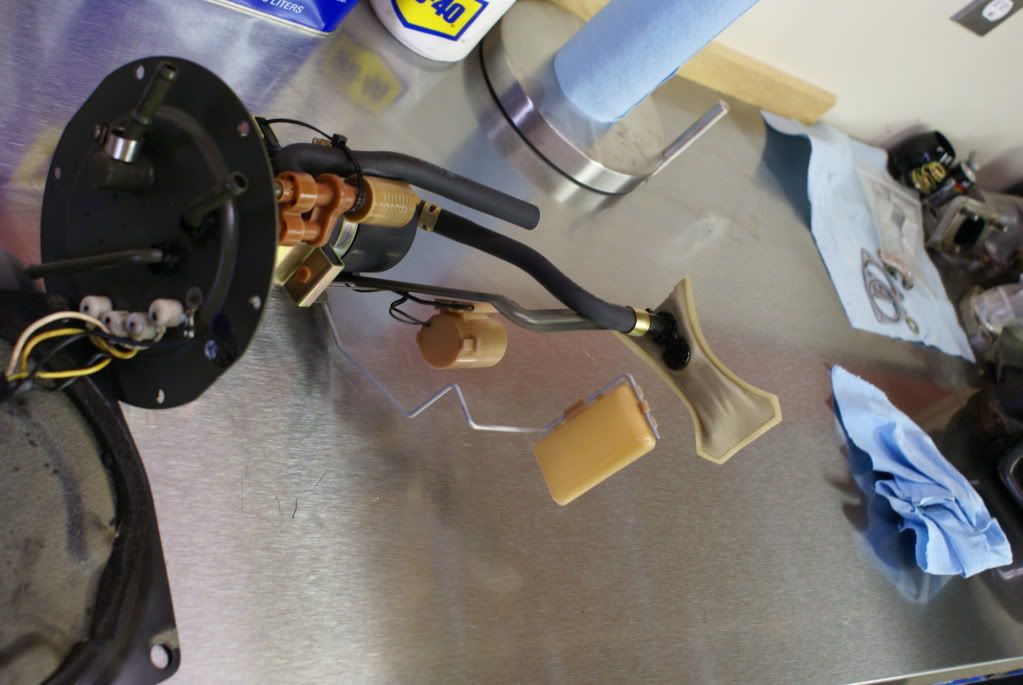
And pulled fuel pump to clean sock, but it was spotless already
This is last pic I took as things were getting really crazy here schedule wise. From it was Fri afternoon and I still had to register the car, pick up a trailer, and do a brake job on my truck which turned out to be ng ( warped new rotor ). Ended up doing a second brake job upon my return from Atlanta. No vibration now.
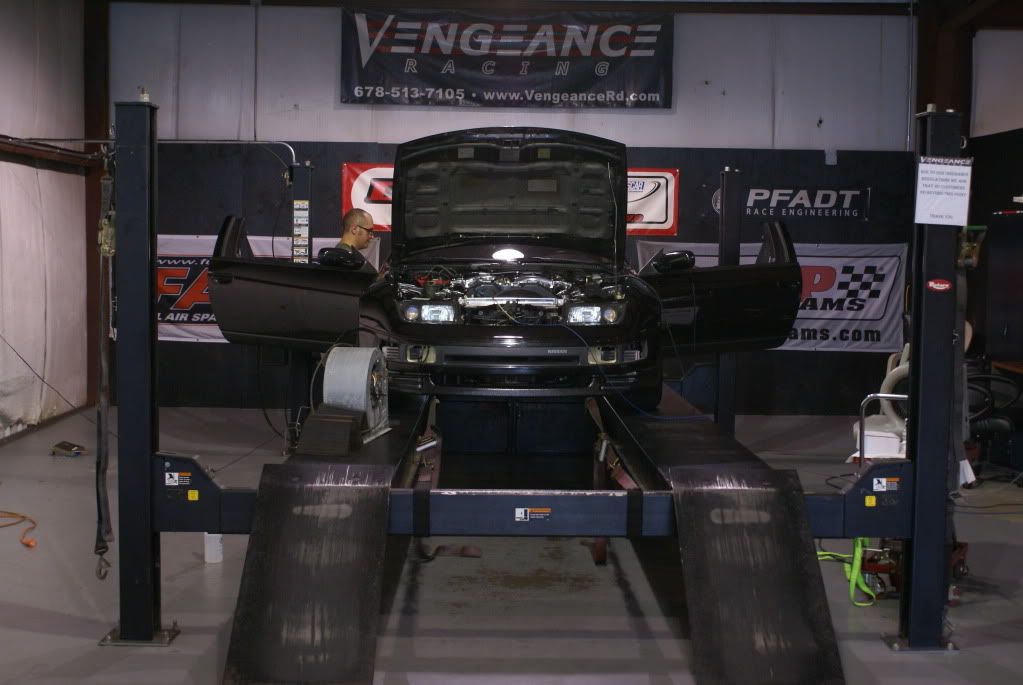
About to go on the dyno
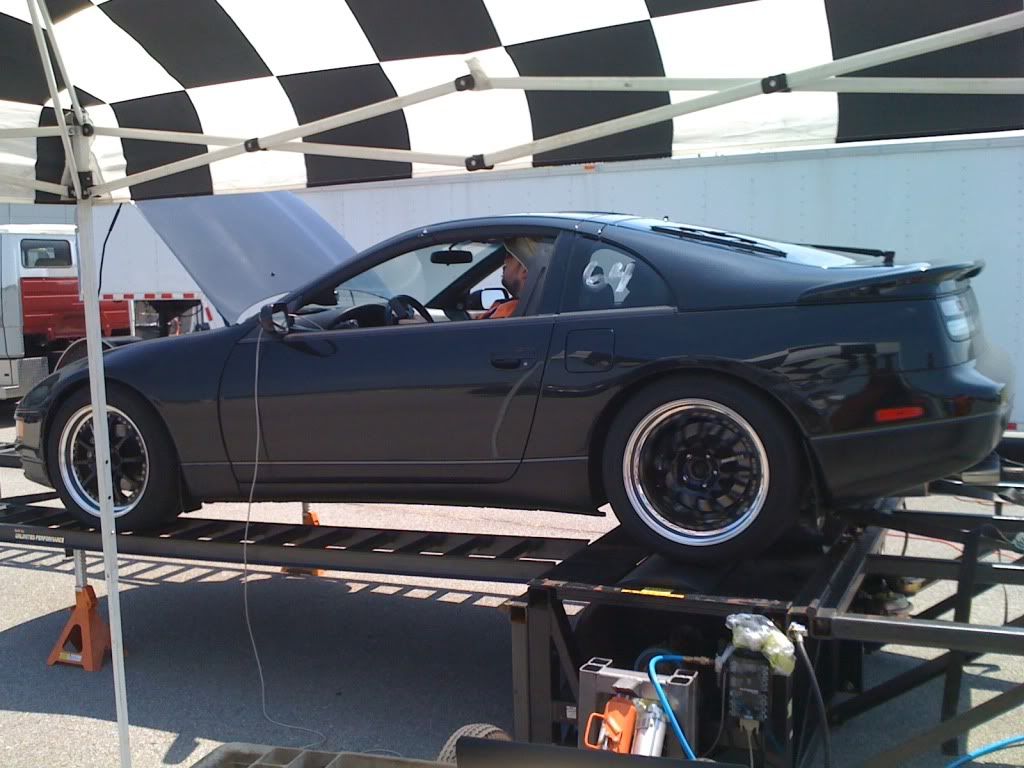
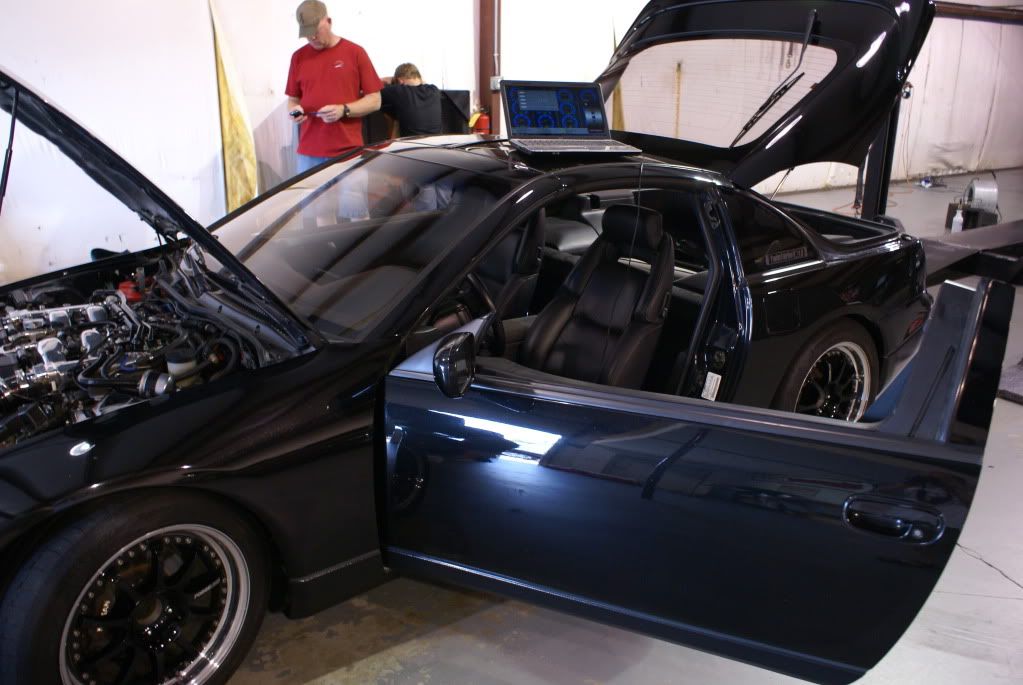 On the dyno
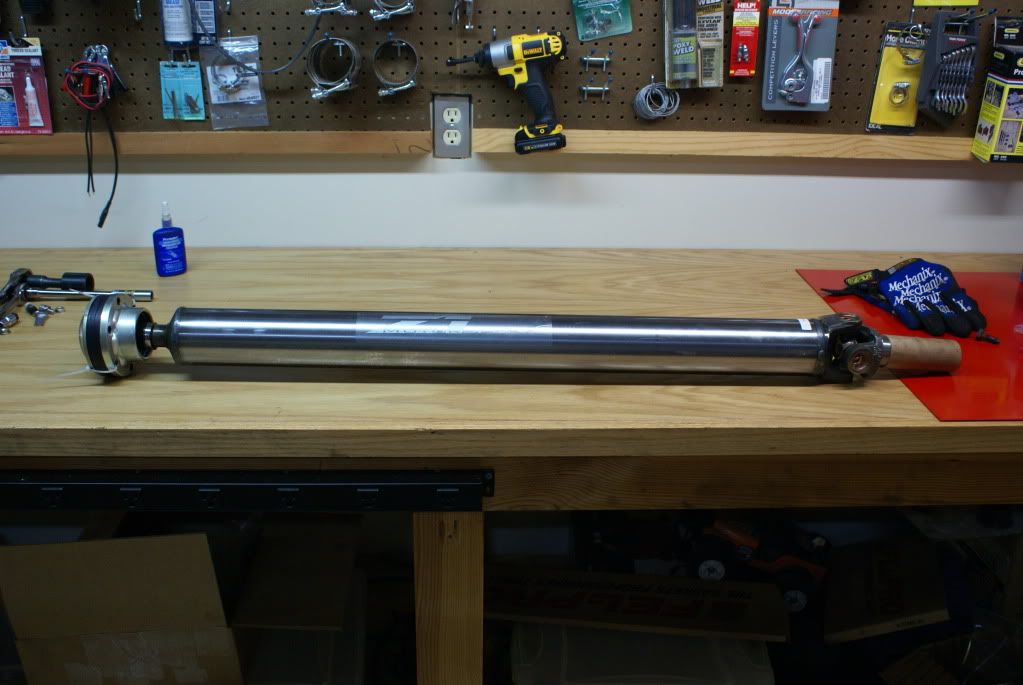
 Back home in one piece.
href="http://s272.photobucket.com/albums/jj168/btskaggs/Sport700Build/?action=view¤t=DSC03334.jpg" target="_blank">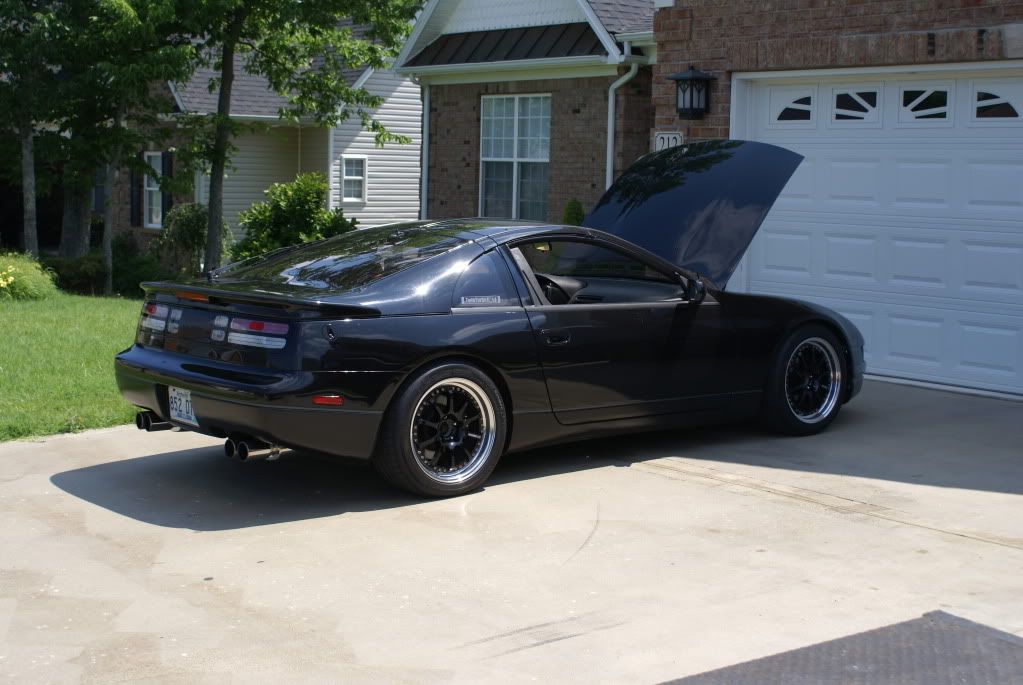 Thanks for everyone that helped, supplied parts, etc. Since then, I have pulled the engine and trans again to fix:
a. Trans whine (input shaft bearing)
b. Oil pan gasket leak. My mistake by not sealing of both sides of a bolt. Leaking past the threads
c. Replace T/Bs (done)
d. Figure out Exhaust alignment fix. During the teardown, I found a few other small items and discovered I have the wrong P/S pump pulley (3 rib). Happy 4th of July!!
 |


 Slow build update. Lots of pics. -