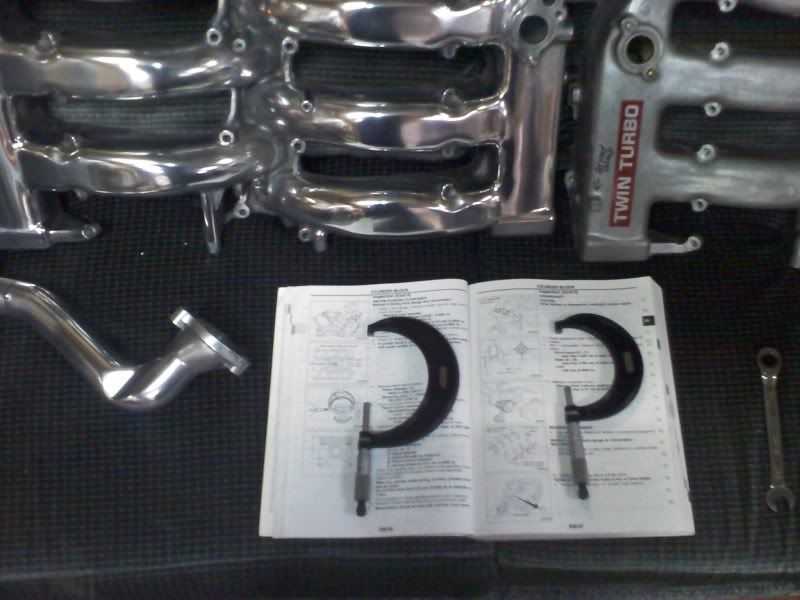
| I am tearing down my motor so that I can build it. Planning on building my motor to handle some more abuse :) Originally, I was going to just run the stock short block and see what I can squeeze out of her... But I am sure it would end up giving up right when I needed her the most.. So I'm building it. I got a set of nice carbide tipped "Starrett" micrometers that measure to the .00001" place. Along with my new FSM that my girlfriend bought for me.
 A A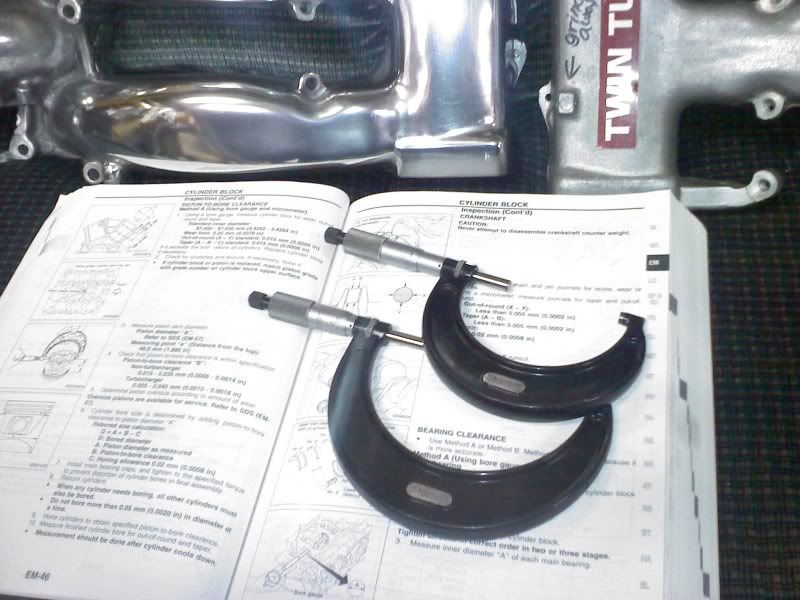 B B
 C C
I disassembled the engine and placed on an extra engine stand that I just picked up after seeing Barry's post about his choices of Harbor Freight brand ones.. I was going to make a trip to the store and ran across this one on craigslist for $30.. It doesn't have the collapsable legs but its perfect for what I need it for. I already have two other ones, but I am using them for other VGs I have here.
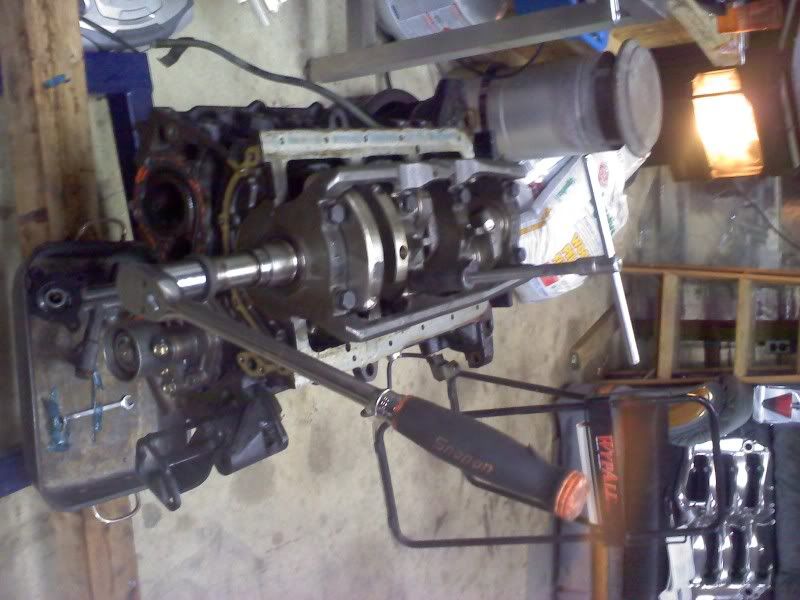 D DRemoving the Main Cap/Girdle bolts.. Follow the FSM in the removal step sequence
 E E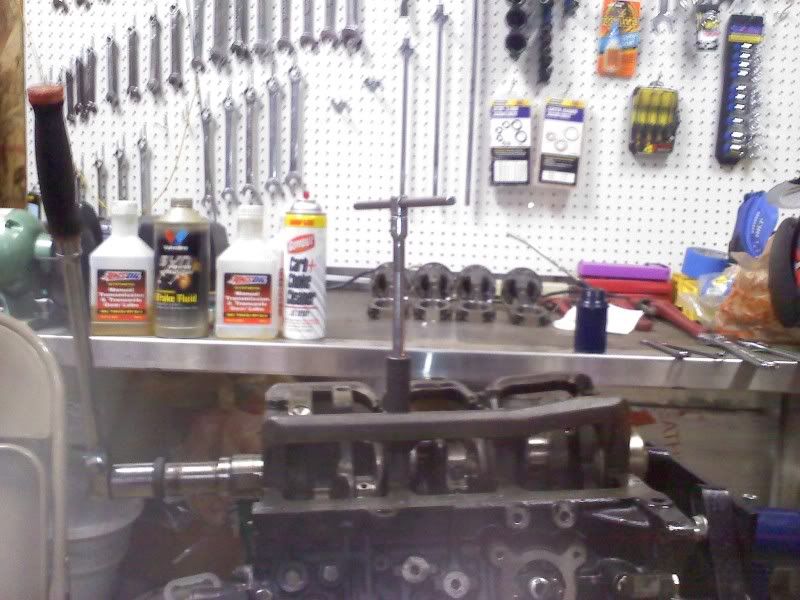 F F
All bolts fully loosened and ready for removal.
 G G Bolts removed. I will definitely be upgrading to ARP studs etc.. primarily due to the fact that I will be able to reuse them if I have to tear the motor down again in the future.
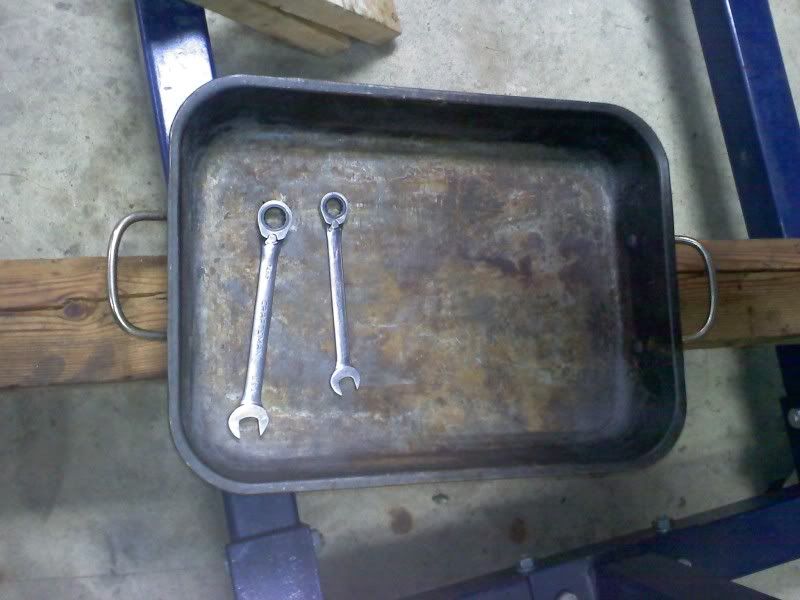
 H HHere is a tray that ended up using to hold some tools since I bought some new cookware.. somtimes use it to catch dripping oil etc.. Its very handy and free :)
 I I
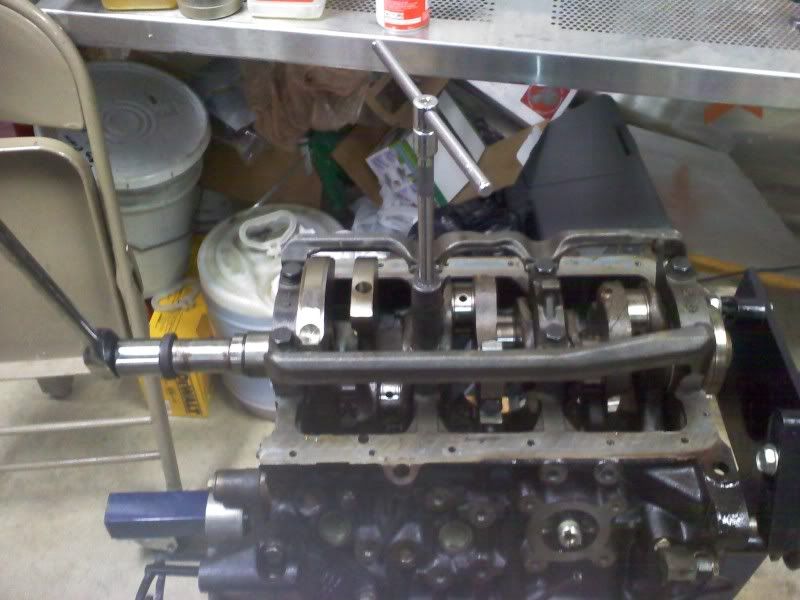
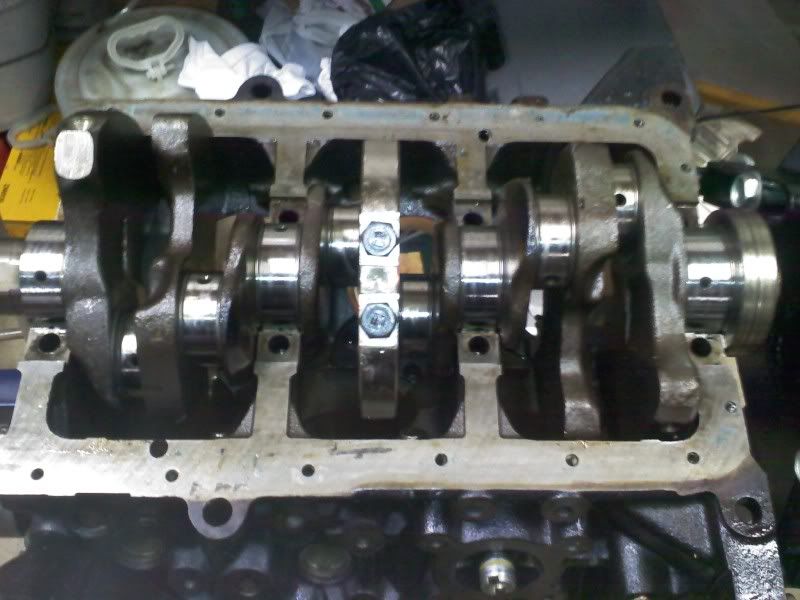
Crank and Main Girdle removed.. I recommend using a rubber mallet to loosen the girdle from block when removing. What I like to do is leave the bolts in but only tightend by about a 1/4" of thread, just incase when I tap the girdle it doesn't allow it to fall on the ground or scratch parts that are critical.
 J J
 K K
Measuring the crank/main journals.. I took multiple measurements following the FSM to check for taper and out of round. I suggest taking ALOT of the same measurements to insure you are using the micrometer properly. Its easy to get a wrong dimension if you just do it once.
 L L
I did the "finger nail test".. on the journals.. They are in good shape but I will probably get them micro-polished before getting them WPC treated. I will NOT be grinding/cutting the crank at all.
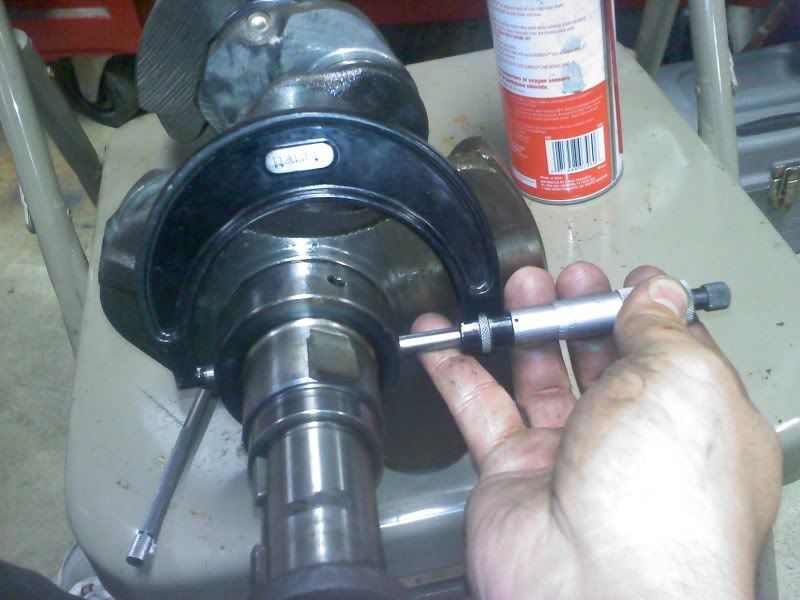
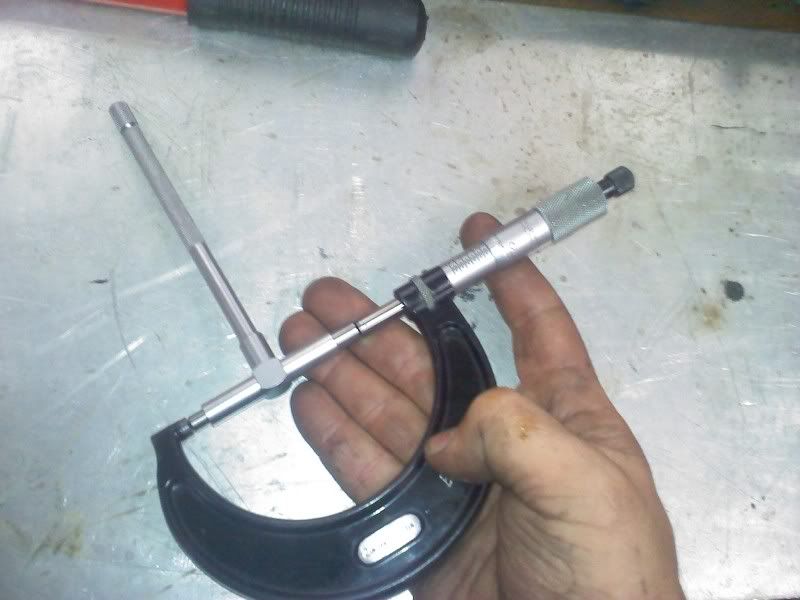
Measuring the crank/main bores, using telescoping I.D mics.
 M MThen measuring the dimension that the I.D mics got.
 O O
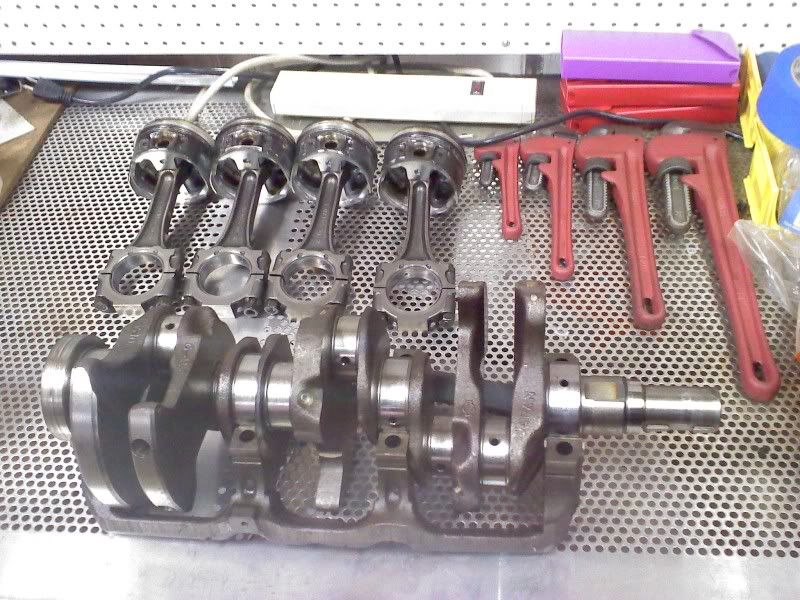
I plan on using WPC treated OEM main and rod bearings for this build. As of yet.. I am going to be using Pauter rods with ARP2000 rod bolts and CP 2610 pistons and upgraded 9310 wrist pins. I will also be using Spiral locks instead of regular explanding C-clips.. They are supposed to be a little lighter and more reliable. I am trying to remove as much weight as I can (without going nuts with it) since I am going to be using the heavier wrist pin upgrade.
Boring out the block ~.020" over (87.5mm).. Possibly .040" over (88mm) if the block allows me to after sonic testing. But I will probably just stick with the 87.5mm since there is not much of gains in displacement and it will create heavier pistons going larger. I will be using the mics again after machine work, then follow up with plastigauge for final assembly/ double checking.
Not too much progress but I figured I would post..
Thanks!
KongZTT
_________________________________________________________________________
~~~ Sig starts below ~~~
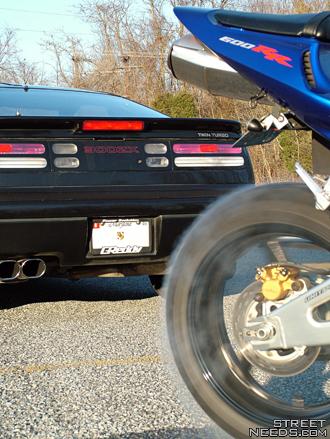
=================================================================NO, This picture is not photoshopped.
AIM:Shawn300zxTT "-Any closeups on the nuts? - zboost(tx) 19:17:53 08/08/05
-Not really something you want to ask another man about... (n/m) - LordZ 19:24:00 08/08/05" "I just took 45 min and scrubbed the heck out of my rear"
teambushido(San Diego, CA) 19:24:51 12/11/04 -1991 Stage _ TT 5spd (Upgraded to hell and back)
-1990 Super White 2+2 Na Stage 3 Auto (Deceased :( )
-1990 Cherry Red Pearl ,Auto Coupe (Parts car)
-1990 11 Sec Eagle Talon Tsi AWD, (SOLD!)
-2001 Ford F-150 Crew cab, 5.4 Triton v8.. Tow bitch
-1997 Acura 2.2 CL, 5spd. Daily Driver.. great little car!
-2004 Honda CBR 600RR (Candy blue, FOR SALE) |


 Gettin' there.. -