| I just finished reinstalling my SS coilovers on my car after speaking to Charles on the phone concerning my specific needs for the suspension, who I must add is very nice and patient in teaching me some points on setting up the coilovers. I hope that a few of you will appreciate the information to set a baseline for your own setup if you are doing it yourself. Before I started on my 1995 Slicktop I checked the overall wheel well height and noticed that it was set at 26 inches for three of the corners and 26 1/4 inches for the front passenger - a loss of approximately 1/2 inch from the factory specs listed in the FSM. Spring sag from 13 year old suspension parts and 110,000 miles. I put on the coilovers using the baseline of 8 turns on the lower cap and then the number of inches specified between lock caps in the install guide. This put around ten turns of preload on coilover. After installing them the rears were lucky enough to be equal to what the car was at before but the front was an additional 3/8 of an inch below what it was with noticable negative camber. To get the car higher I would either need to add more preload on the spring or back down the lower cup or a combination of both. With a minimum of five threads recommended on the lower cup bracket and the threads being 1/16 of an inch I would only get half of the needed height from the bottom bracket. I was under the impression these were progressive rate coil-overs for some reason so I was reluctant to gain height from preload. I drove home the 15 miles on semi-smooth highway as-is after emailing Powertrix with some questions. I noticed two things after the initial install. 1. That the helper spings were completely compressed when the car was on the ground.
2. That the ride was similiar to what you see on cut spring suspension jobs. Pretty bouncy in a very short oscillation pattern. I got a reply from Charles very quickly through email and then I left a message on his voicemail with some questions and he got back to me the same day to clarify my ideas on how the coil-over works. He also told me since I was not looking for an aggressive drop I could remove the helper spring and immediatly get the additional height I was looking for. The main reason for the helper is to maintain tension contact of some type between spring and the upper and lower perches through the extreme downward travel. And that the springs are lineal and that it is normal for the helper springs to be fully compressed with the car on the ground.
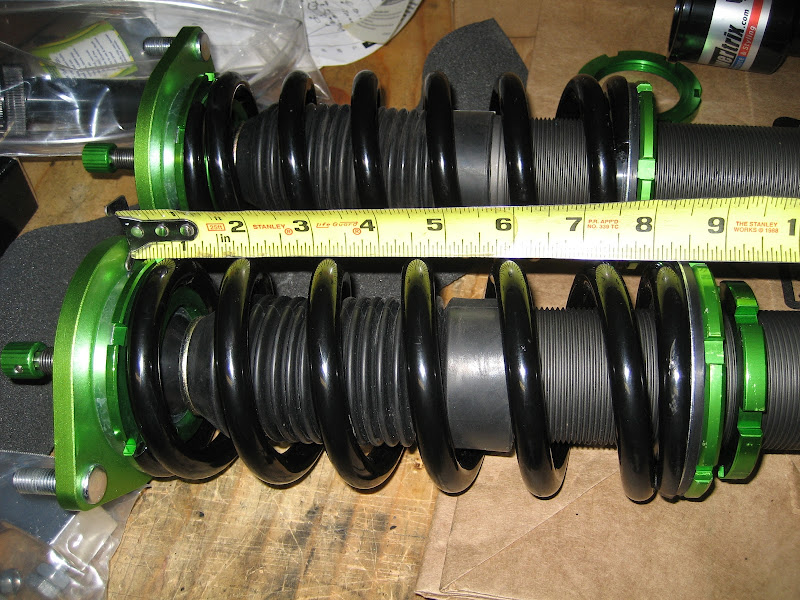
I removed the helper spring and put 10 total threads into the lower cup perches and put one or two turns of preload on the spring - just enough to make sure the spring maintained contact during full downtravel. This set the measurement from the bottom of the top mount to the bottom of the lower perch at 8 3/4 inches and the distance between the locking rings at 3".
Minus these helper springs and seperator: 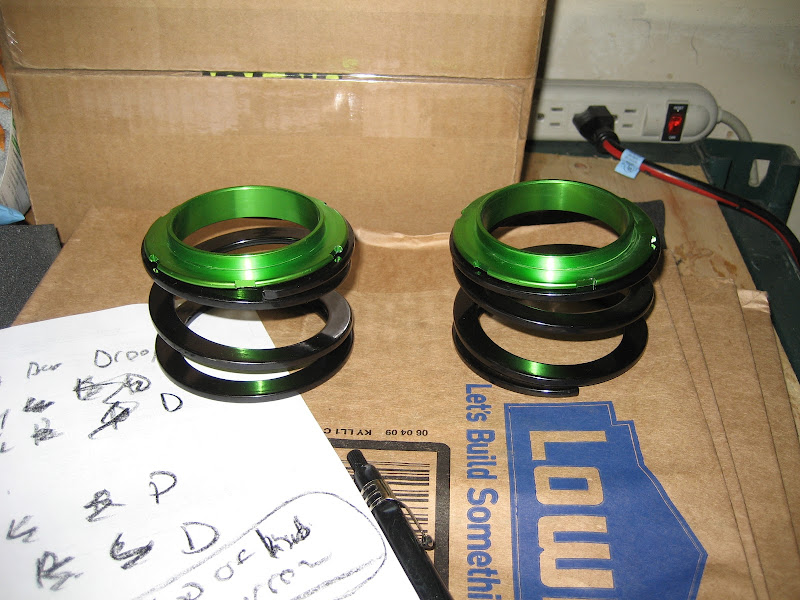
I got very lucky after installing them in that I guessed the correct setup the first time around. I drove around for a bit to settle everything and to check the ride quality and as Charles had said the ride was greatly improved. I have not re-done the rear coil-overs yet but the car is very flat and corners very well yet has a good firm ride over rough pavement. It will take the adjustment of a hole or hump and then regain neutral height quickly without any tiny oscillations. Brake dive has been virtually eliminated.
As of now I am going to keep the ride height as-is since that has been what it was since I bought the car 3k miles ago and I have not seen any camber wear on the inside tires even with the half inch below stock ride height. I will adjust it when I either get a camber kit or adjustable upper arms. So with this setup right now: 1. I have 10 turns on the lower cup and could raise the car an additional 5 turns of the lower mounting cup or 5/16" on the front if I chose to giving me 26 5/16" wheel well height (26.5 is stock). I could also add more preload but I would lose the amount of downward travel equal to the distance of pre-load I add. 2. There are ~ 22 threads on the interior of the lower cup mount. Since I have 10 used now I can lower the car an additional 12 threads by screwing the cup mount higher onto the coil-over - shortening the overall length. 12 threads = 12 * 1/16" threads or an additonal 3/4 of inch of drop giving me a wheel well height of 25 1/4 inches. A total of 1 and 1/4 inches below stock if I choose to. To get lower than that you would have to have the helper spring kept on. 3. Since I was doing the Urethane bushings on the front anti-sway bar at the same time as I was redoing the front coilovers I got the full droop measurements of the coilover with just the main spring on. It measured 28 3/8" average from the point where I could not rotate the tire against the smooth concrete of my garage. That gives me 2 3/8" of downward suspension travel since I have 26" with the vehicle unladen on flat ground. If any one can give me a number for the suspension travel of the stock setup I would greatly appreciate it. I searched for a bit but could not find it. I am also trying to determine if it is better to split the travel in half or have more downward travel than upward travel from neutral stance. Any thoughts for road car suspension from any member would be appreciated. Coilover setup on car: 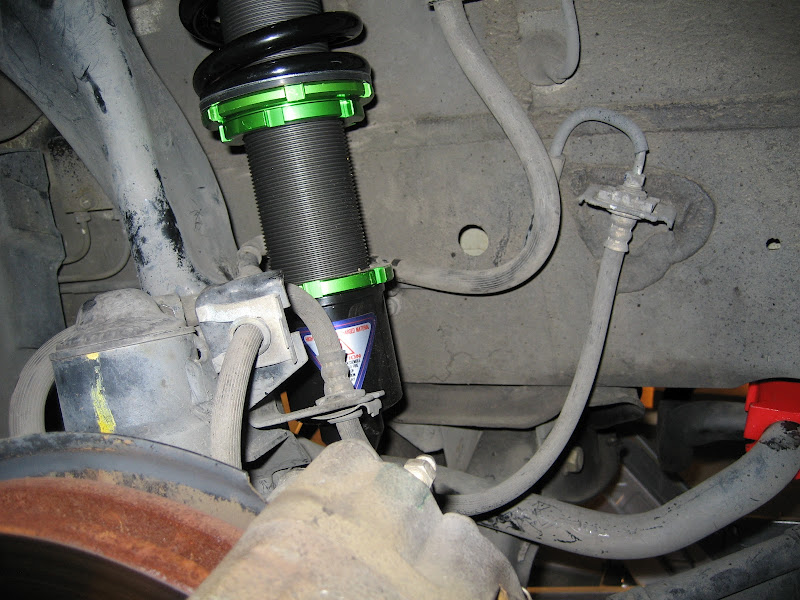
I just used a small pry bar and pliers to bend the ABS sensor bracket off of the wire as mentioned in multiple suspension posts.
What 26" wheel well height looks like on stock tires and wheels. 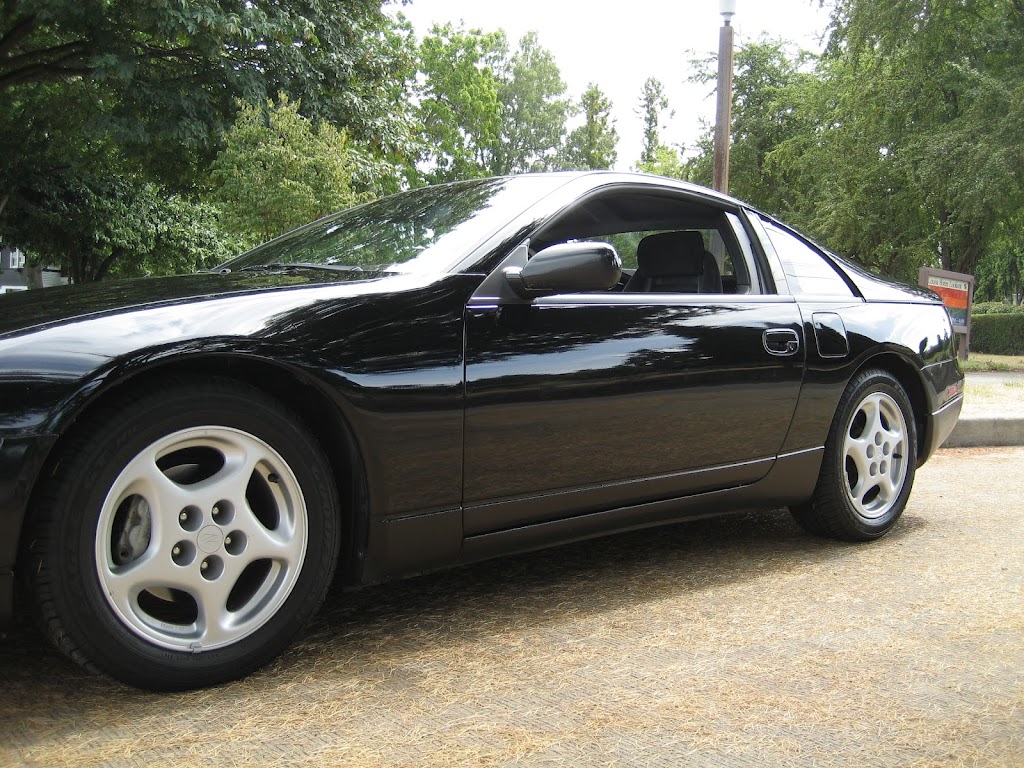
And with Contrast and Gamma changed to get rid of contrast shadow created by my camera - you can see where the eye actually places the tire inside the wheel well.

Overall I am very pleased and would spend the money on another Z (tap on wood it this one never gets hit - it would be hard to find another) as one of the first upgrades.
For those thinking of using my numbers as a baseline, understand that the extra 50 lbs per corner of the NA t-top Z and the slight additional weight of the TT will drop the wheel well height an additional 3/16 to 1/4 inch approximately - about perfect for the 300degree .8 inch camber kit.
Matt.

|


 Powertrix install notes for those doing it yourself. -