| Message |
TOOLS NEEDED:
black paint, chrome paint, tape, straight edge, box cutter, flat head screw drivers, ceiling light cover materialSTEP ONE
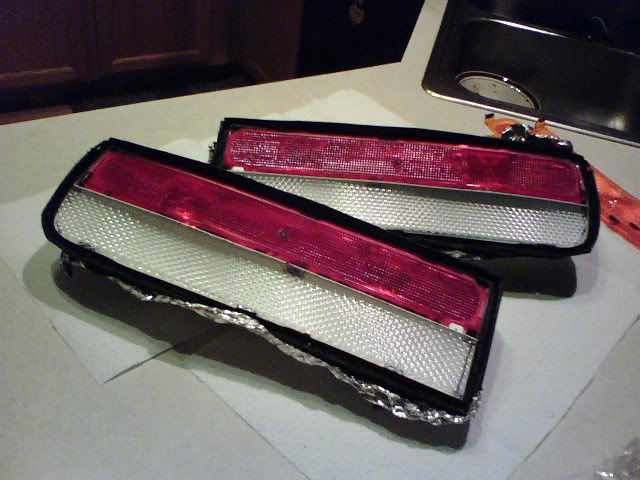
Wrap tail lights in tin foil so they do not get burn spots. Pre heat oven to 250 degrees and put in the tail lights for 15 minutes. After fifteen minutes, take the tail lights out and use flat head screw drivers to pry the tail light apart from all sides. Be sure to pry gently, because the glass cracks easily. 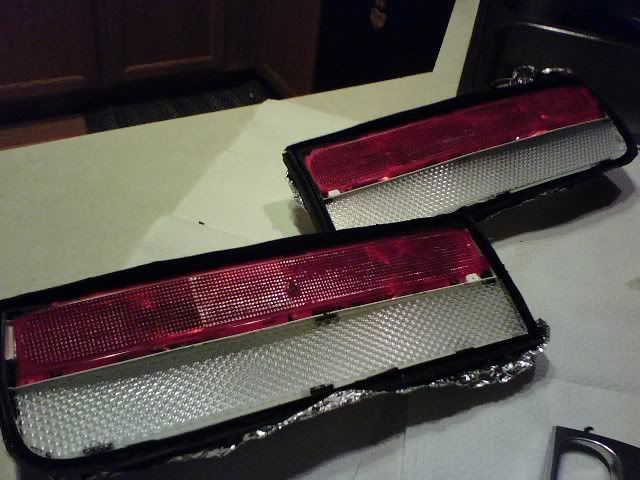
STEP TWO
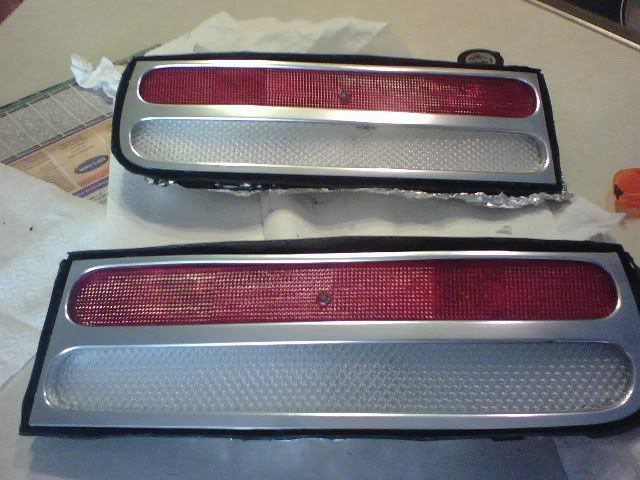
Pop out the orange reflectors and set them over the clear ceiling light material and trace out the shape. Then take a razor or box cutter and score out the shape of the reflector. By taking a straight edge and setting it on top of the scored marks you can bend the material backwards and the shape breaks out of the material. Then take your new clear lenses and put them into the light housing
 STEP THREE
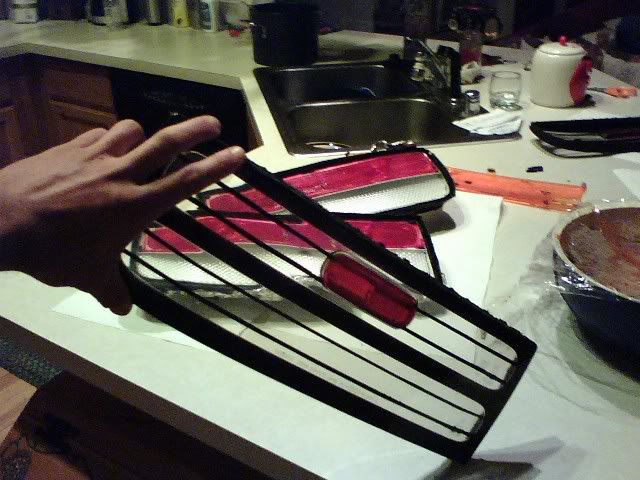
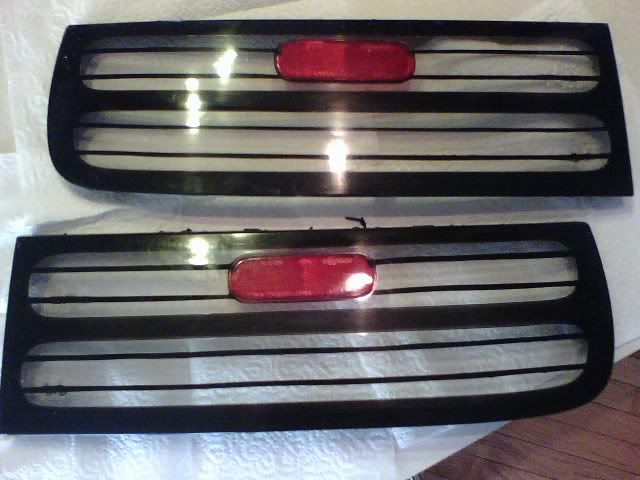
You now need to paint both the grey dividor in the tail light, as well as the inside of the glass for the pin striping. The dividor is to be painted chrome, and for the pin striping, any gloss black paint will do fine. I used electrical tape inside the glass to tape off everything but thin lines where i wanted the stripes to be. 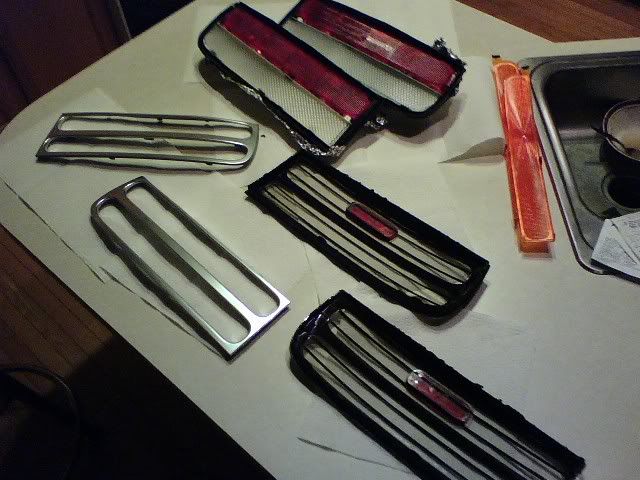
STEP FOUR
Wait a few hours for the paint to dry, and then put everything back together. Once everything is back together put the tail lights back into the oven for ten minutes. The tail lights should melt back together, but when you take them out to cool off, you need to clamp them together until the tar inside fully hardens. I put them in the freezer to speed up the process.
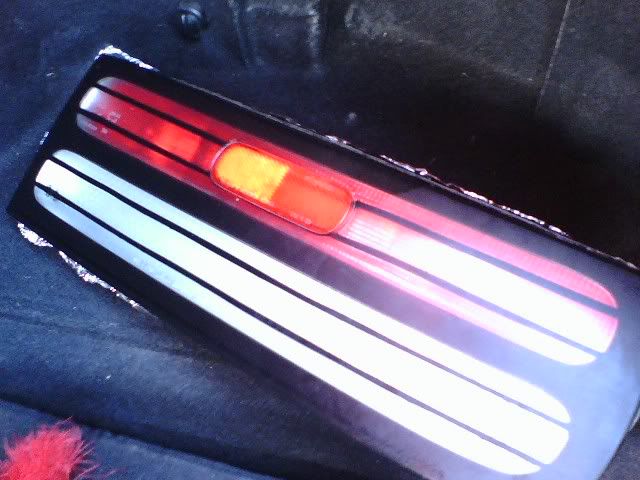 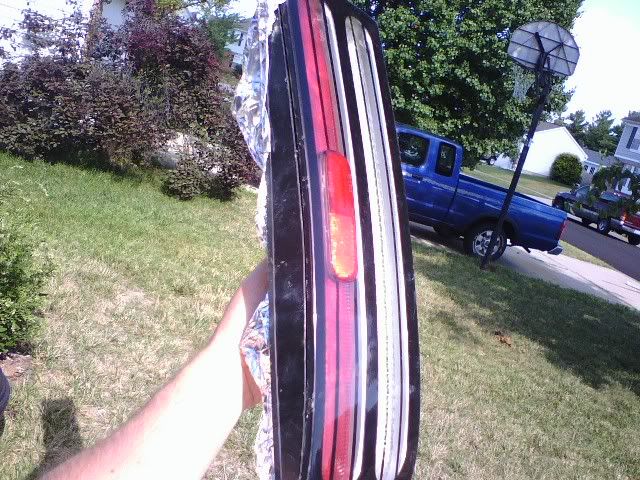

The total cost to make these lights was $15 dollars and a few hours of my time.
|
 |


 proper way to make fake specs -