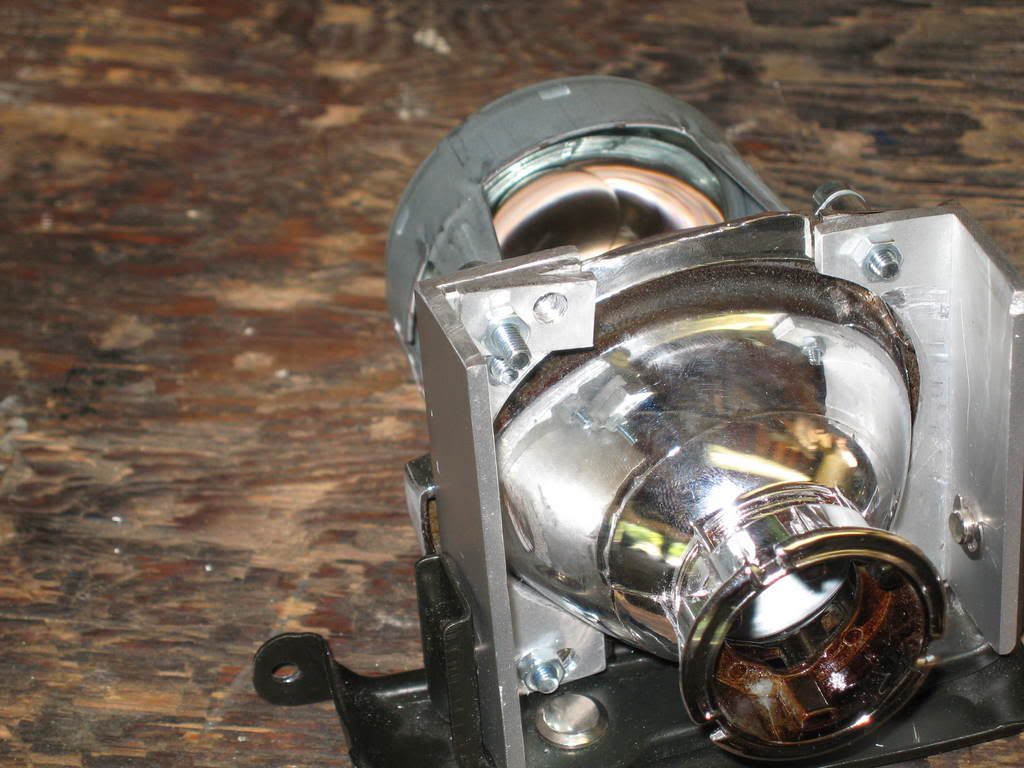
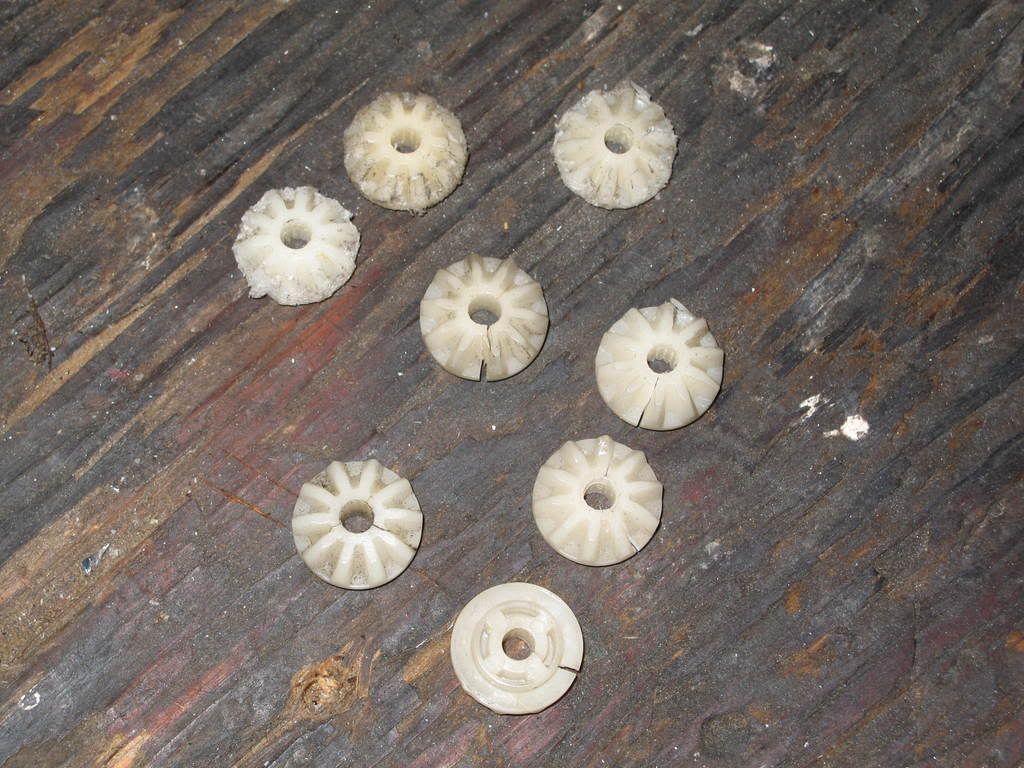
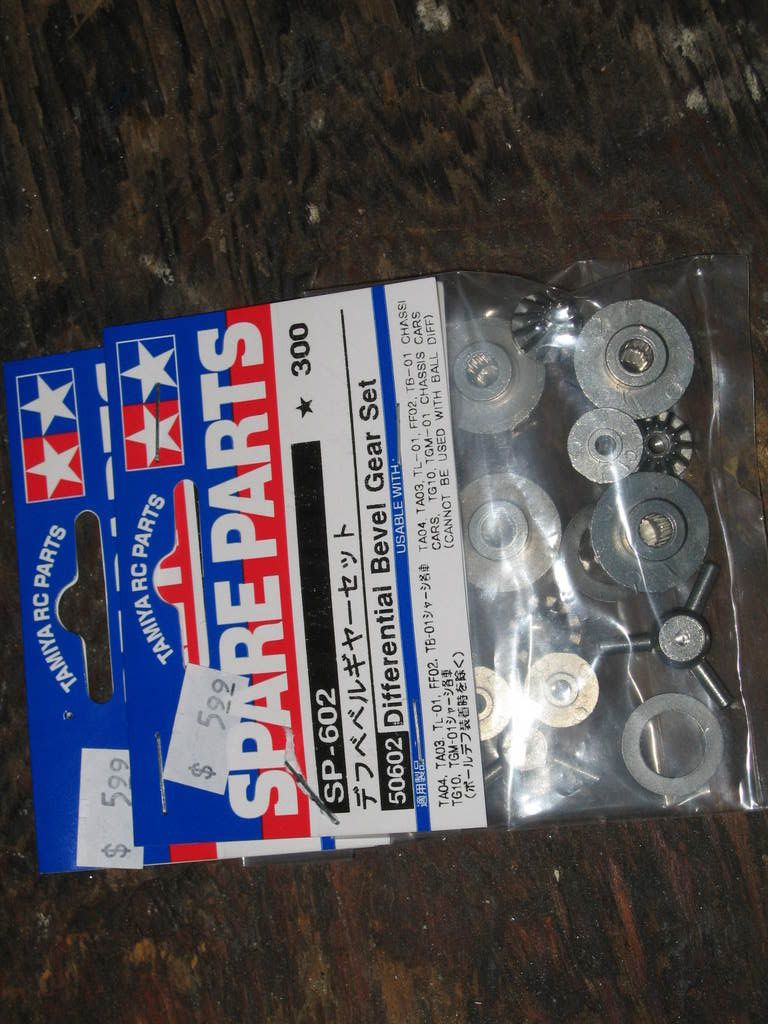
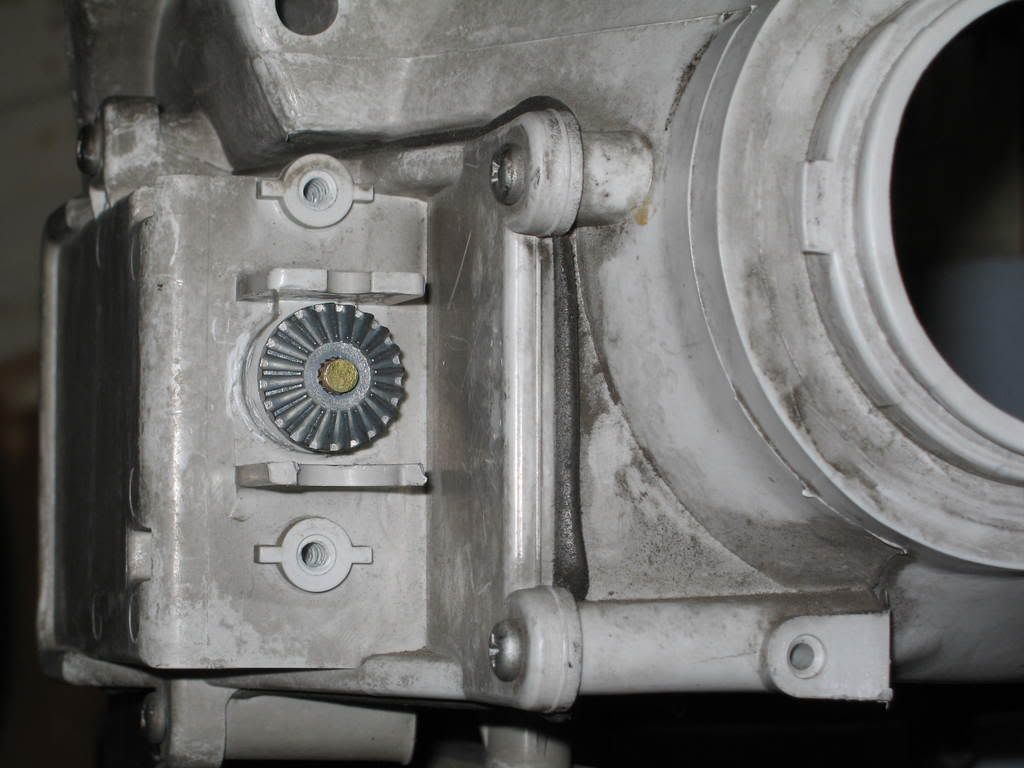
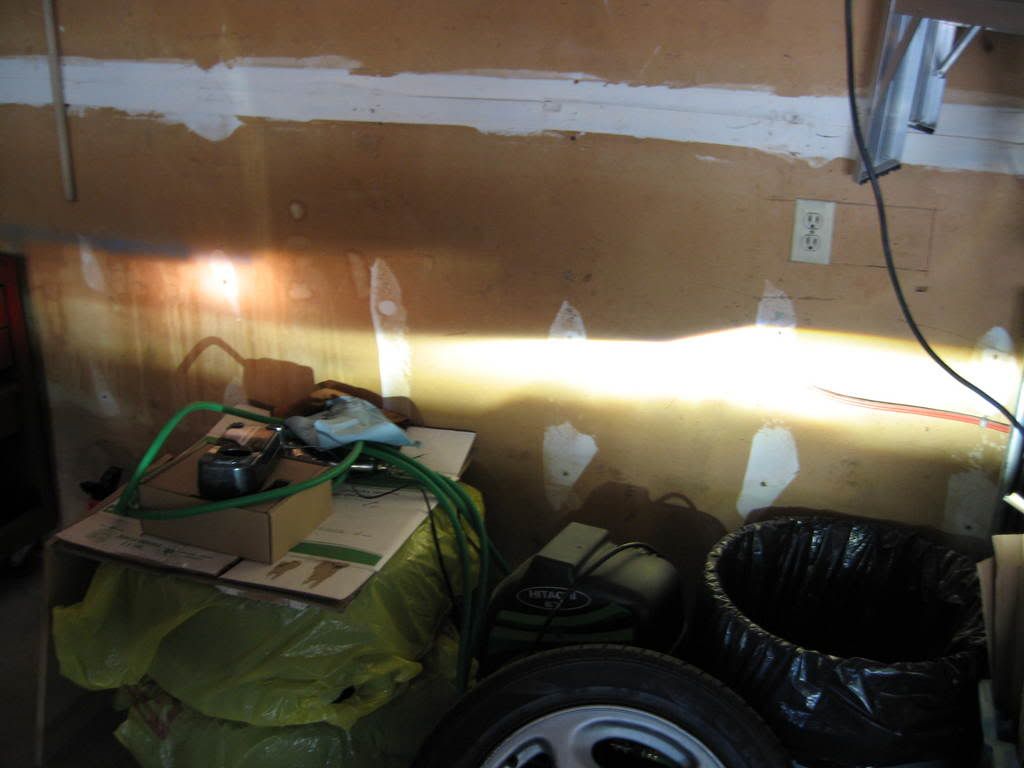
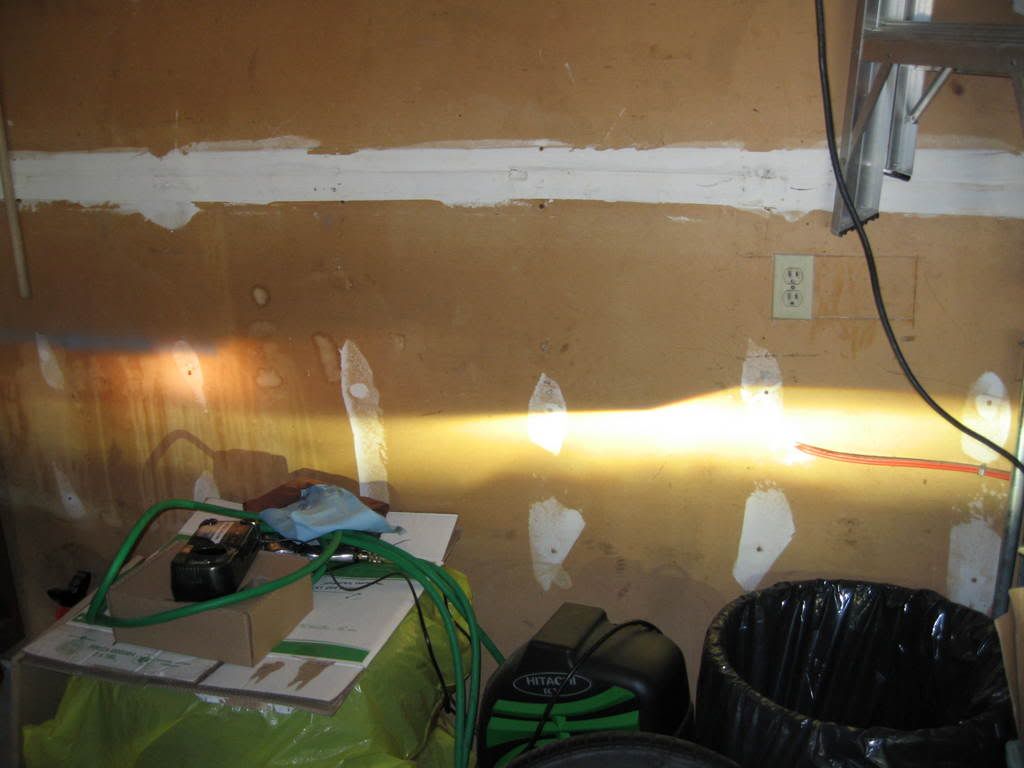
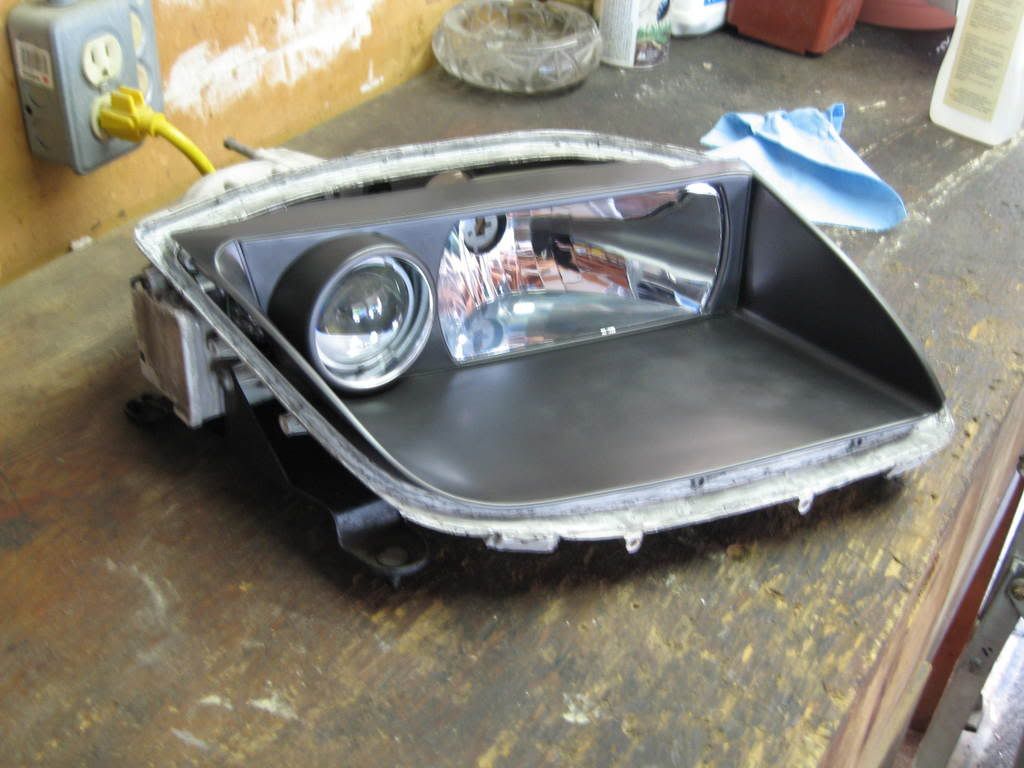
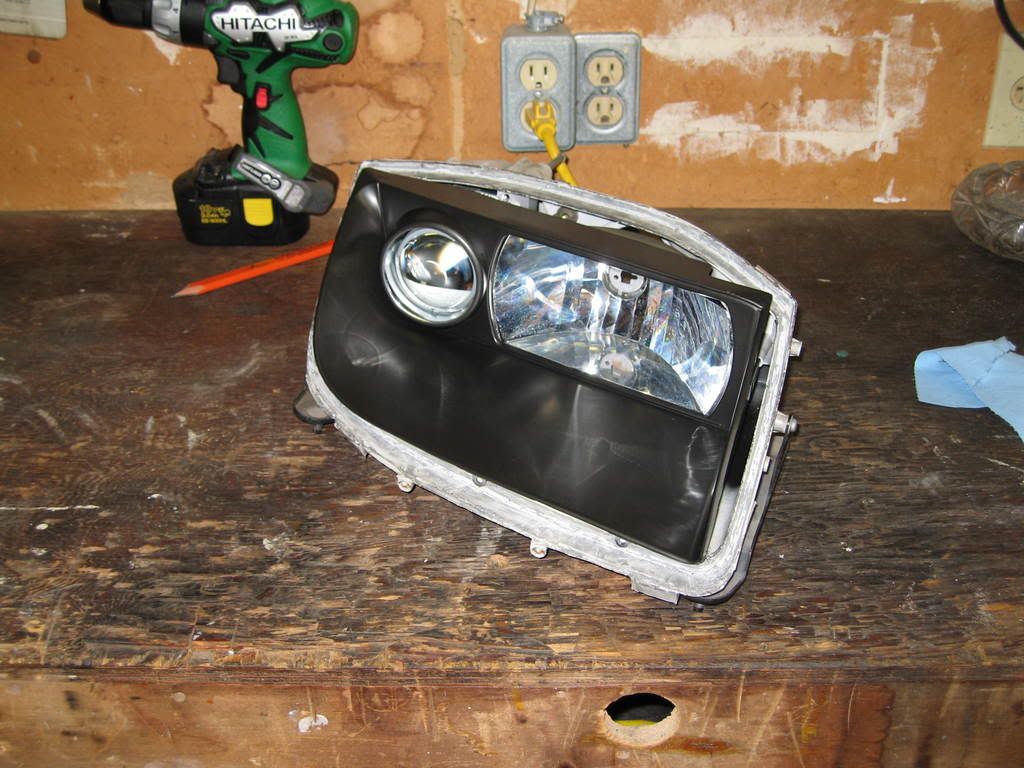
| As many of you have been following my progress with the Bosch E46 Projector Retrofit project, I am happy to say that it is now completed and it looks incredible. In this thread, I will discuss how i mounted everything so that it worked together properly. If you recall, in Part one of this project i breifly talked about the upper hole that i had tapped for the top adjustment screw. It was a good thing i tested everything before i resealed the headlights. The reason being is that the tapped hole on the original projector was a thicker piece of nylon or plastic that slipped onto the top part of the lens. This gave the adjustment screw more threads and more adjustability. Therefore I had to cut 2 small pieces of aluminum from the left over pieces and drill a hole further out from the taped hole. Then place a bolt with a nut on the end so that all 3 pieces of aluminum are tight and will not move. Then you can go back to that tapped hole and drill and retap the hole for the adjustment screw. You will see what i have done in the picture below. Since the reflector is much different on the bosch E46 prjector it sits further into the headlight assembly. This means that you will have to cut about 100 degrees off the back where you attach the connector so that you can properly fit the new connector that comes off of the ballast into the headlight and secure it onto the D2S HID BULB. You will also see pictures of this below. For many people like myself when i bought my set of JDM headlights i found that almost all of the plastic bevel gears for adjusting the headlights were all crack therefore spinning on the bolts and not doing anything. So i sourced some stores that sold Temiya remote control cars. Well the metal Differential (bevel) gears are an exact fit and work GREAT! If anyone is going to do this project i strongly suggest you replace all of your adjustment gears with metal ones like i did. Below there is a picture of the exact package I bought. I had to buy four of them since you can only use two of the gears in each package. Once the adjustment screws were functional again and the projector and highbeam reflector were reinstalled and aimed as close to the original settings. (I had the LH still on the car while i was working on the RH) I took it out and started to clean the entire headlight inside with rubbing alcohol and then with an easy detail aerosal. Quick detail or whatever. Most detail shops use them for under the hood since it cleans well without wiping and doesn't leave streaks. I did wipe this stuff off though :) Once everything was clean I wanted to put those moisture tablets back in. When I took them out that foam enclosure like was so degraded that it fell apart when i touched it. What i did was i took a new scouring pad that you use to wash your dishes with and cut it down the middle. Then I placed the three tablets on the foam and folded over and stapled it together exactly like the original was made.
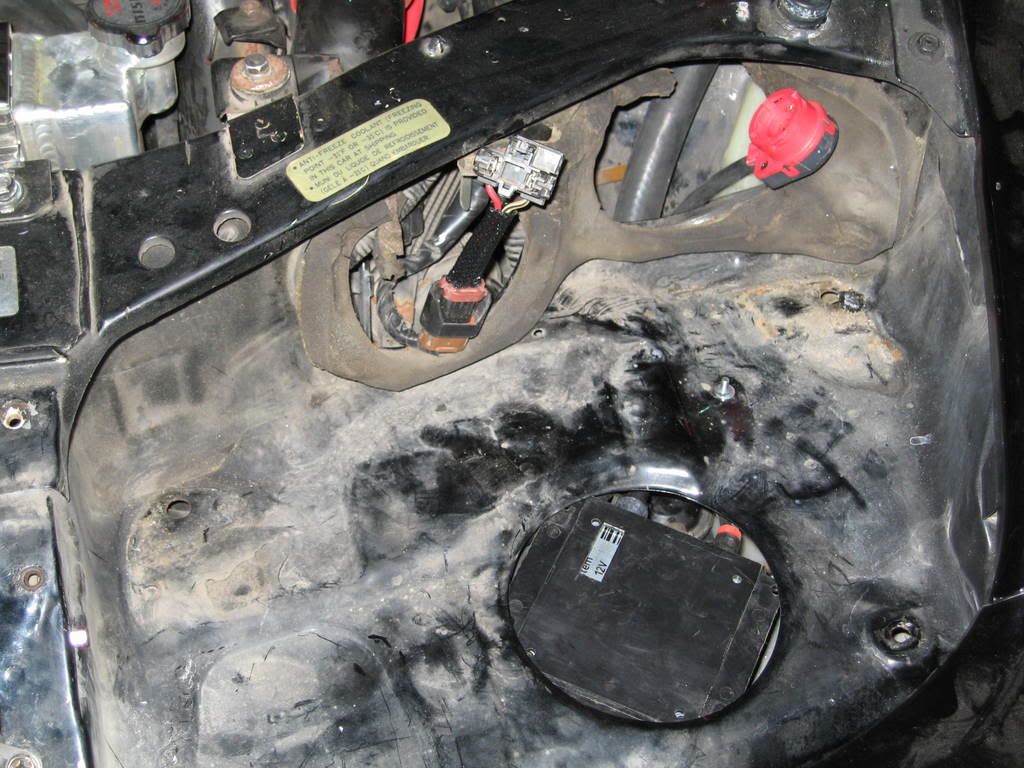
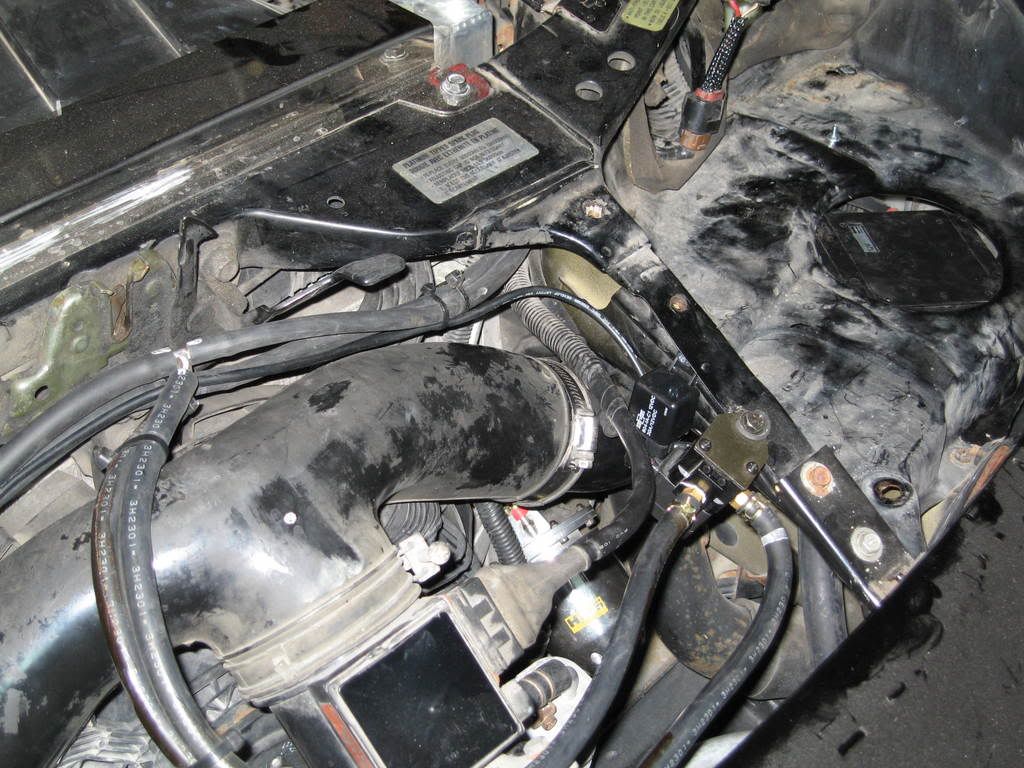
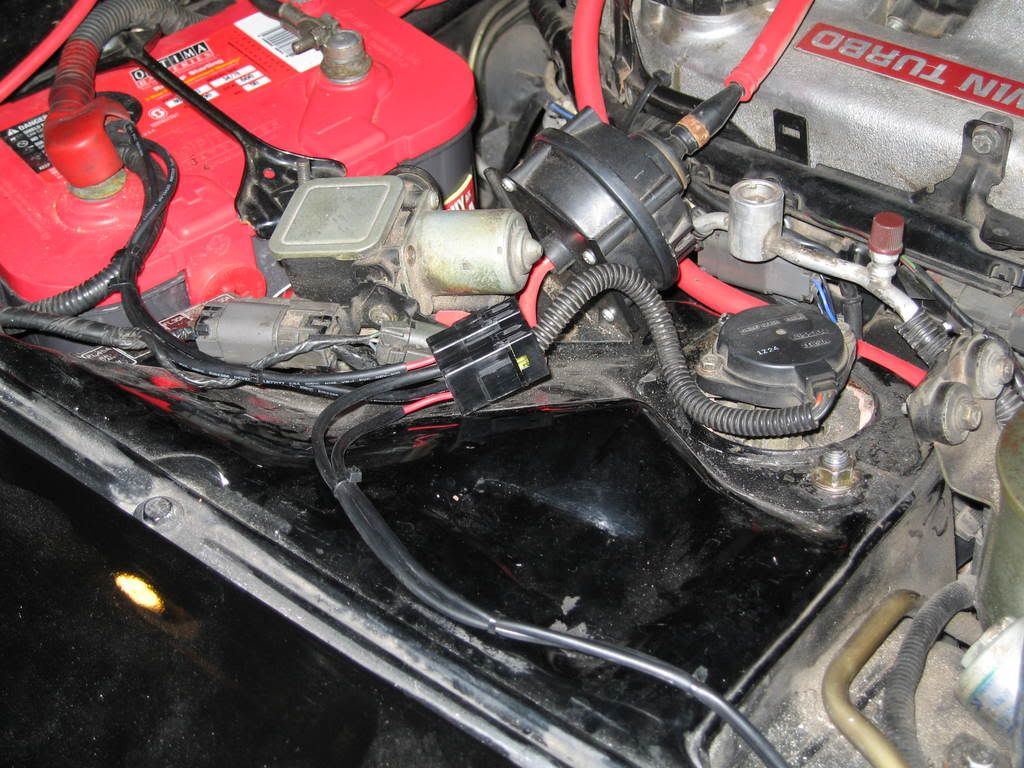
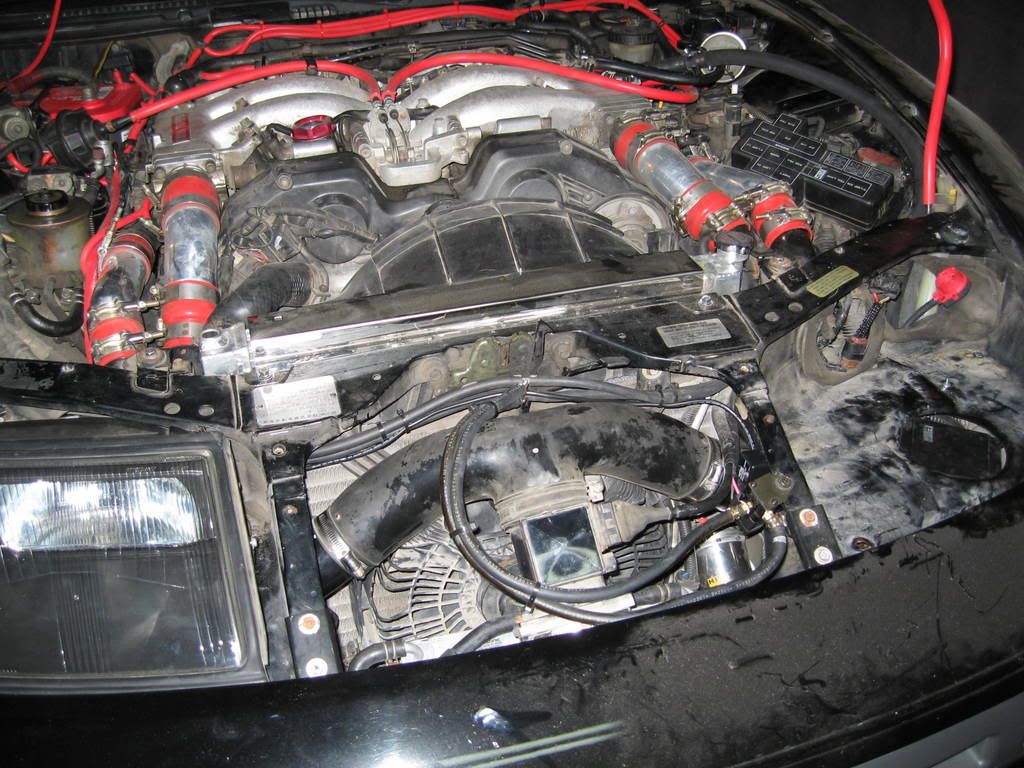
Place that between the highbeam reflector and the side of the headlight assembly where i took it out from and then it was time to seal the assembly up with a urethane sealer or urethane windshield adhesive. I have used both for this purpose and they both work fine. They come in a caulking tube. I mounted the ballasts upside down underneathe where the headlight assemblies are mounted in. Just drill 4 holes 5/32" big and then i used cable ties to secure it to the vehicle in all four corners. I then squeezed the cable that comes off the ballast through the intake (intercooler) pipes so that it came up right where the projector was to connect to it. You will find pictures below. As for wiring the ballast to your heallight assemblies. I would just suggest that you purchase these wiring harnesses from XENON DEPOT. Here is the link.
[ http://www.xenondepot.com/product.php?product_id=50 ]
and you want to select the 9006 option. These wiring harnesses include the relays, the fuse, all the connections to your battery and ground and plug right into the factory harness to ease of installation. They are also the perfect length so that both harnesses are long enough to nicely route through the engine bay and have enough to get to the battery. I will be posting another thread to link the project together, but if you have any questions, you can email me at any time. 
|


 Bosch E46 Retrofit: Part 2- Mounting/Adjustments -